|
|
|


|
| |||||||||||||||||||||||||
|
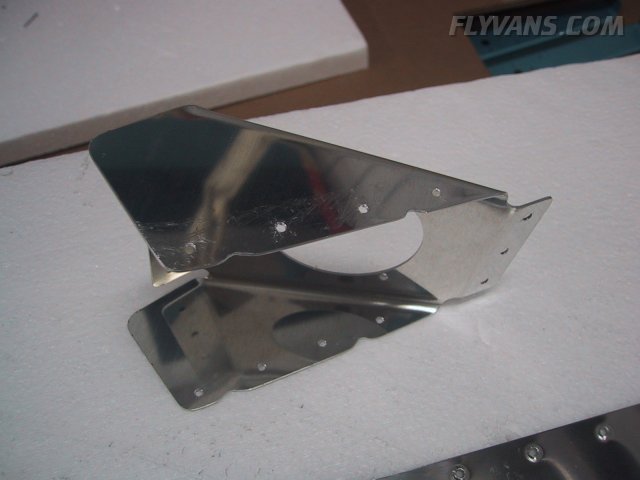
When trimming the R-710 rudder horn brace, be careful for once not to cut strictly along the prepunched holes. You might end up without enough edge distance where the holes are drilled to the skin... Thanks again to Dominik Stadler we had a heads up ahead of time, which kept us out of potential trouble!
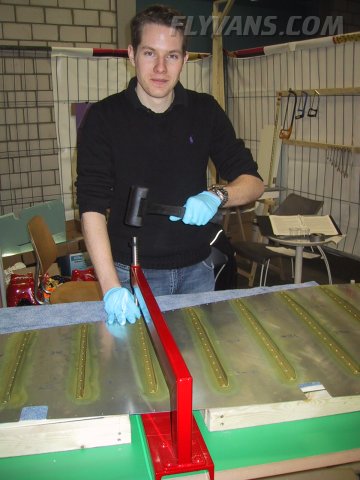
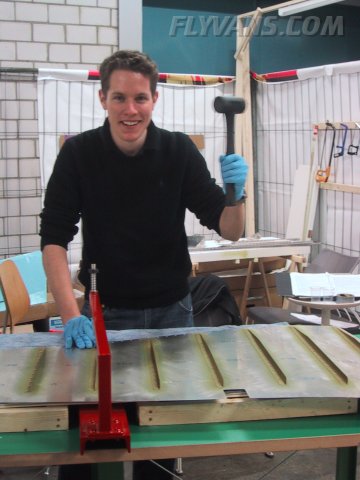
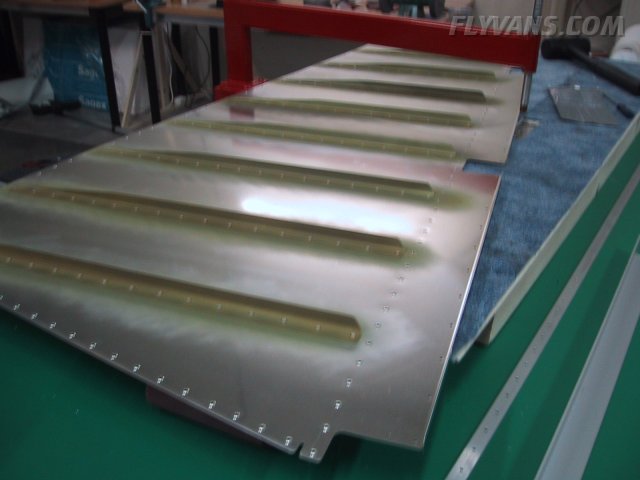
Kuli, another friend of ours, came over to lend a hand dimpling the skins.
He seems to enjoy it ;-) Kuli was a passenger several times recently and we think he might be just short of catching the flying virus ;-) Rudder skin nicely dimpled.
Even with the C-Frame dimpling tool, one has to shift the skin quite a bit to reach all holes.
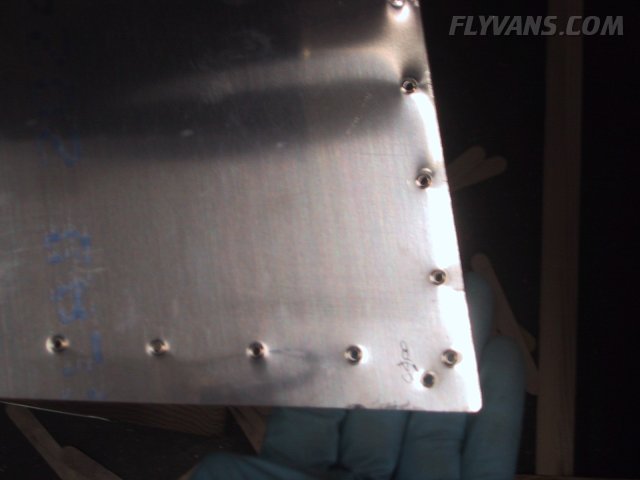
Another small oops... Lost grip on the dimpling tool just at the wrong moment, the skin broke free while the hammer was coming down resulting in a nice hole where there was none before... We got lucky again, all edge distances are o.k. and the hole is in a spot where it will be covered by fairings eventually.
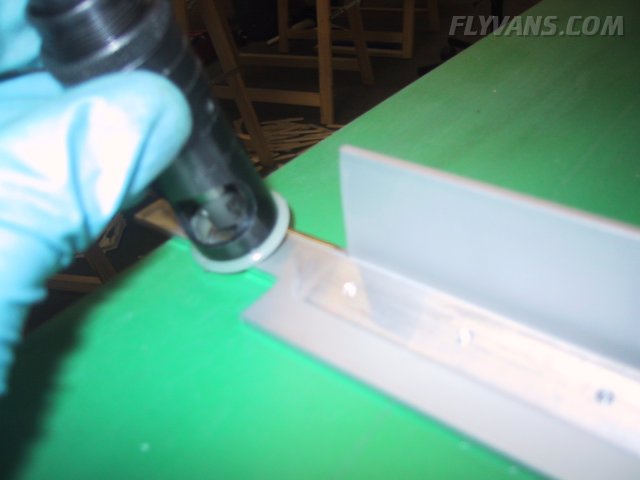
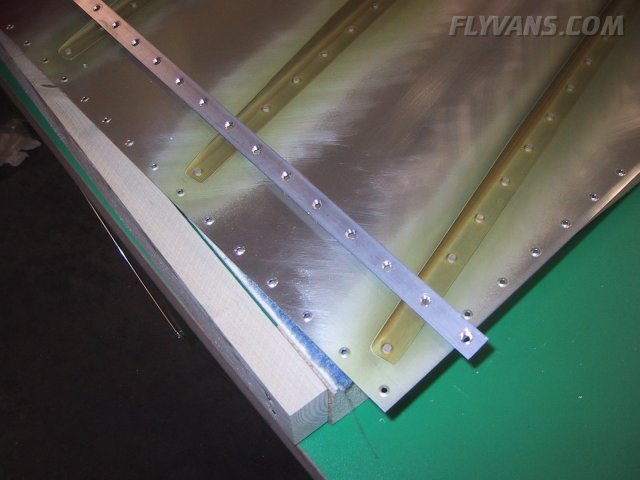
Dominik again gave us a lead in that he had troubles keeping the holes nicely centered. So we came up with a "el cheapo" jig, made out of stock aluminum angle. The wedge can be fixed into the corner and the underlying hole in the aluminum angle guides the countersink bit...
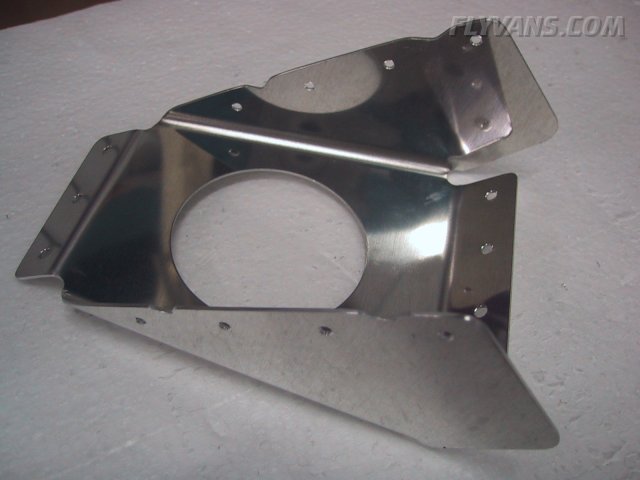
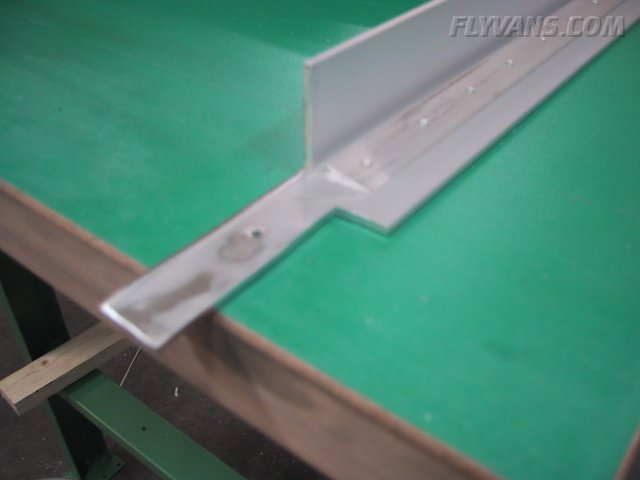
The end result, which came out excellent... Now only the double-flush-riveting has got to work out as nice and some of the trickier things on the empennage kit will be complete *G*
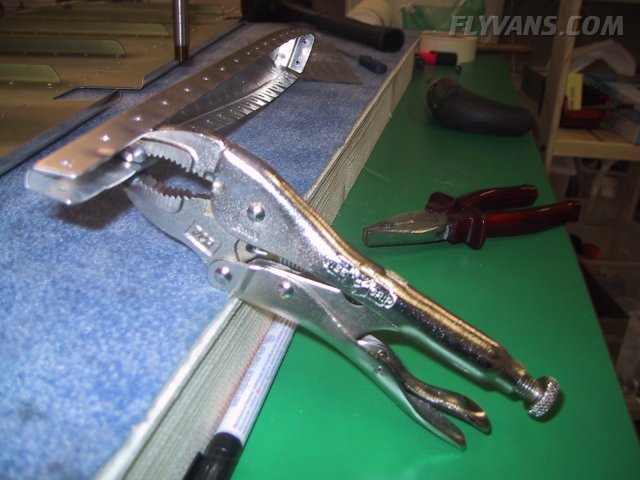
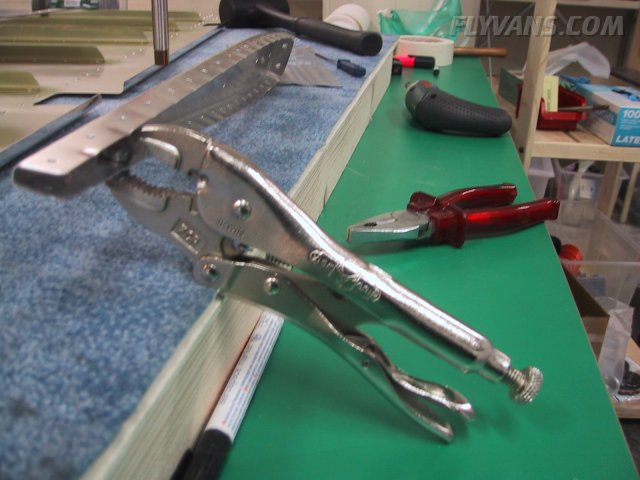
As the clearance for the dimpling tools on the ribs got tighter, the vise-grip type dimpling tool proved out to be valuable. It worked even in places where the regular pop-rivet type dimpling technique did not work any more...
|
|
|||||||||||||||||||||||||
|
||||||||||||||||||||||||||
|