|
|
|


|
| |||||||||||||||||||||||||
|
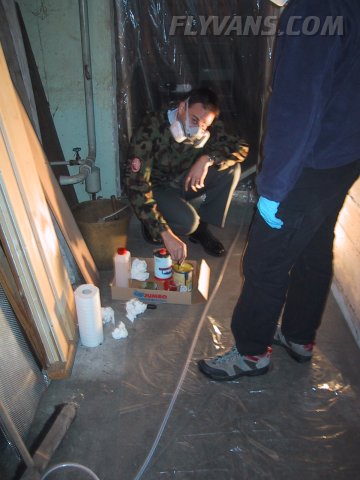
Priming for the first time. Fortunately Dominik again came over and proved to be an invaluable help. First, setting up the primer components (1:1 Hardener:Primer) and getting the spray gun ready. Never forget to stir properly and long enough... We use a washprimer made by Sikkens (Washprimer CR), our spraygun is from Harborfreight and seems to be worth every cent of the 50$ we paid!
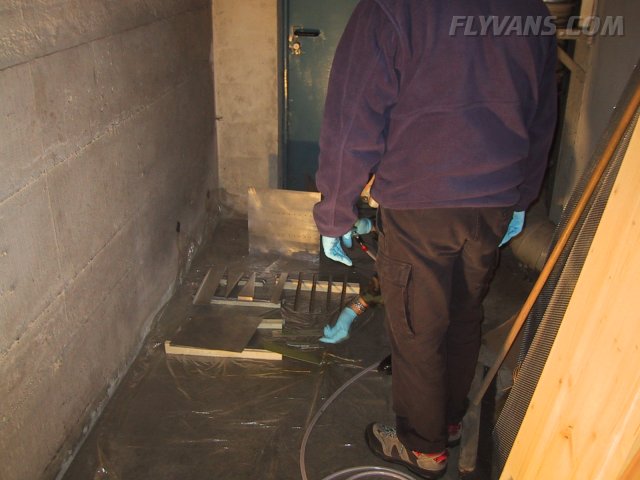
Our "set-up" for the first primer session is very simple - maybe too simple... To work on the floor is not a good way to get a nice result. Next time we will have at least a table or something in there!
"... priming instead of work-out at the gym..."
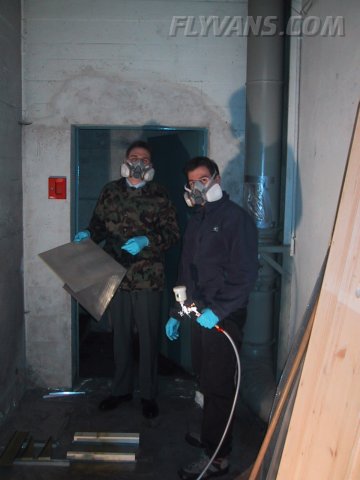
On this shot we actually tried to smile... :-)
Dominik prepares the temporary supports to keep the small stiffeners in place while priming. Just a few nails on some scrap pieces of wood.
Our training project after priming! You can see quite a diffrence between the top and the bottom side of the skin sheet; the top side was first -> pretty uneven covered... later on the bottom side it got better... but sure way to go to perfect...! :-)
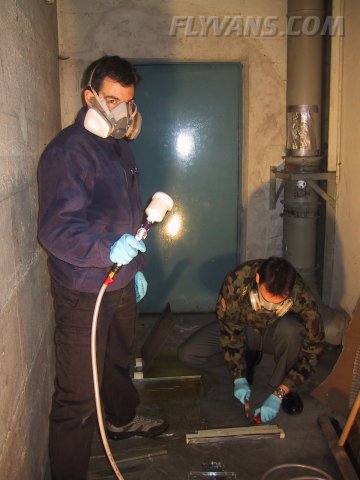
After about half an hour we were already back at the workbench with our parts. Parts should be "dust dry" after 15min according to Sikkens - a real advantage of the washprimer over a usual epoxy primer!
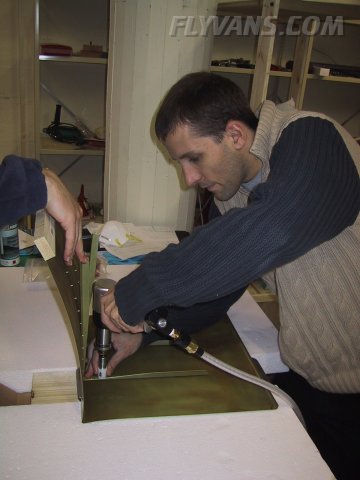
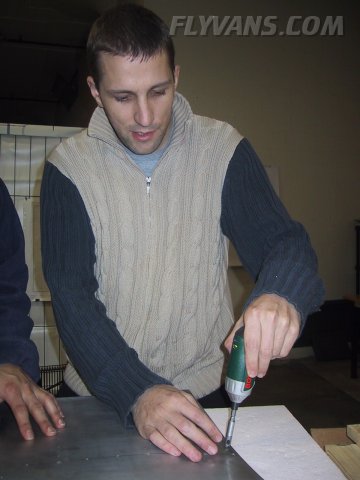
We used a pressure setting for our 2x rivet gun of about 34psi for those AN426 3-3 rivets, which works nicely for us. Backriveting is kind of easy... :-)
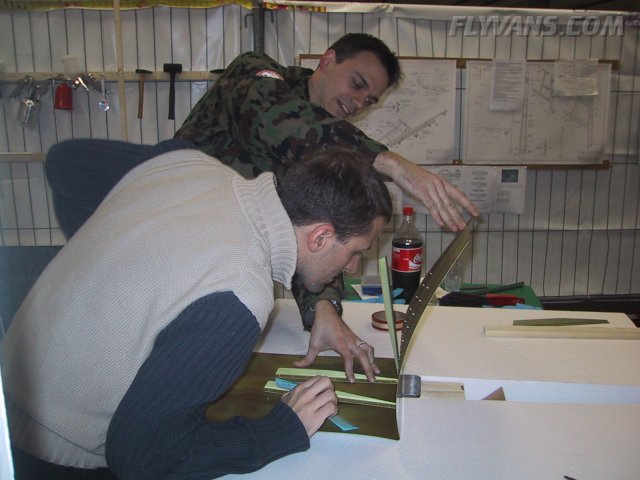
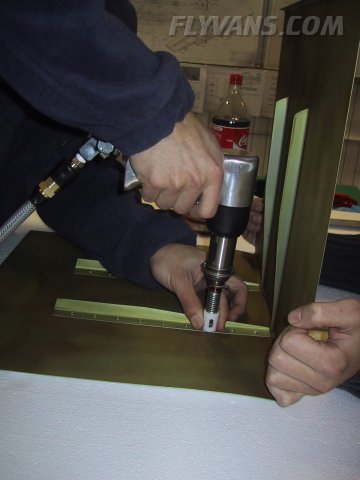
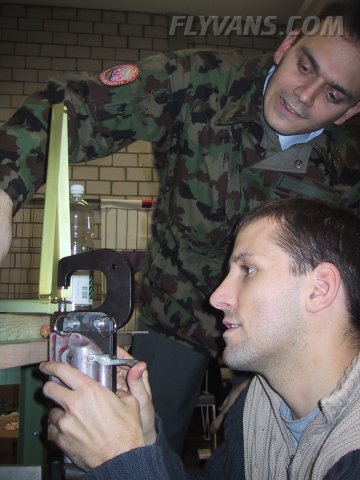
Under the eagle eye of our "instructor", riveting the two ribs to the spar using the pneumatic squeezer - smoothly.
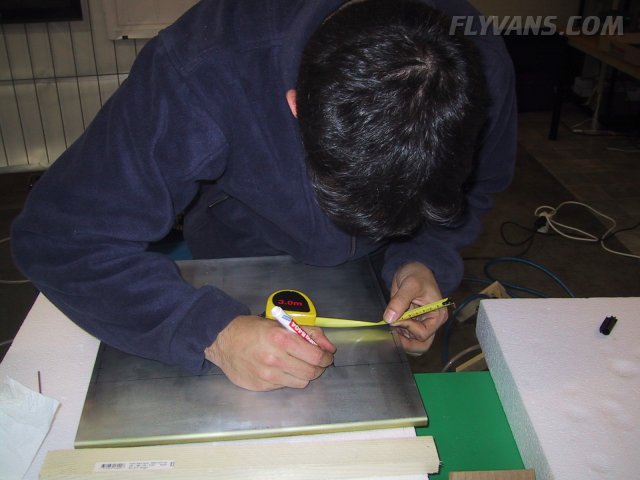
Measuring in and positioning of all missing rivets on the skin. Note the markers we use: Edding 8404 aerospace markers "... British Aerospace / Airbus approved ..." ;-)
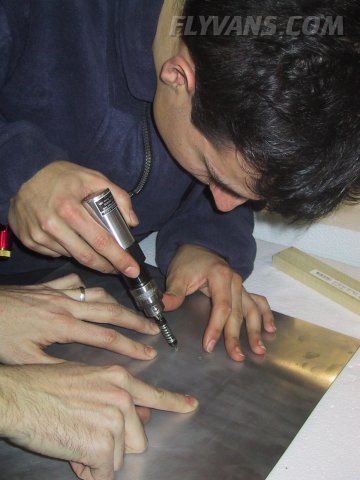
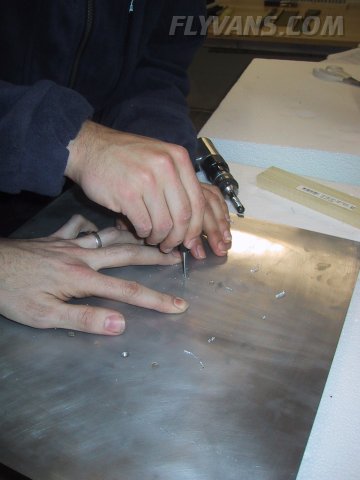
Again deburring... This time the skeleton is drilled to the skin.
Although we backriveted every rivet right on the first attempt, drilling out rivets had to be practised. Alex is drilling the manufactured head...
...and then breaking it off with a 3/32" pin punch.
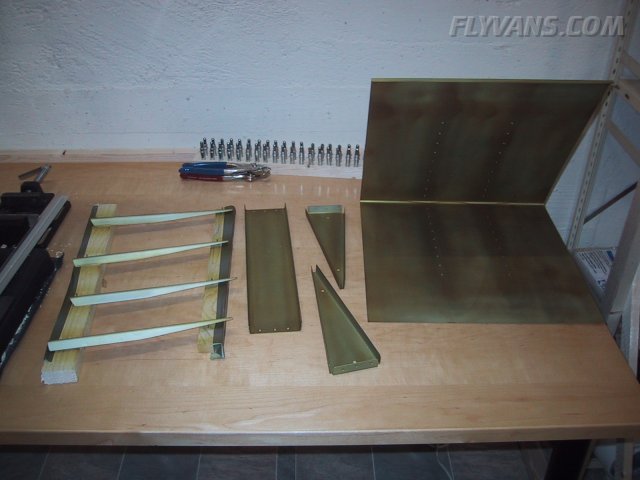
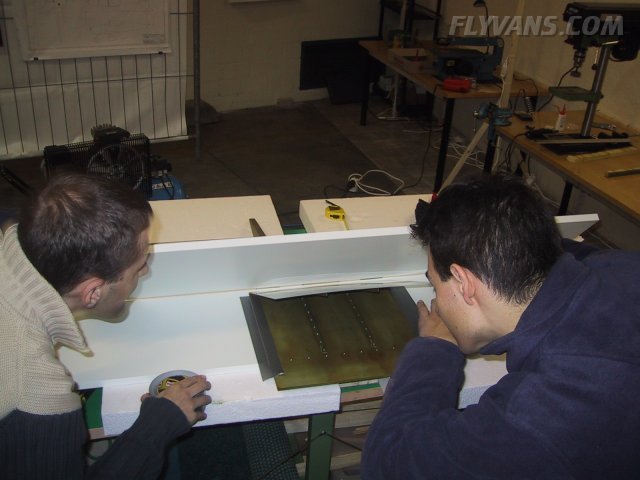
But here comes something new to us: the bending brake process. Fine tuning of the bend around the middle part of the trailing edge had to be done with the hand seamer as our bending brake (yet) has too few hinges to provide sufficient stability for a perfect bend.
|
|
|||||||||||||||||||||||||
|
||||||||||||||||||||||||||
|