|
|
|


|
| |||||||||||||||||||||||||
|
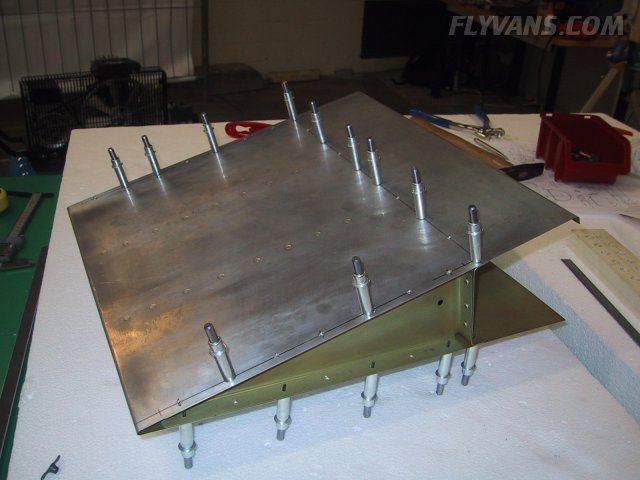
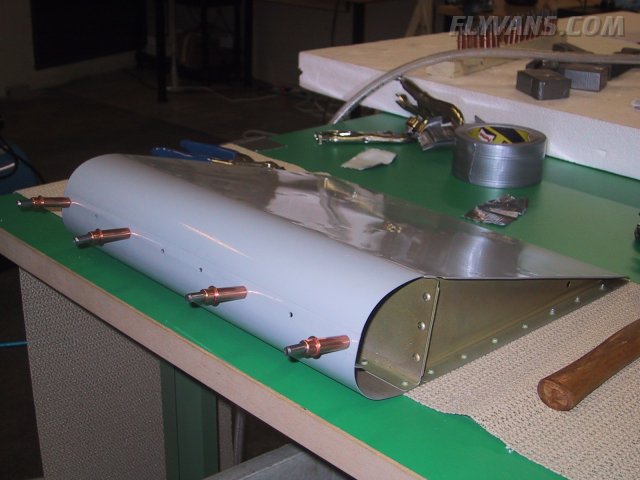
The last rivet lines are measured and drilled to size. Everything fits perfectly, even though the training kit is not of the van's "matched hole" type yet.
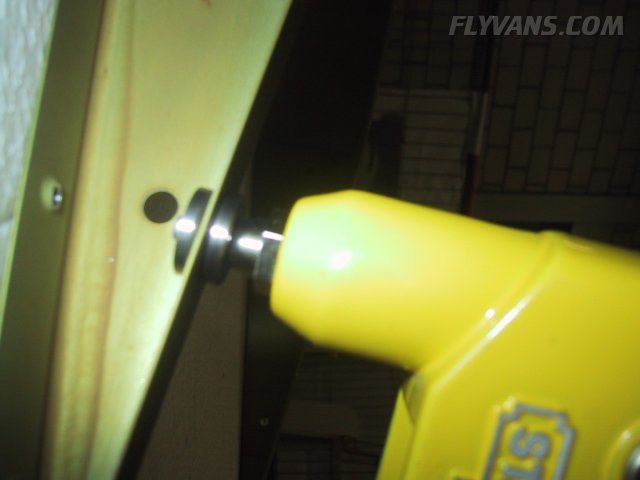
There are some very thight places near the trailing edge. In order to still be able to dimple there, we use so called "close quarter pop rivet dimple dies"... Basically it's a male and female dimple die in the form of thick washers, pulled together by a nail with the pop rivet puller.
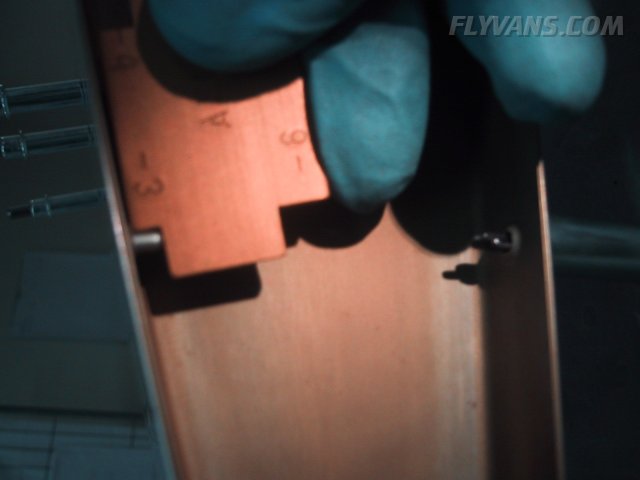
Removing clecos one by one and riveting each hole. Since we were both concentrated on riveting, we forgot to take pictures this time.
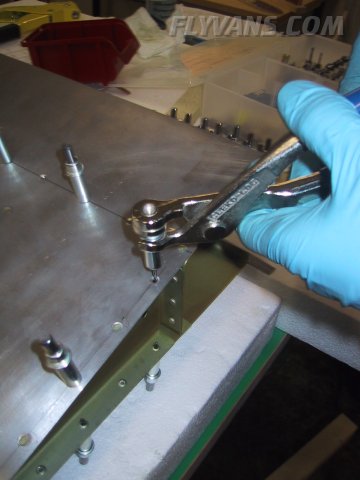
When riveting, it's very important to use the correct rivet length. If it's too short, the shop head won't fill the hole and pull the structure tightly together. If it's too long, there's too much material to form a shop head, the shop head is more prone to cracking due to cold working of the material or the shop head won't sit straight in the rivet hole. In this picture you can see some nice flush rivets - everyone remember in case you go to see the movie "the aviator" ;-) For the last rivet between the rib and the trailing edge, special flush head pop rivets are used. There's just no way to get in there with the squeezer or an average bucking bar.
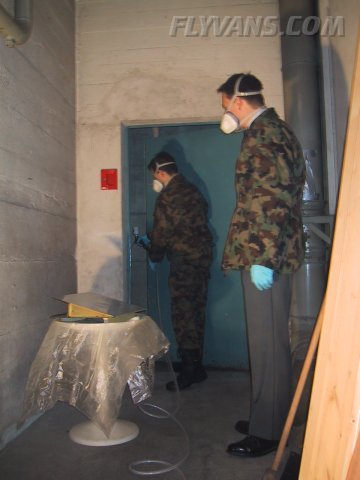
Another paint session by Alex and Dominik, this time priming the outer skin and then adding a car paint topcoat.
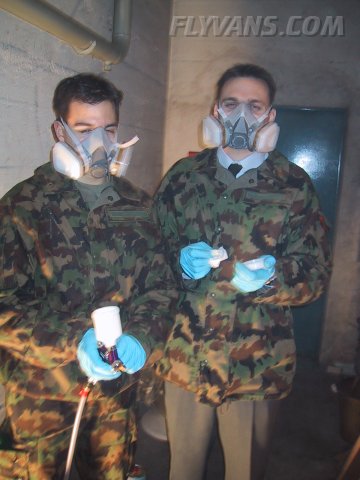
No comment ;-)
|
|
|||||||||||||||||||||||||
|
||||||||||||||||||||||||||
|