|
|
|


|
| |||||||||||||||||||||||||
|
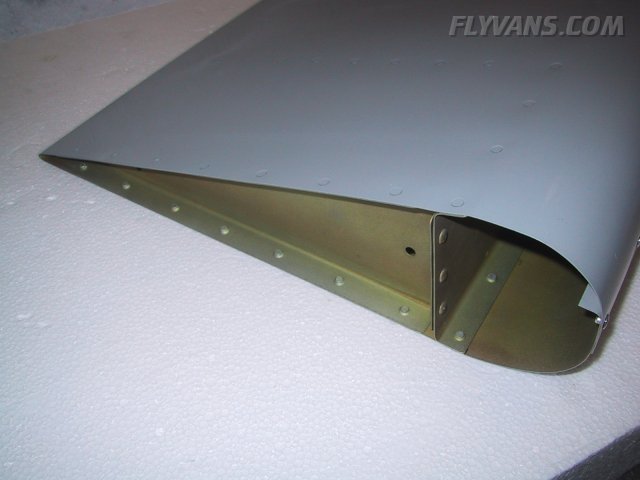
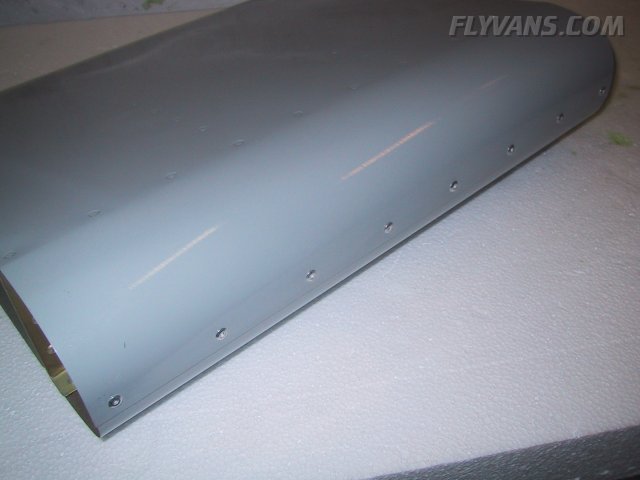
We're off to a very good start in the construction. The VS is quickly taking shape. But before we get to the "real" airplane, 2 more pictures of the finished training project with clearly visible rivets.
The last item on the training project was to rivet the rolled leading edge with pop rivets.
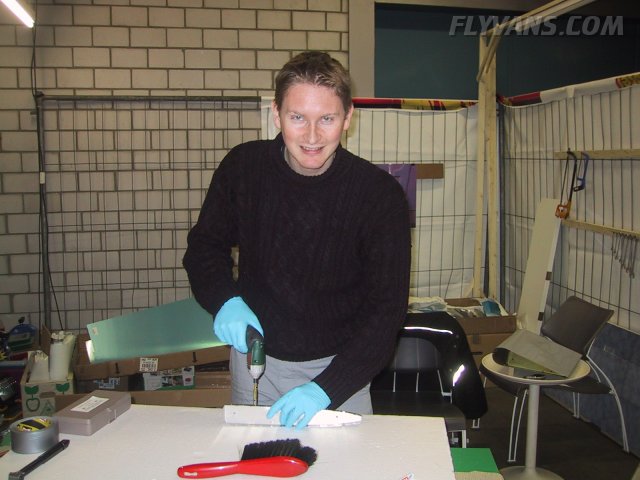
On the weekend Bernie had some very handy help from Rolf, a pilot courtesy of helvetic.com ;-)
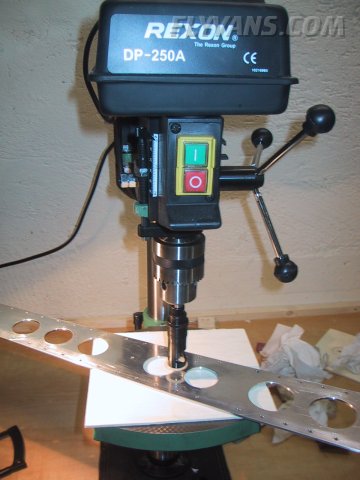
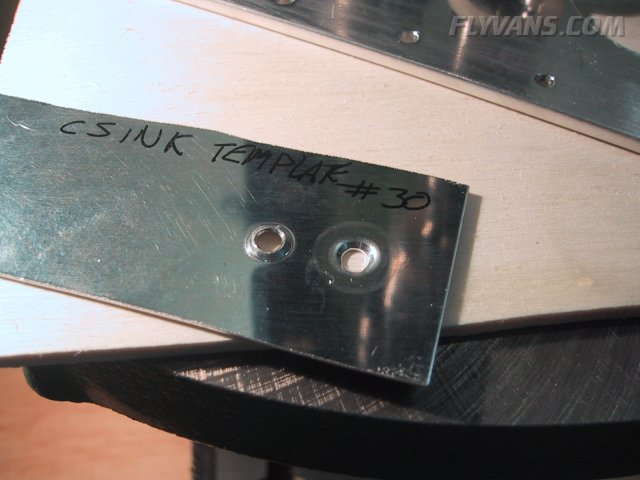
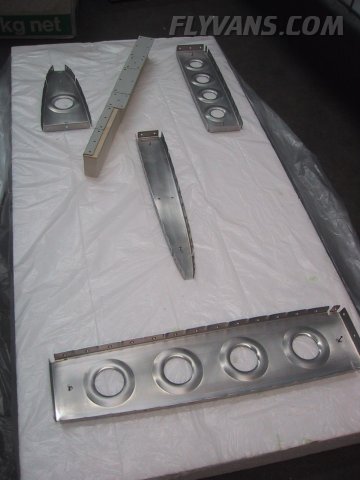
The spar doubler made of pretty thick aluminum had yet to be countersunk. The thing attached to the drill press is a "microstop" countersink tool. One can set the required depth of the countersink and then repeat it time and time again. In order to figure out how deep the countersink had to be, a quick template out of some scrap aluminum was made. Same thickness as the material on the spar, drilled then dimpled. In the end the dimple of the template had to fit smoothly into the countersink on the spar doubler.
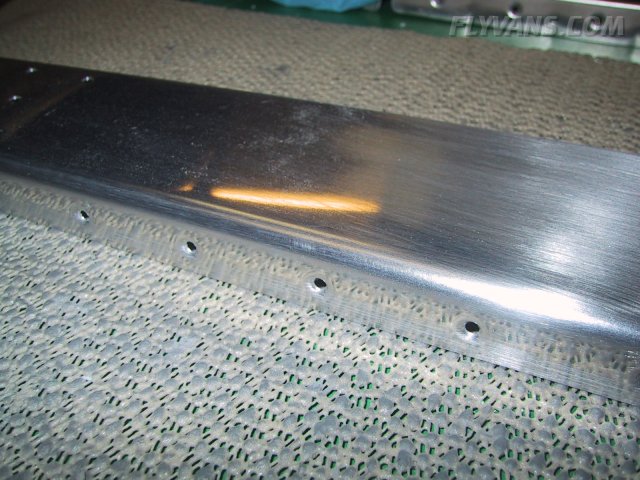
In the meantime all parts have been dimpled and then the time consuming and sweaty process of roughing the surfaces with scotch brite had to be applied. The aluminum has to be roughed and the top oxidated layer removed in order for the primer to be able to catch onto the surface. Before and after the scotch brite step, every part is thoroughly cleaned with paper towels and acetone.
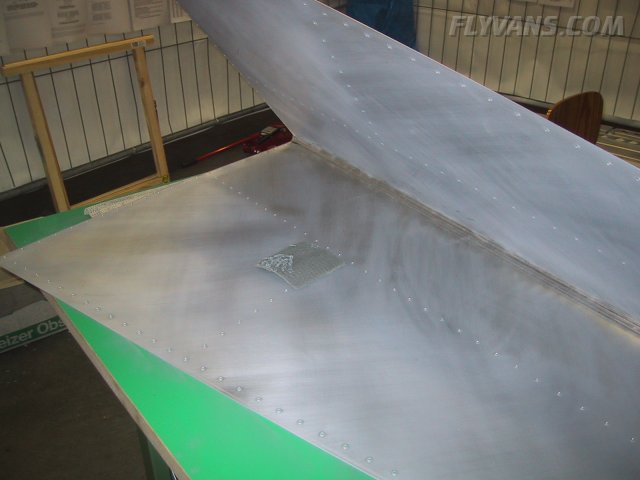
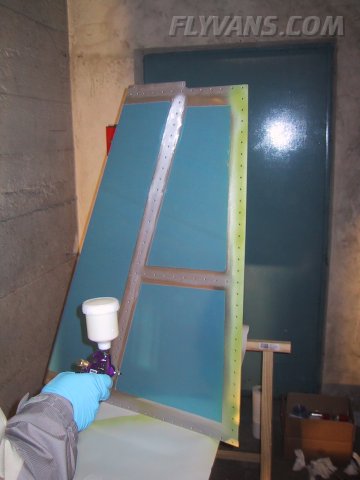
Rolf also helped dimpling the skin which was a great help. Here's the skin on the next day also being prepared for priming.
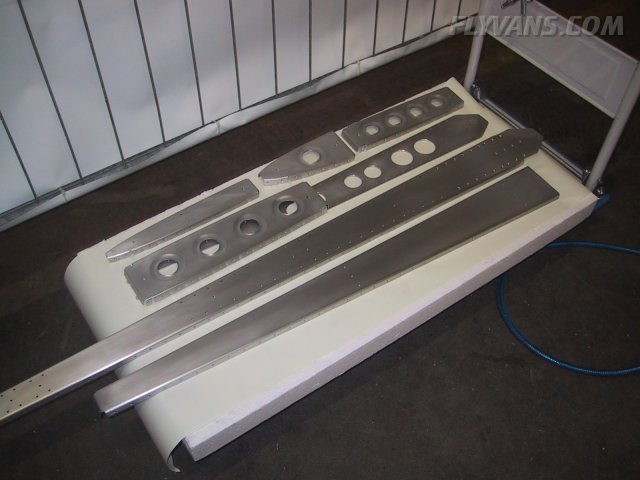
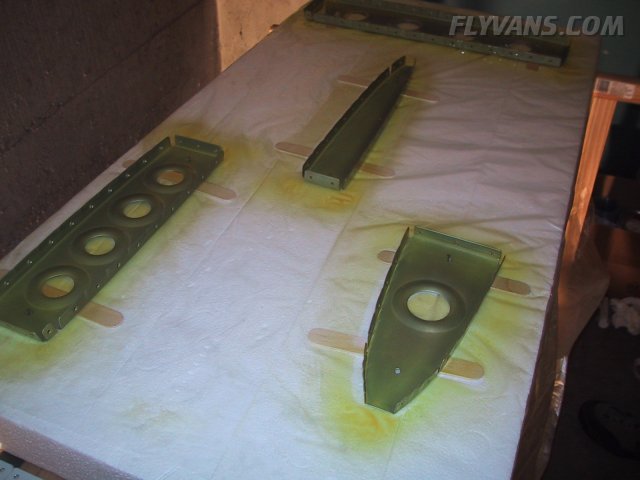
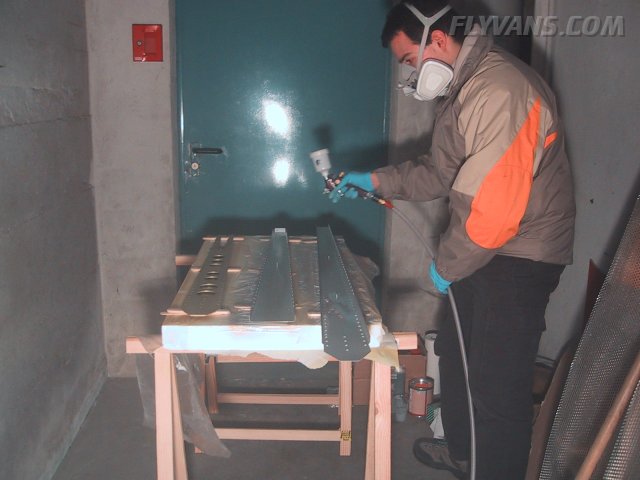
The ribs are fixed to the styrofoam block with small nails. Since the ribs are very lightweight, they could literally be blown away by the air pressure from the spray gun.
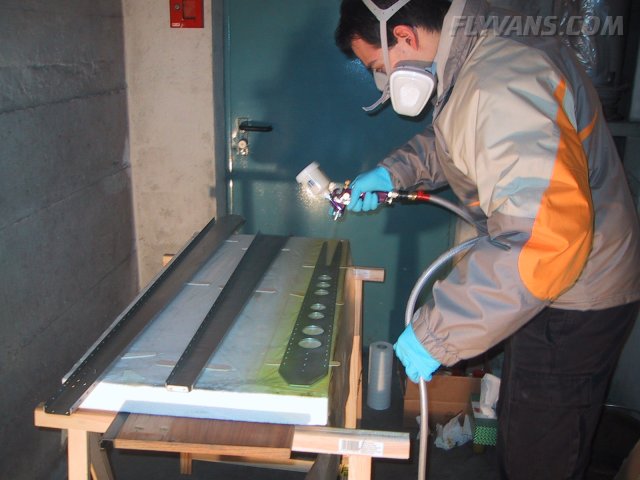
Starting the first side with the Sikkens Wash Primer CR layer.
First side of ribs completed. The advantage of this primer, besides not needing to alodine etc... is, that it dries very quickly. After 20mins the parts can be flipped and the backsides primed.
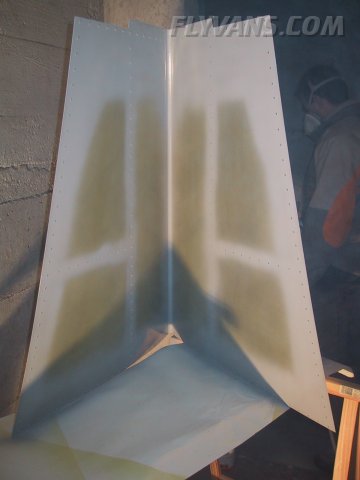
Although the skin will only be primed once the whole airplane is being painted, we elected to apply a thin primer coat on the outside along the rivet lines. Before final painting, this primer coat will have to be sanded off again, but at least the dimples/rivets receive some protection.
The primer really does 2 things.
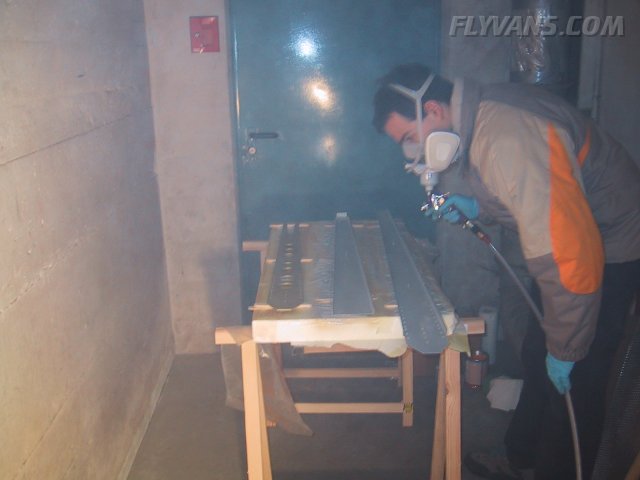
While the washprimer generates almost no overspray and "mist", it's a different story with the topcoat...
The skin on the inside is fully primed, topcoated along the rivet lines and where exposed to potentially adverse weather, although we plan to have the plane hangared through its operation.
|
|
|||||||||||||||||||||||||
|
||||||||||||||||||||||||||
|