|
|
|


|
| |||||||||||||||||||||||||
|
We already started some parts of the "real deal" kit during the construction of the training project, e.g. edge prepping the VS spar stiffener. But now that we're finished with the training project, the construction really took off...
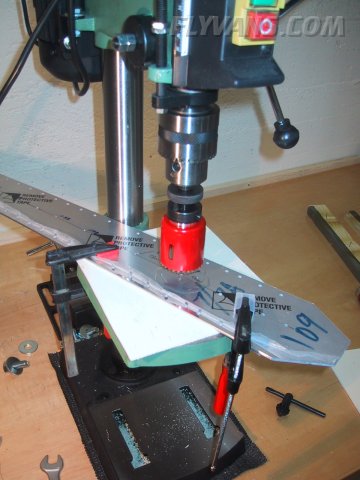
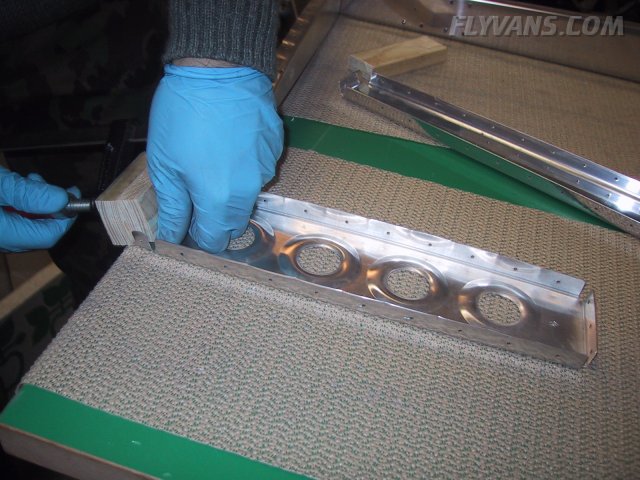
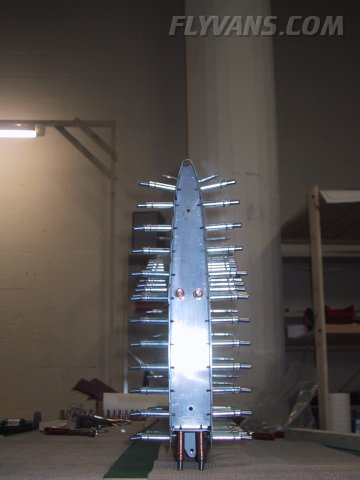
Drilling 5 lightening holes out of the VS spar stiffener on our drill press. 4hrs of work to save 80g of weight!
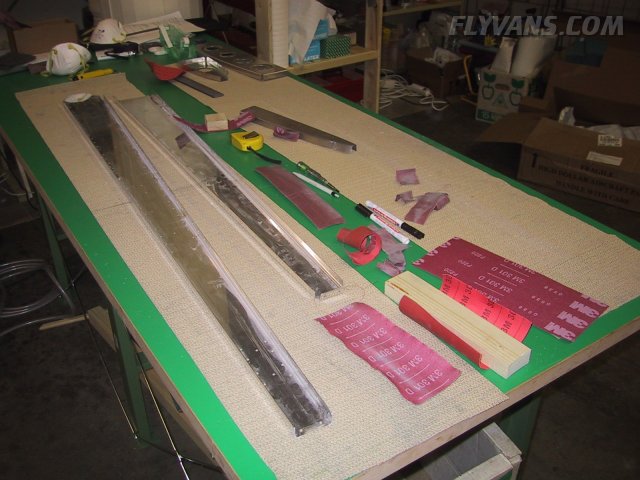
Edge prepping the ribs and spars for the VS frame. We did the spars in a three step process, first removing the burrs with a file, then sanding with 220 grit and then with 320 grit.
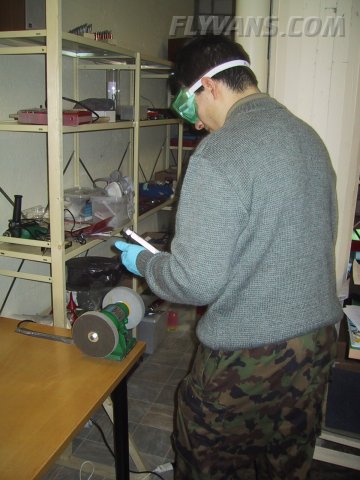
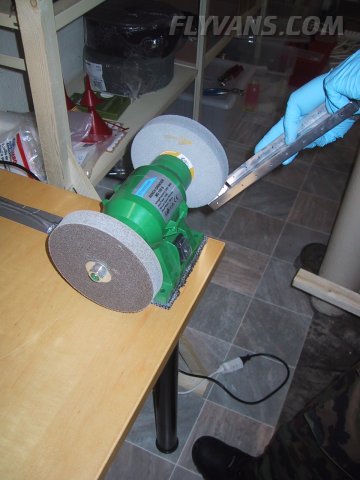
On the other hand the ribs were mostly done on the 3M deburring wheels on our bench grinder.
On the left is a rougher and on the right a scotch brite ultra fine wheel.
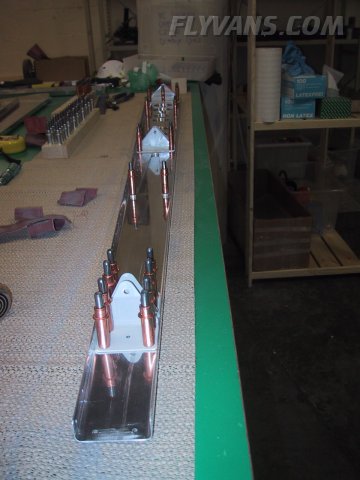
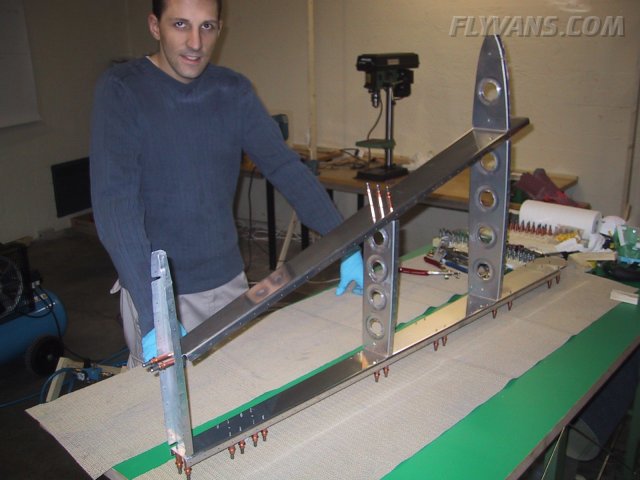
Clecoed the rear spar together. On these brackets, the rudder will eventually be mounted.
The lower part of the same spar. When riveting this are will have to be studied very closely as there are many different lenghts and head types of rivets involved.
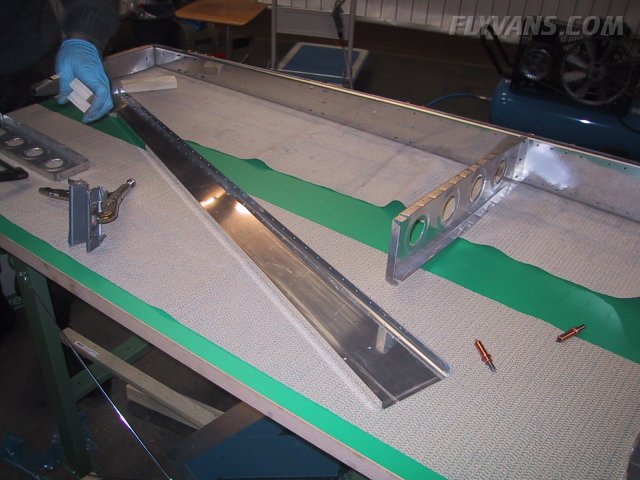
Starting to look like an airframe part...
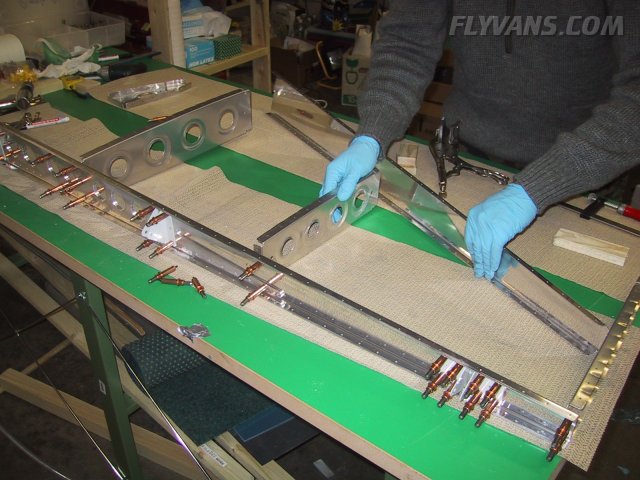
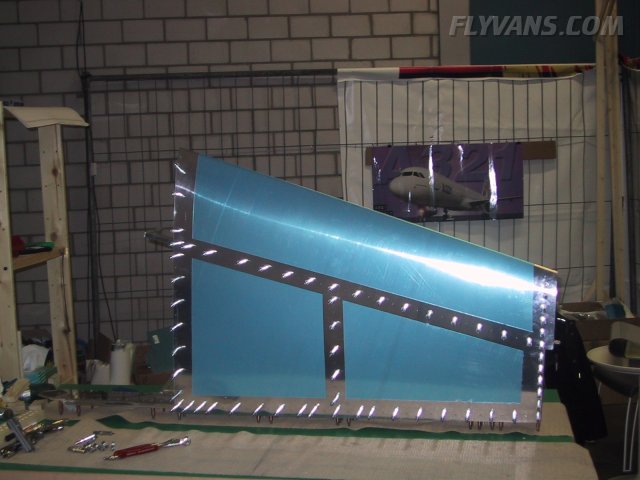
Everything fits and is then drilled to size with a #30 drill.
The frame, completely assembled and adjusted. And everything without a jig :-)
And finally the skin clecoed to the frame. The blue vinyl coating has been "cut" with a soldering iron gently pulled over the plastic. This technique allows for most of the skin to remain protected until painting at the same time avoiding scratches from cutting the vinyl.
And the same thing from the top side. Amazing how everything fit in 3D! The Van's kit is just awesome. Again no pictures, but we drilled every hole to size #40 on the same night. Next step ist taking everything apart again, deburring and then priming.
|
|
|||||||||||||||||||||||||
|
||||||||||||||||||||||||||
|