|
|
|


|
| |||||||||||||||||||||||||
|
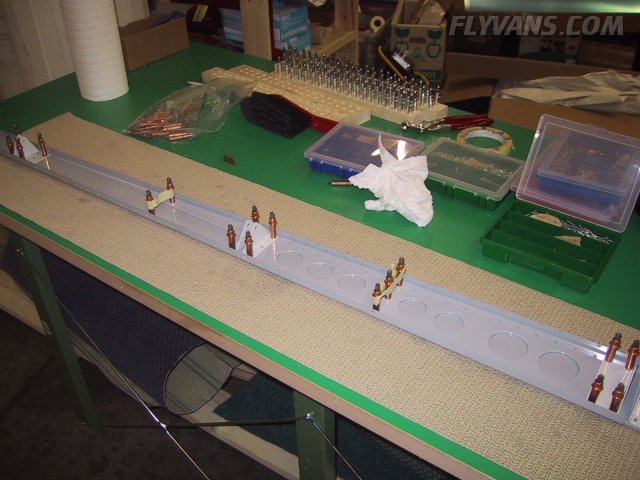
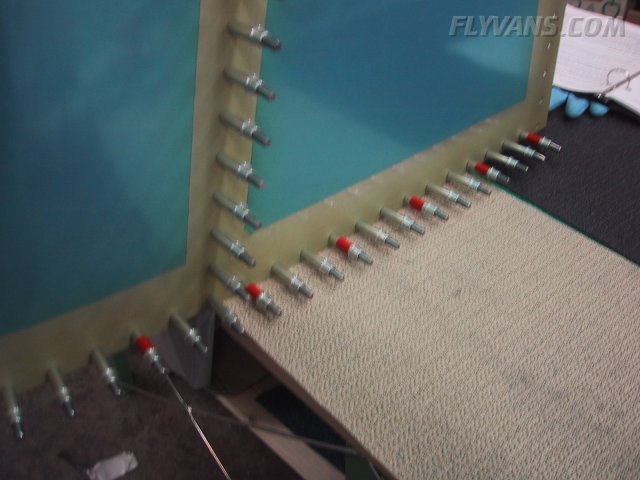
While we started on the horizontal stabilizer construction, we let the paint dry and put the vertical stabilizer parts aside. Now we started riveting the VS up to the stage for final closure inspection by our technical counselor Andi Portner. The EAS (equivalent to the EAA in Switzerland) assigns a tech counselor to every project, usually a builder who has already successfully completed and flown a project, which then takes responsibility for intermediate inspections and supports the builders with valuable advice. In the swiss experimental process, every time before closing an assembly which will no longer be able to be inspected from the inside, the builder has to have his parts inspected. Which means for the moment we're only going to rivet up to the point where the rear spar has to be attached. In that way, everything is still accessible. Here we put some "kapton" tape on our rivet sets to avoid getting marks and smilies on the parts.
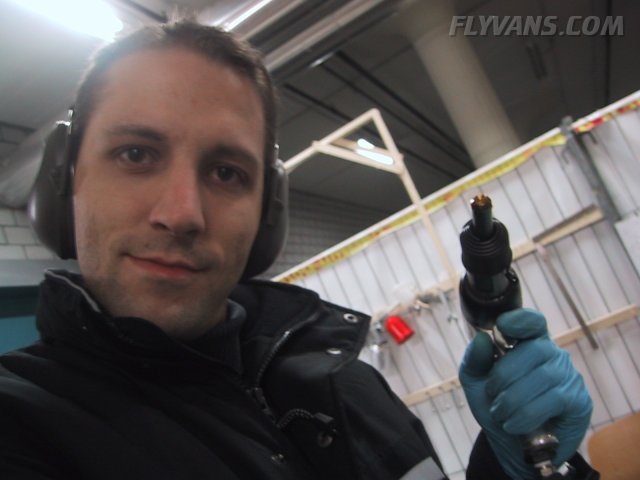
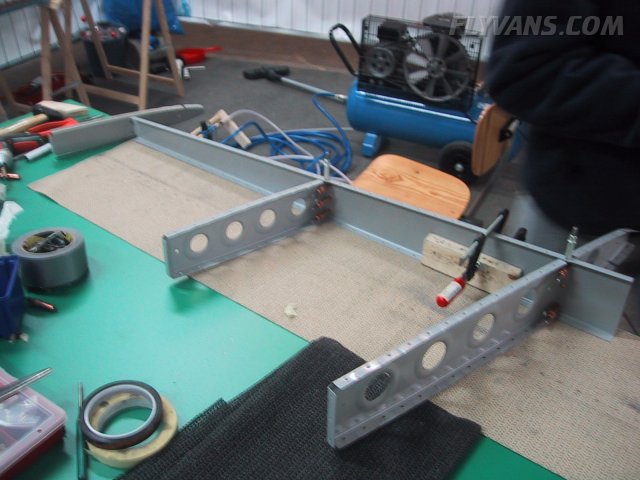
The rear spar is mostly held together by AN4 size rivets which take quite some time to set, even with our pneumatic squeezer. Since they are pretty tough, it took us 3 passes on each rivet with squeezer to get to final size. We highly recommend getting the squeezer, it's not a luxury and well worth its price!
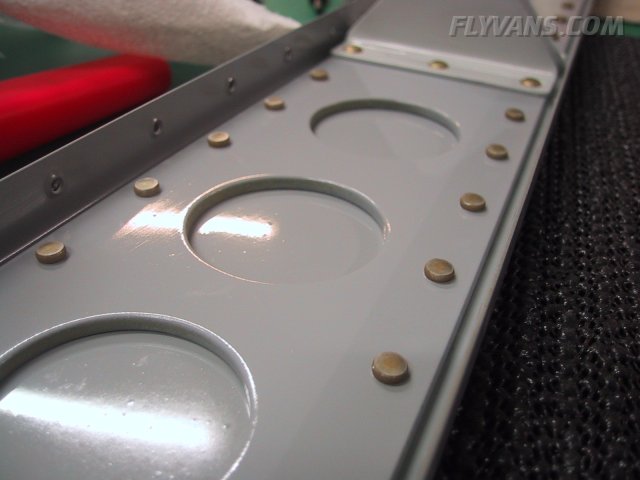
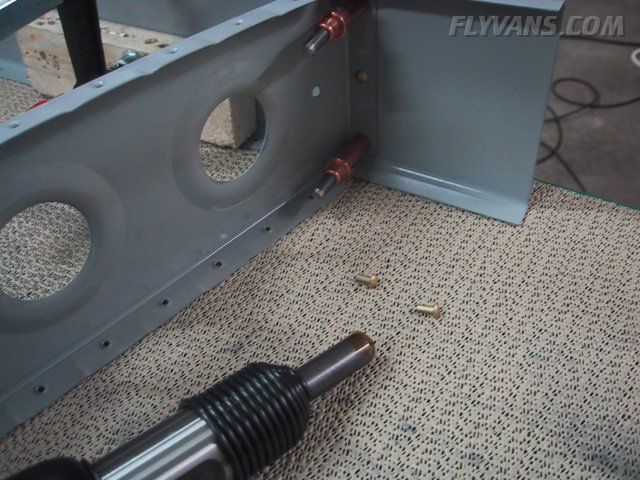
The clecos with the masking tape cover those holes which have to be riveted sometime later in construction. Not that we accidentally rivet every hole. The bottom part of the rear spar fore side are made with flush AN426-4 rivets. That's where the fuselage will meet the VS in the end... The 2 empty holes we were not able to set with the squeezer because of the angle brackets on the aft side and we bucked them later.
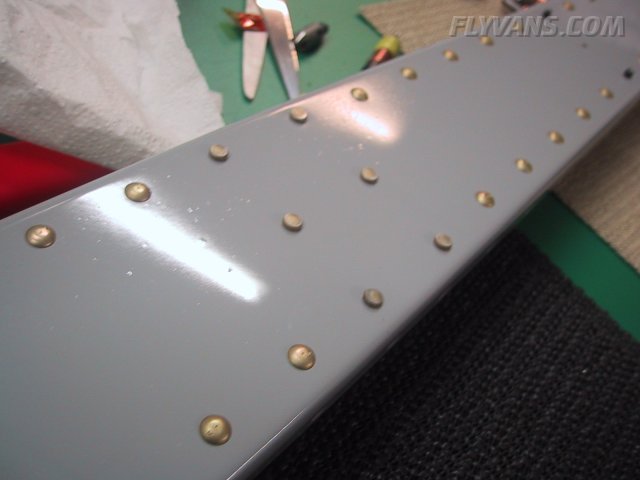
The fore side of the rear spar. While we decided to have the shop heads on most rivets visible on the outside (aft) we decided to have the rudder brackets with the manufactured head visible. It doesn't really matter which way you set rivets, except with flush rivets of course ;-)
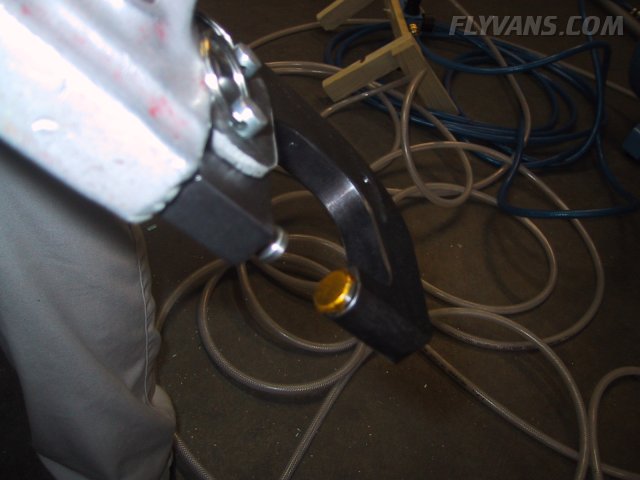
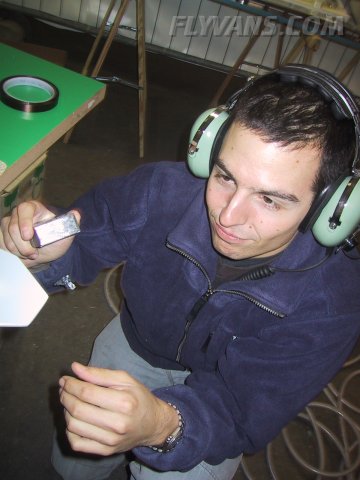
As there were several rivets we couldn't reach with the squeezer, we also had to do some bucking. Alex getting ready with the bucking bar...
We were kind of anxious that the primer / car paint layer could add thickness and therefore some holes might not align any more... It turns out to be no problem at all. Only some paint that ran into the holes had to be removed with a drillbit.
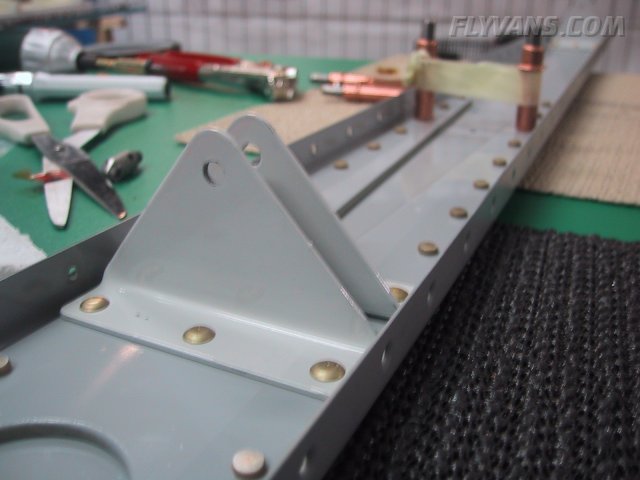
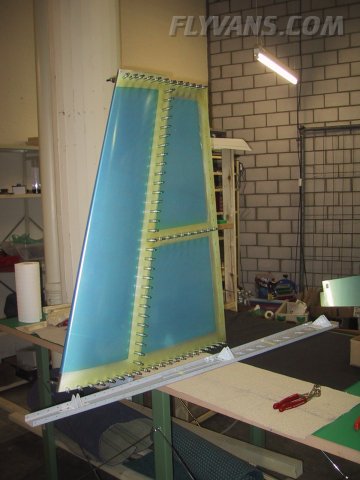
The complete VS frame being assembled.
The spar completed and the skin clecoed to the completed frame. Tomorrow we both have a day off, so we'll rivet the skin to the frame.
Everything is ready for riveting tomorrow, so we had to mark again some holes that will NOT yet have to be riveted. There's 6 holes on each side where the empennage fairing will attach later on... Spending time on studying plans and instructions is time well spent. Planning ahead is the best way to avoid mistakes, although we're sure there will be several eventually ;-(
|
|
|||||||||||||||||||||||||
|
||||||||||||||||||||||||||
|