|
|
|


|
| |||||||||||||||||||||||||
|
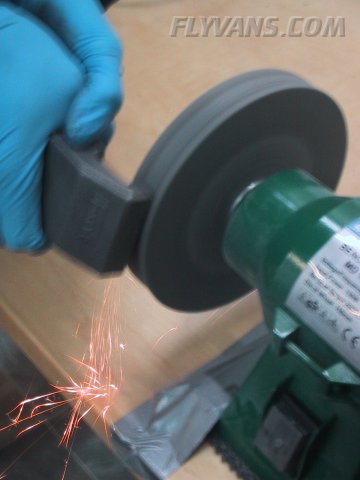
Since our Avery bucking bars all only had their "wide" surfaces polished, we had to prepare the bucking bar first in order to get into the rather narrow vertical stabilizer. Since the bucking bar's made of steel, the scotch brite wheel produced nice sparks...
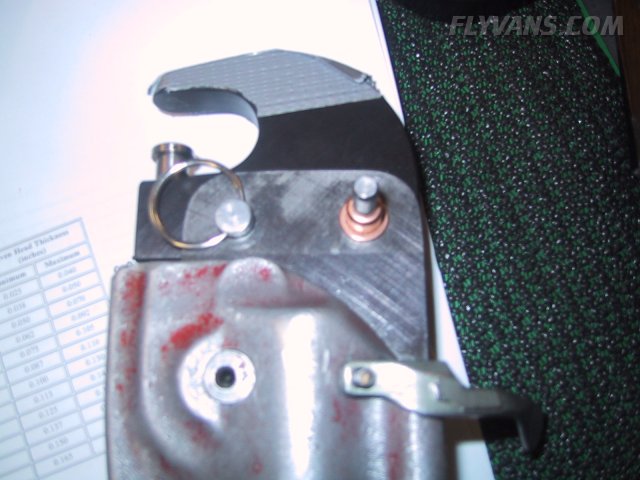
We ran into a problem with our pneumatic squeezer. Although we use Avery yokes, adjustable set holder and quick change pins, the squeezer body is a remanufactured CP214 from the yardstore.com.
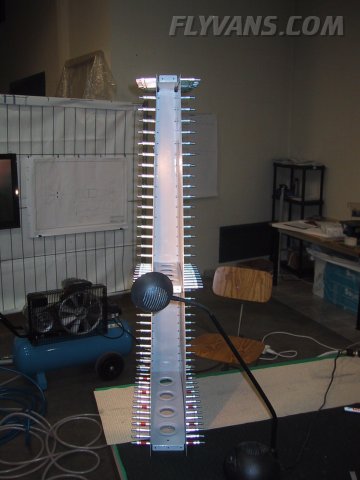
To get into the tight spots, mainly the leading edge of the upmost rib, we had to buck the rivets. the no hole yoke was too short while the longeron yoke is too tall. Even a standard yoke would not have done it. So we needed a small bucking bar for the tight spot. For that we used the 3" yoke that came with the yardstore.com pneumatic squeezer. That yoke is essentially useless since it doesn't fit the set holder or even the squeezer very well. So we decided to use that one for something else ;-) It may now sound like we would be unhappy about the yardstore.com squeezer purchase, but that is definitely not the case. It works very well, was significantly cheaper than anything else and already has saved us a lot of sweat! Since we were both engaged with bucking and riveting, we got carried away and forgot to take pictures while riveting... Here's the completed VS with the rear spar clecoed only until the EAS inspection.
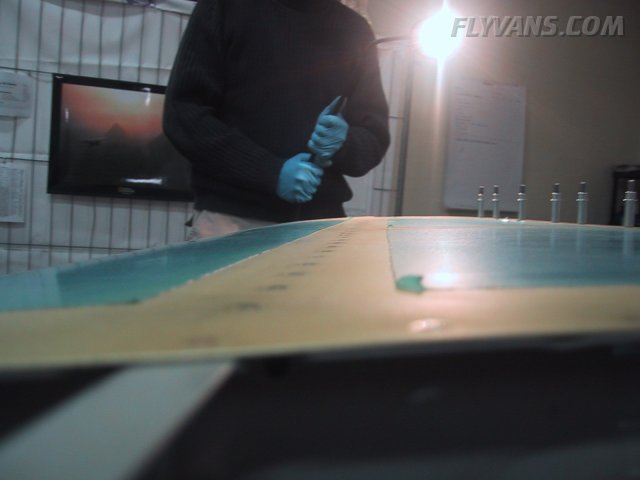
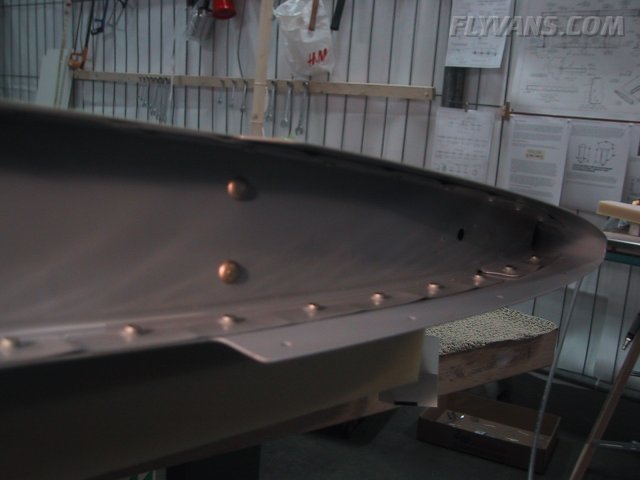
Flush rivets... Excellent results. The primer and car paint layer did not have any adverse effect on fit or the dimples. Hard to capture that in a picture. Howard Hughes would be proud ;-)
The upmost rib. We managed to set solid rivets all the way to the leading edge :-)
|
|
|||||||||||||||||||||||||
|
||||||||||||||||||||||||||
|