|
|
|


|
| |||||||||||||||||||||||||
|
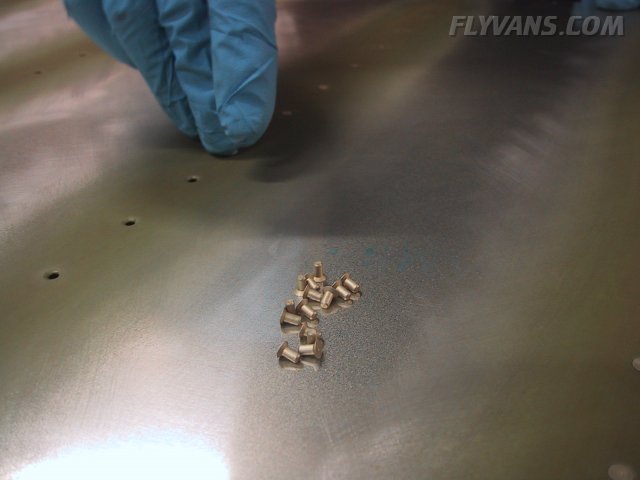
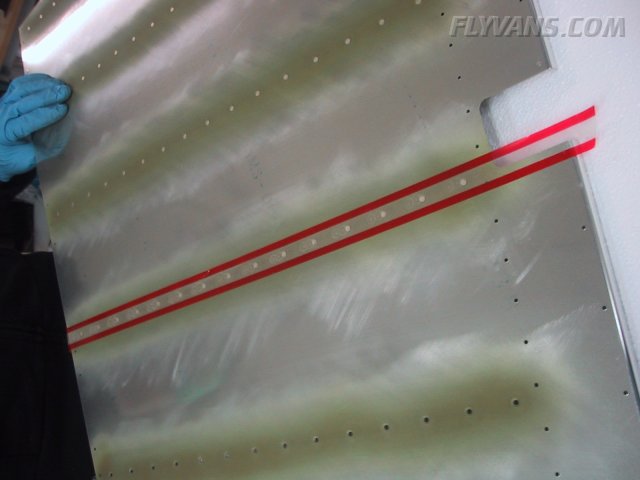
The back riveting process starts with putting a line of rivets in the hole... ...then the flush heads (manufactured heads) are taped to the skin...
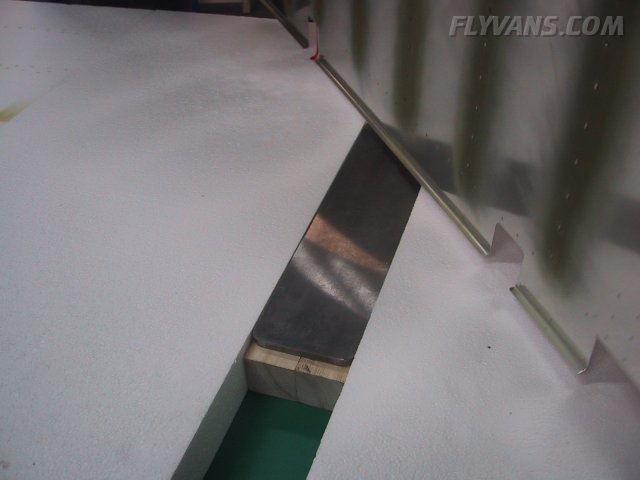
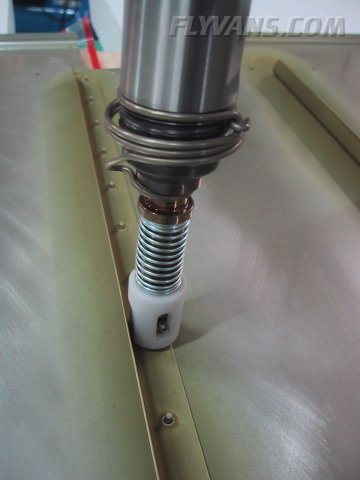
...the skin is then turned over. We mounted the backriveting plate on some wood blocks, so that it is level with the styrofoam blocks that support the overlapping skin...
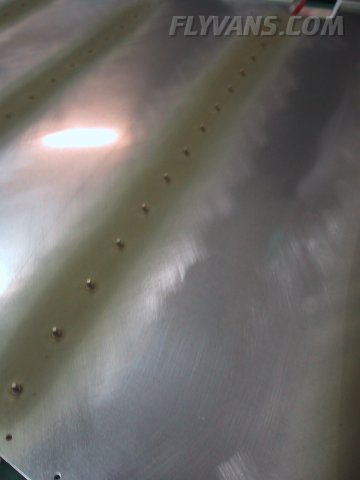
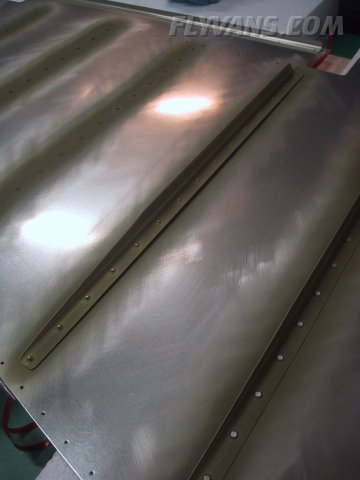
...the rivets in place, now only the other part is missing! ...the stiffener will fit perfectly, since it had been match-drilled before... If not, something must be wrong *G*
...Anyway, ours fit at the first attempt :-)
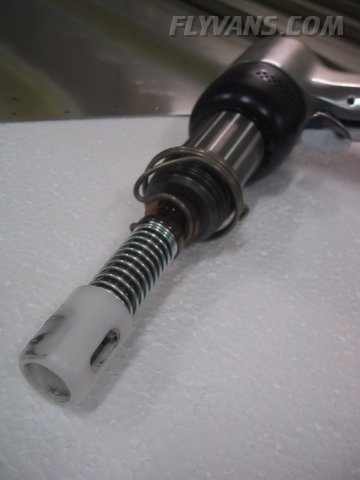
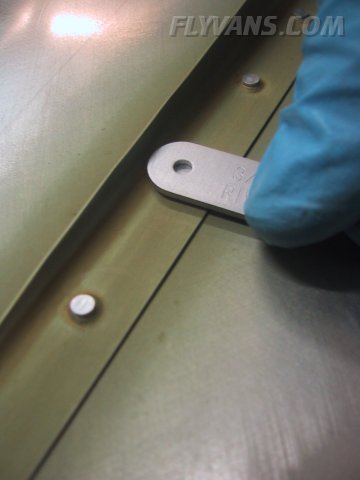
To get into the tight spots, we had to grind a bit off of one side of the backrivet set.
Rivets then have to be checked for their correct size and condition. If not properly set, shop heads could be too flat, not enough in diameter, cracked or damaged due to cold working, etc...
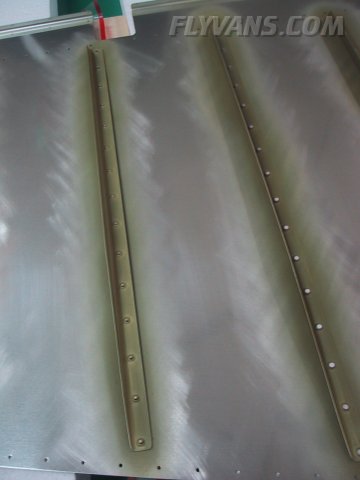
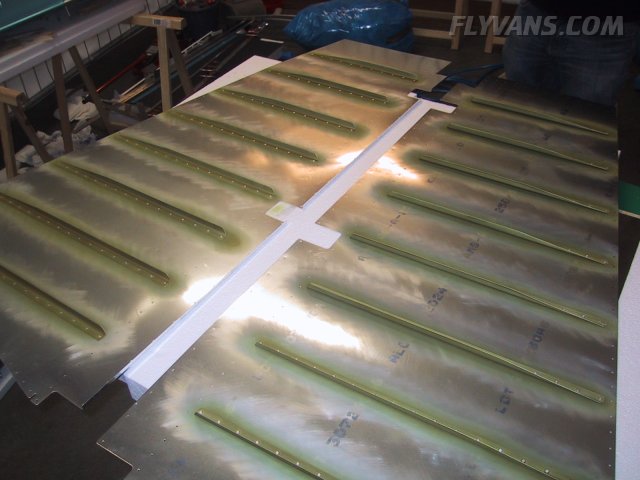
All stiffeners riveted to the skins.
|
|
|||||||||||||||||||||||||
|
||||||||||||||||||||||||||
|