|
|
|


|
| |||||||||||||||||||||||||
|
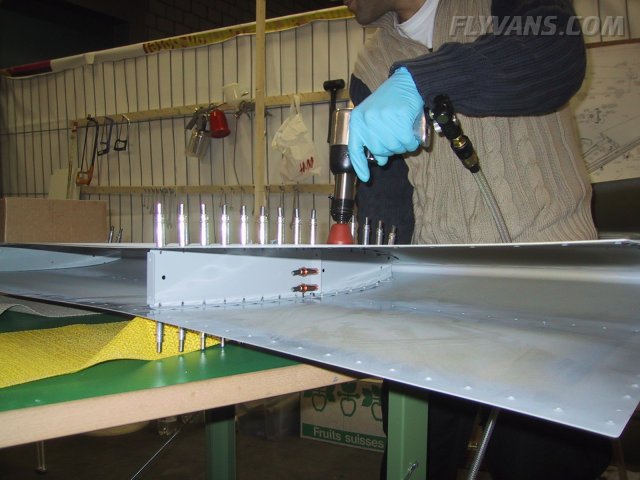
We forgot to take pictures during the assembly of the HS understructure (probably because we were so concentrated to not screw up ;-) On the following pic you can see the HS-707 front rib being riveted to the right bottom side. Quite a tight place for Alex to buck...
...also visibility is quite limited...
...balancing the bucking bar on the fingertips :-) Worked out very nice though :-)
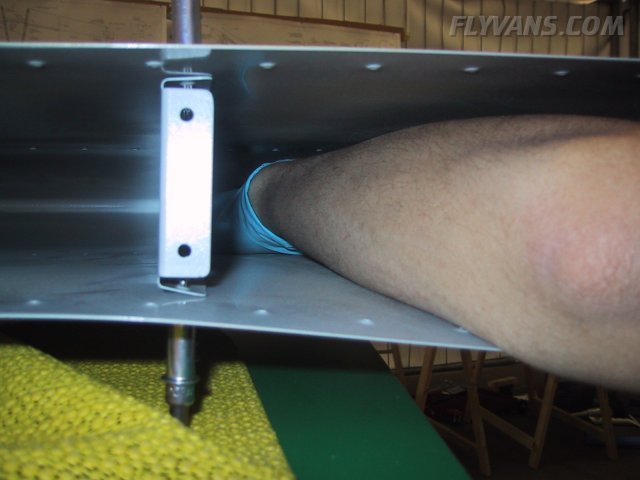
Same thing for the right side, first clecoing the rib to the bottom.
Quite a tight spot plus the skin is not formed yet. Turnaround to mount the top side...
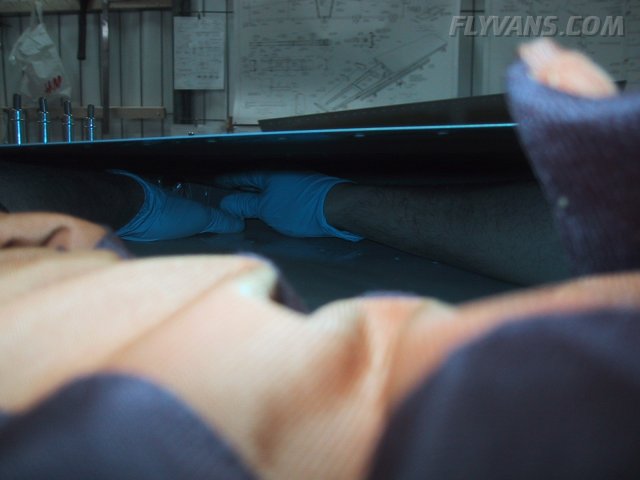
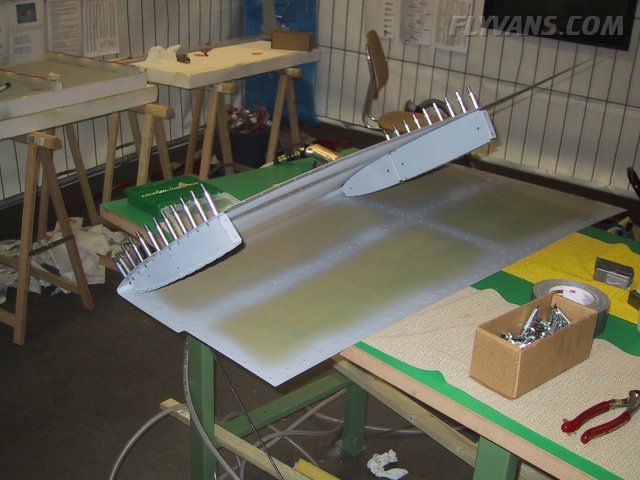
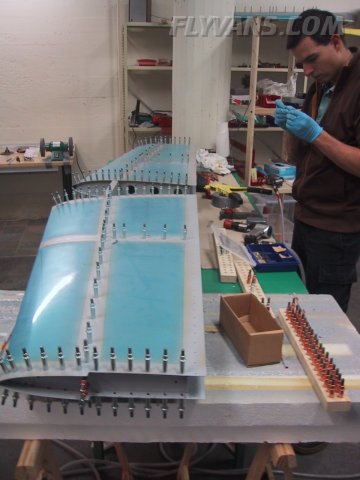
Once both HS-707 ribs were installed, the understructure was put in place. Of all the empennage kit so far, getting the front spar assembly to that point was the hardest work.
Starting to look like a real airplane part *smile*
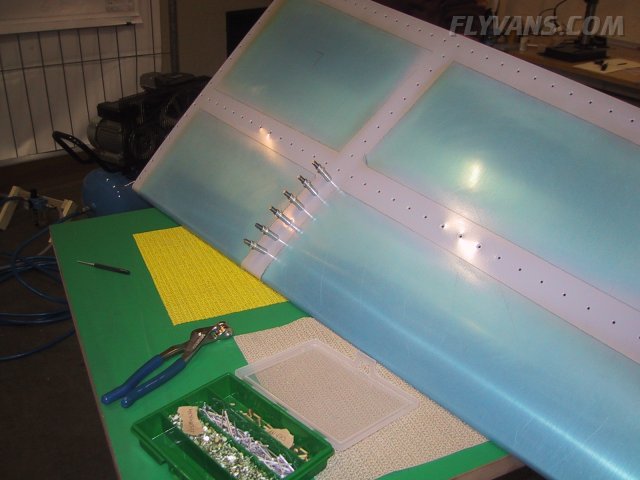
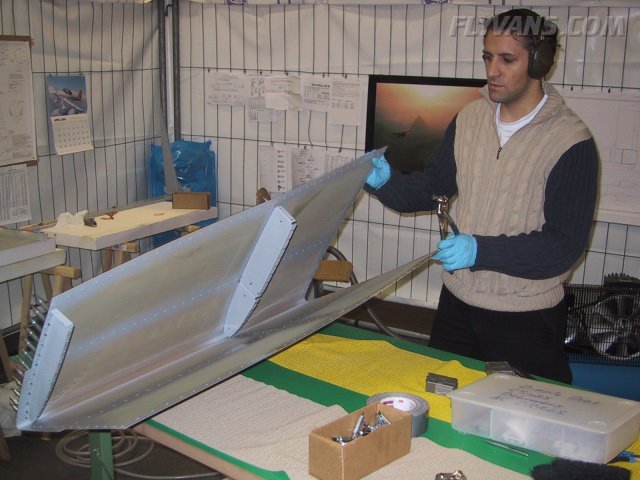
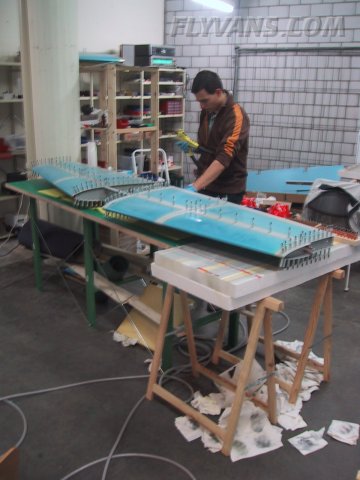
Final task for the night was blind riveting the HS-707 to the HS-702. Alex got quite a workout ;-)
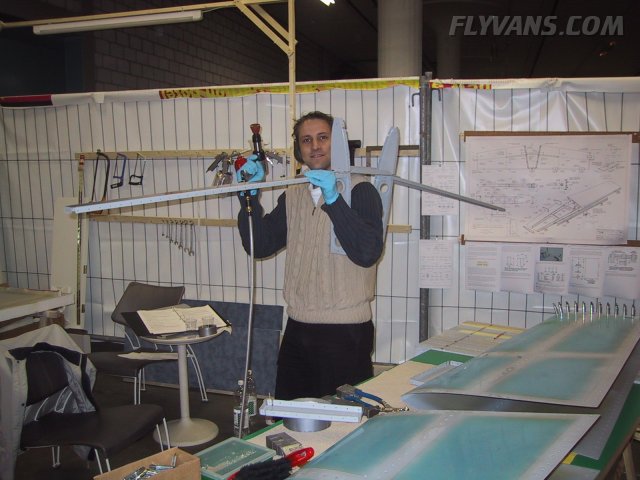
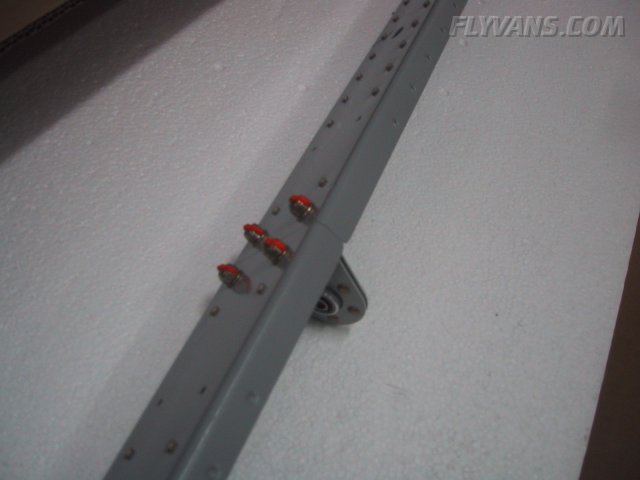
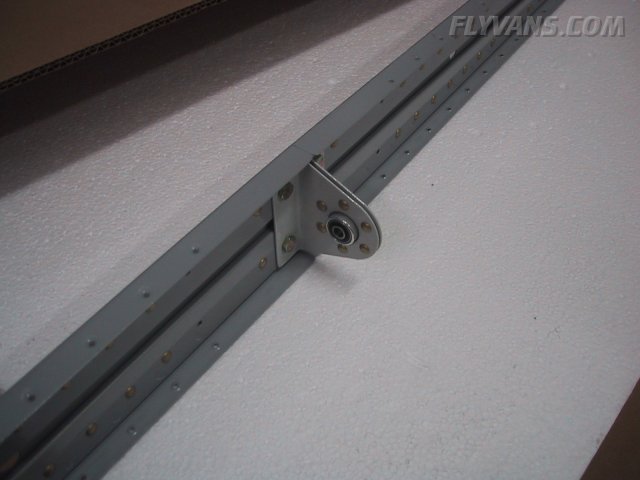
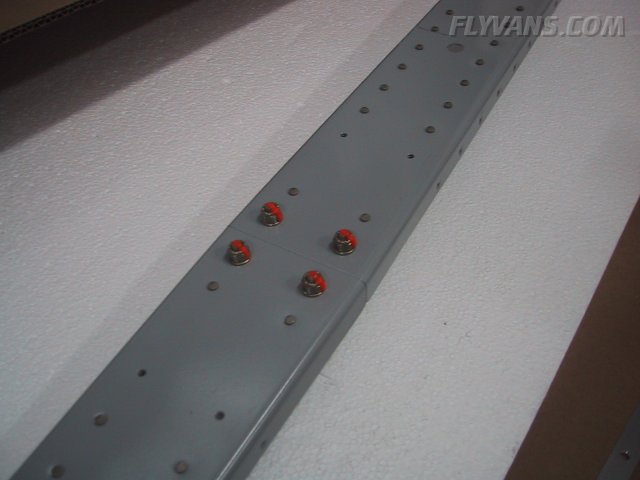
Also we added the last part to the HS rear spar assembly.
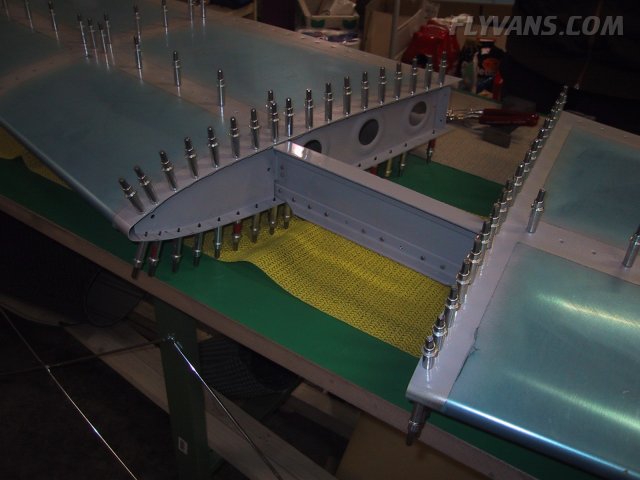
The center hinge bracket attaches with 4 bolts which have to be torqued to approx. (a surprisingly low) 20-25 lbs-in.
After that is done, the bolts are marked with "torque seal". In case the nuts would move, one could easily notice during an inspection since the torque seal would be broken.
|
|
|||||||||||||||||||||||||
|
||||||||||||||||||||||||||
|