|
|
|


|
| |||||||||||||||||||||||||
|
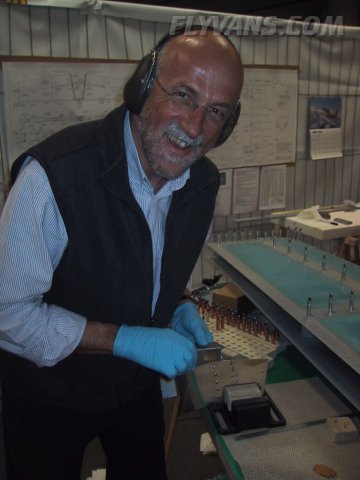
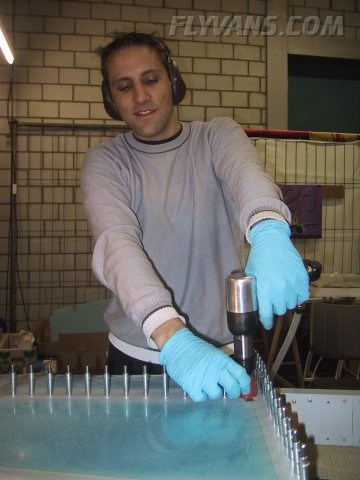
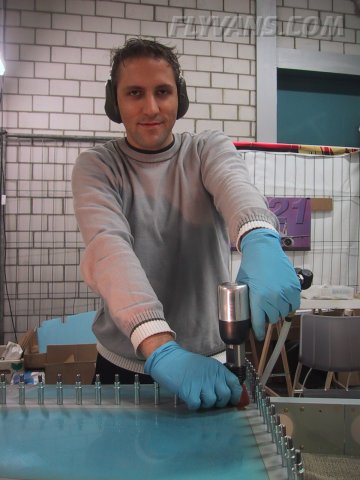
This weekend was excellent! Bernie's dad Markus came on visit to see the project for the first time and to help with whatever was needed... Since we were at the point of riveting the HS and Markus had never bucked nor riveted, we decided to start with some scrap sheet and do some sample rivets before hitting the real thing ;-) This turned out to be quite a good example of some basic techniques and riveting standards.
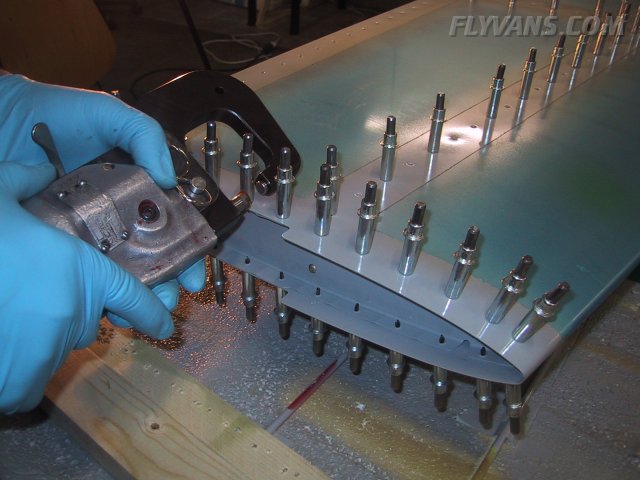
Markus enjoyed it obviously, and - who knows - he is probably proudly presenting his work to anyone interested as we speak ;-) Way to go! Why Van's instructions call for riveting the HS-706 to HS-702 only after the skin is clecoed to the front spar/the first rib is riveted is a mystery to us... There's absolutely no reason to not rivet HS-706 to HS-702 before clecoing the frontspar assembly to the skin. Would have been much easier! We went per instructions and ended up having to remove the clecoes and sliding the yoke in between the skin and the rib (the picture below should give you a rough idea, just imagine the skin being bent on top of the squeezer.) Lots of work and scratches for 4 rivets only! But then again who cares in a hundred years?! *G*
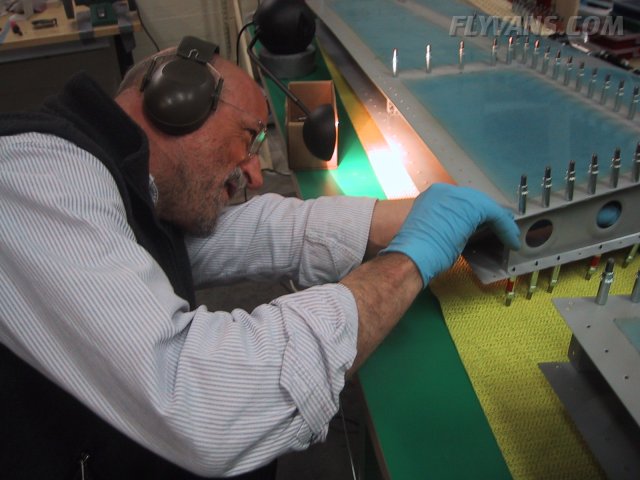
The "cross" rivet lines were riveted on saturday, only HS-706 HS-405 HS-405 to HS-601PP to go on sunday...
Bucking in tight places is definitely harder than on a plain sheet of aluminum... Results turned out excellent, though :-) I think we have a natural at work ;-)
At the very beginning of the project when we started riveting, we stuck to Dan Checkoway's excellent riveting guide and pressures. As we have the Avery 2x Rivet Gun (Dan's values are for a 3x) we ended up with a little higher pressures. For AN3 rivets we have settled on 38 +-4 psi with good results. AN4's take a bit more. 60-70psi for AN4's seem to work alright. That was it for Saturday.
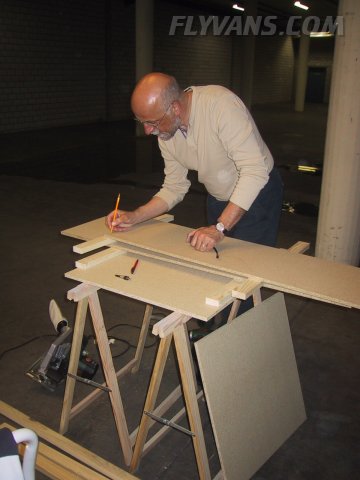
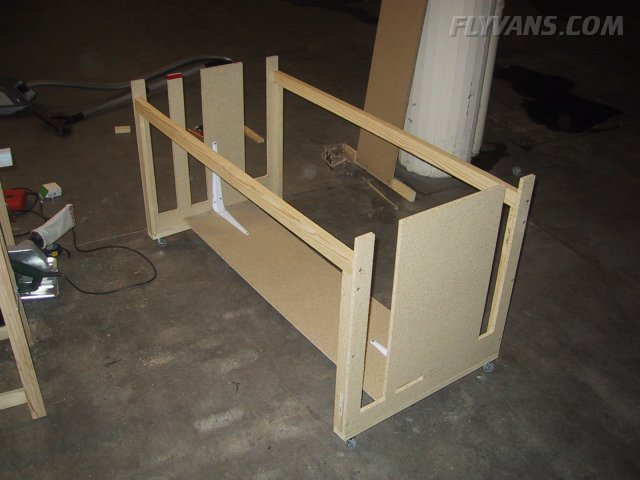
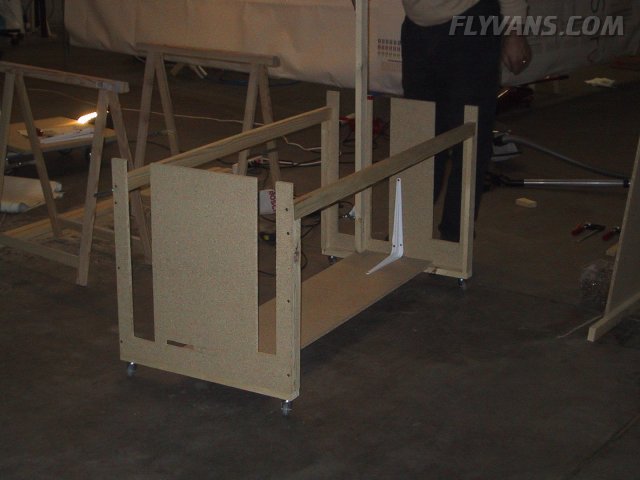
Basic dimensions are: 1250mm between sidewalls. 600mm height. 2 carts, width 600mm each. (according to Dominik a width of 820mm should do for the whole emp kit [HS, VS, 2 Elevators, Rudder]) Thickness is 13mm, reinforced with some "2by4" 's (actually 24mm x 48mm's and some even smaller ones.)
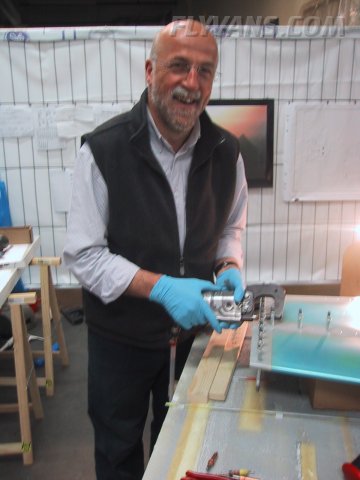
Markus brought along his nice woodsaw so cutting straight lines was a piece of cake :-)
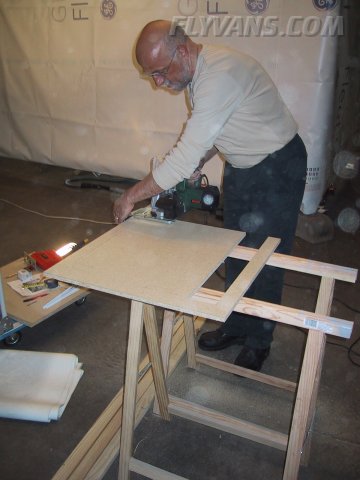
Strenghtening the weak spots by attaching a 2by4 to the sidewall.
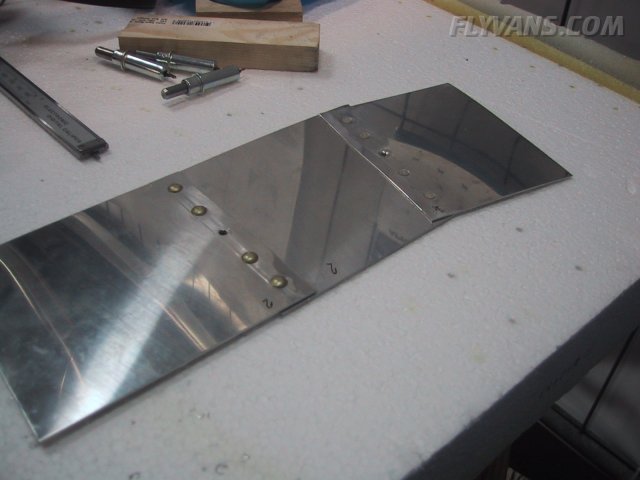
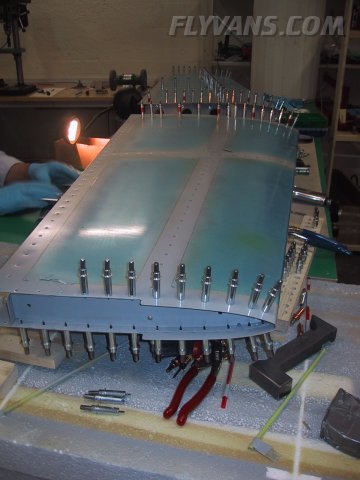
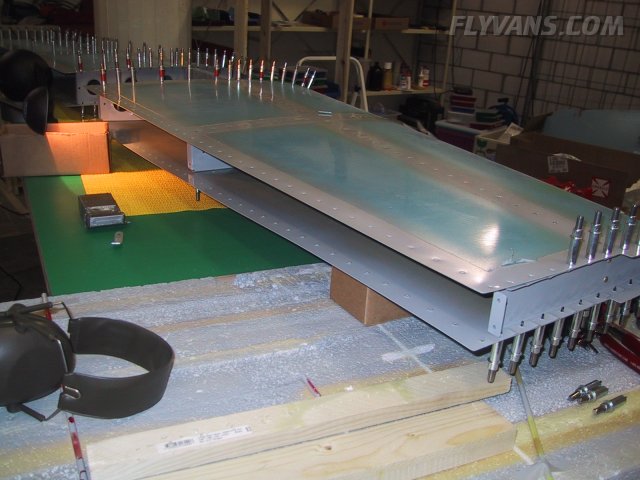
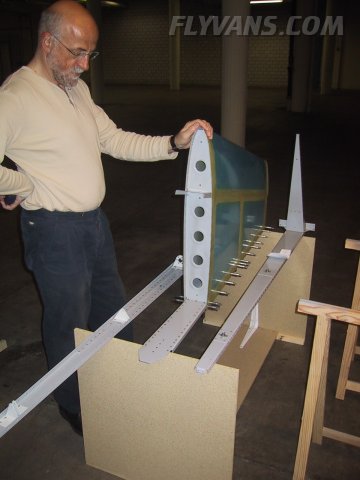
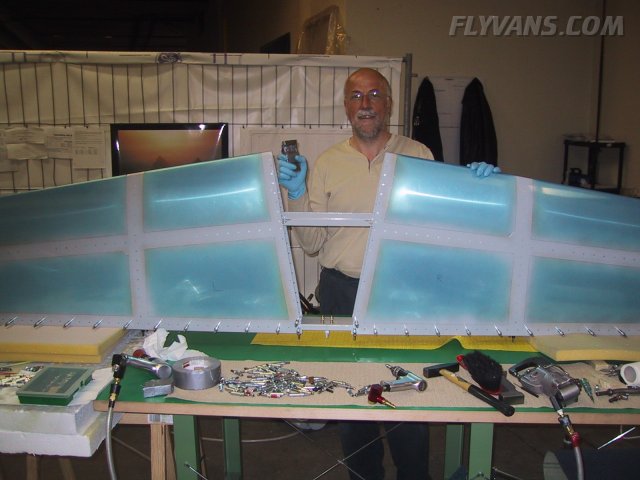
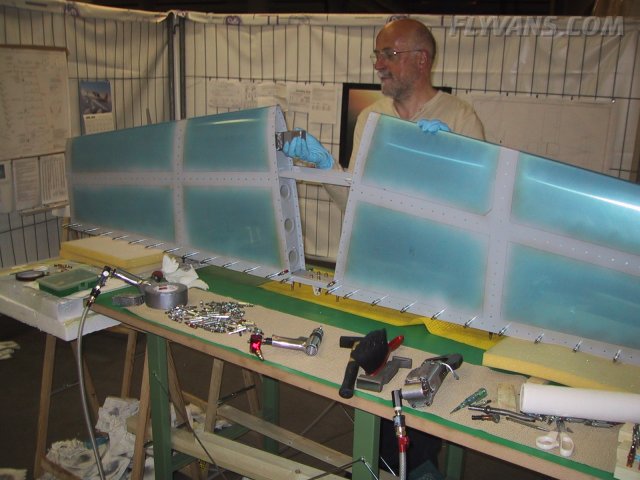
Then it was back to finish the HS! No pics from riveting, here it is already completed and ready for inspection... Of course, the rear spar is clecoed only, this again to allow inspection by the EAS build advisor. Installing these 2 rivet lines will be a matter of 30mins, so we consider the HS completed (less fairings).
Definitely starting to look like an airplane!
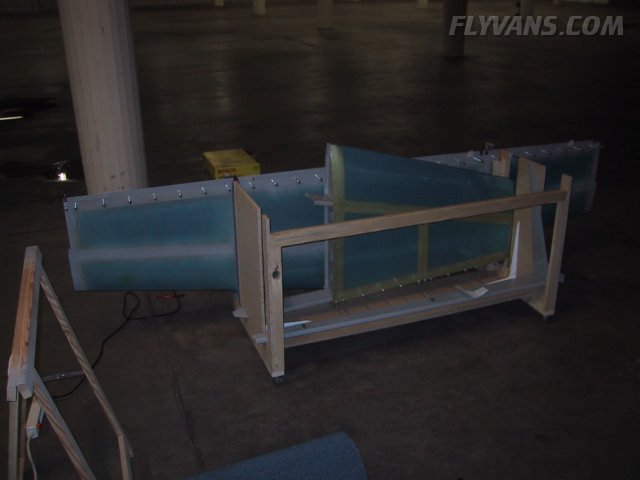
Temporarily stored on the cart. Note that the HS will be stored with the rear spar facing down, this was just to test the fit. Also more pictures from the cart to follow. Strips of carpet stapled around the edges as well as some supports out of 2x4's to carry the weight on the web of the spars instead of the skin trailing edges were added.
|
|
|||||||||||||||||||||||||
|
||||||||||||||||||||||||||
|