|
|
|


|
| |||||||||||||||||||||||||
|
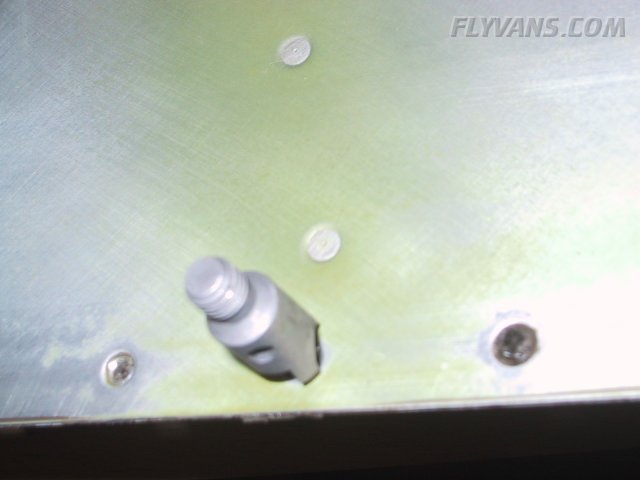
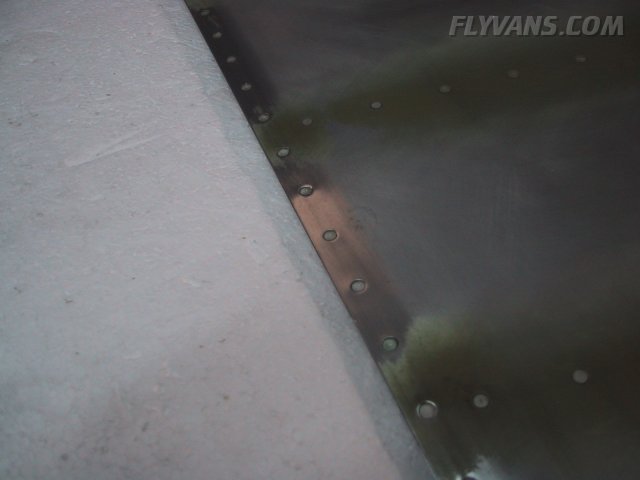
After the sealer was allowed to cure for several days, we removed the aluminum angle that kept the trailing edge straight. However, all dimples filled with sealer of course, so each hole had to be cleaned before we could start riveting. The countersink tool worked best for removing most of the sealer within the dimple. A quick brush with scotchbrite helped some more. We didn't care to completely clean each dimple, more like that a rivet could set evenly and without restriction in all directions. The consistence of the sealer was surprisingly easy to work with, much like dried silicone, way different from last time when it was "wet" yet...
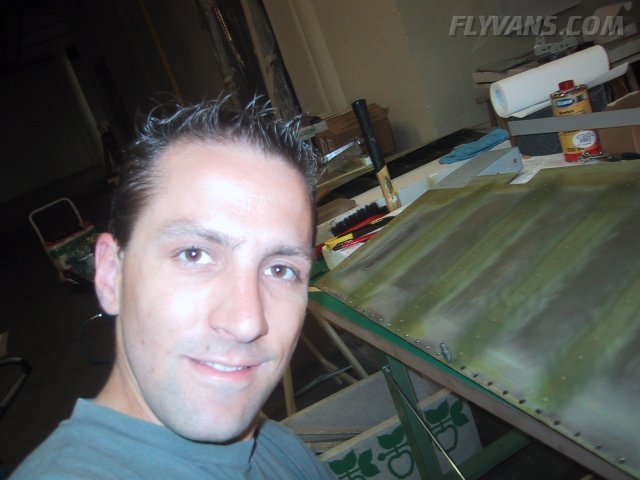
We're finally both in full building swing again after Alex returned from extended family holidays to Ecuador.
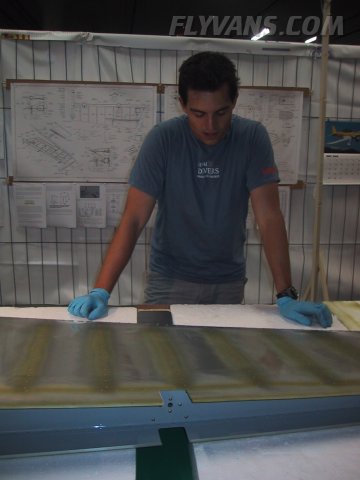
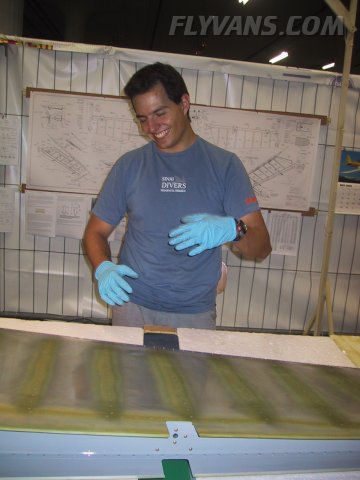
During the riveting process we forgot to take pictures (duh...) Probably because we concentrated extremely to get a good result with a nice straight trailing edge. The process per Vans' instructions worked pretty well. Working together again proved very helpful. Also, the whole edge went together much quicker than expected, mainly because of the backriveting technique and the taping of all rivets into place in one time. The whole uncleco-rivet-into-the-hole-rivet-next-uncleco- process was not needed.
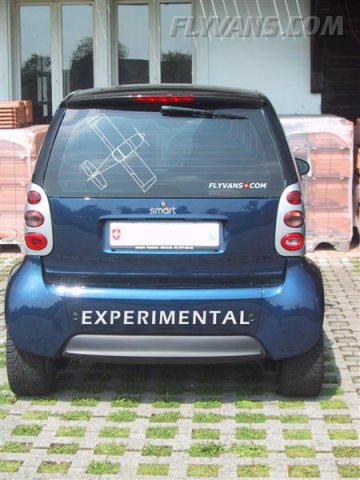
Also we've been toying around with the idea to put some decals on our cars. Alex' girlfriend works for a company that is specialized in car and advertising graphics and has offered us to do something for a while now. So we spent an afternoon developing ideas and playing with graphics software. The following picture is only a composite image of Bernie's Smart car. We will try to get both of our cars to look in similar ways, will post more pics once the decals are actually done. The new logo on the page header by the way emerged from that same afternoon.
|
|
|||||||||||||||||||||||||
|
||||||||||||||||||||||||||
|