|
|
|


|
| |||||||||||||||||||||||||
|
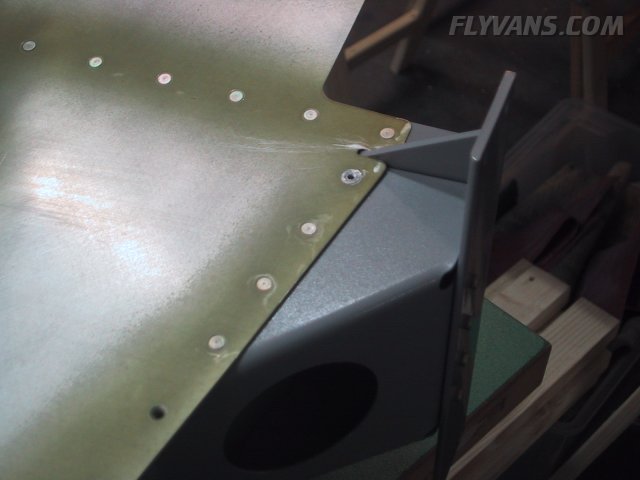
Luci was available again to help. Again a very productive building session. First we finished riveting the rudder skins to the understructure. We managed to solid rivet 3 of the 4 holes that attach the rudder horn bracket. The remaining rivet was pop-riveted as per Van's plans. In fact, the plans even call out for pop rivets to be optional on all 4 holes... Again, the whole structure is built with beautiful flush head rivets :-)
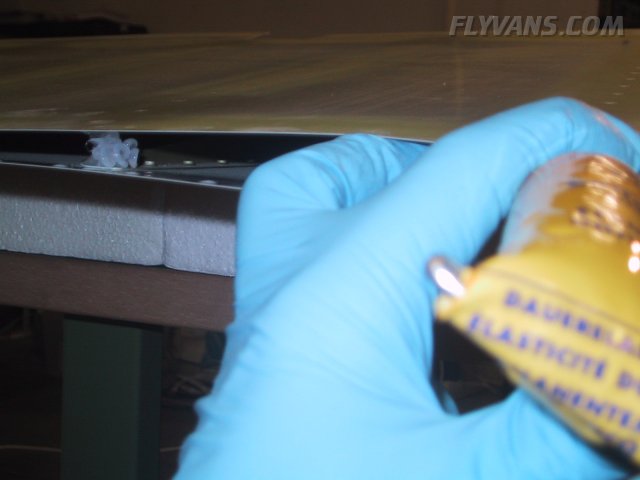
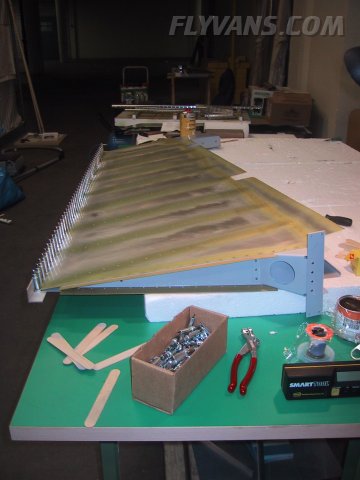
Before the trailing edge wedge was sealed into position, we put some silicone between the stiffeners to avoid them touching the opposite side due to vibration.
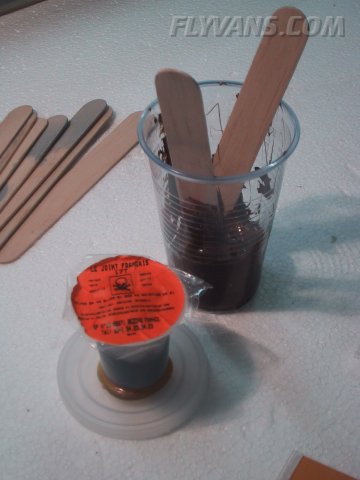
Then followed the yucky part... Mixed up some fuel tank sealant. The product we used, we got through Fritz Jost, a fellow RV6 builder (and now flyer) and professional airplane mechanic. It's the same stuff they use on the large Airliners. Although not of the "proseal" brand, by all accounts it behaved very much like it ;-) First you take thick brown paste and then mix it up with some creamy black stuff... Stinks pretty bad and sticks to everything!
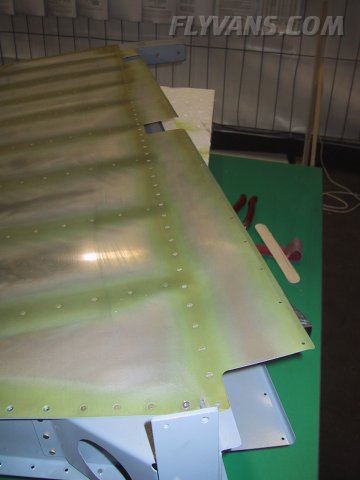
The wedge is then put in place and clecoed to an aluminum angle that had previously been matchdrilled. This hopefully turns out to be a straight trailing edge. Now it must cure for a couple of days, before it can be riveted, the next challenge.
|
|
|||||||||||||||||||||||||
|
||||||||||||||||||||||||||
|