|
|
|


|
| |||||||||||||||||||||||||
|
Very good news to report: Van's just sent an email that our QB kit has arrived... We will order a whole bunch of additional stuff, the money will take some time to wire and finally sea freight will take another 2 weeks or so... We should have it before August then :-) They promised July and it was almost June, congrats to Van's! Also we both will go on vacation later this month, so we try to arrange delivery at the time when we're back. We slowed down on the workshop part but not on the project! We've been very busy with planning and decision-making. 1000 Questions pop up, which COM Antenna, price, of course a second COM, internal? external? the list goes on with many different systems / instruments etc... With the tailkit, the only remaining work to do is the tip fairings, for which we have another month time or so. Looks like we will have accumulated 350 hours by the time all emp work is done (including the fairings). Also considering that we were not always able to "work for 2", we're very happy with our progress :-) Before we started with the fairings, we matched the rudder to the VS and the elevators to the HS. A small piece of HS skin has yet to be trimmed for the elevator counterweight.
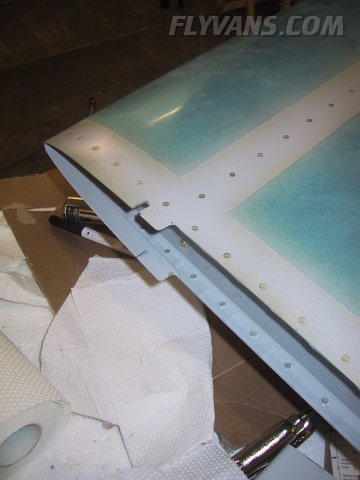
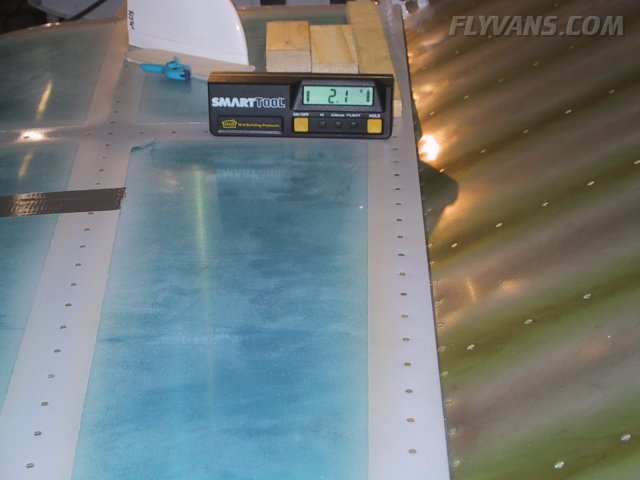
Also the bottom flange of the HS-702 spars must be cut to allow for enough travel for the elevator horn, to which the control pushrods will attach later on. Here, one has to be extra careful in order not to scrape the spar doublers or the hinge bolts.
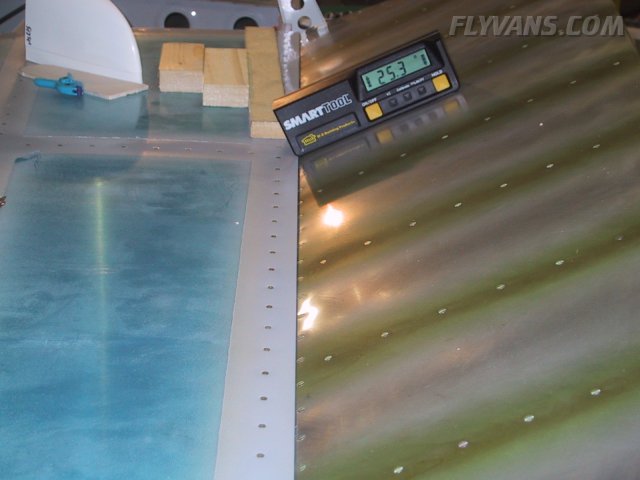
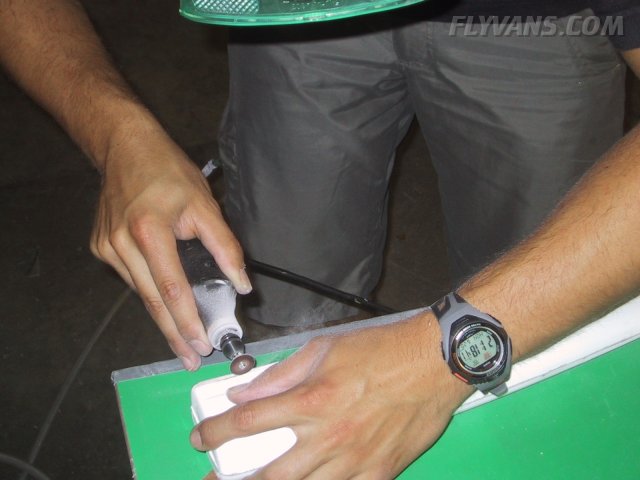
Measuring approximate travel.
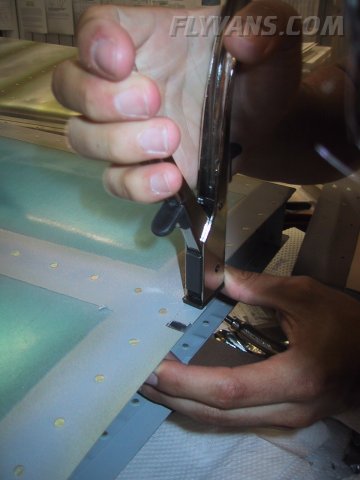
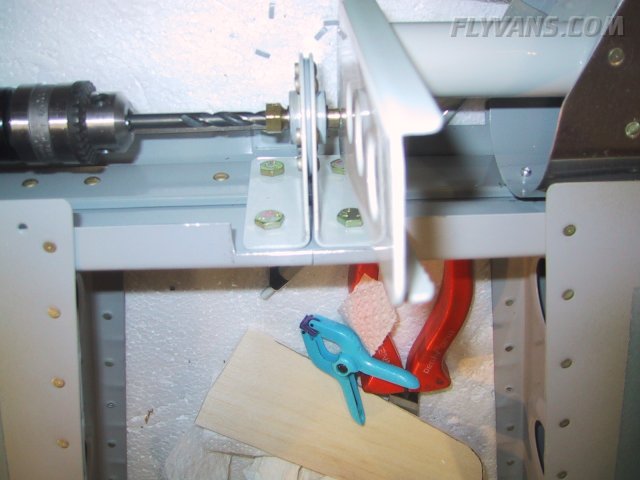
Trimming the flange just a bit to fit.
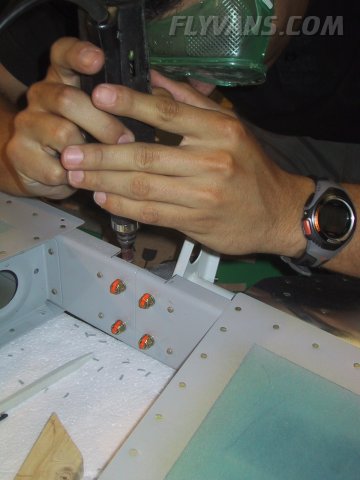
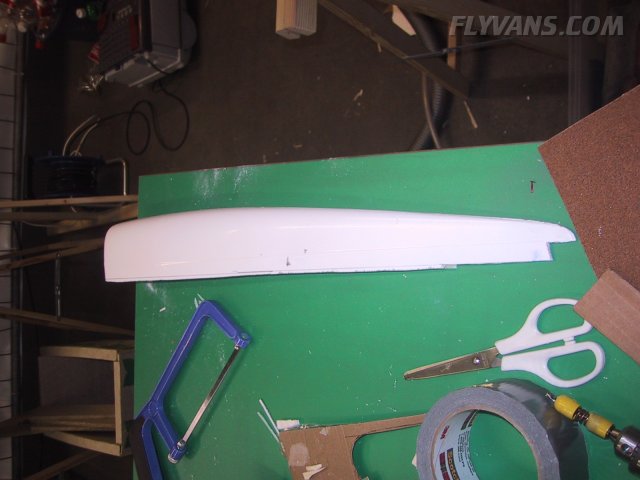
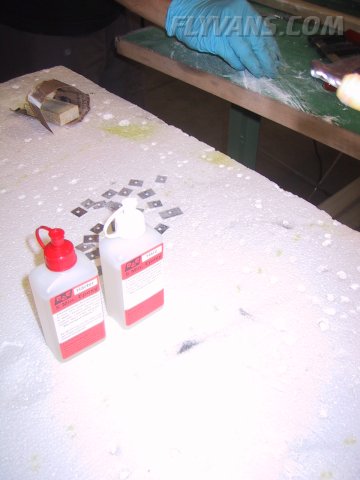
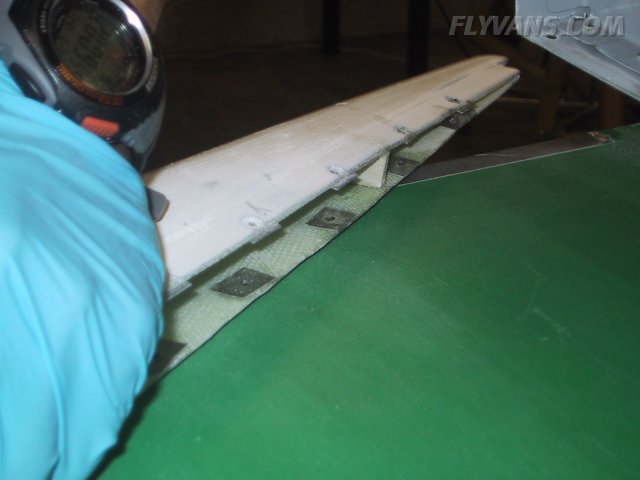
For the CS4-4 pop rivets to grab nicely, small aluminum plates are glued to the inside of the fiberglass fairing. We used 5" epoxy which worked nicely.
Also, the outside holes are countersunk to take the dimples from the skins.
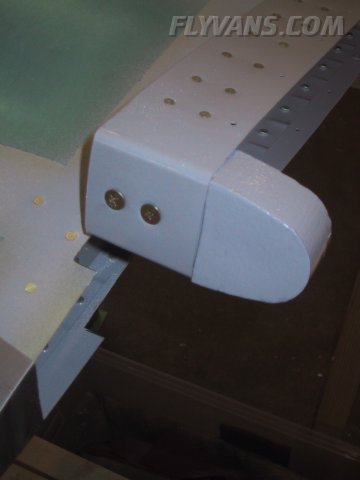
There was a slight distortion in the fairing as delivered by Van's which resulted in part of the tail being too narrow (only at the bottom where it is riveted). We made a small rib out of 4mm thick balsa wood and epoxied it in place.
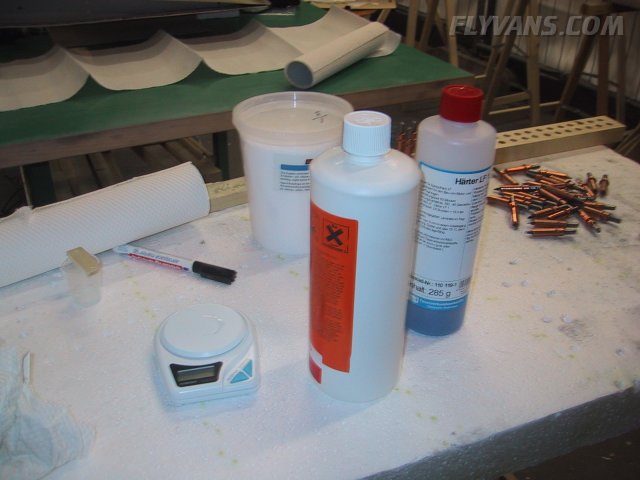
That's the stuff we use, again very valuable advice by Dominik Stadler :-) He'll get a lot of credit for that our workmanship turns out so nice. It's the working pack LS-1 Epoxy from http://www.swiss-composite.ch mixed up with some microballoons and thyxotroph powder.
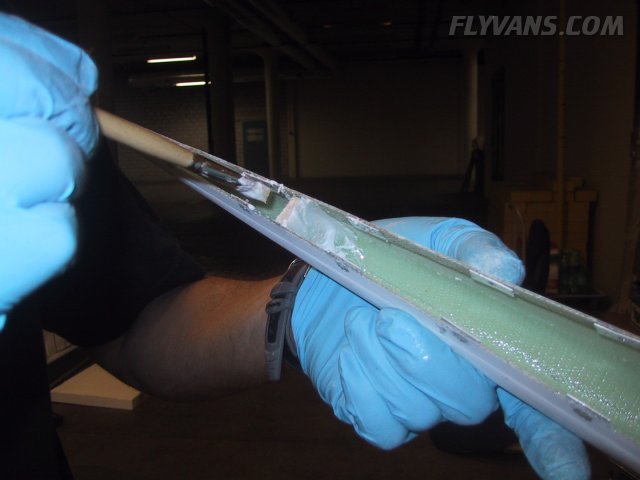
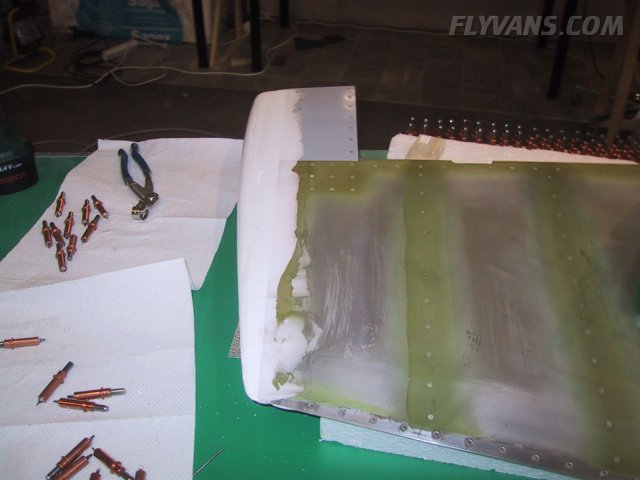
Our first experience with epoxy.
A little bit too much material on there yet...
But generally looking sweet.
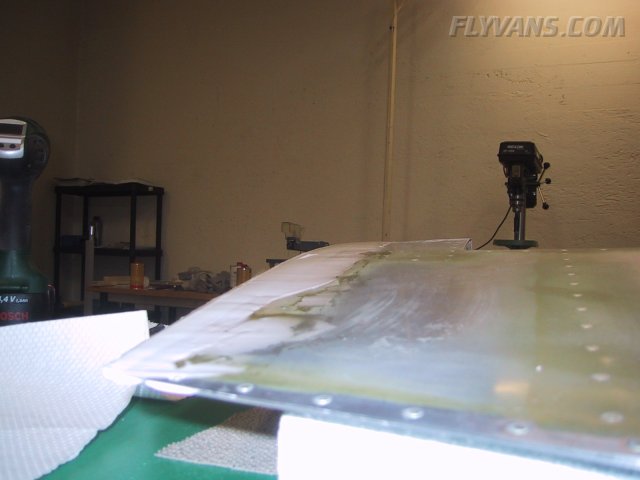
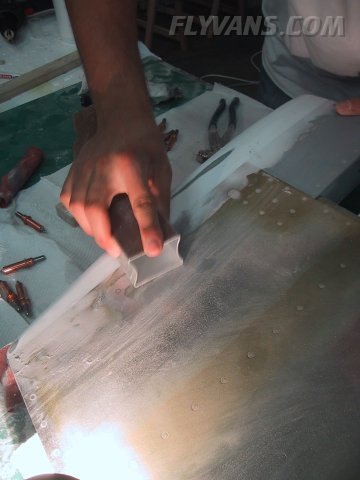
24hours later, sanding starts.
This Permagrit sanding block does a nice job in getting the general contour.
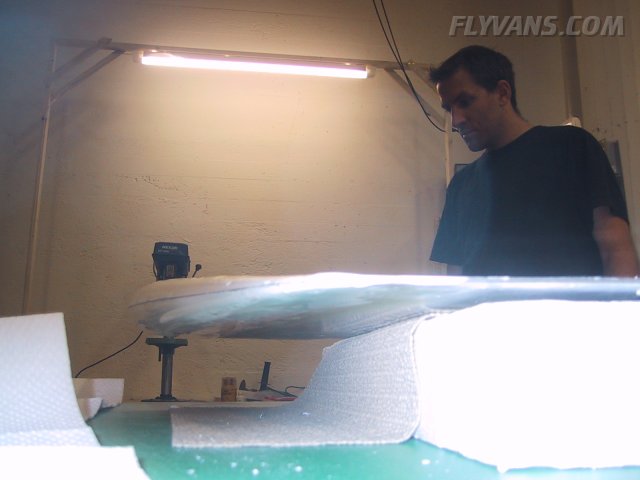
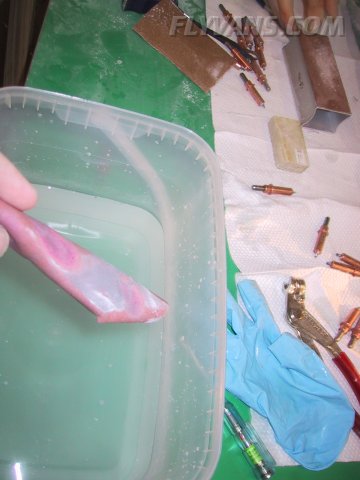
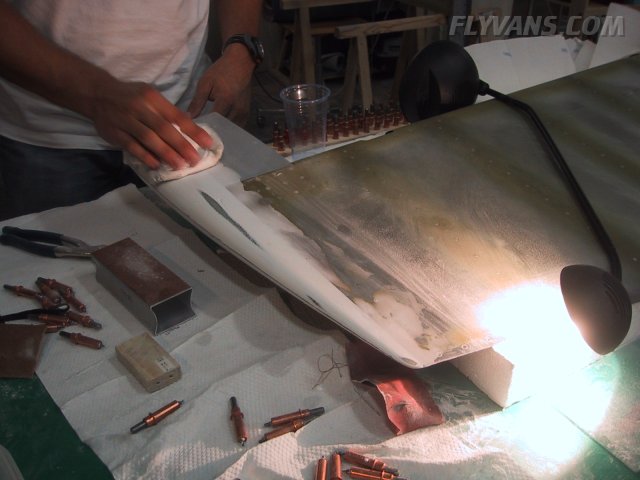
Water is used to keep the 3M sanding paper from clogging.
Produces a lot of dust. Easy to clean off with a moist paper towel.
|
|
|||||||||||||||||||||||||
|
||||||||||||||||||||||||||
|