|
|
|


|
| |||||||||||||||||||||||||
|
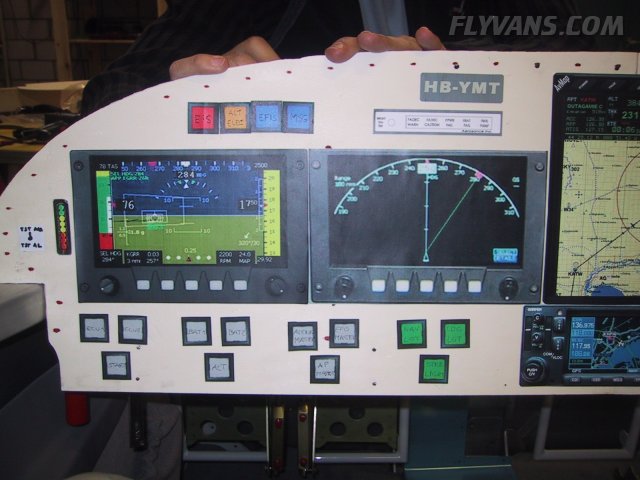
Playing around with instrumentation... Printed out 1:1 scale images of the respective avionics. Sprayed the paper with some 3M special adhesive that allows sticking it on and off. Already on this picture you will notice that we changed our panel concept significantly. Initially we had planned to stack 2 screens on top of each other on the left side and a traditional radio stack in the center. 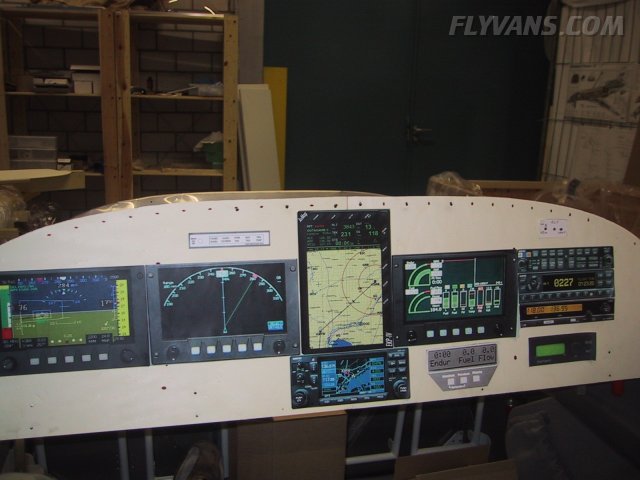
By sitting in the cockpit, we found out that the width of the panel / cabin is comfortable and roomy, but not as wide as expected. It is definitely no problem to occasionally operate a control on the far right side of the panel for instance. Here you can clearly see the advantage of mounting everything horizontally aligned. There's more leftover space for switches etc...
The autopilot (although remote controlled by the EFIS for most of the time) is placed near the glareshied. The audio panel, transponder and com2 are on the wide right side of the panel. It is important to note, that the most important functions (Push to talk, COM1/2 flip flop) will be available via handy buttons on the control stick. There should be no need to reach all the way to the right side during critical phases of flight.
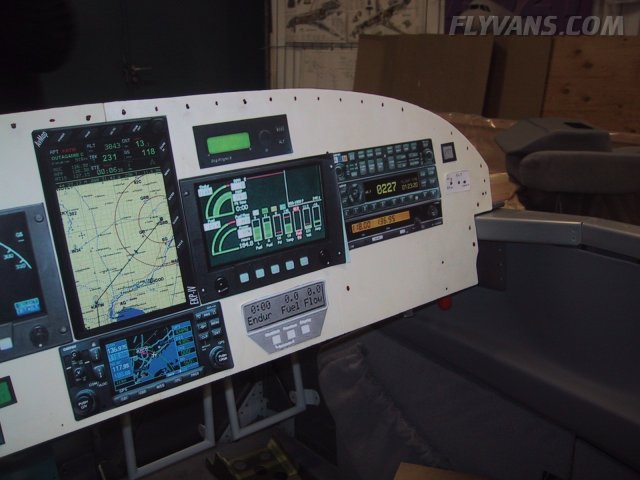
Another obvious change is the GNS430 now sitting in the center below the Avmap EKP IV. Intent is that both occupants could operate the navigational instruments. Anytime we go on a trip together, we will both want to be flying the aircraft from either seat. Having the GNS at the bottom also solves a problem where control knobs / pushbuttons from different avionics that are often used might interfere.
Having the seats, panel and center console at the right places, allowed us to determine the position for the rudder pedals.
Drilled them to the fuselage. As suggested by Van's, we drilled additional positions in case we need to move the pedals later on.
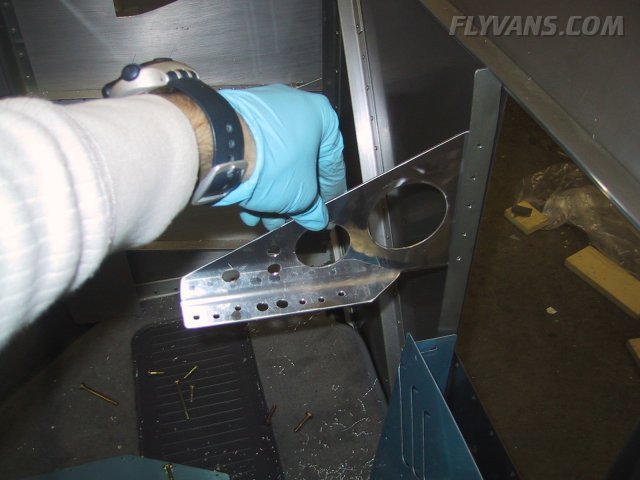
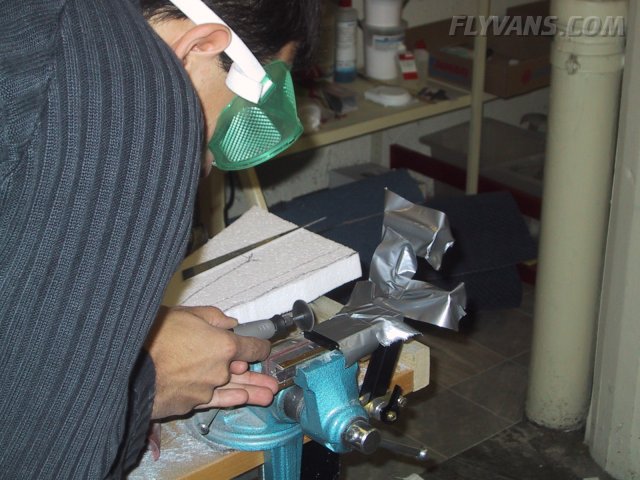
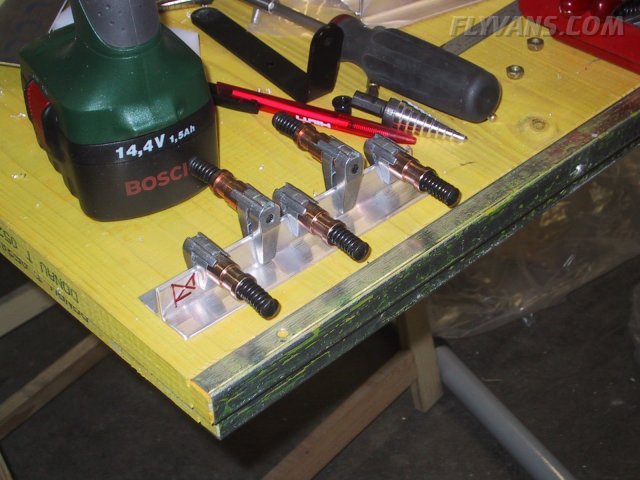
Modifying the throttle quadrant for our application. To allow for smooth bends / installation, we trimmed the cover plate on both ends.
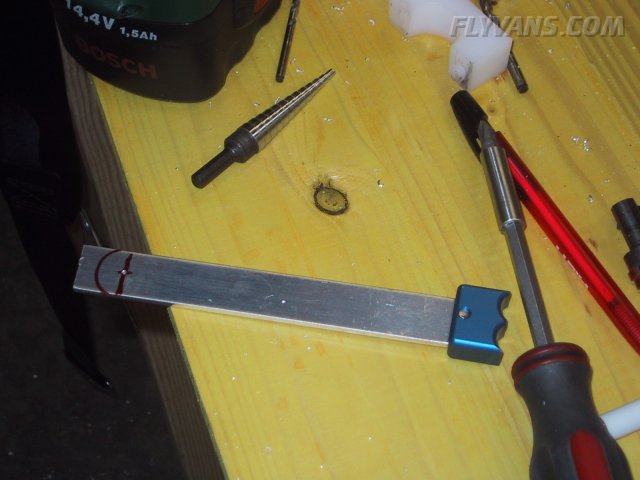
The only flat 2 lever quadrant is designed by DJM for Throttle and Mixture only. But we are planning on a FADEC equipped fuel injected engine, so the prop control takes the place of the mixture. Dayton kindly sent us a blue prop knob as well as split throttle handle free of charge :-) The "Mixture" engraving on the top plate won't be seen any more, as it will be covered with a thin aluminum mask in instrument panel color. Also we didn't like the default mixture lever bent to the right, so we made a new straight one from .125" aluminum sheet. Now if we can only get it anodized in black nobody will notice a difference :-)
The quadrant is nicely built and features and excellent friction lock setup, which would be hard to design and build any better.
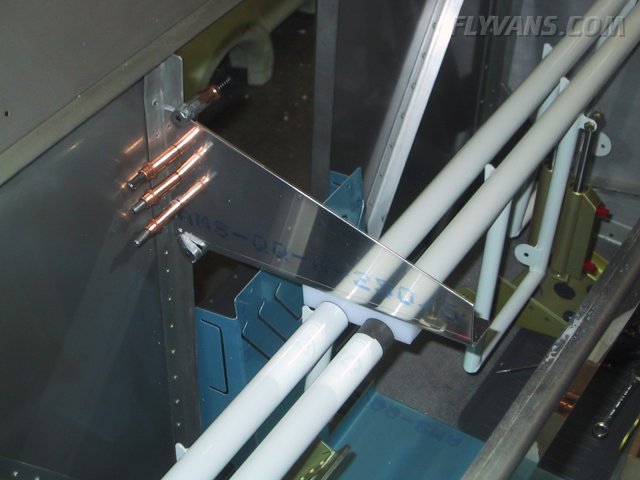
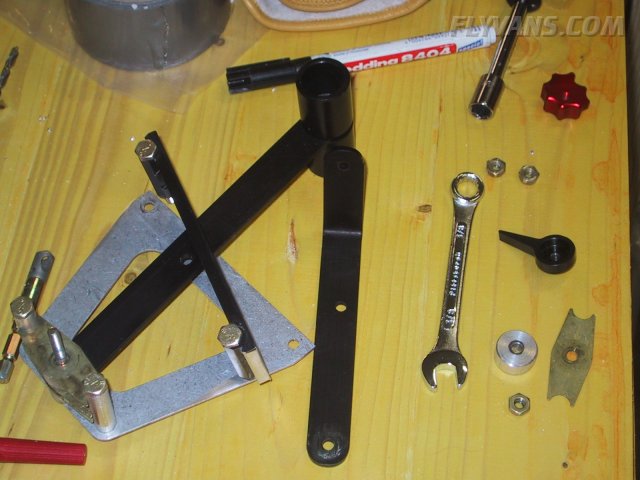
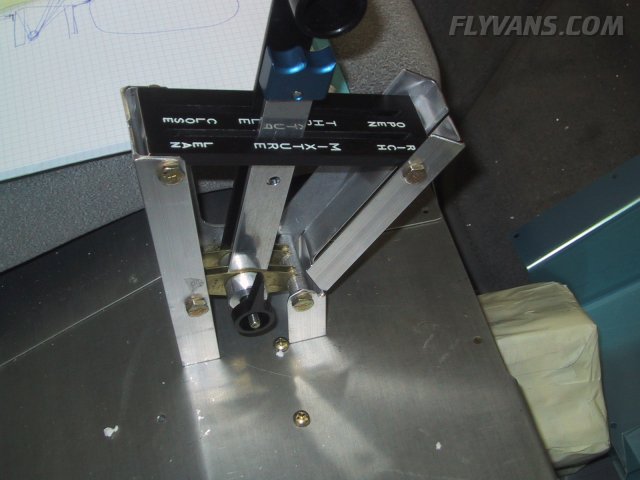
The quadrant needs to be quite rigid, as the throttle is almost as sensitive during operation as the control stick. Decided to build a frame from 3/4" aluminum angle.
The current state. We have a good idea how the construction will end up, it just has to be made and built ;-)
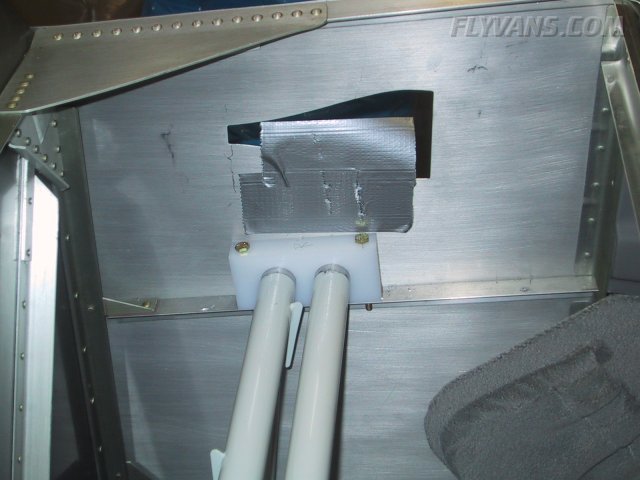
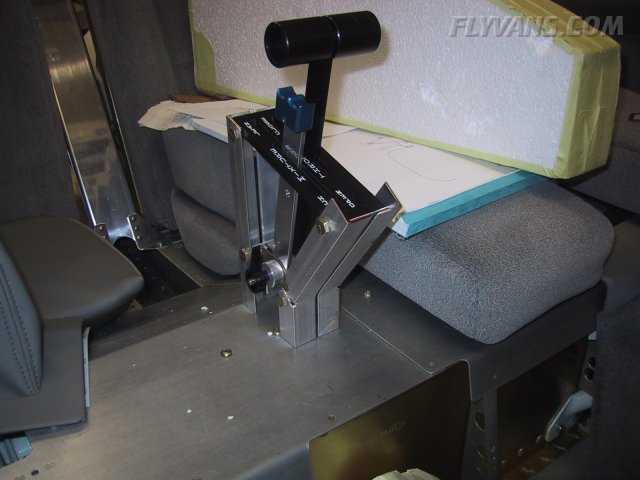
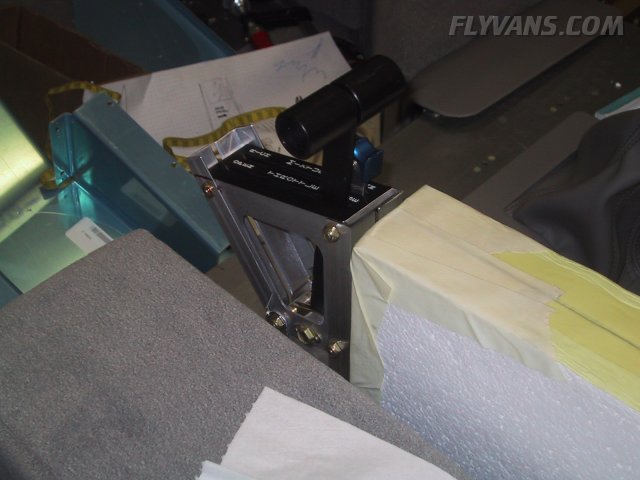
The quadrant will be fixed to the floor with lateral angles. A strut will support the quadrant towards the forward edge of the seat floor. The armrest will mount between the back of the quadrant and the flap channel. The bent angles will yet be trimmed and cut for the control cables to pass through.
The throttle has a nice negative slant, so the arm can easily slide forward and backward while moving the throttle. If only small adjustments are needed, one can grab the control from the right side and base the palm on the right edge.
|
|
|||||||||||||||||||||||||
|
||||||||||||||||||||||||||
|