|
|
|


|
| |||||||||||||||||||||||||
|
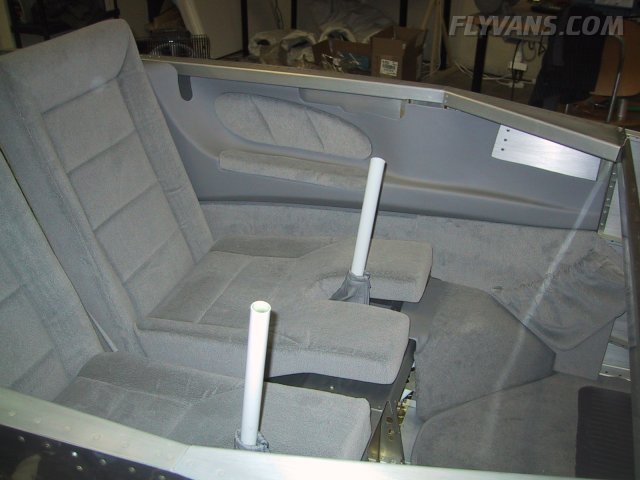
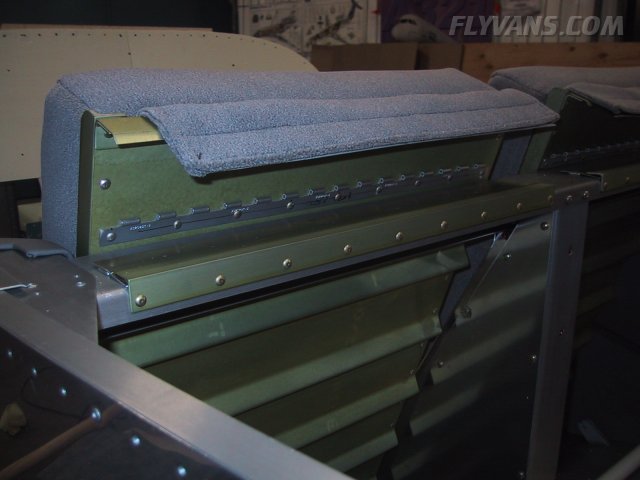
We purchased the interior and upholstery from classicaero and had it shipped with our finish kit. Excellent workmanship. The seats are standard Van's foam upholstered by classicaero. 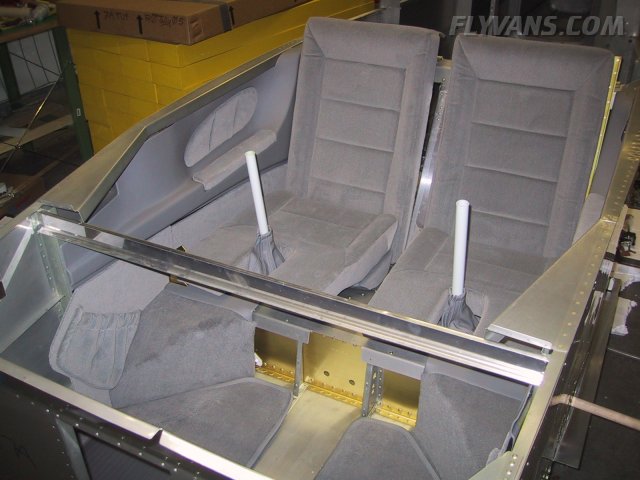
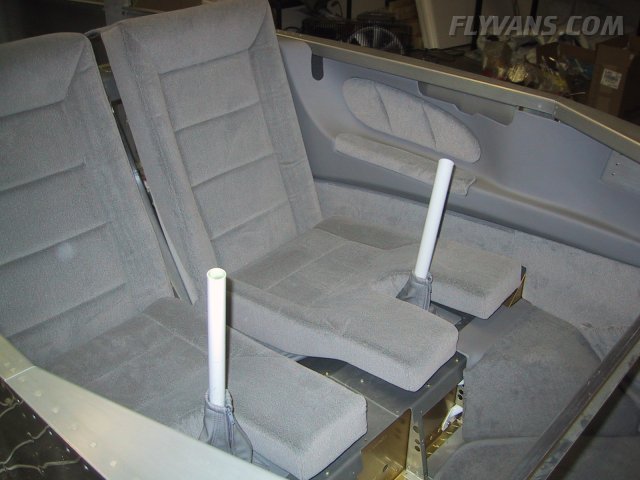
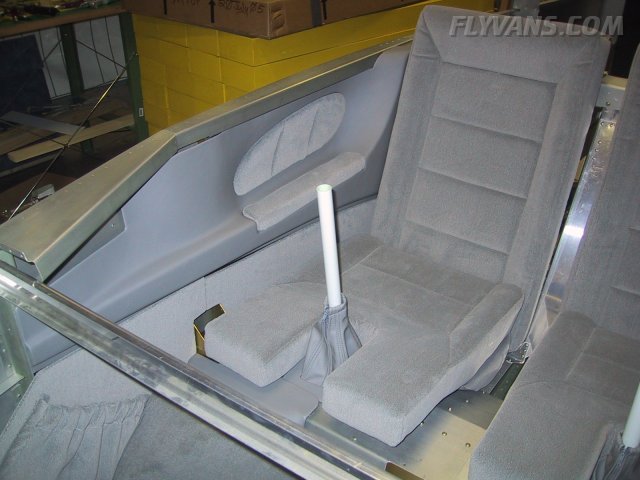
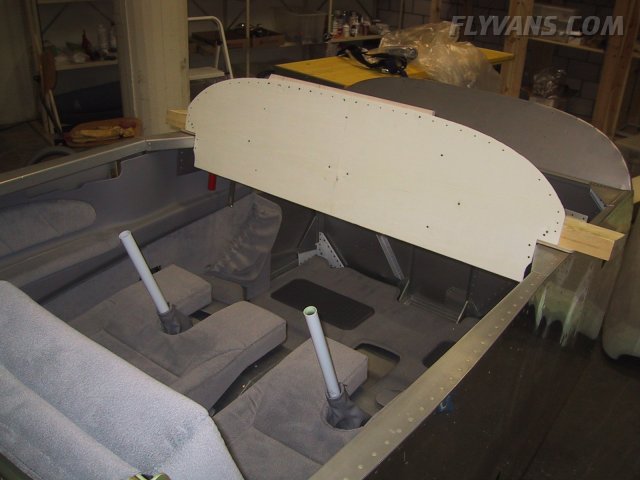
In order to be able to design the center console, we had to temporarily fit the seats and sidepanels.
There are many fabric and color options, but we're glad we stuck with boring "dorchester gray" tone in tone. First of all it's hard to imagine how a fancy combination will look like in the end. Second, we looked at the "big picture", for example our navy blue seat belts will more or less match the outside paintjob as well as give a nice contrast to the seats. Clean lines and opaque colors match best with our taste and styling concept.
Fitting the sidepanels also shows the places that will require some touchup interior painting.
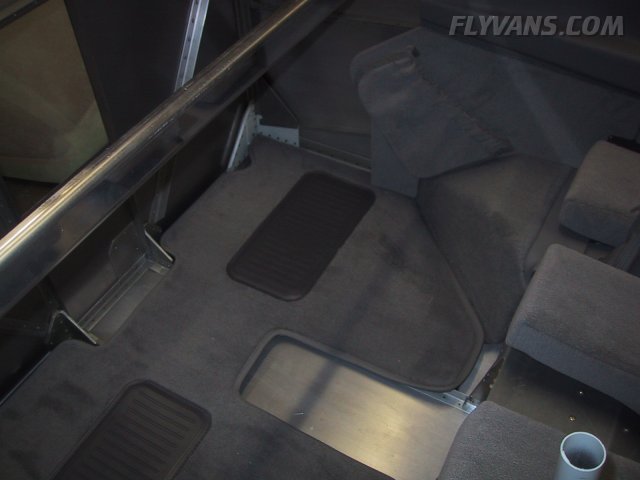
The floor carpet is another nice product from classicaero. It incorporates sound proofing, interior finish and heel support all in one.
All important ergonomic parts need to be in place not only to fit the center console, but to determine the ideal rudder pedal position as well.
And here it sits, mounted to a solid 2x4 in the final position.
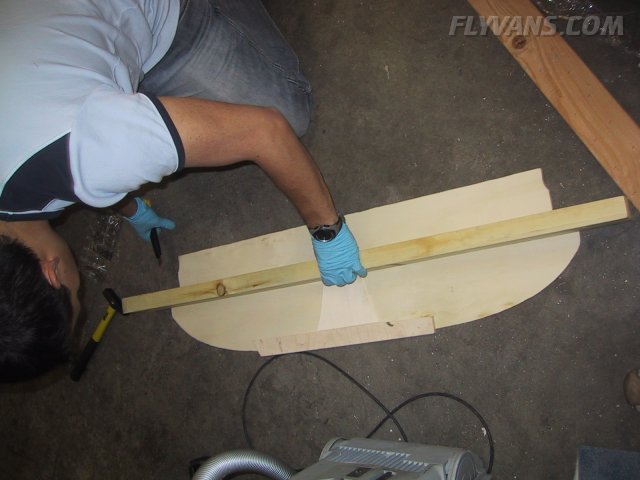
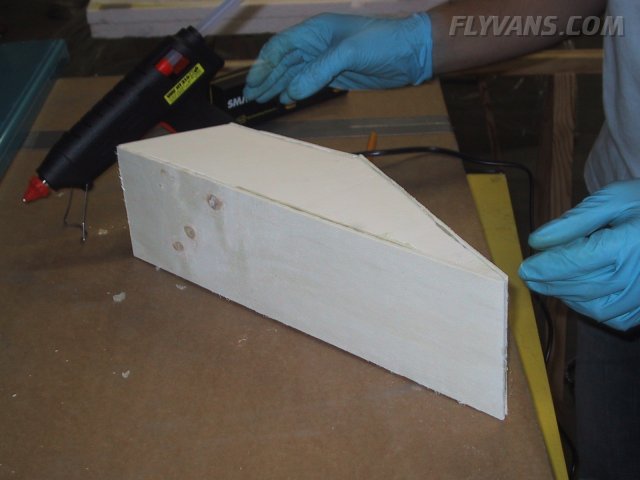
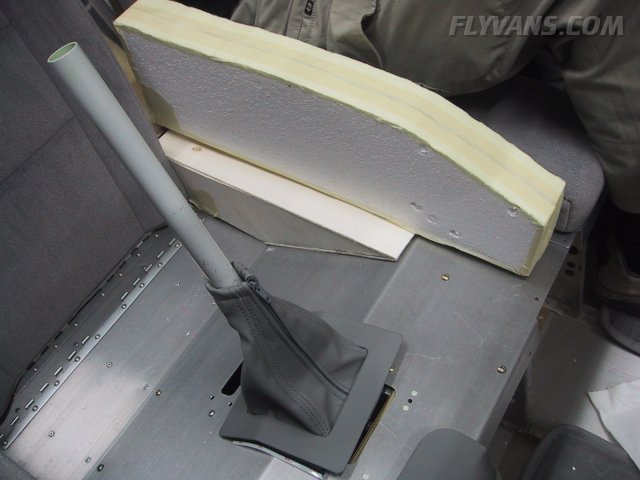
To support any design of a center console, we figured we first need to evenly cover the center tunnel level to the front seat floor. Any differing designs could then be built on top of that basic base.
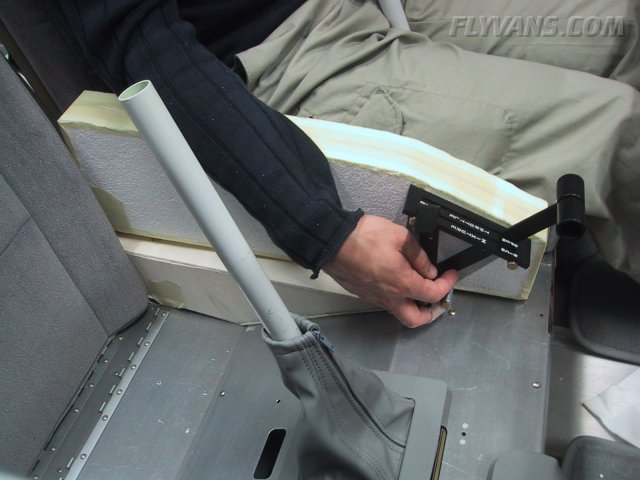
And here's the first iteration. The shape is cut from "Sagex", a cheap and light kind of styrofoam. Incidentally we ended up just fiddling with minor things on the first block, we got it right at the first attempt. Our Throttle and Prop levers build up on the popular CT82F quadrant from DJM Manufacturing modified for our application.
The fore/aft location of the quadrant is especially important with this setup. Too far aft and you hit the seatback with the elbow or too far fore and you have a hard time setting full throttle.
One thing we only found out now: We could have saved a considerable amount of work if we hadn't made the seatback support brackets. We followed the instructions, which call for them to be installed quite early in the process... Of course, we didn't have the seats yet, so we didn't know which seat position we would eventually prefer.
We ended up having the booster cushion in and attaching the seatback to the most rearward piano hinge on the floor. This of course gave us a nice upright position just by leaning the seatback onto the F705 bulkhead. So we will drill out the whole installation to save weight as we won't see it ever being needed.
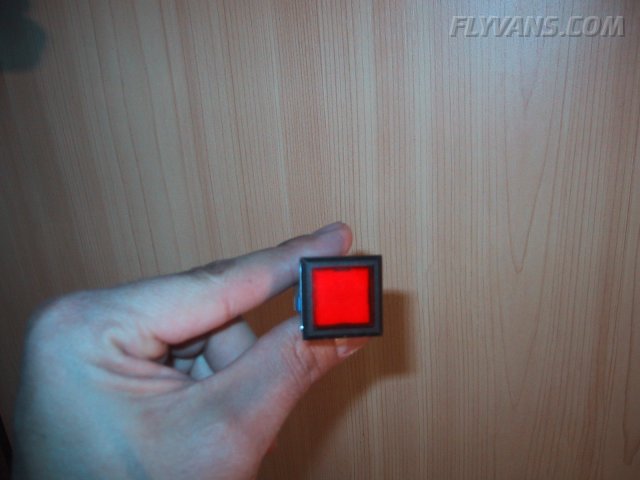
We are mulling over which type of electrical switches to use in our panel for quite some time... The easy choice would be to go for the standard metal or plastic rocker switches. The dream solution would be Korry style pushbutton switches with airbus' dark panel philosophy. Of course the latter isn't practical for many reasons. One, the original switches made by Eaton, Korry and other aerospace suppliers cost in the range of $250! a piece... Times about 20 switches in the panel. Also, a dark panel approach requires a complex and processed switching of the electrical system, which in our case is overkill of course.
|
|
|||||||||||||||||||||||||
|
||||||||||||||||||||||||||
|