|
|
|


|
| |||||||||||||||||||||||||
|
As we both had a day off, it was convenient to finally prime and paint a whole bunch of pieces. We also intended to test our interior paint for the first time. 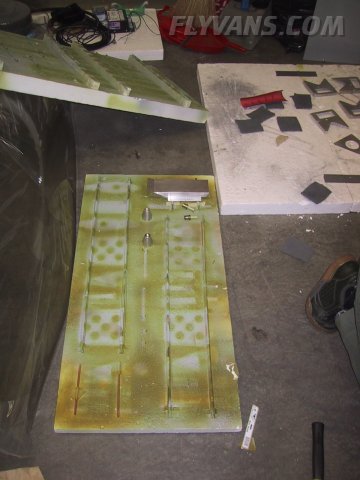
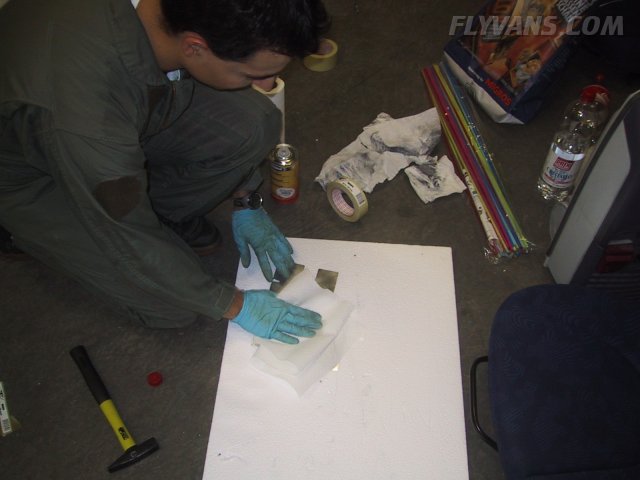
Scotch-brite, then acetone, the usual procedure.
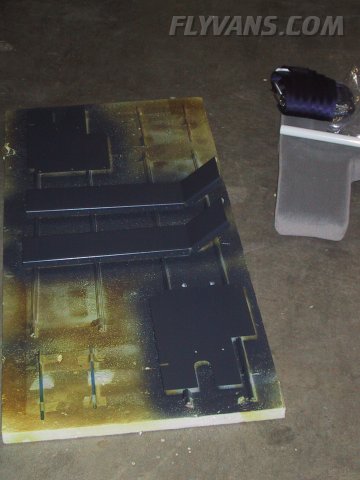
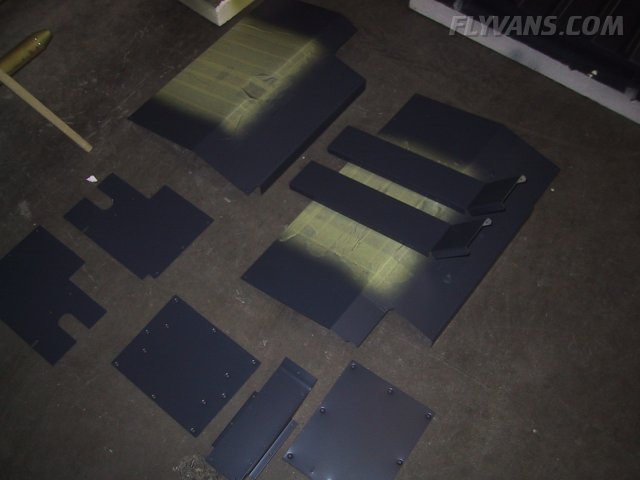
Some parts will be invisible and primed only, while others are primed then painted on the visible side.
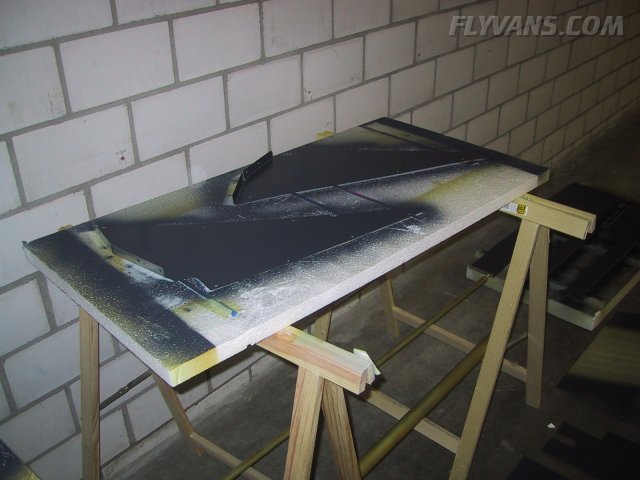
Elevator p ushrods, Flap channels etc... The matte looking surface is ready to take on paint.
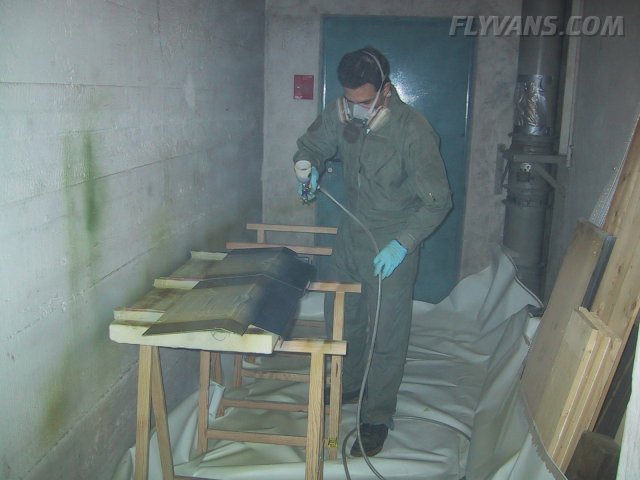
Our improvised paint booth was setup again... First a good vacuum was needed as we hadn't used that corner for a while and dust was settling everywhere.
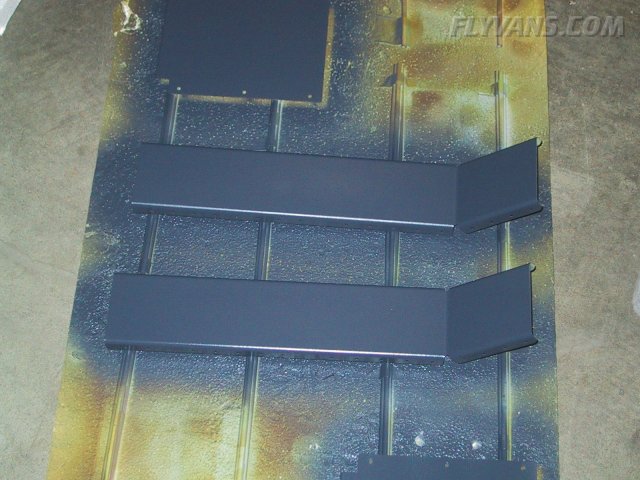
The first results with the Mankiewicz Alexit 404-12 5317 color tone :-) It came out much darker than anticipated and intended, the plan was to have the original airbus panel color. Although this color is used in an airbus cockpit, it's apparently darker than the panels... There must have been a misunderstanding when talking to the paintshop guys from SR Technics. Not a big deal though, the paint looks classy, gives a superb finish and goes well with our other interior colors. It might also end up being more compatible with the outside paint scheme.
No runs, no orange peel, couldn't be nicer!
The color has an interesting interaction with light, in this picture, the flashlight comes from a different angle and suddenly the color appears darker. Besides the drying and application properties, this aerospace grade color should do very well with sunlight!
A surplus swiss air force pilot suit serves as a painting overall. We have used as little paint as possible and mask off invisible areas to save weight on the seat floors.
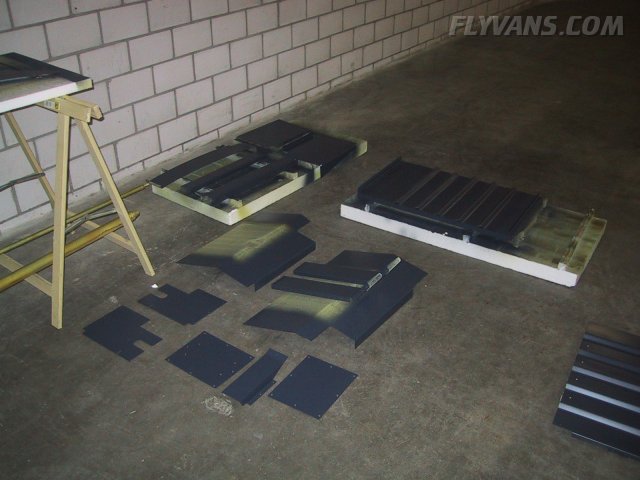
Now we have to be careful with these parts in order not to scratch them.
Flap actuator access covers
Alex did a great job on painting. Also our equipment worked real well... This takes away a lot of fear from painting the interior QB fuselage later on. It's one of these things where there's really nothing you can undo.
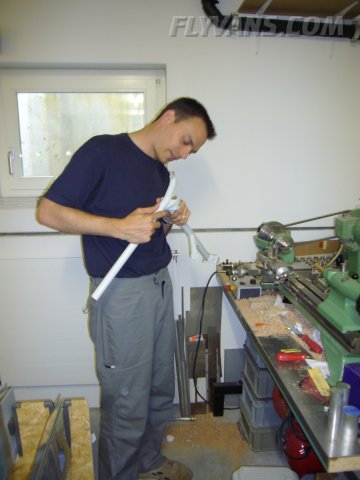
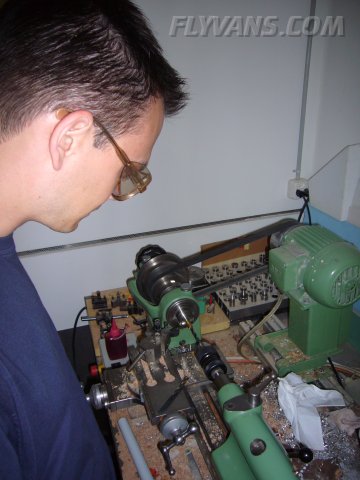
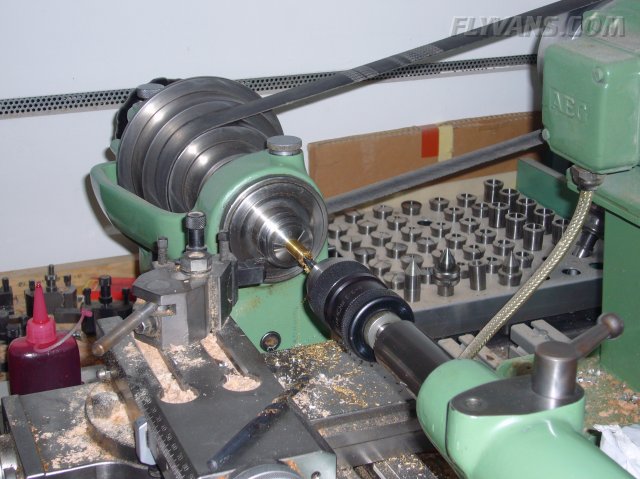
Also payed a visit to Dominik. He was once again a big help, this time with the control stick brass bushings. We made the first according to Van's instructions, using regular drills and the drill press... The results were disappointing. Too much slack and play in all directions, maybe within tolerances, but definitely more than what we aspire to have... So we bought reamers, got new weldments from Van's and with the help of Domi's made new brass bushings out of stock material on his lathe.
Drilling the hole slightly undersize, so that it can be final sized with the reamer. We highly recommend spending some extra dollars on the most important reamers! 1/4" (AN4) 3/16" (AN3) and .311" (gear leg weldments) have been required so far.
Of course the final result was as intended, a control system with very little slack :-)
|
|
|||||||||||||||||||||||||
|
||||||||||||||||||||||||||
|