|
|
|


|
| |||||||||||||||||||||||||
|
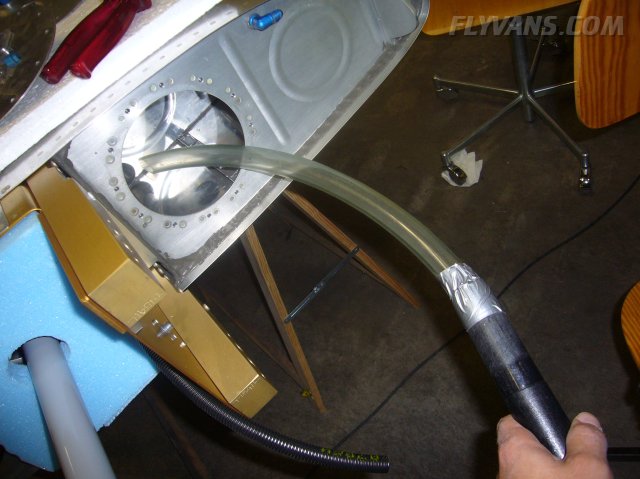
Before the tanks are ready to close, the return line must be fitted somehow. 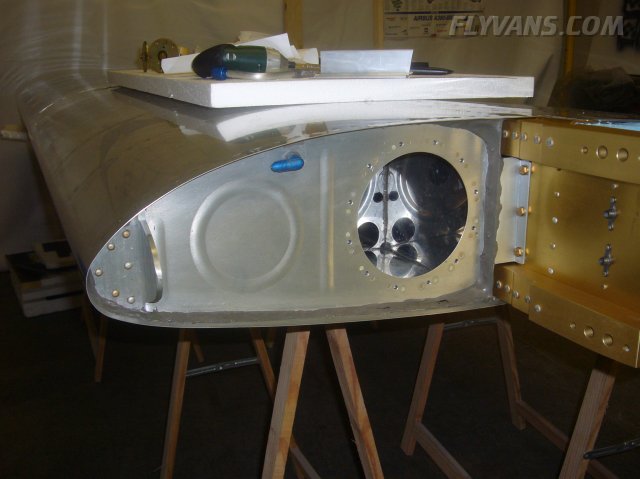
Of course this is not as easy with the already closed quickbuild tanks as with slowbuild tanks where it can be fitted much more freely and earlier in the process.
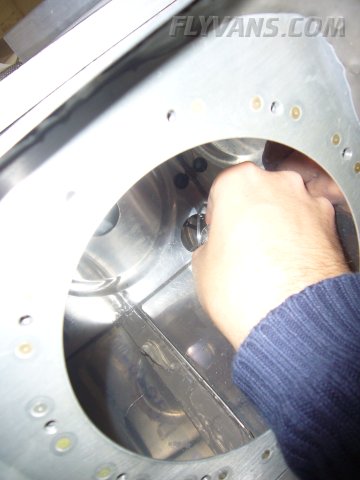
We decided to use the tooling hole on the first rib to pass the line into the second bay. Of course we went to great lengths to make sure that absolutely NO chips remain in the tank.
The funnel from the mini air tool vacuum reaches nicely into the second bay.
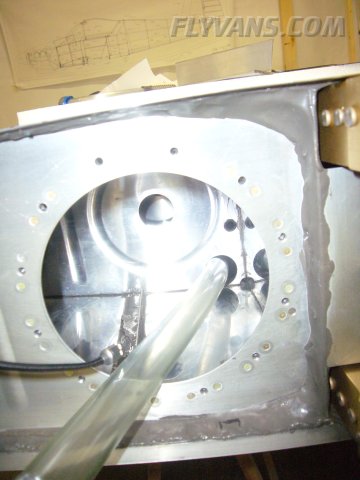
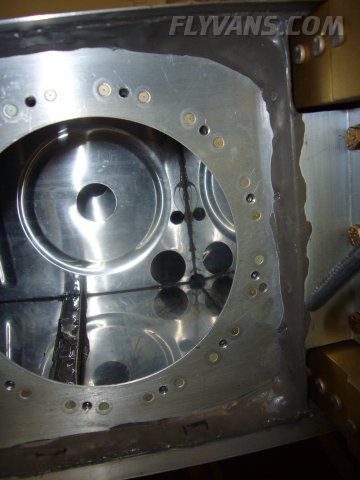
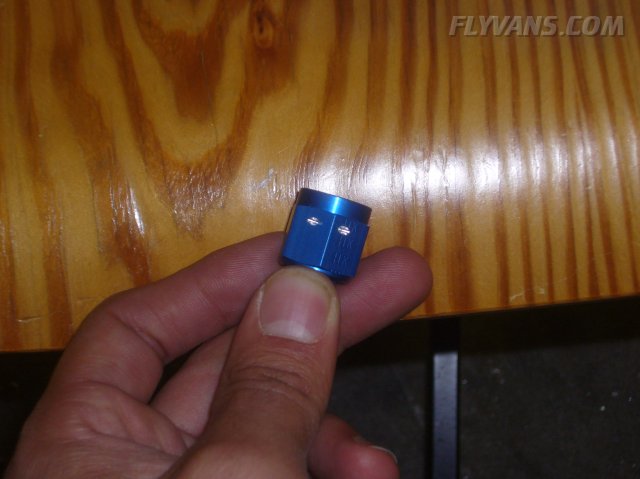
And a snap bushing in place.
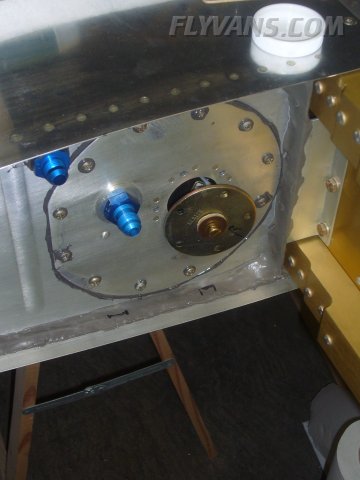
We decided on the bulkhead fitting to exit just besides the vent line fitting as well as on the rib instead of the access plate. That allows for the return line to be installed before closing the tanks.
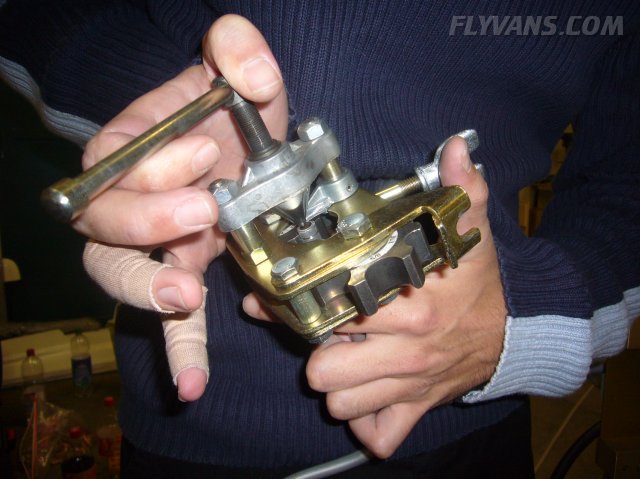
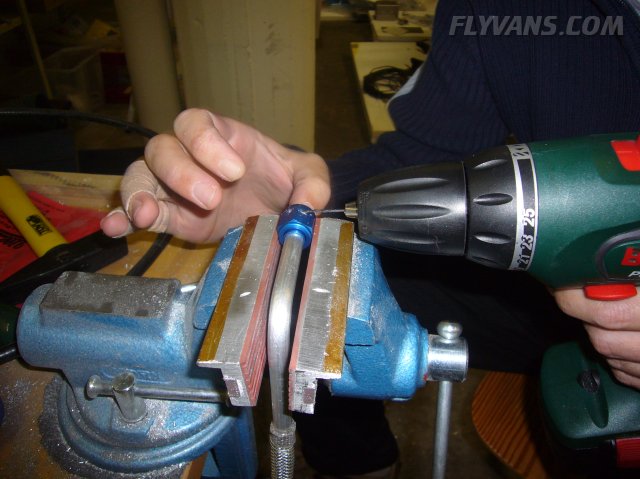
The flaring tool is used to make the 37° aircraft style flares for fluid line fittings.
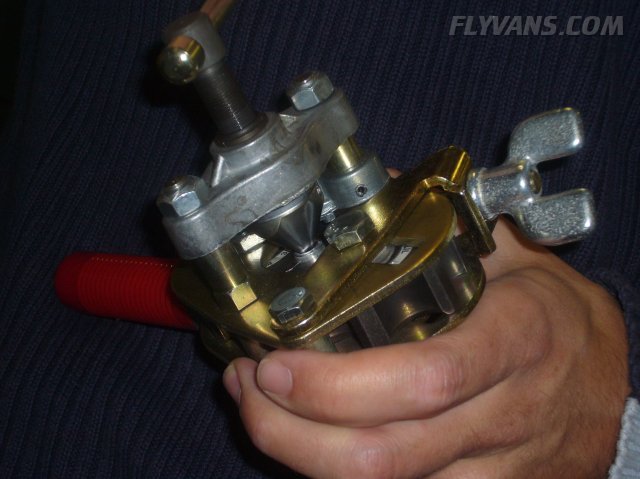
The tube is first clamped into the body, then the stamp is pressed into the opening by a thread.
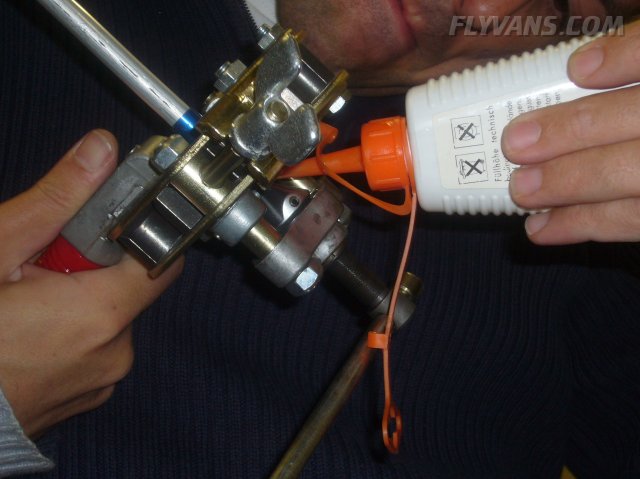
The stamp is self centering and a little bit of cutting oil resulst in nicer flares. Also, don't forget to put on the nut and the sleeve first.
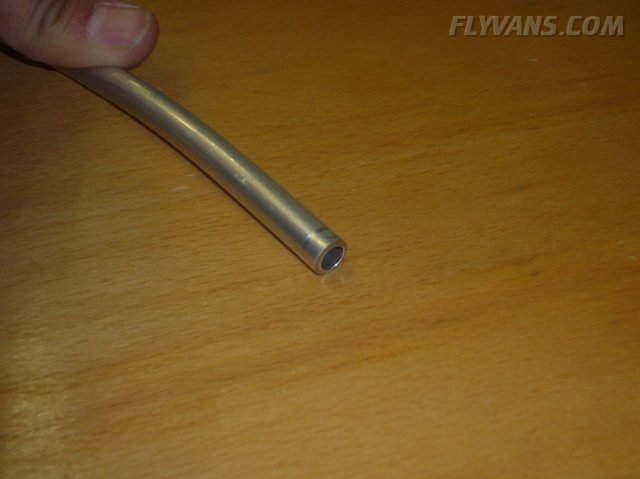
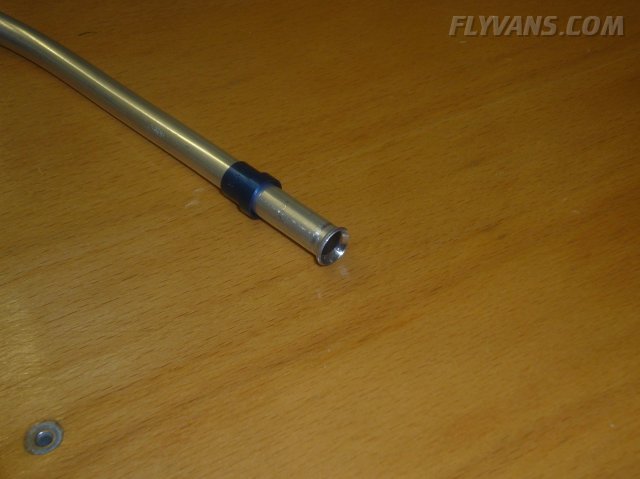
A standard 3/8" AL tube.
With a nice flare. The nut (not shown on the picture) will press the sleeve against the AN fitting.
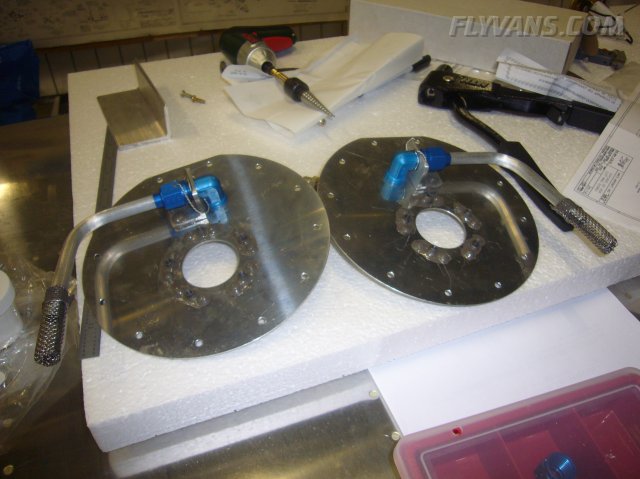
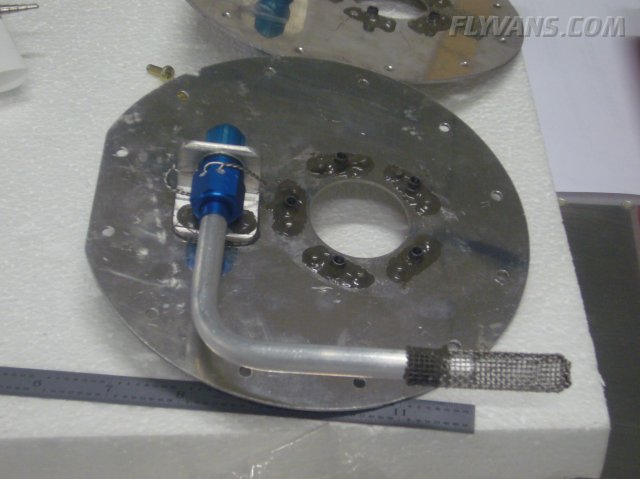
Complying with a service bulletin from Van's, the fuel pickup tubes have to be safety wired to the access plate. Apparently there have been few cases of fuel starvation where a nut loosened and air was fed from the tanks. While most fittings are easy to inspect, the tanks will not be regularly opened.
Drilling the small hole for the safety wire takes a bit of patience. It's very easy to break off the tiny 1/16" drillbit.
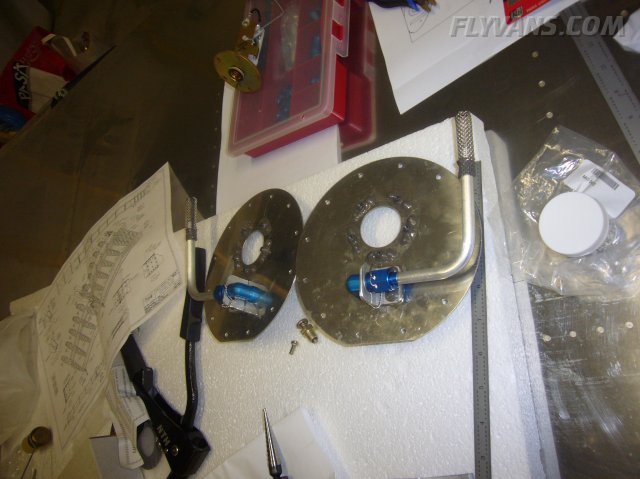
The 2 access plates.
With the nuts safetied and torqued.
Another closeup .
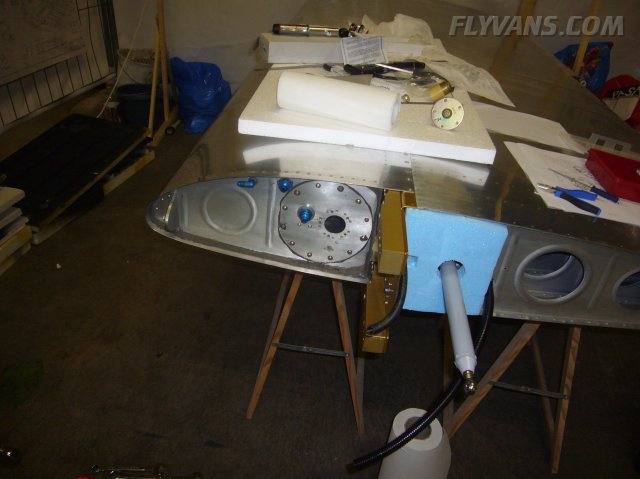
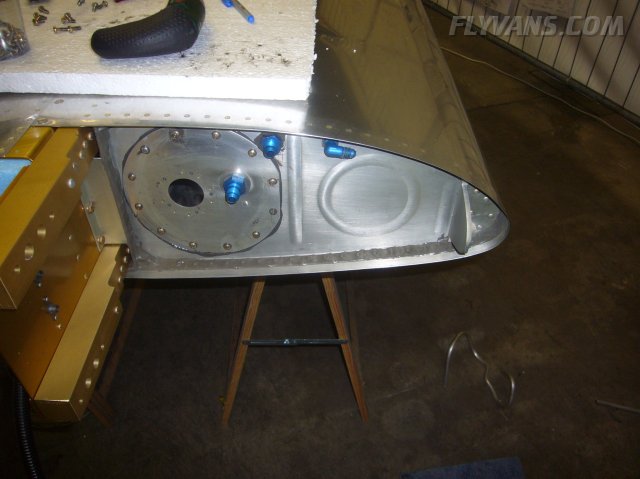
Both access plates installed on the wings.
Although Van's merely seals the access plates with a cork ring and sealer on the screws, we figured (as many other RV builders) that we might as well seal the plate and screws. Should there ever be a need to open the tanks, it's relatively easy to cut the sealer and reseal the access plates.
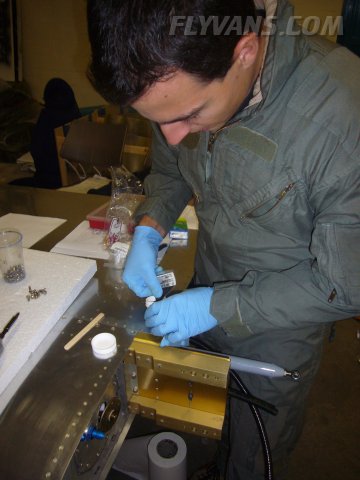
The next day, we mixed another one for just the fuel level senders. This time we had to throw away quite a bit that was left over. So 2 packs should do it all but it depends on how you split your work sessions as well as if you are able to work on both or just one wing at a time.
Many builders complain about working with sealer but we actually like it.
Of course 4 hands are more of a requirement than a luxury and make sure you have lots of paper and acetone ready for cleanup right away. Also work quickly as the sealer starts to cure immediately after mixing.
The 2 components must be stirred to blend into a uniformly opaque greyish paste.
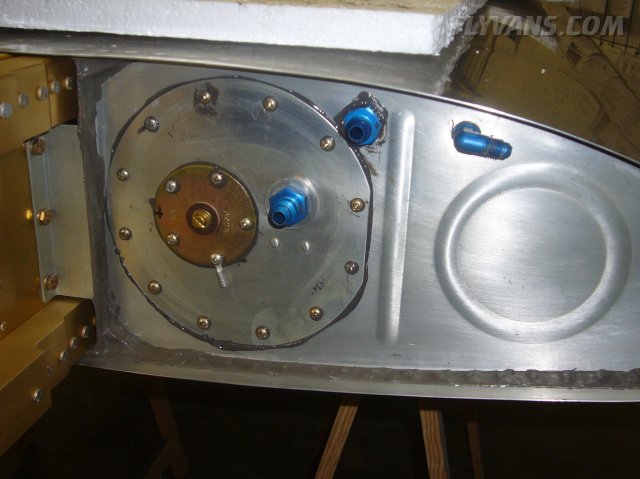
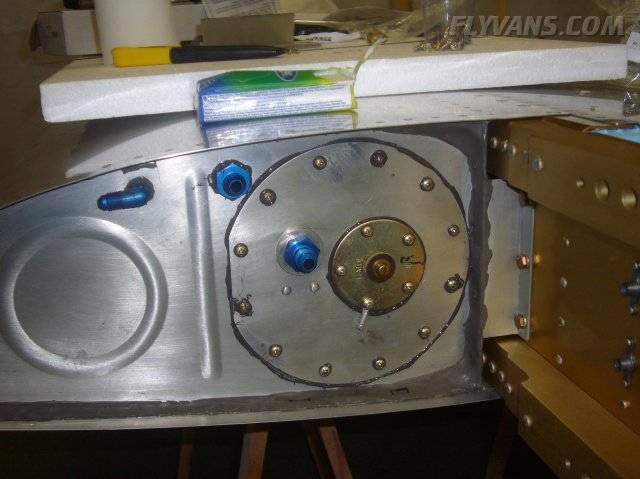
The finished left...
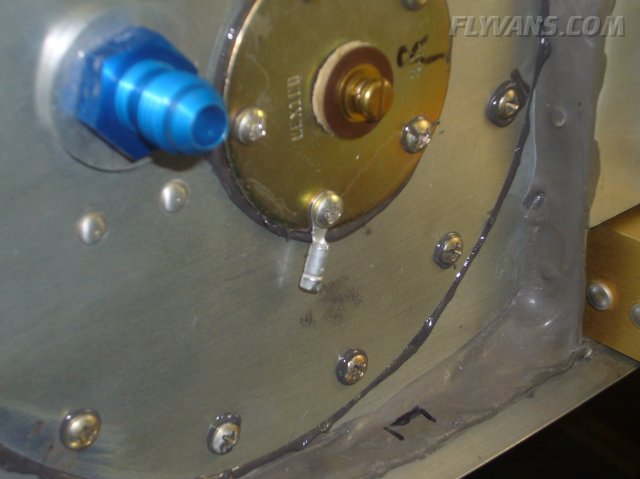
...and right tanks. Note the small ring terminal on one of the screws. This is spare just in case there would be a problem with the fuel level reading. There were discussions on the vansairforce.net forums about the grounding paths to the float sending unit. In extreme cases, all the sealer and sealed nutplates/screws cut off the ground path to the base plate of the sender.
Most probably there won't be a need to hook it up.
|
|
|||||||||||||||||||||||||
|
||||||||||||||||||||||||||
|