|
|
|


|
| |||||||||||||||||||||||||
|
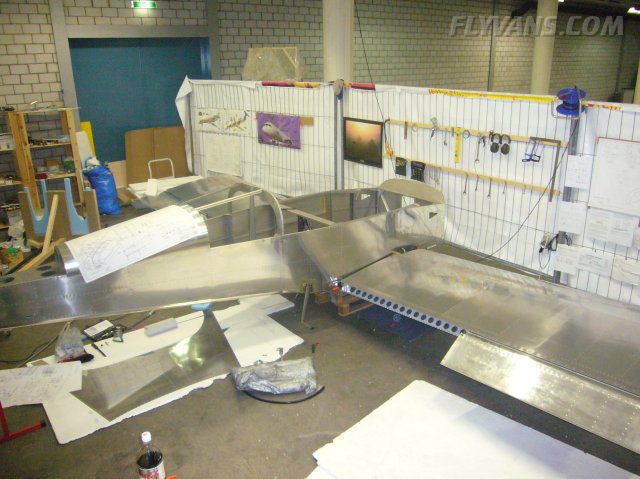
We reached a major milestone today :-) The wings joined the fuselage for the first time... They will only come off again for transportation to the paintshop and will then be installed to flying condition at an airport. 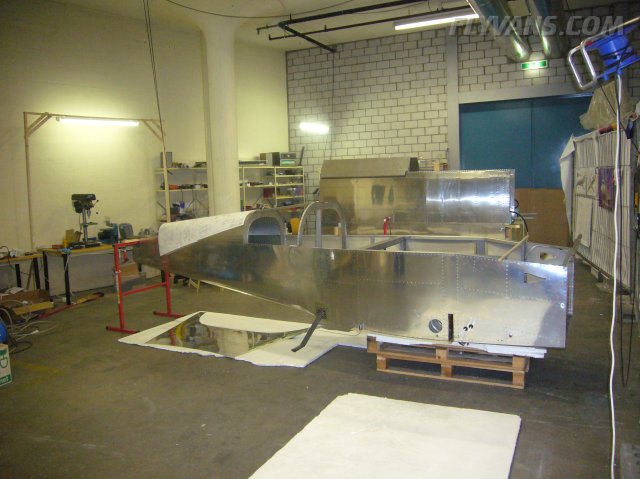
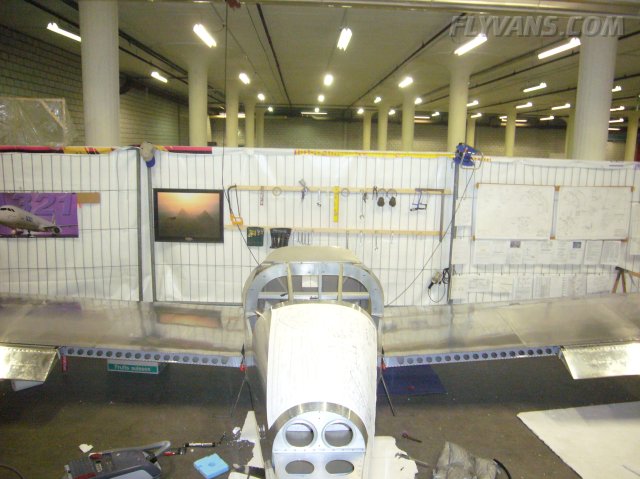
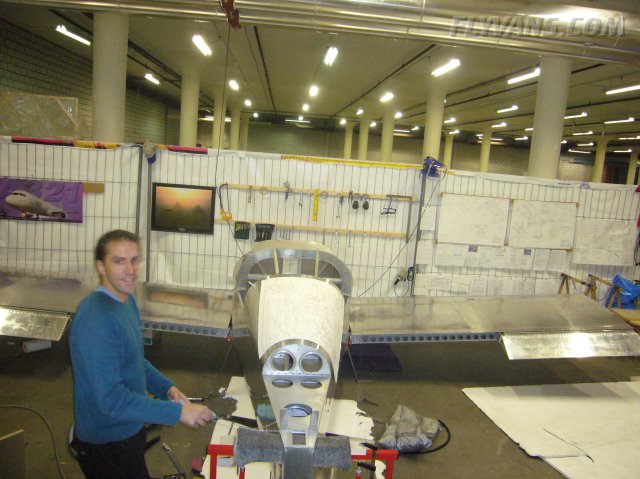
We completely rearranged the workshop.
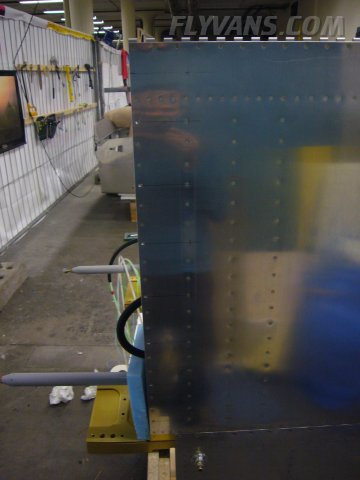
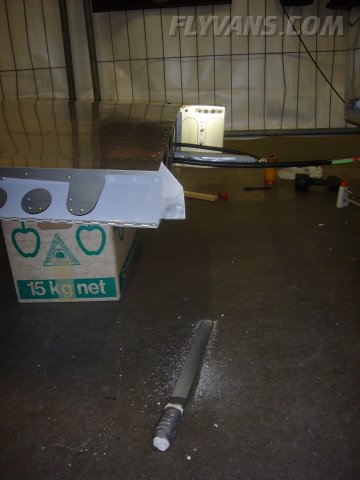
Before the wing panels can be installed, all required mounting brackets, fuel lines etc... have to be finished.
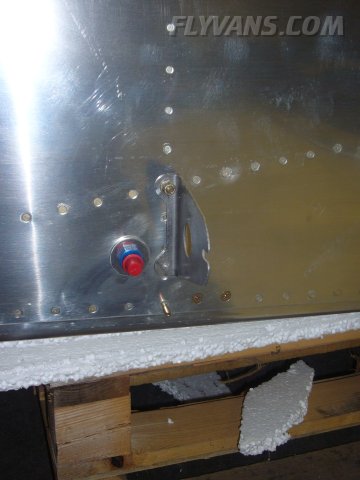
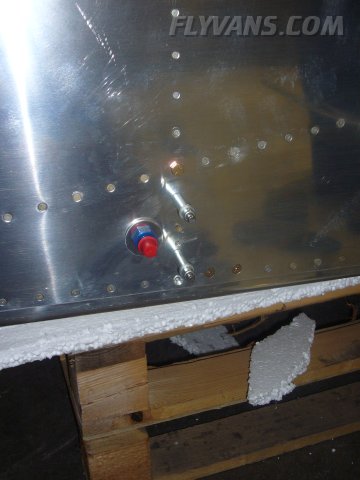
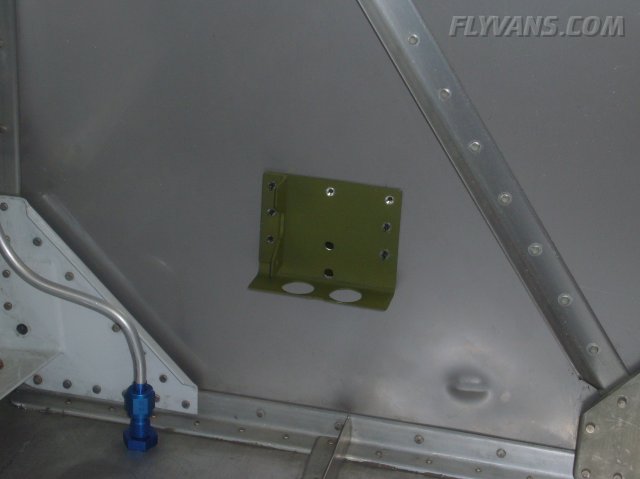
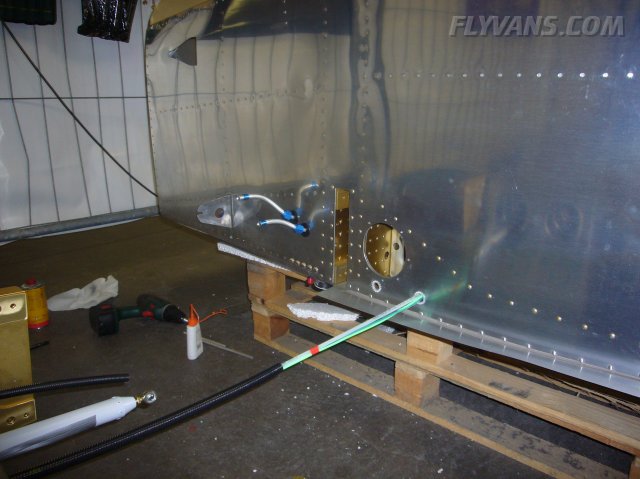
The fuel tank brackets are bolted to an angle on the inside of the fuselage.
And the same angle with some spacers riveted to the outside skin.
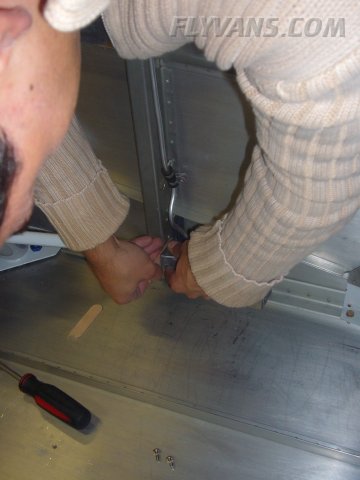
Very close quarters for a bucking bar.
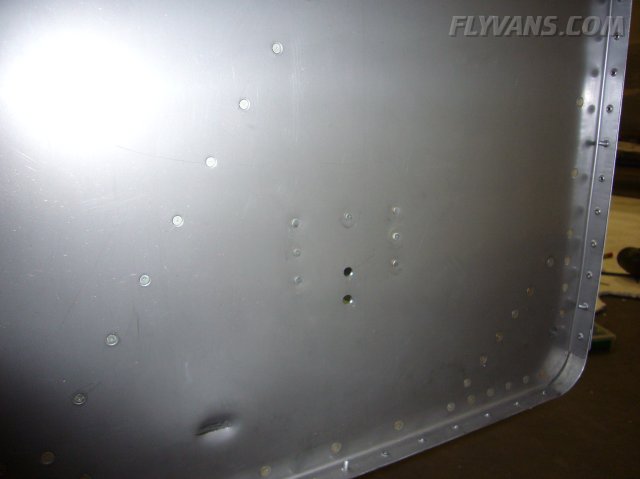
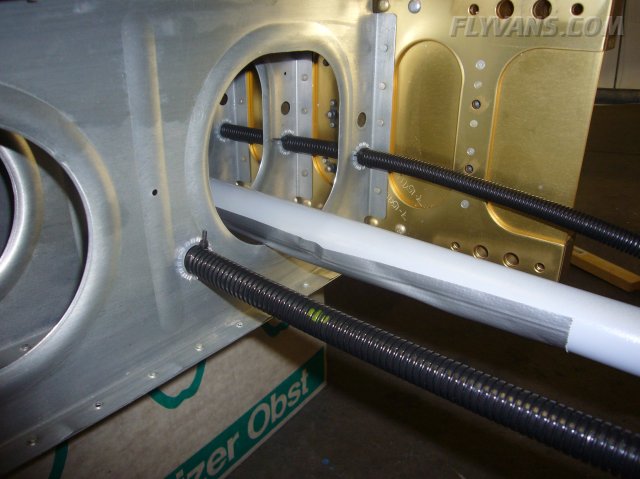
Because the center fuse bottom skin will cover the wing panel and needs to be matchdrilled, the locations for the holes are marked outboard to be measured back on the overlapping skin.
Left side bracket.
And the same on the right. Note that the bottom countersunk bolt is yet to be installed.
with the re-bent vent line.
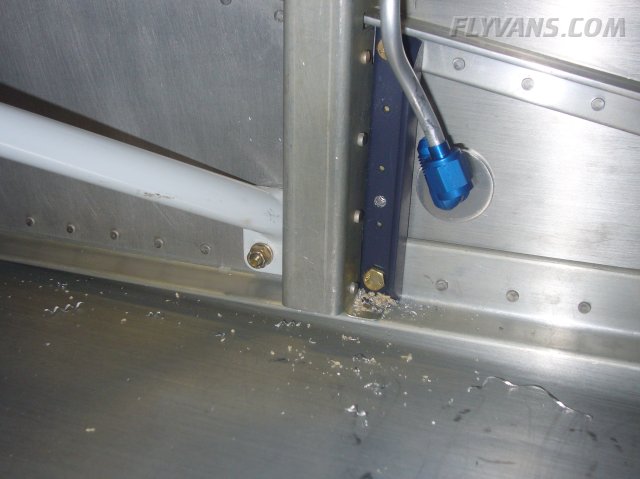
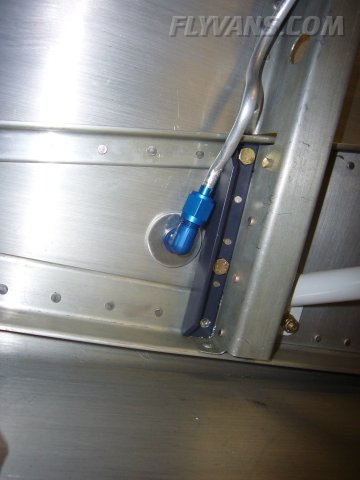
Since we were already riveting, we decided to install the custom made parking brake valve bracket on the firewall.
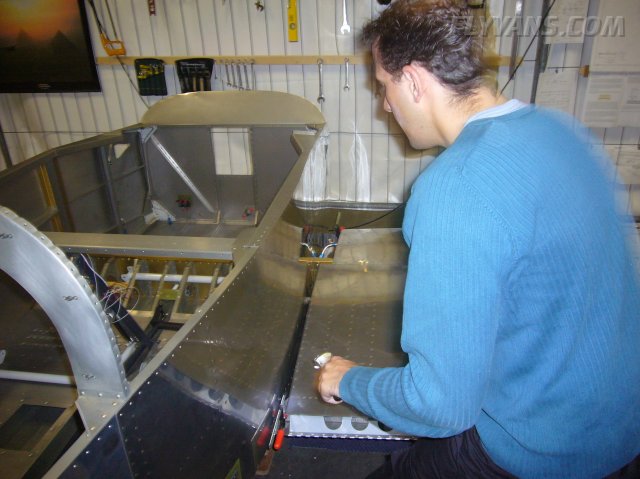
Backriveting with the shop heads forward turned out to be easy.
Final preparations for the wing panel to fit.
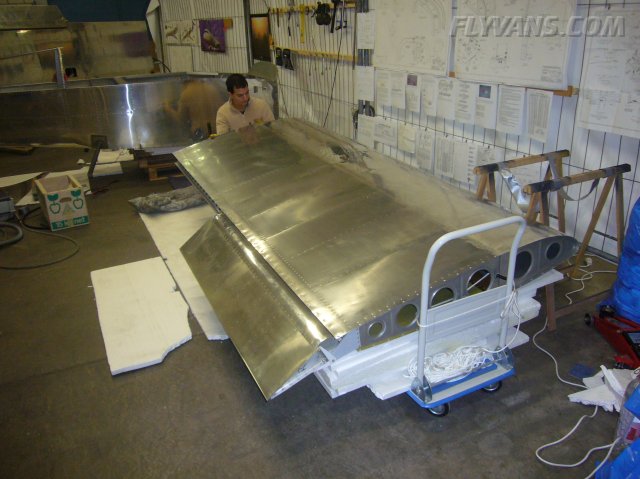
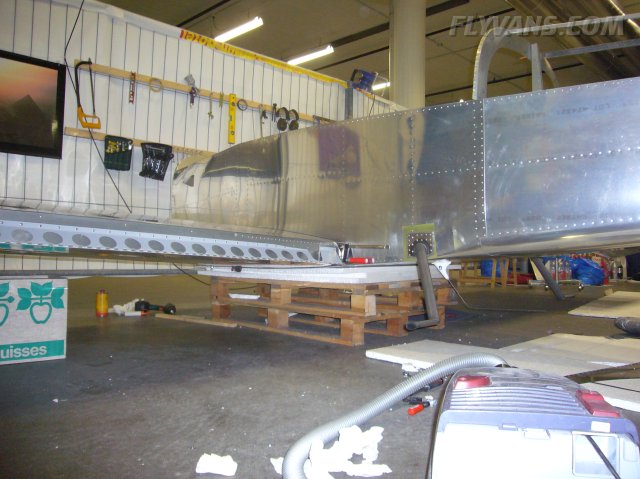
And the first wing is on! Another one of these jobs, a single person just won't be able to do...
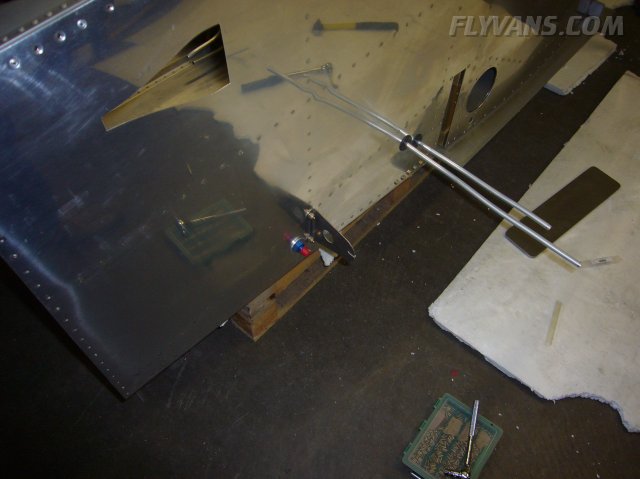
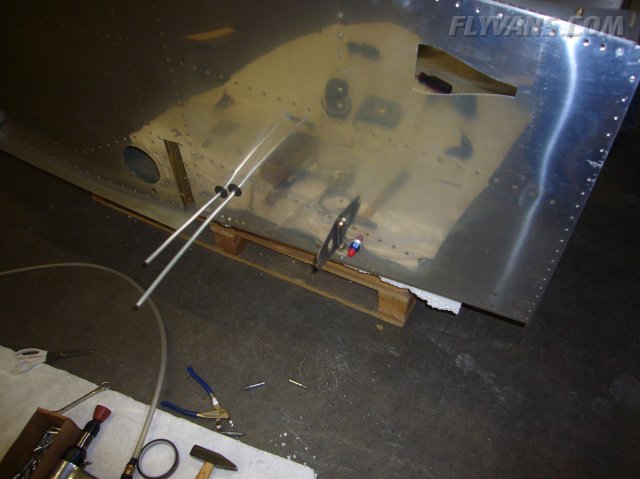
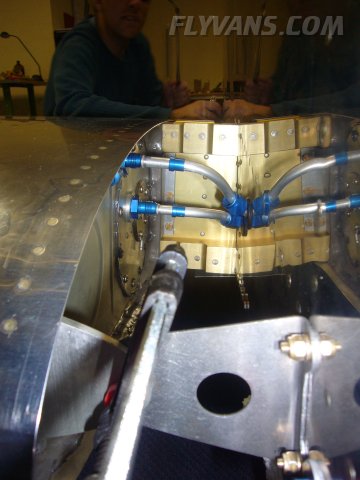
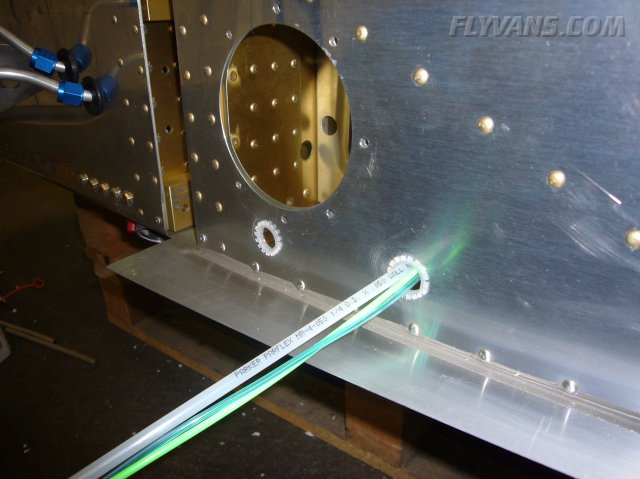
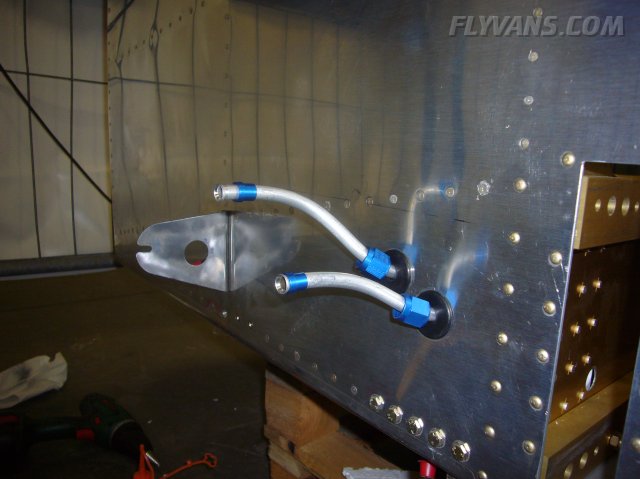
The fuel lines were pre-bent by approximately measuring the position of the bulkhead fittings.
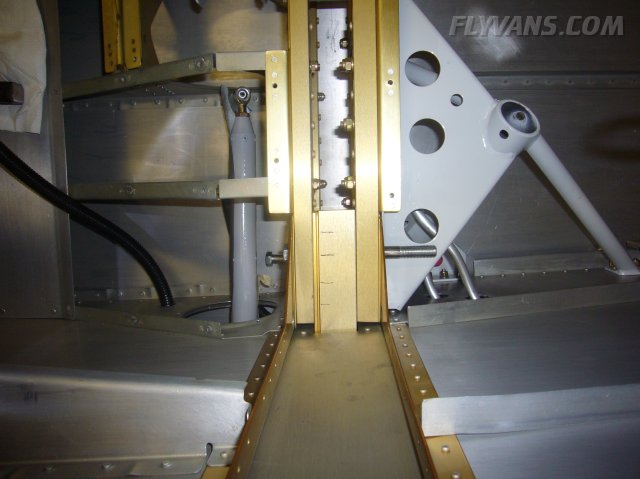
For the moment just one large bolt is installed top and bottom each. In the end there are a total of 4 large 7/16" bolts and 4 smaller 1/4" bolts holding a wing per side.
The rear spar is only temporarily clamped, drilling that bolt-hole will be one of the most important tasks for tomorrow. This bolt will decide on the incidence angle as well as sweep of the wing.
The standard supply line position from Van's is the upper line, going out straight to the tank... In our case, we have the supply line in the new bottom right grommet and the return line in the top left... This requires both lines to be offset slightly for their fittings on the tank. The bottom line will have to end approximately in line where the top line exits the fuselage. And the top line will be bent inline with the marked position, to fit the return line on the tank.
We were very conservative trimming the rear spar per plans a while ago when we worked on the QB wings. Now, we had to file away some more in order to not get any forward sweep.
The left wing ready for installation. Of course we had to support the now attached right wing, as it has enough leverage to lift the fuselage sideways.
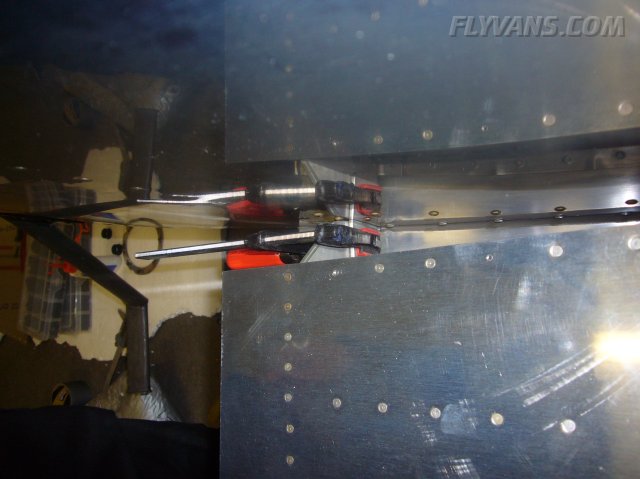
The aileron pushrod is protected by duct tape.
The same style for conduit protection is used as within the wings.
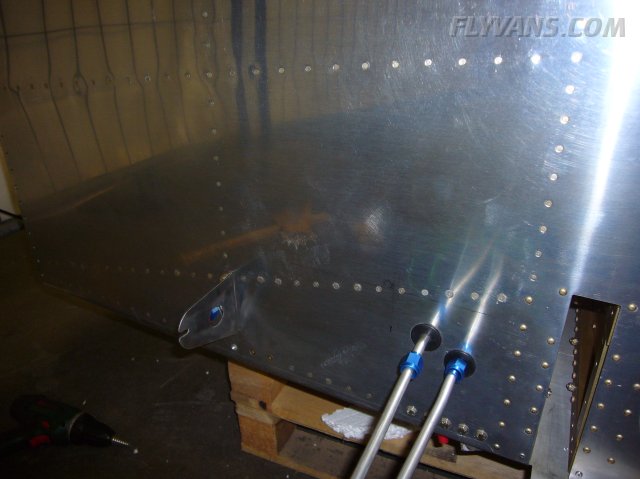
The fuel lines at their predetermined positions and fully flared.
The left wing actually was quite a pain to install. On the right wing we had all the learning curve so we had thought to save much time on the left side. But it took as just as long but also much more sweat and physical work to get it installed.
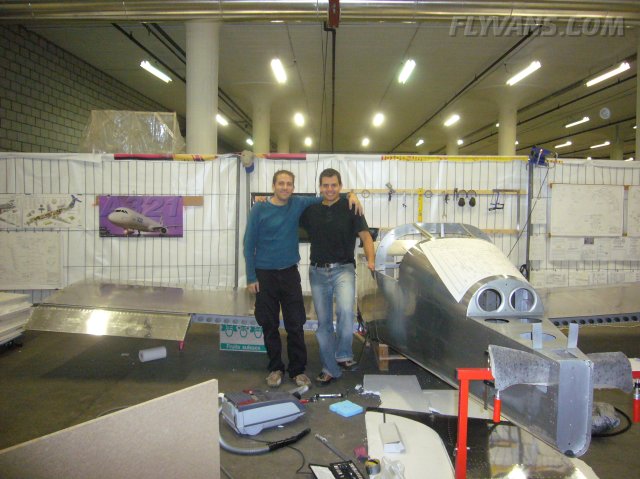
HB-YMT with its proud builders :-)
But still sitting on freight pallets :-(
Next will be to finish the wing installation (rear spars and fuel tank brackets), control pushrod rigging, flap installation etc...
Some slight adjustments will be necessary yet, but a first measurement confirms an almost perfect fit... When measured from a common point on the tail, the distance to each wingtip only differs by 2.5mm!!!
|
|
|||||||||||||||||||||||||
|
||||||||||||||||||||||||||
|