|
|
|


|
| |||||||||||||||||||||||||
|
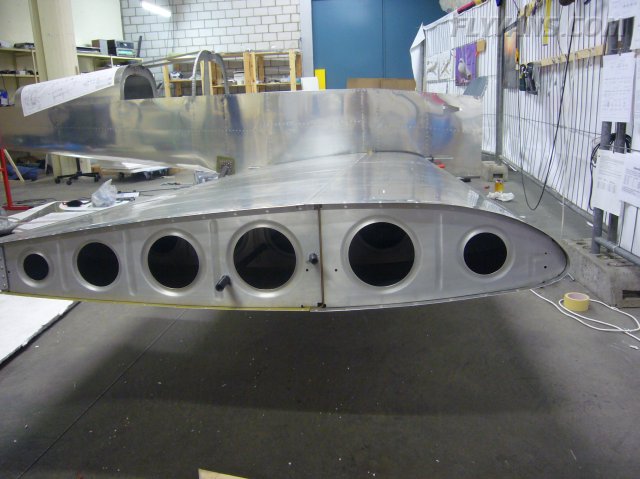
By fitting the wings to the main spar, wing installation isn't complete of course. Very important measurements have to be made to assure future straight and level flight. Wing sweep (0°) and wing incidence must be set, then fixed. 
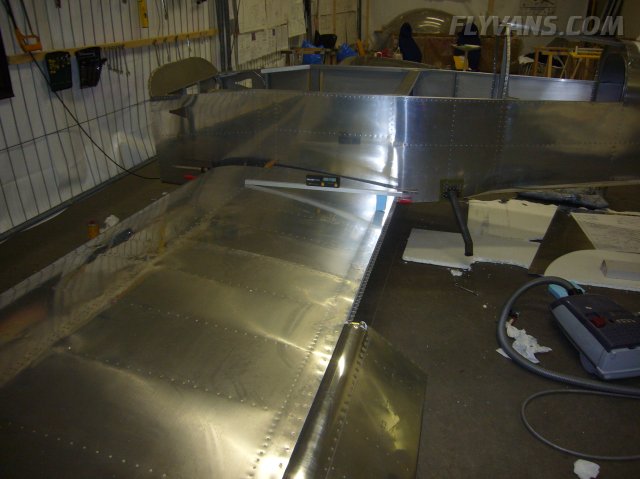
The wing incidence is measured and set per Van's instructions and plans. The rear spar can still move up and down at this stage.
The wing inicidence jig is aligned level with the reference plane on the fuselage.
And most importantly, left and right wings must have the exact same incidence!
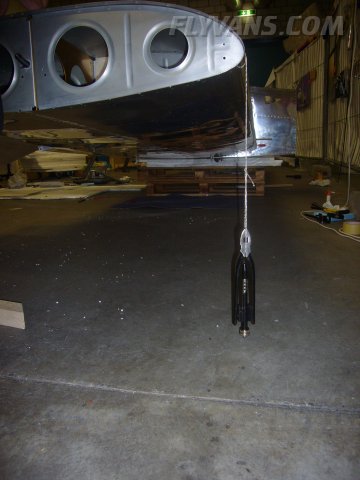
Wing sweep is checked by dropping a plumb line from different in- and outboard locations on the wing leading edge. Done on both sides, this must result in a straight line, at a right angle to the fuselage.
Make sure you always clamp the rear spar, as any movement will require measuring all over.
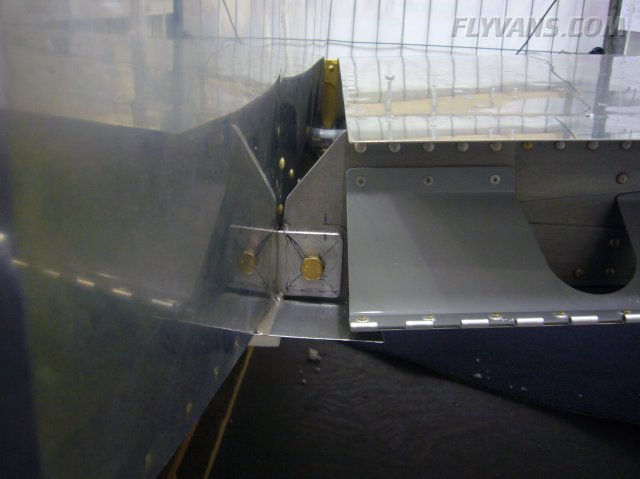
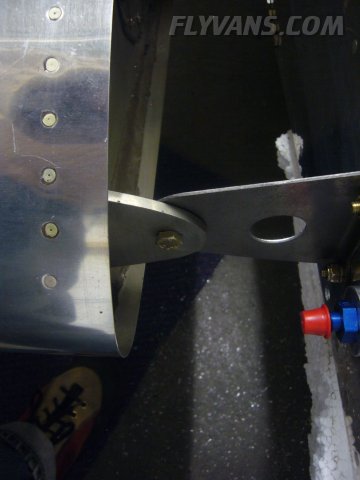
Then the rear spar attach bolt is drilled. Starting with a long 1/8" drillbit for horizontal reference, then gradually sizing up drills will enlarge the hole to take the required AN5 bolt.
Then, the fuel tank bracket can be drilled.
Now the wing cannot move any longer and all measurements are double checked. Everything fit well on both wings, don't ask us what to do if anything wouldn't fit ;-) Replace a wing maybe, rebuild the fuselage? We fortunately don't need to know :-)
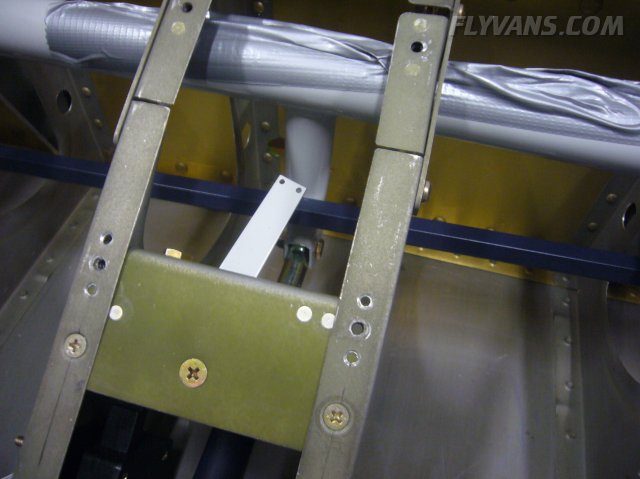
Now the flaps are attached to the wings.
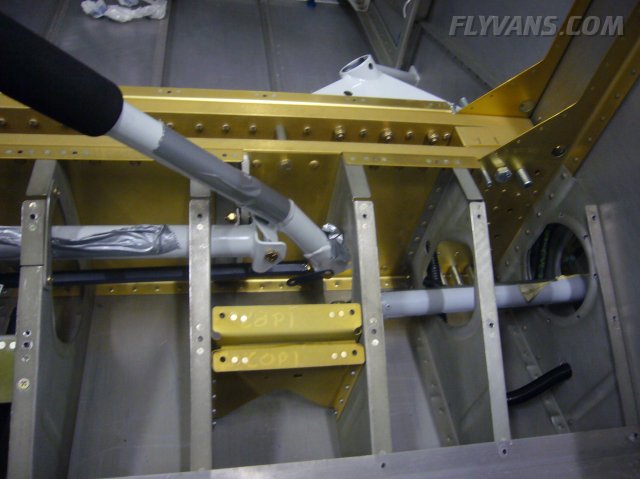
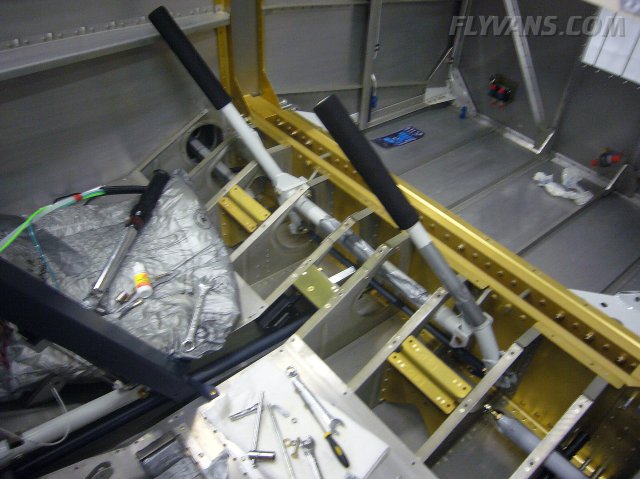
And the flight controls installed permanently. (At least we hope they're in for the last time... Studying the instructions ahead didn't appear to give any objections.)
Note the large foam grips. The standard foam from the Ray Allen Stickgrips is pretty large in diameter and gives a somewhat bulky feel. Fortunately we found these grips in a bicycle shop, which have just the right feel and much less diameter to them. Standard bike sizes are 22mm ID while the Van's control rods are 1", about 25mm OD. If the grips are flexible enough and can withstand some expansion, they can be fitted quite easily with the help of an air pressure gun.
The aileron trim system springs can also be installed at this stage.
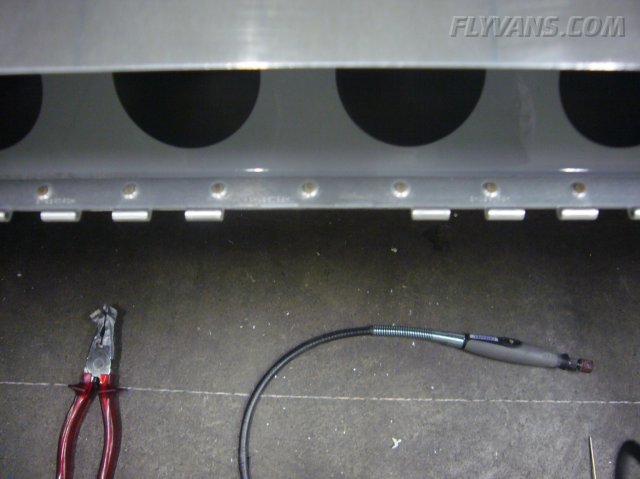
The flap hinge pins are split in the center and have to be bent to fit. They will be secured later on. Cutting them is a job for the dremel as the pins will ruin your other cutting tools.
Starting to really look like an airplane :-)
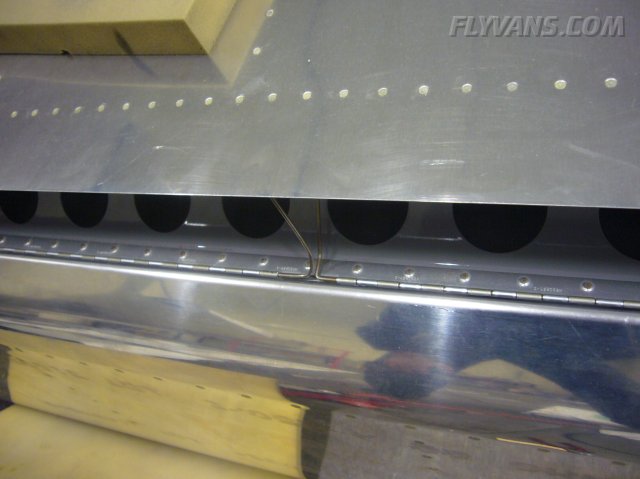
One of the next tasks is to enlarge the hole for the flap pushrod in the fuselage.
|
|
|||||||||||||||||||||||||
|
||||||||||||||||||||||||||
|