|
|
|


|
| |||||||||||||||||||||||||
|
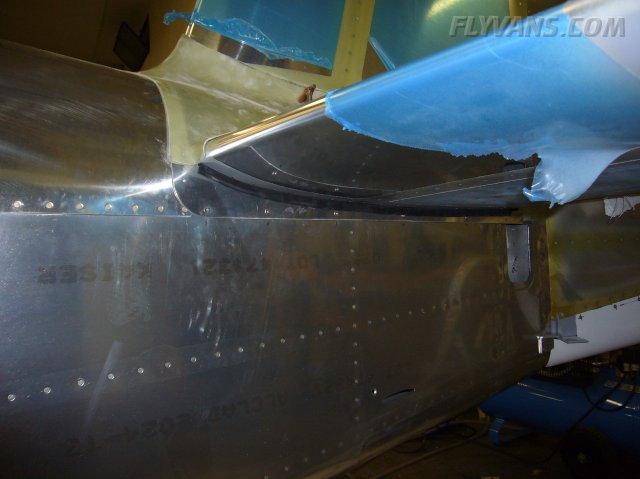
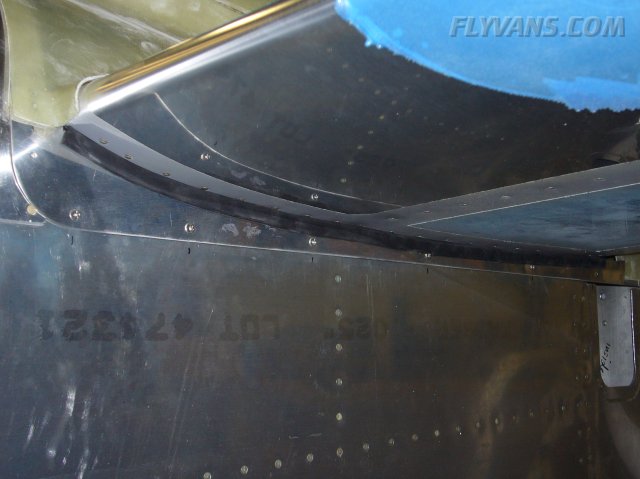
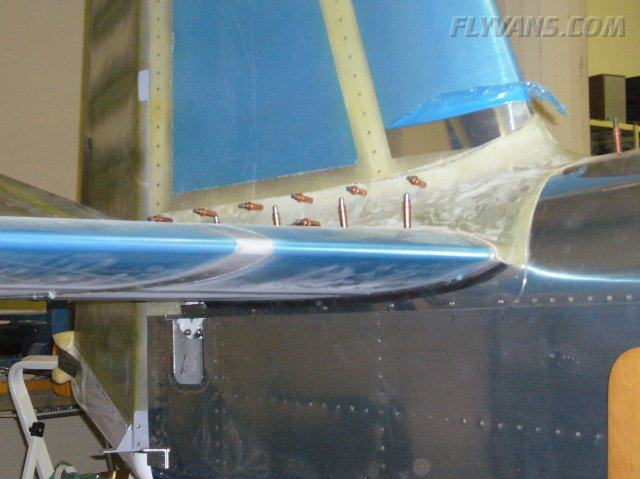
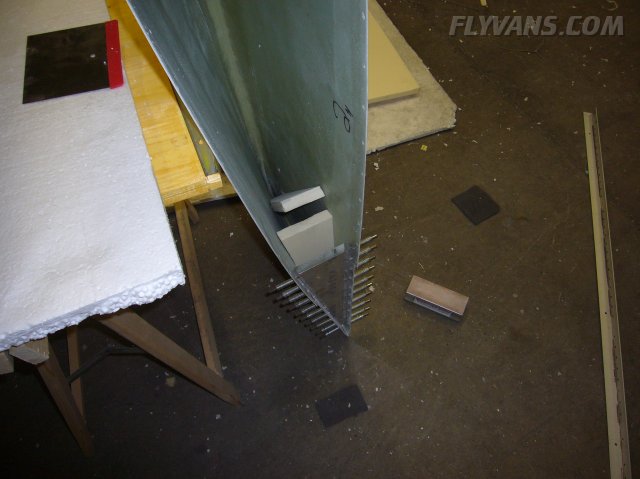
Fitting the rudder stops. Manufactured the brackets according to the plans. Ended up being marginal on rivet edge distances etc... Make sure you do not grind it undersize and give yourself some extra room to play when fitting. 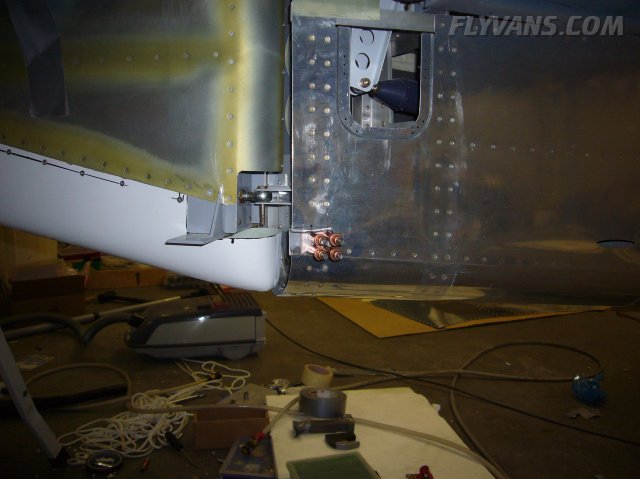
You would not believe how much work there is involved with the empennage fairings. Several put-them-on/check-it-out, then remove-again-grind-some-off steps required.
Everything ended up fitting very well, though. Recently looked at a rockwell commander and its fairings... Butt ugly compared to an RV :-)
And the rudder stops riveted in place.
Smiling at the current progress...
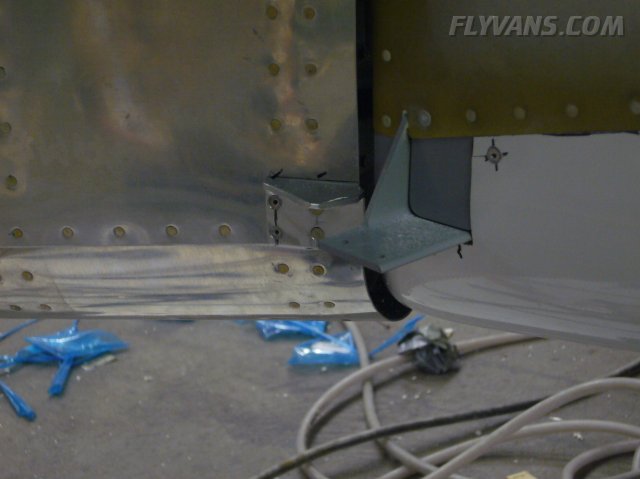
Now on to installing all the required nutplates.
Most of them fit very well, we also had left almost all the required holes open. Only had to drill out a few rivets from the QB-fuse.
Also, on the most rearward nutplates, i didn't like the minimum distance to the spar/inside rib flange, so used some one legged nutplates.
After being drilled waiting for the rivets.
Also, when there was a halfway overlap with an existing rivet, cut off one leg instead of drilling out the rivet and creating a "double-hole". After all, it's only riveted to hold in place while mounting, the screw will then take over.
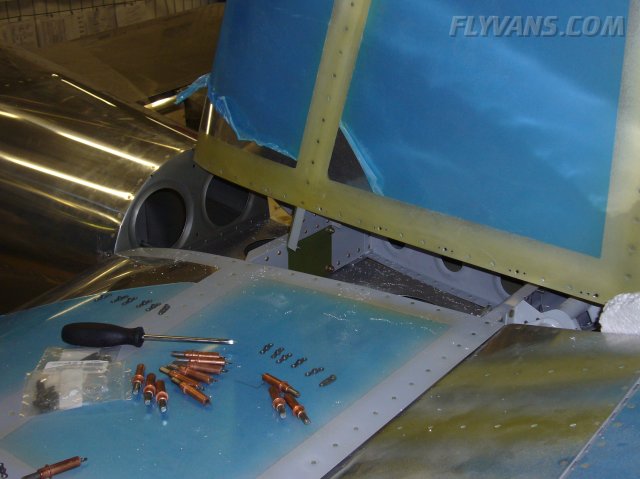
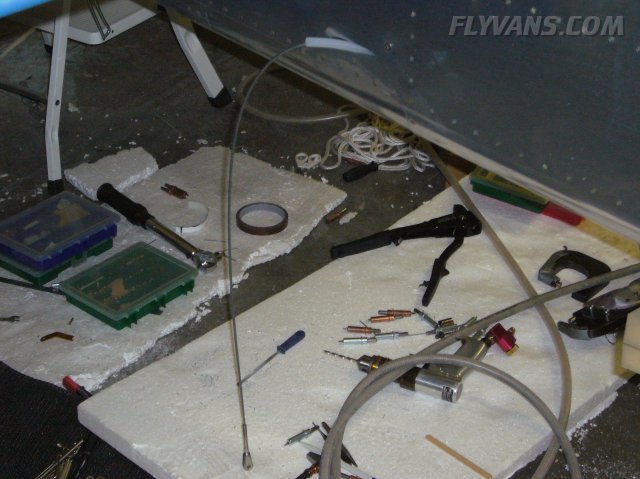
Inserting the rudder cables.
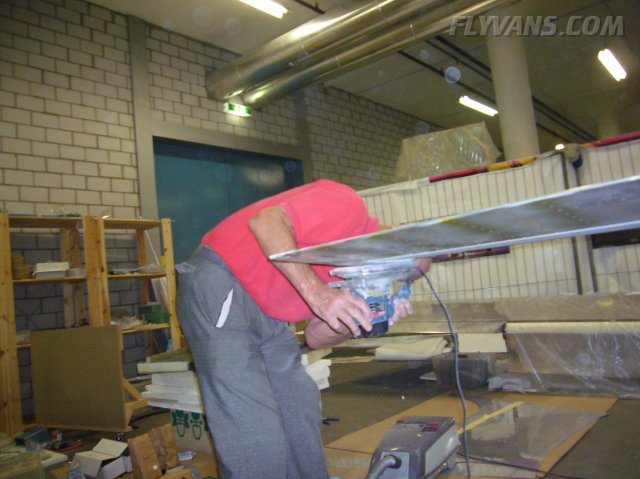
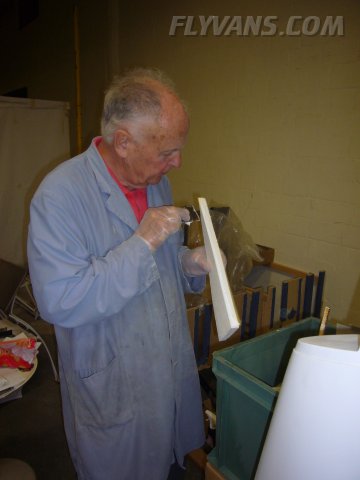
Reiny, who built a Velocity 173 RG, has offered to help out with the empennage tip fairings. Of course, he is quite the pro, having built a complete airplane that way... He got more done in a single step than what we could in maybe 4.
Also, amazing how he handles that rather powerful machine and sandpaper on the delicate skins.
Again, lots of dust... Some cleaning will be required before we can think again about painting the interior.
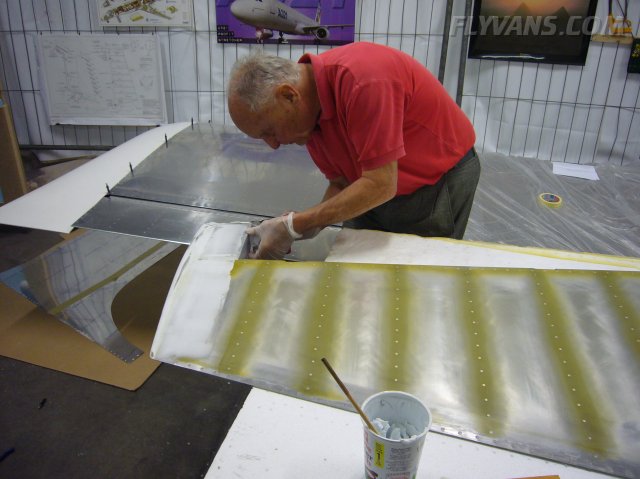
After the sanding, another round of filler.
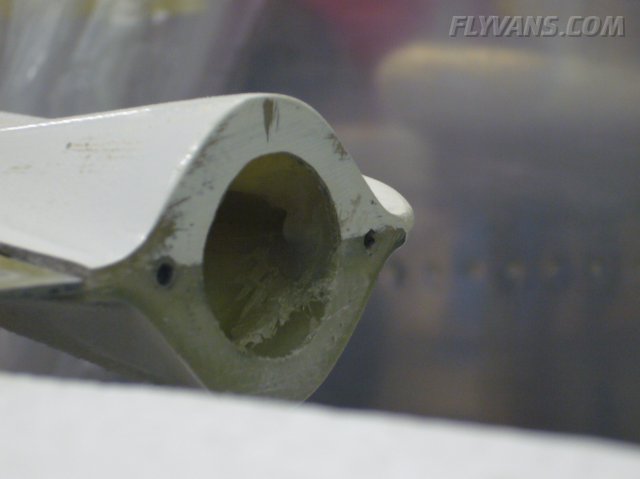
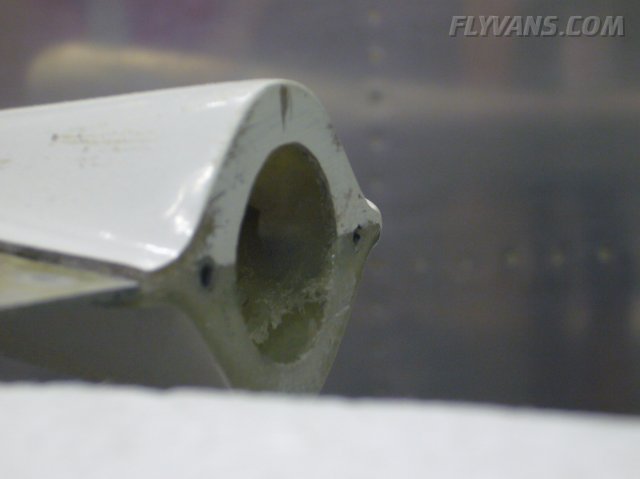
Here's a closeup of the taillight mount in the rudder bottom fairing... As already mentioned, a piece of piano hinge is tapped for a #4 thread and held in place with hot glue...
Easier than any of the glue nut in place type methods.
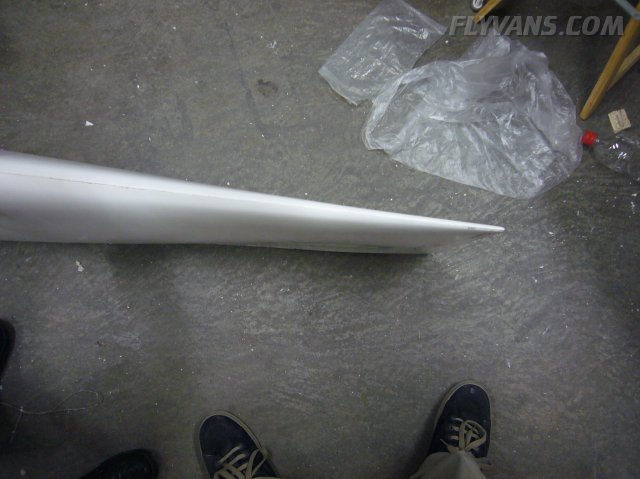
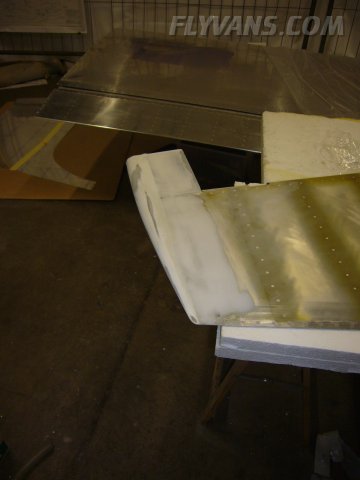
The wingtips actually had a positive surprise in store. When we fitted them a while ago, the were extremely creepy, with one wingtip trailing edge hanging extremely at the outboard edge, not a nice sight. Now that we stored them on the mounting face, somehow they realigned themselves. Both now fit much better than they used to! There was still a noticeable dip in the aft part, though.
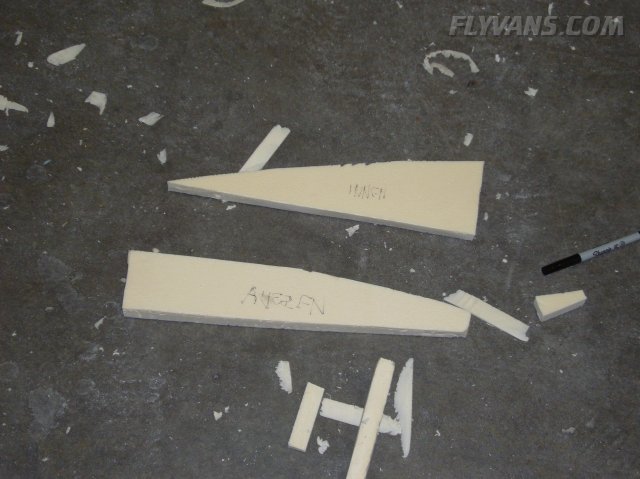
So, made a few ribs from styrofoam to stabilize the wingtips...
That's how they are placed.
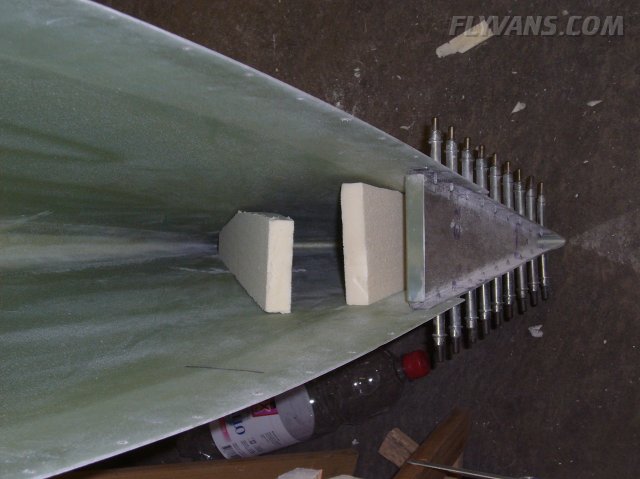
Also, once the aluminum rib is fitted, stability is much better.
Using some of the epoxy filler to glue the ribs in place.
Also mounted the Van's static kit. We had first thought about installing "nice" polished ports etc... We even ordered some from spruce way long time ago. But everytime you read about "improving" the Van's el-cheapo blind rivet setup, it's pretty much a complete failure other than for the looks. But we'd rather have accurate instrument readings, so we decided to go with what's proven.
And the whole thing installed. Glad i got some cheap and light plastic clamps at oshkosh, used them with pop rivets right away :-) The large black globs are silicone.
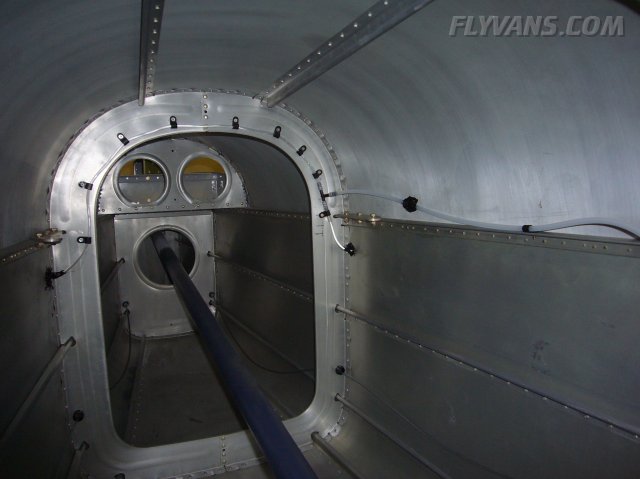
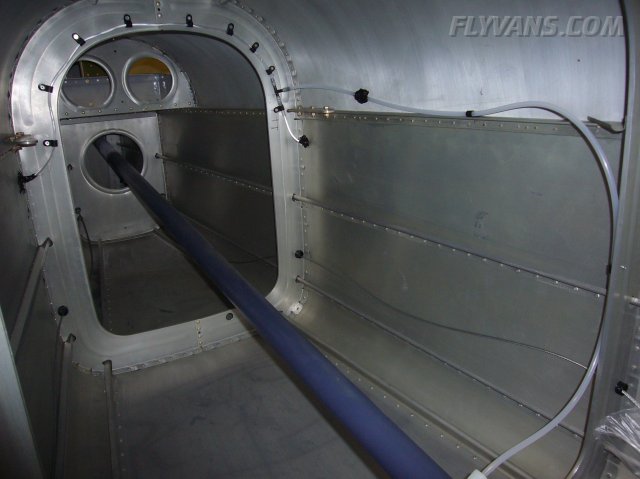
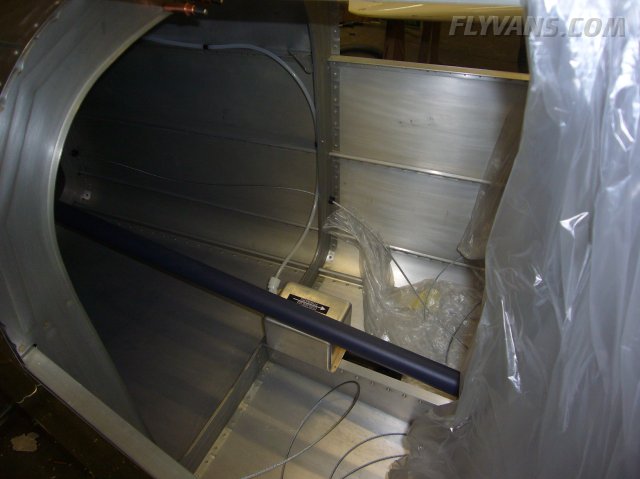
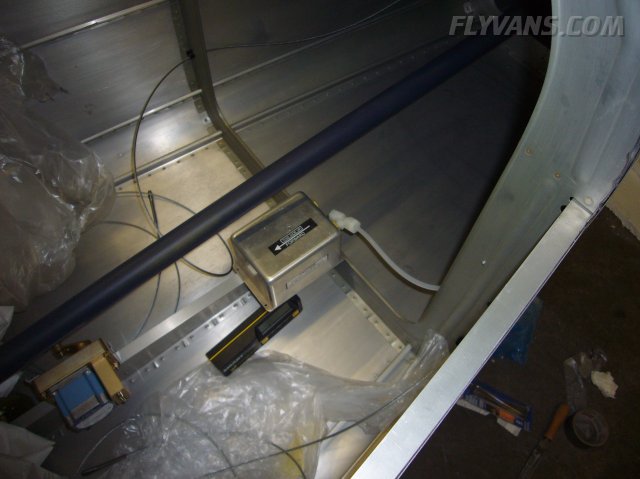
The static line will run to the bottom fuse (where the AHRS/ADC [spoken "eihaaars", Attitude and Heading reference system / air data computer]will sit) and from there along the right side of the fuselage fore to the panel space. But that's only going to be routed once the canopy mechanism and all is in place.
Provisional location for the AHRS. Will fabricate a mounting bracket to align with the fuse in all axis.
We've seen an RV at OSH that had the static port painted over and not cut open! How could one not notice??? Agreed it's small, but that pin-sized hole is very important to any pilot in any size of aircraft!
Van's now sells a mounting kit, but i guess we'll fabricate our own. It's definitely not a big deal in that location.
Very very happy with how the fairings come out.
Again, many thanks go to Reiny for helping out!
|
|
|||||||||||||||||||||||||
|
||||||||||||||||||||||||||
|