|
|
|


|
| |||||||||||||||||||||||||
|
Got an el cheapo tool cart which was on sale. Should take our tools etc... in the longer term. 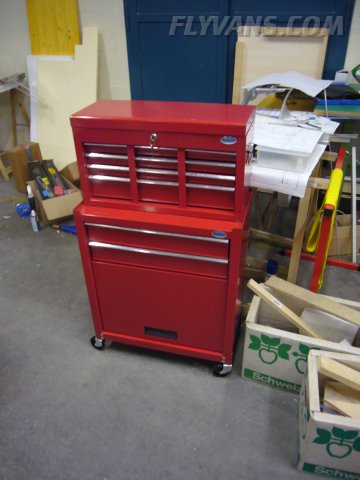
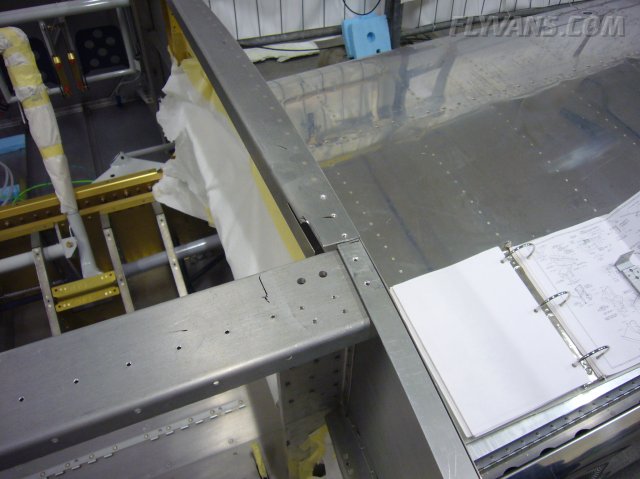
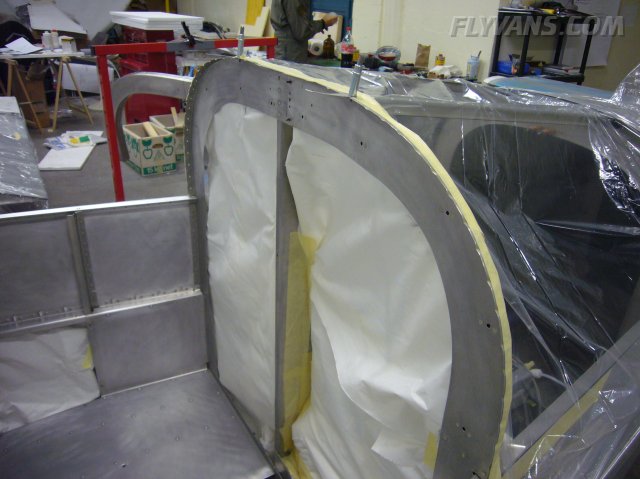
The bracket which was temporarily mounted to the fuselage had to be removed and the slots for the canopy latches cut.
On both sides of course.
A dremel cutting disk with a protective piece of sheetmetal did the trick.
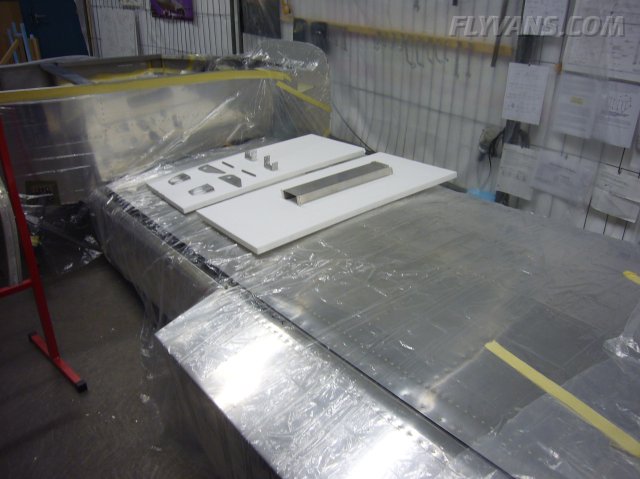
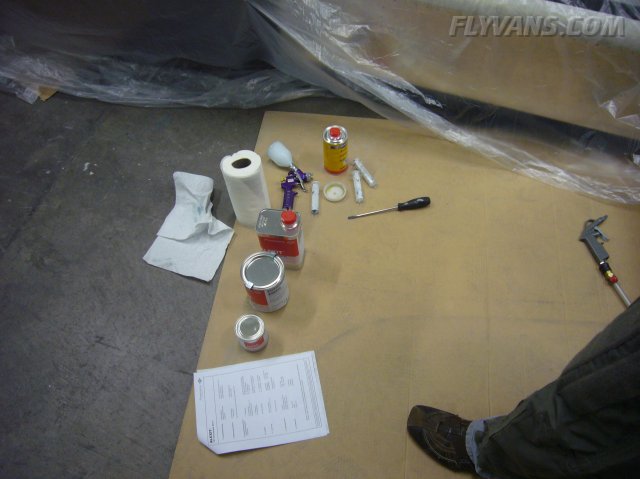
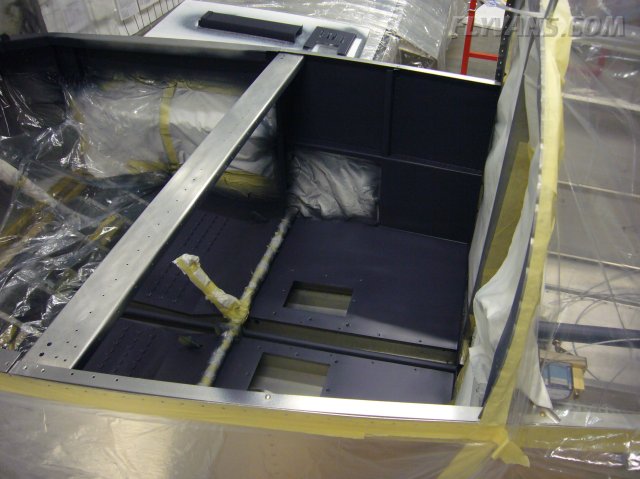
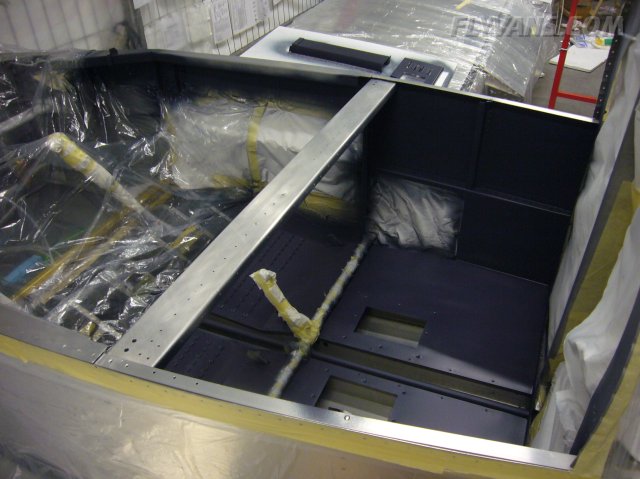
Preparing to finally do some interior painting.
We tried to do as many visible parts as possible. Of course there will be some more eventually, things like the panel etc...
Also the rear top skin has a portion that will be visible from the inside.
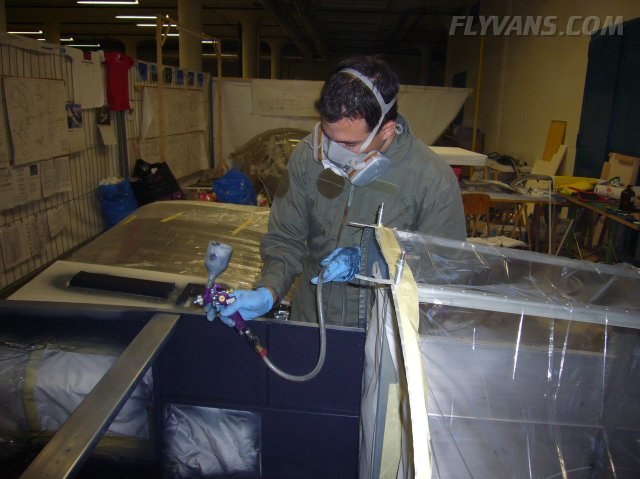
All surfaces prepped with scotchbrite and cleaned with acetone.
The outside of the rear bulkhead will also be visible.
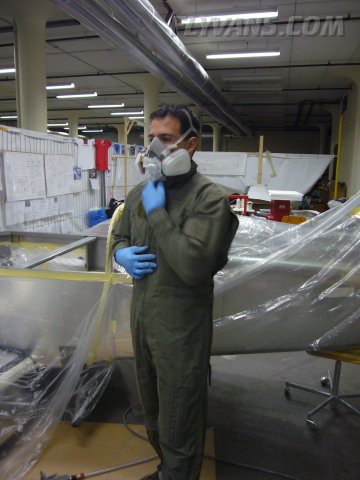
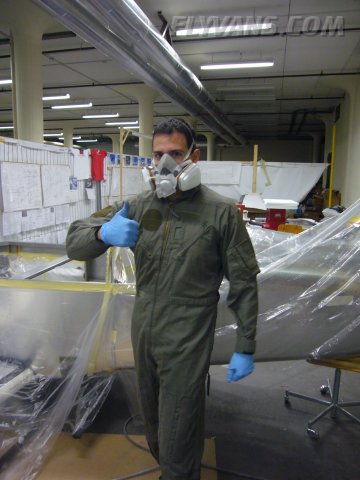
Setting up the paint gun.
Alex is in Switzerland for 2 weeks before heading to the states, so we took advantage of him being able to do the painting.
Everything ready!
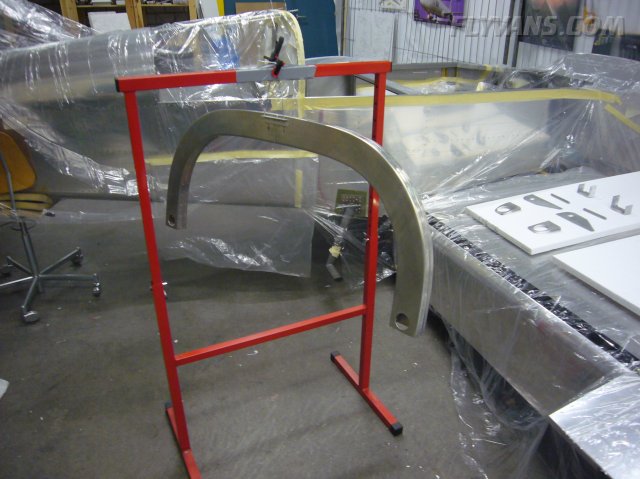
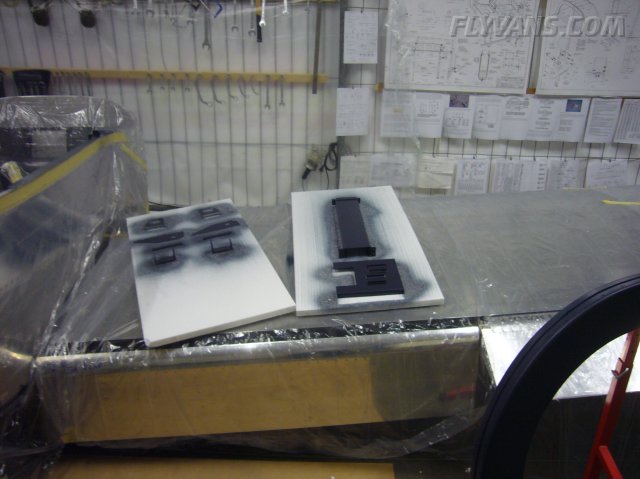
It came out nicely, the color really gives the parts a "solid" look.
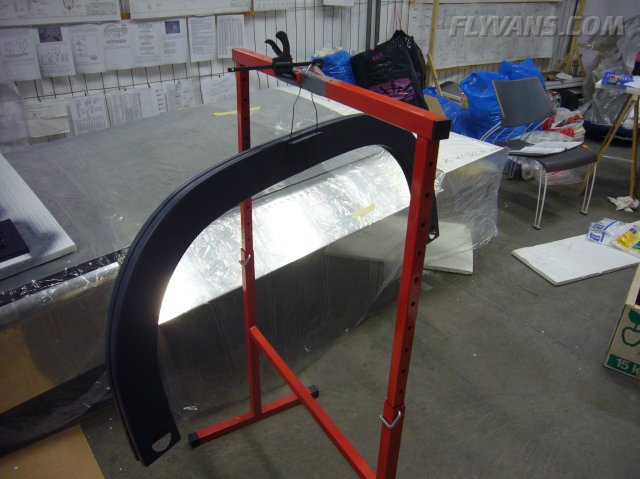
The rollbar needed especially to look good as it is one of the most visible parts.
Also the baggage area/floors.
Painting from the floors upwards, along the sides and then the top areas.
Taking care, keeping the pressure line from leaving imprints.
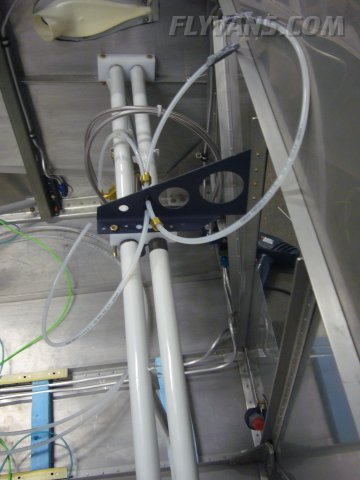
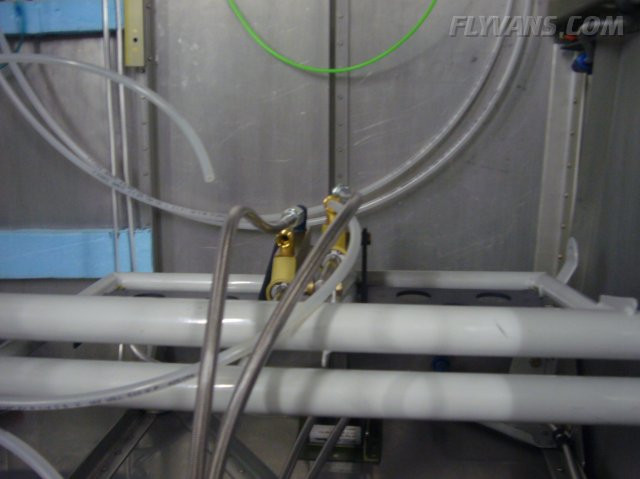
In the meantime we put the brake assembly in place, hopefully for the final time.
We got some nice teflon braided steel hose with anti chafe clear coat from Bonaco which look much nicer than the default Van's. Also we are using this type of brake line along the gear legs.
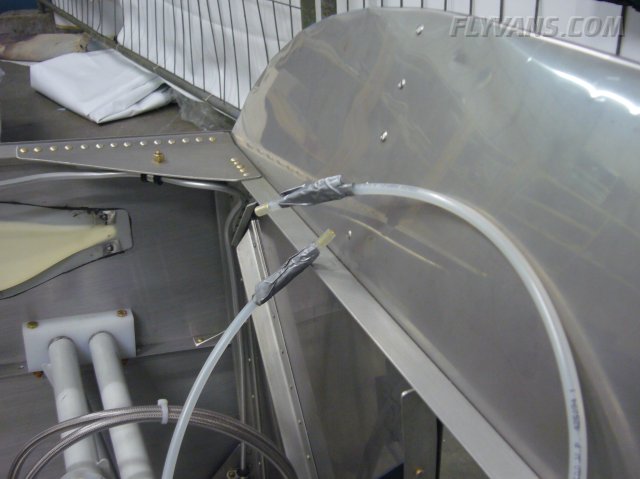
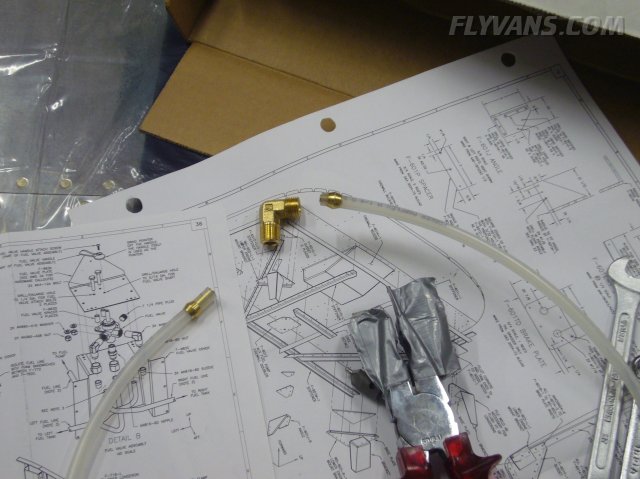
Struggling yet with the Nylon tubing for the passenger brakes and supply side of things.
Installing the brass fittings sounds much easier than it is... Using a cleco plier proved to be working quite well.
|
|
|||||||||||||||||||||||||
|
||||||||||||||||||||||||||
|