|
|
|


|
| |||||||||||||||||||||||||
|
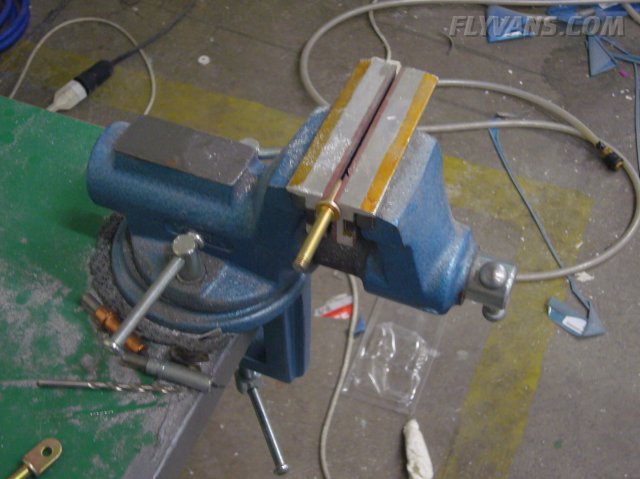
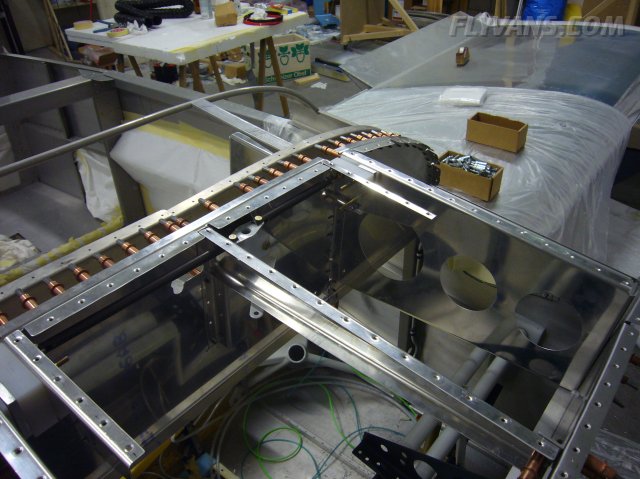
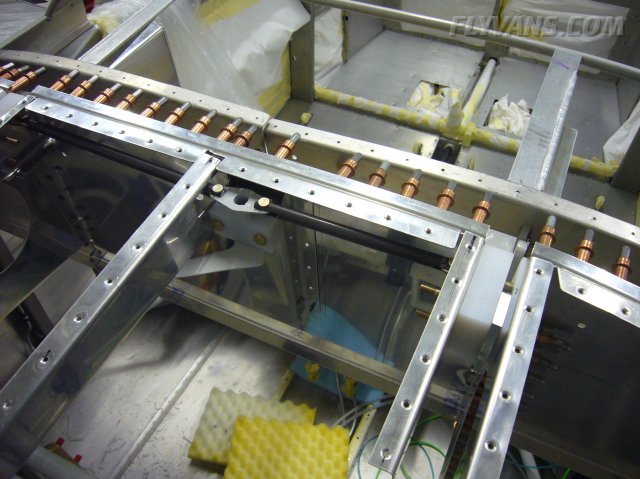
Drilling the canopy hinge blocks in place looks like an easy and quick task but in fact is a multi-step process... First, the large blocks are drilled to the ribs and temporarily fitted. 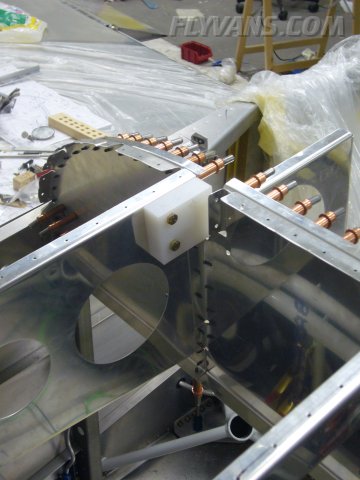
The hinge bolts are made from some trimmed clevis hardware.
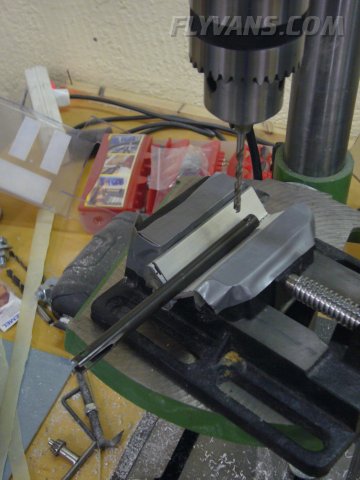
An excellent purchase at osh this year, this threaded tool extension has paid for itself already! With the angle drill chuck, a looong drill can be set up *G*
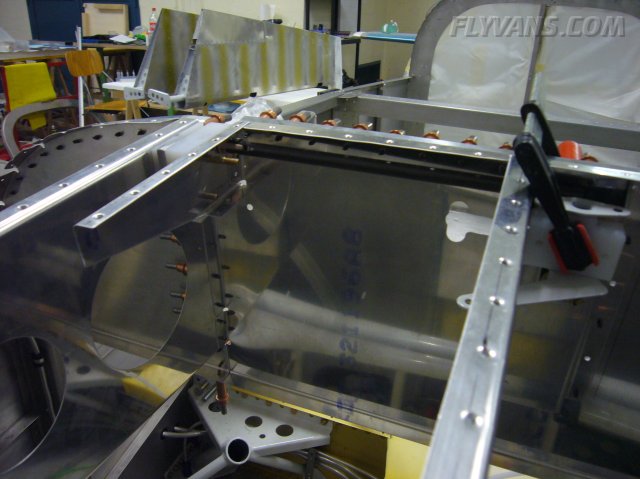
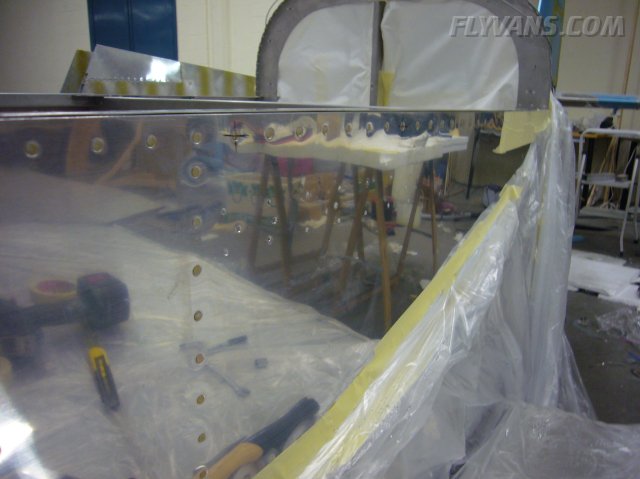
And here it is needed. The front top skin is clecoed in place to keep all the ribs from moving. The various bolt holes must now be drilled all the way through the inner riblets.
Close quarters...
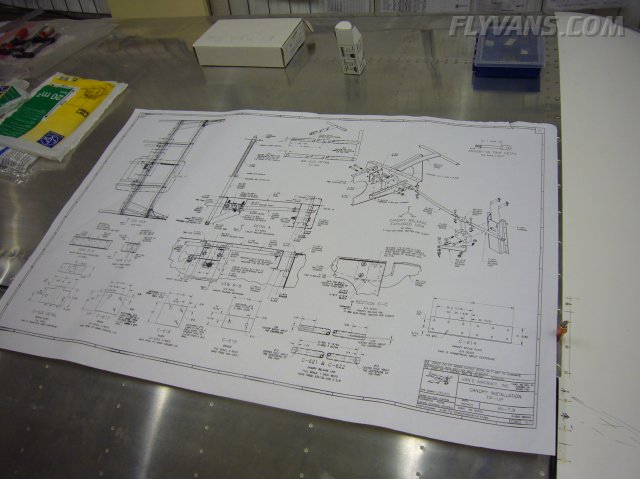
And that's how the whole assembly looks on the plan.
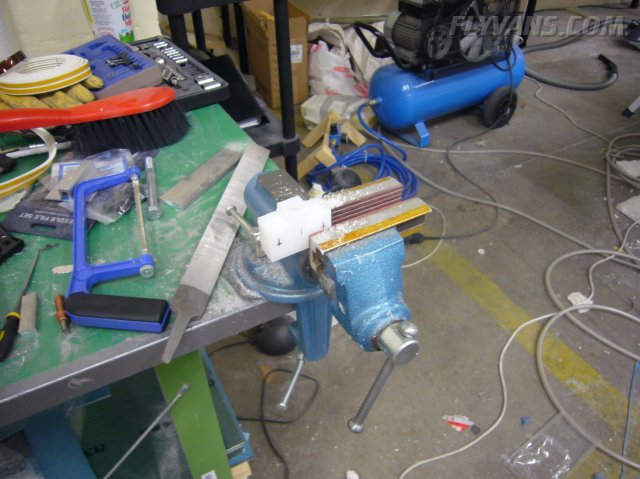
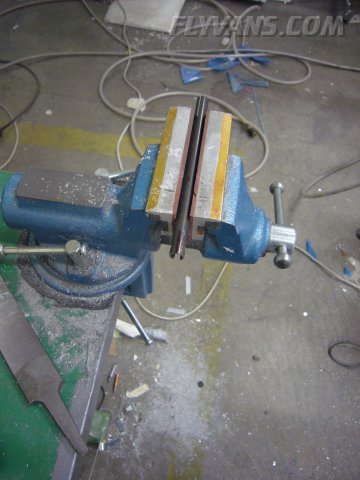
Another UHMW (Ultra High Molecular Weight) block has to be trimmed to size. They are used all over the place when something needs to be hinged, should not scratch etc... I call them "humvee" blocks ;-)
This part needs a slot for the bolthead from the rotating assembly that will be attached to it.
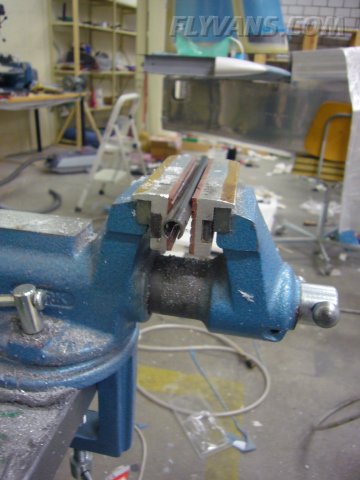
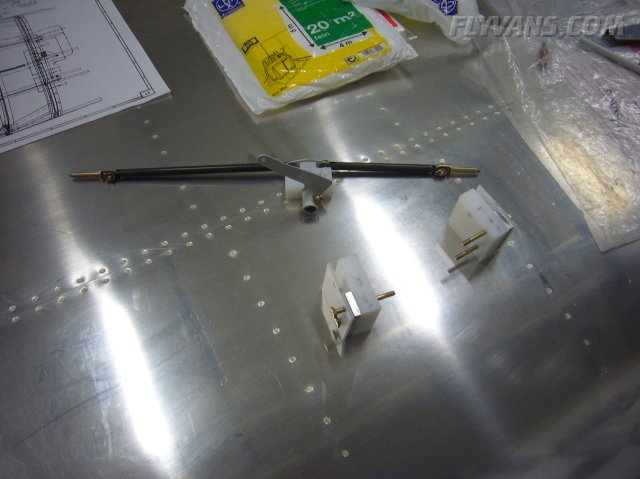
Fabricating the pushrods. I made the slots all close tolerance but it wasn't worth it. Had to enlarge them quite a bit to allow for fitting and smooth operation.
A cutting disk on the dremel works best.
While the short rod was perfect in length, the longer one needed some trimming.
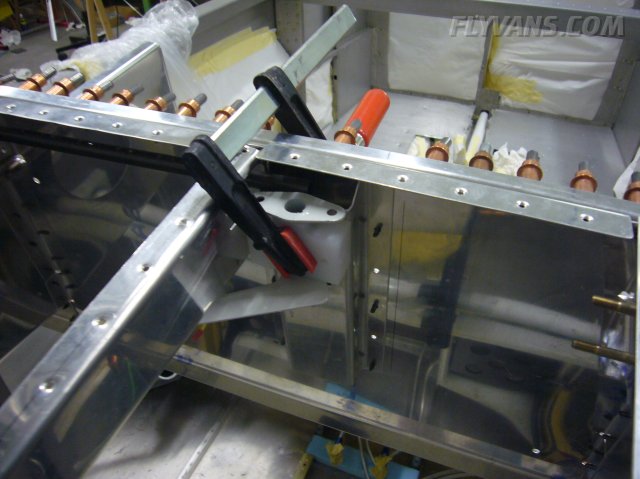
Also temporarily positioning the UHMW block with the actuactor.
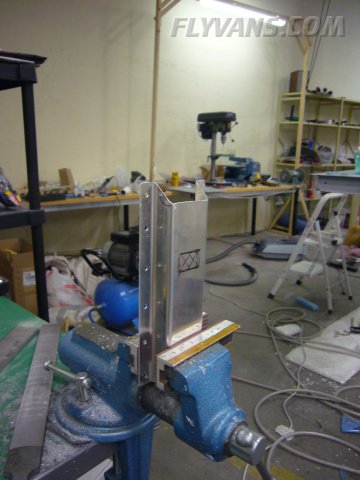
Drilling the pushrods... Used some aluminum angle to keep the rods from moving.
Everything temporarily installed with the center block positioned and drilled.
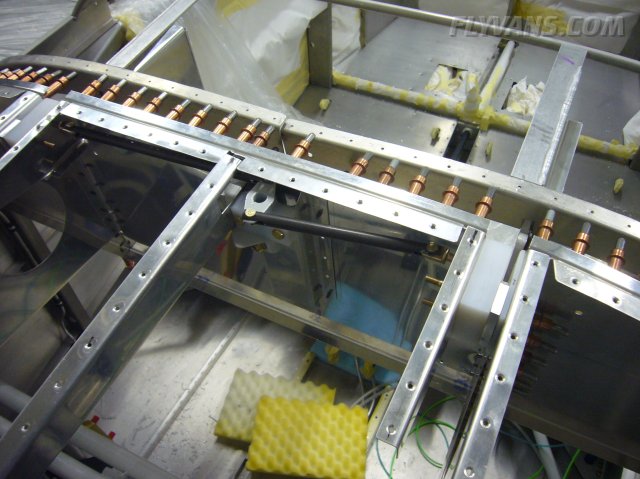
While the center block sits slightly high, the hinge blocks turned out both slightly low. Final installation will be a major hassle... All these parts only go in place once the full forward structure and skin is riveted on! Also only 3 of the 4 bolt pushrod bolts can be final installed now. The fourth will have to be mounted with the large pushrod already through the center rib.
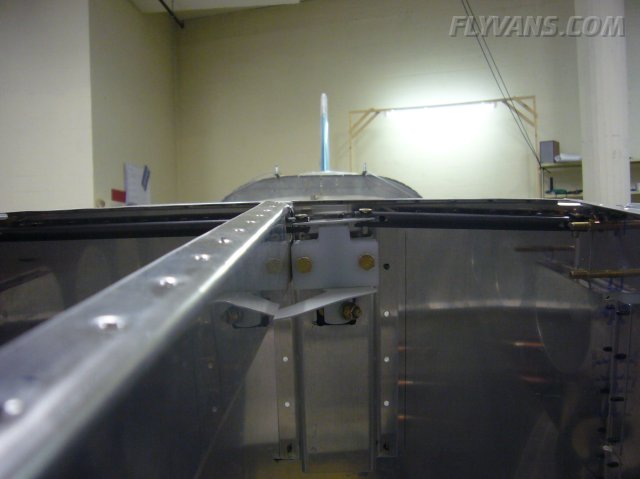
The whole mechanism in the "release" position. This will rarely be used other than maintenance and installation of the canopy.
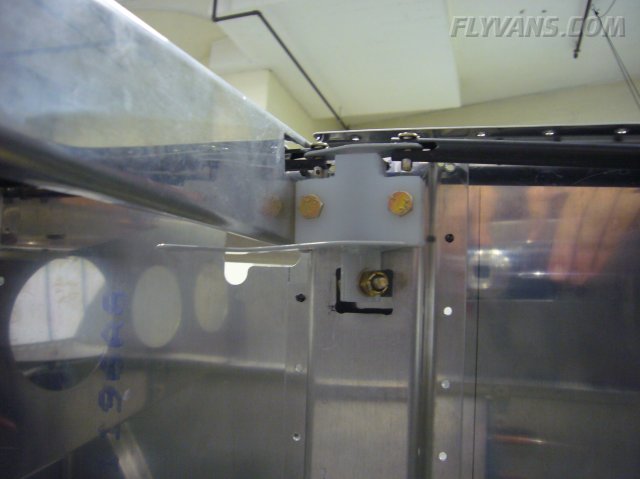
And in the locked position. The bolt holding the canopy can clearly be seen between the two UHMW parts on the right side of the picture.
Spacing to the center rib was quite tight, so the actuator arm had to be slightly bent downwards.
A couple of hours work closer to first flight ;-)
In the meantime, tore down all the front deck parts, deburred, dimpled etc... They're now ready for priming and final installation when the time comes. Now on to the canopy latch mechanism.
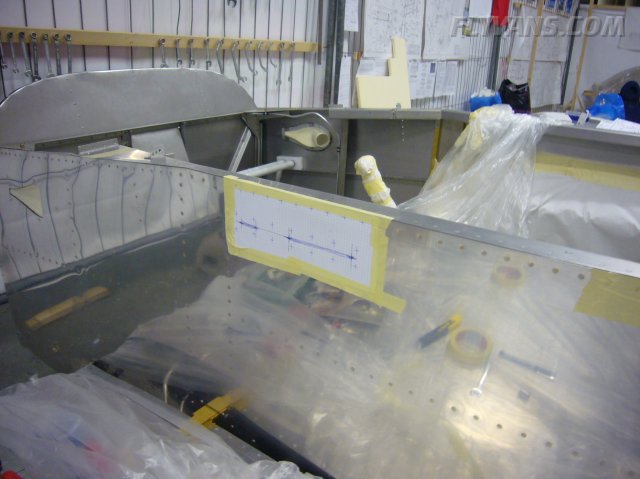
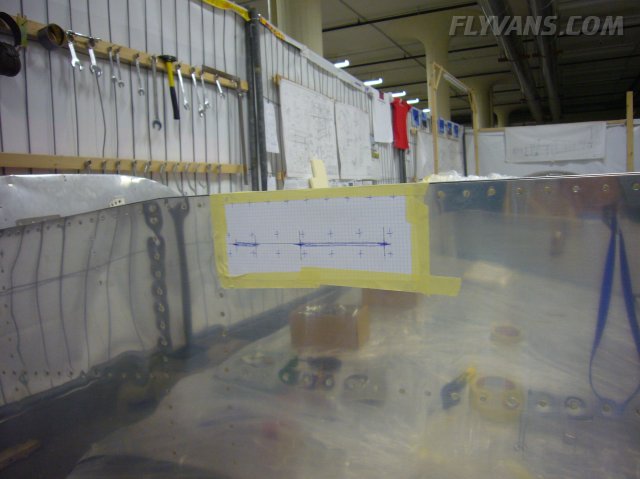
Copied the drill/cutout template from the plans and taped it in place.
All the holes drilled. Next will be grinding/filing/dremeling the two slots for the latch handles.
|
|
|||||||||||||||||||||||||
|
||||||||||||||||||||||||||
|