|
|
|


|
| |||||||||||||||||||||||||
|
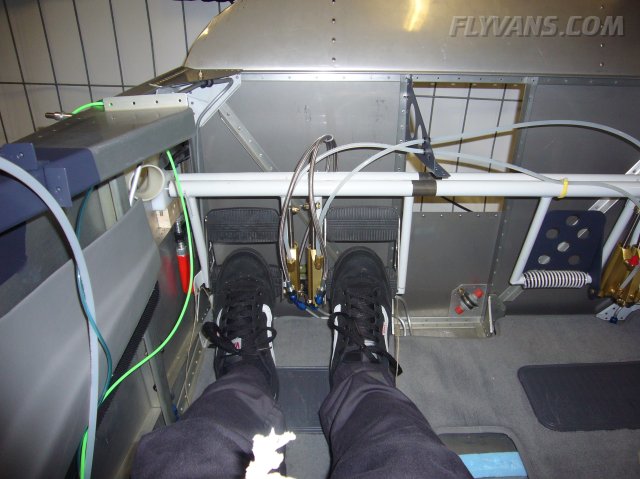
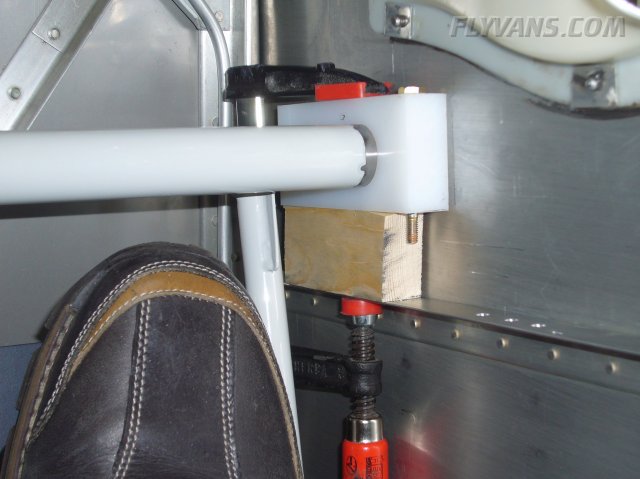
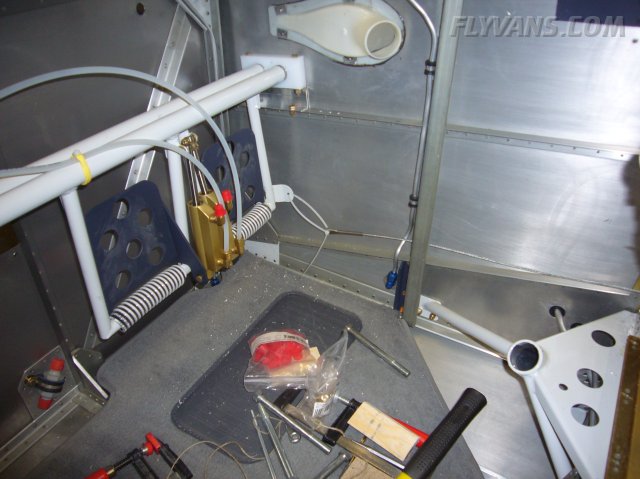
Domi was able to borrow a pair of Cleaveland "Suregrip" Pedals from fellow 7A builder Hansjörg Lingg for trial fitting. 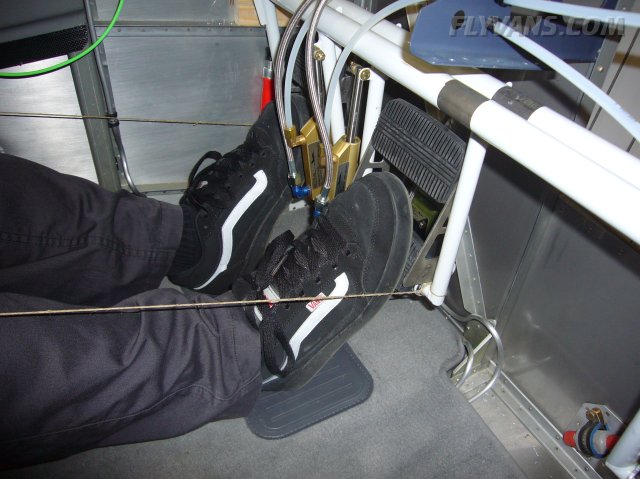
They are awesome! But at the current pricing will set us back quite a bit... But we'll have no other option than to get 4 of these. They, together with the rise of the whole weldment assembly, elegantly solve the ergonomy problem of the default pedals.
Dreaming of how we will cruise along at 175KTAS ;-)
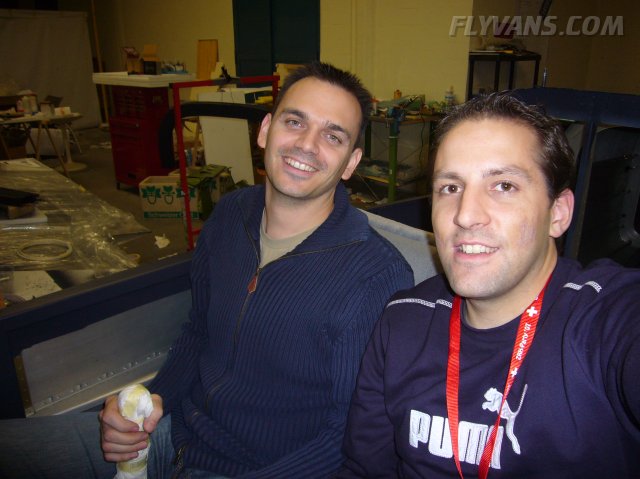
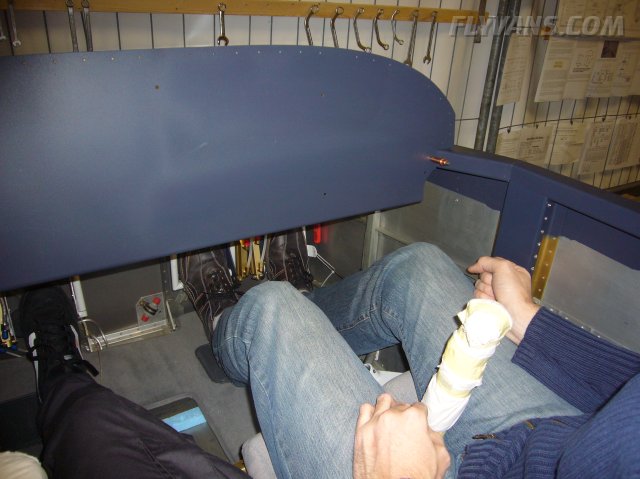
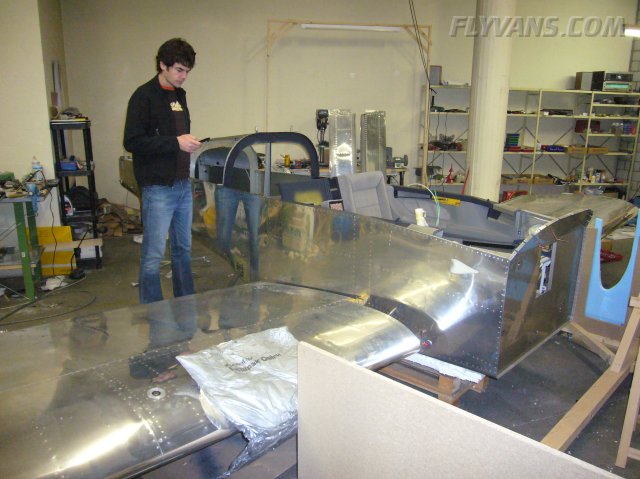
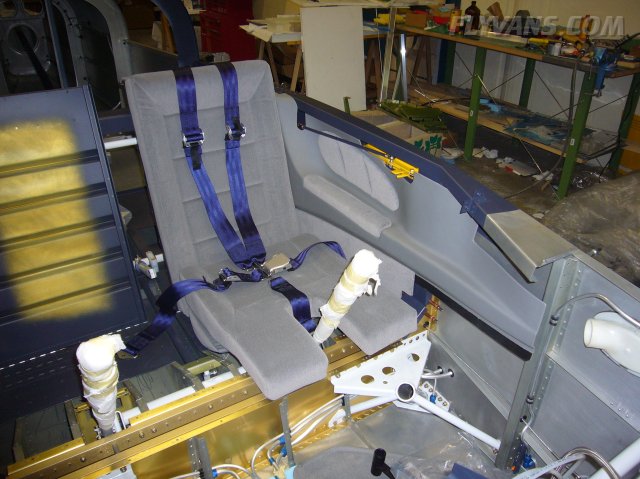
Also put the panel in place, so Domi with his supersize legs could test knee-margins...
The basic ergonomy problem remains the same. Domi will probably have to rise the weldment as well as leave out any carpet because of his shoe size!
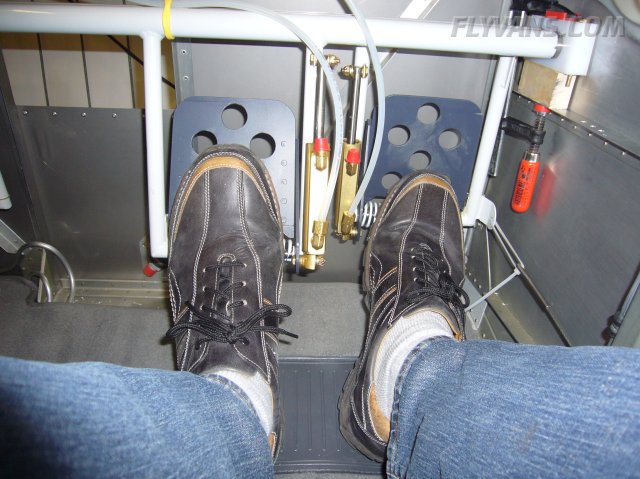
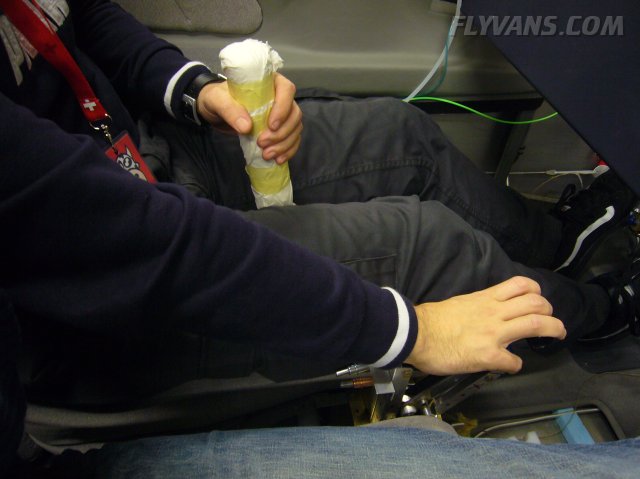
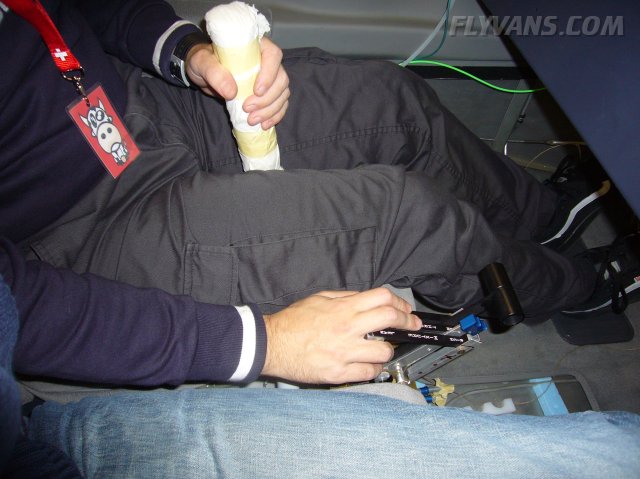
Testing with various configurations, spacers, fore/aft positions and inclination.
This is what proved about right as a riser, yet still allows a comfortable installation without too many mods. This offsets the thickness of the carpet plus adds about 15mm in height.
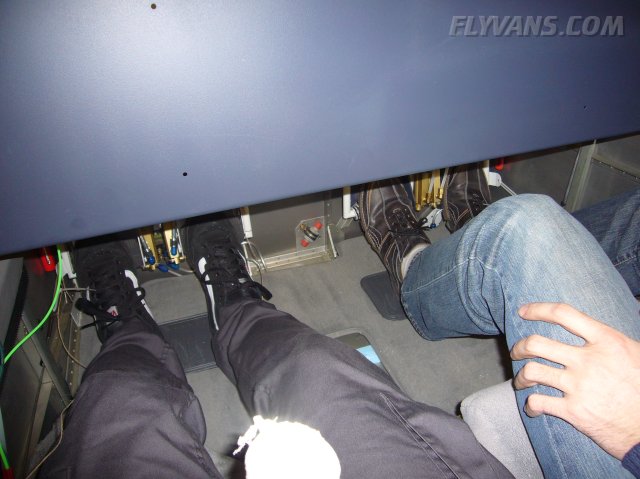
Nice comparison between leg positions. In the left configuration, the rudder can be actuacted by ankle movements only, very relaxing.
Also proving the center console/throttle quadrant position.
Even though we go for a fuel injected Lycoming (ordered from Mattituck, delivery sometime in Feb 08) requiring 3 levers, we'll stick to the throttle and prop levers and put the mixture as a vernier below the panel.
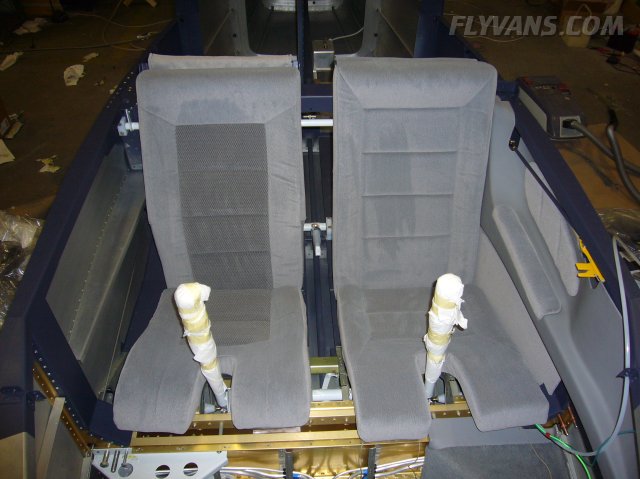
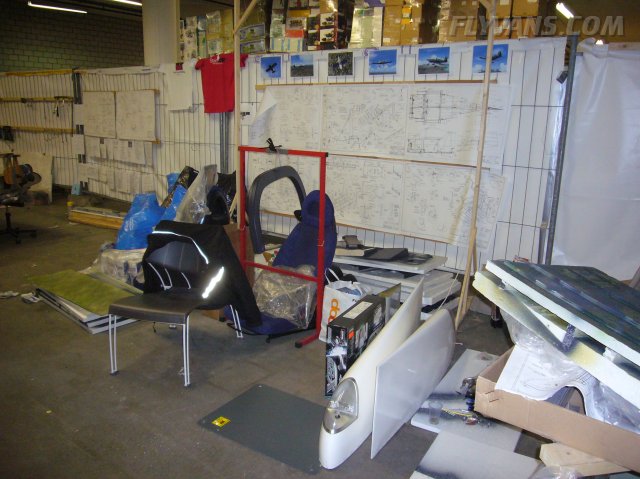
Side by side comparison of classicaero products. Right side is Van's standard foam upholstered by classicaero, Left is classicaero proprietary.
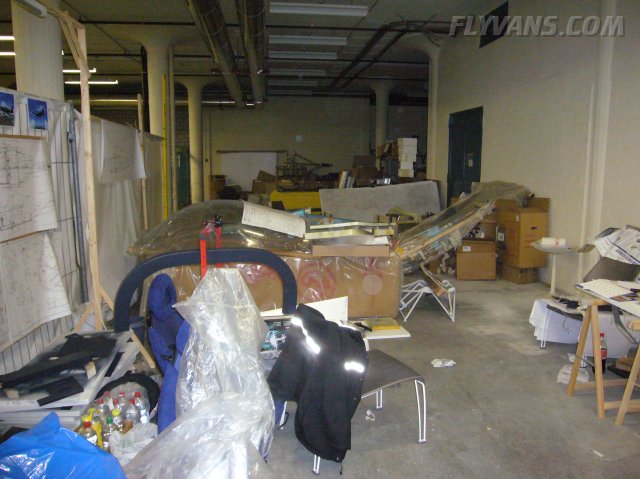
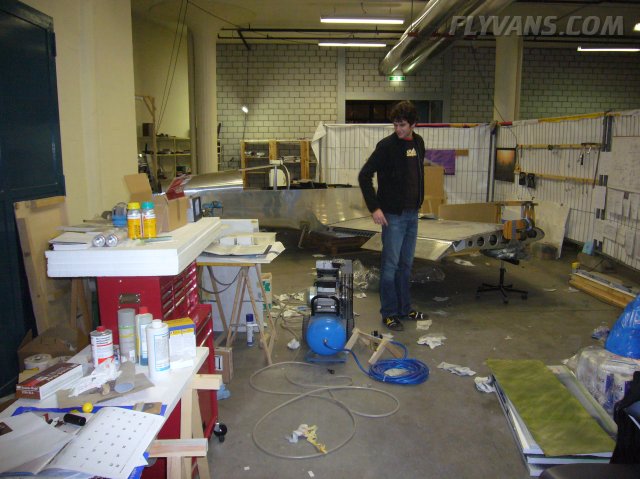
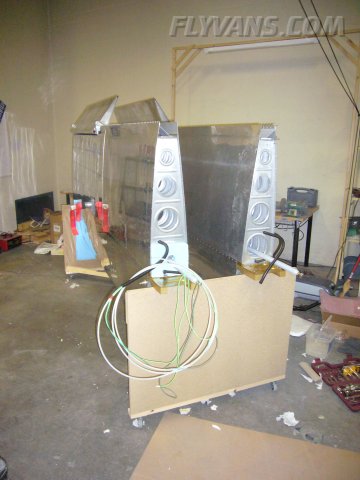
Again on pretty short notice, a new party moved into the remaining hall. That required some shuffling of the workshop. Lucky that we can keep the same size, just had to move a bit to allow a door to be used by the new renter. Fabian and Mathias (not pictured) helped with the removal of the wings. Thanks guys!
We enlarged towards one side of the workspace.
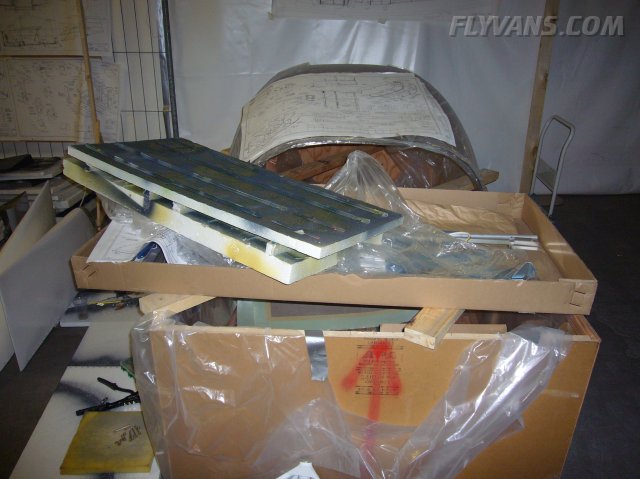
The finish kit crate. Canopy is up next.
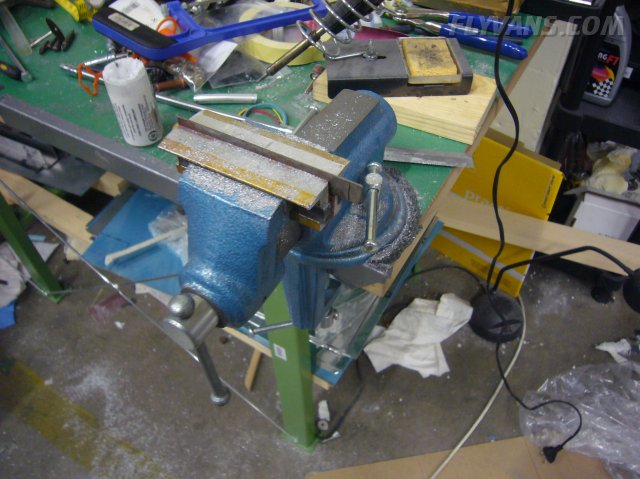
A cleanup/organizing session for the workshop would be helpful once in a while. Too bad there's always a more interesting task to be completed ;-)
Removing the wings was trickier than thought. The problem was that some of the bottom bolts could not be tapped out. What worked in the end was an air impact ratchet, by slightly pulling and turning on the bolt heads.
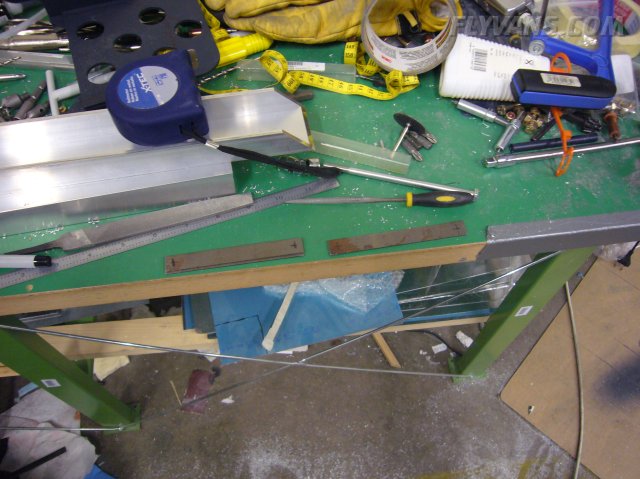
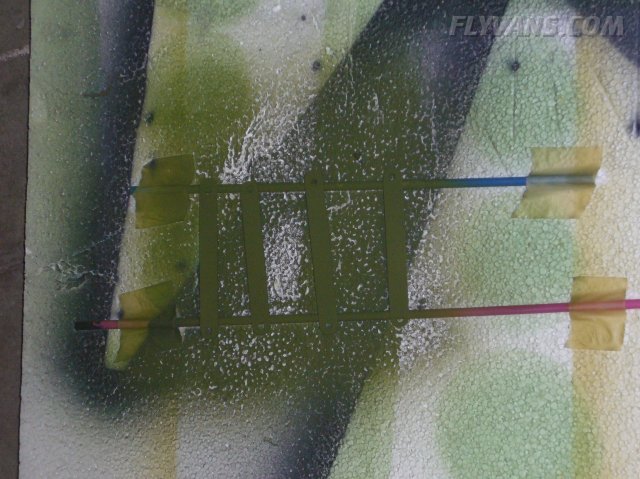
Found a perfect final replacement for the wooden spacers, a 35mm aluminum profile.
Some of the existing bolts and boltholes were reused.
The seat belts give an awesome contrast to the interior. Looking forward to flying in style ;-)
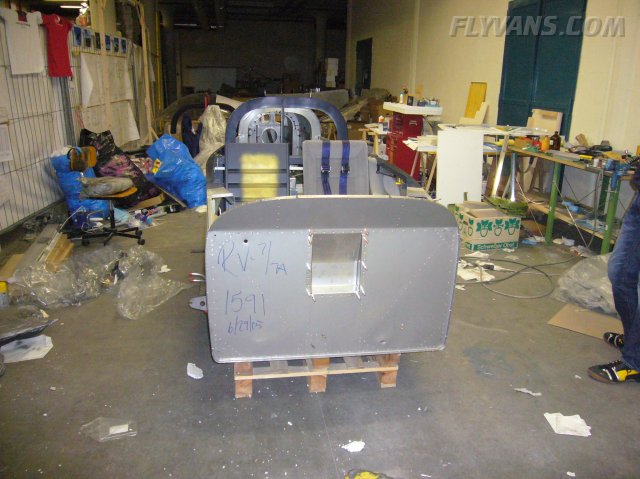
Now the fuselage sits in the center of the shop. Once the rudder pedal issues are finally resolved, the front deck is riveted into place (except top skin) and the canopy construction started. Soon thereafter, the fuselage will be put on its own gear and the engine hung/firewall forward installed.
The wings back in their carts. Only a few nutplates remain to be installed. And wiring of course.
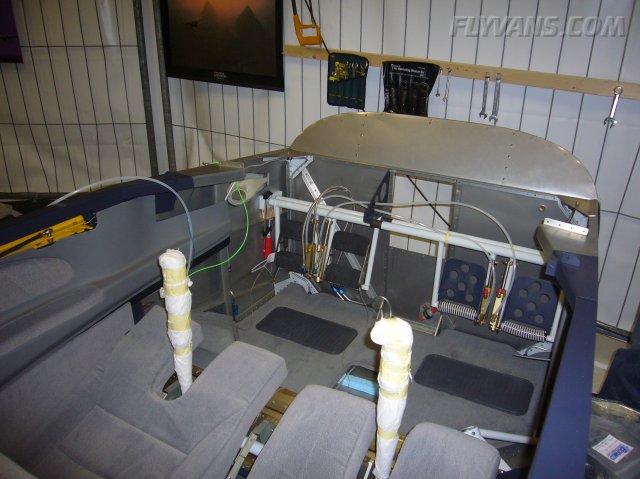
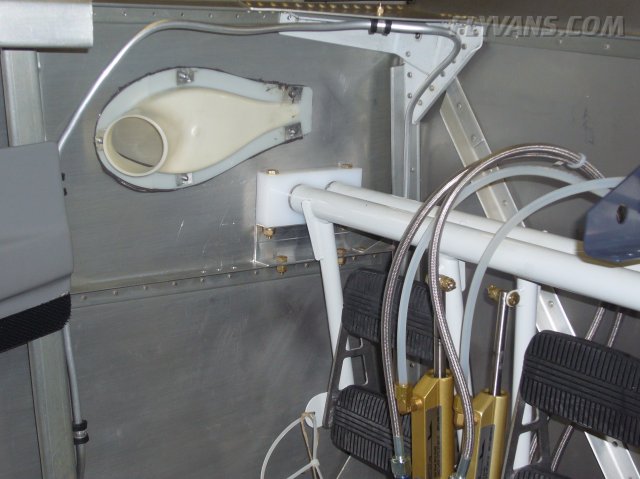
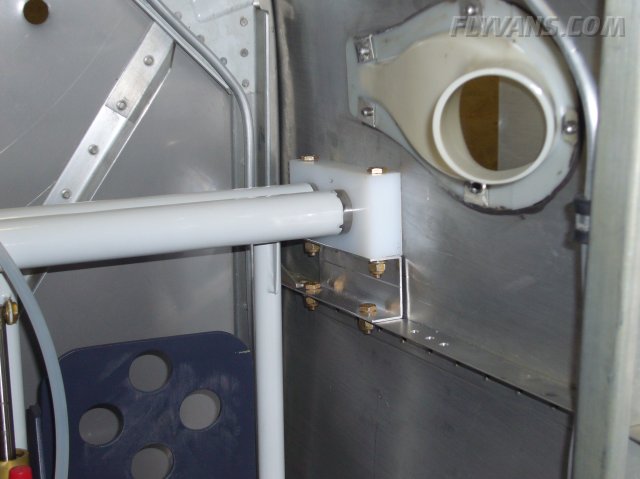
These *!?% rudder pedals that I believed to be done give a whole lot of modding to do. By lifting the whole assembly, the most forward bulkhead snap bushing for the rudder cable is now too low as well.
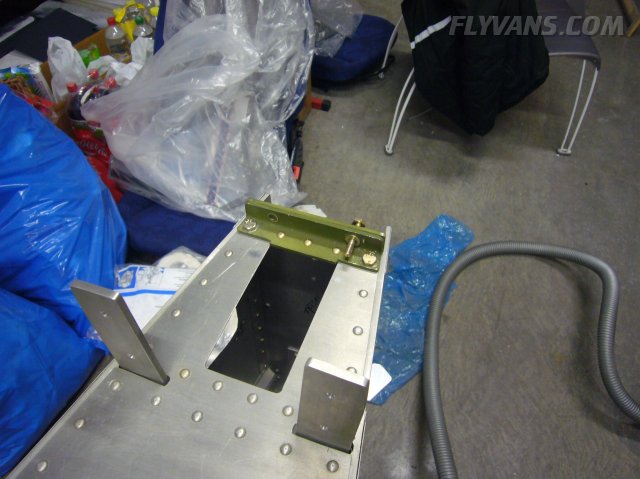
And the center support bracket had to be trimmed and reinstalled. It is now much shorter.
Fabricated the link plates for the rudder cables.
They are made from steel strips.
Now that the empennage is off, some tiny tasks can be completed. E.g. riveting the elevator stop angle to the top deck. The squeezer didn't fit in there when the HS/VS were still on.
Installed the rudder cable snap bushing just a bit higher and slightly outboard of the original hole. The vent line was rerouted by inverting the lower adel clamp.
The steel strip had already some rust out of the box... So cleaned the pieces with scotchbrite/acetone and primed them.
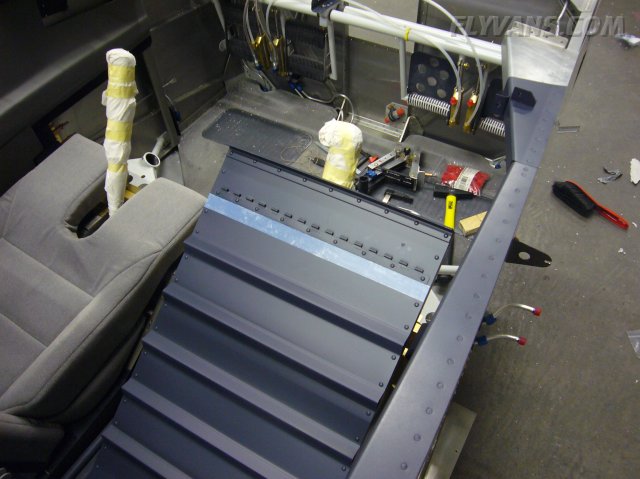
Since we use the seatbacks in the rearmost position only anyway, all the spacer hardware on the F705 has been removed. The rivet holes are a remainder of that. The piano hinge on the seatbacks, although unused, we decided to let in place. We would never had it installed if we had known the setup ahead of time. Anyway, added a strip of UHMW tape where the seatback lays on the crossbeam.
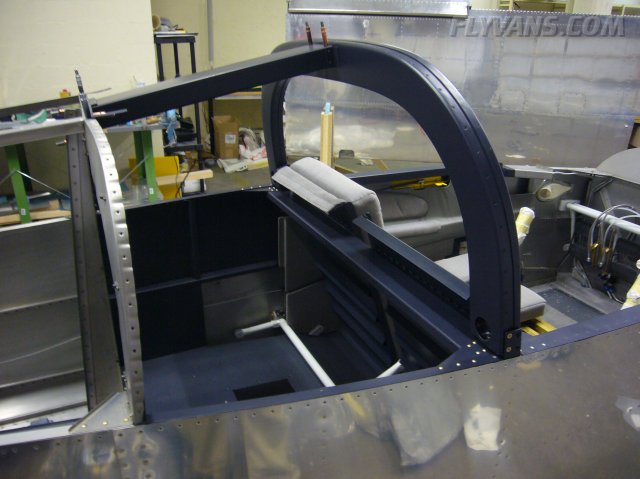
Reinstalled the rollover bar in anticipation of the canopy frame work.
|
|
|||||||||||||||||||||||||
|
||||||||||||||||||||||||||
|