|
|
|


|
| |||||||||||||||||||||||||
|
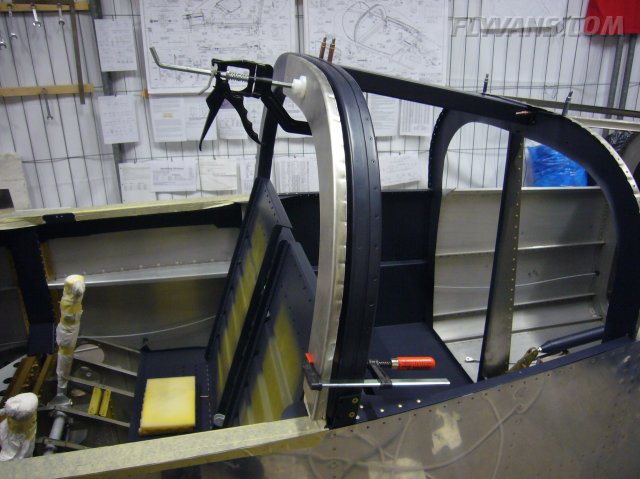
On to the next big thing on the project, the canopy. First of all, the canopy is not a very rigid structure, that makes everything from measuring to fitting much more work intensive. Also the "big cut" cutting the canopy bubble in half will be coming up. We decided that we are going to glue the canopy with Sikaflex 295 UV, and to get a nice bead will have to modify the canopy frame somewhat. More to that later on. It all starts with fitting the weldment. 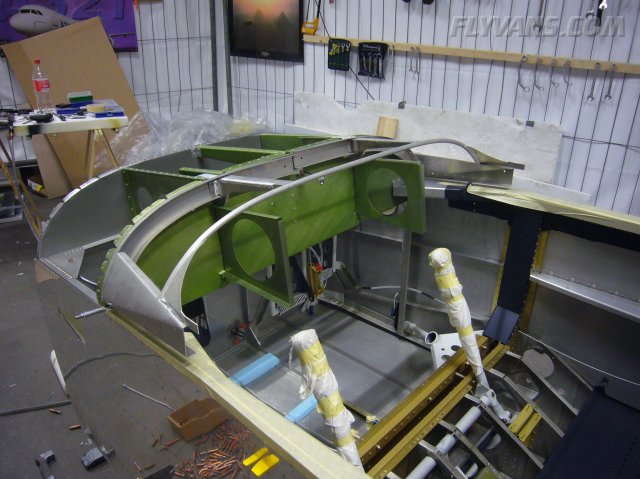
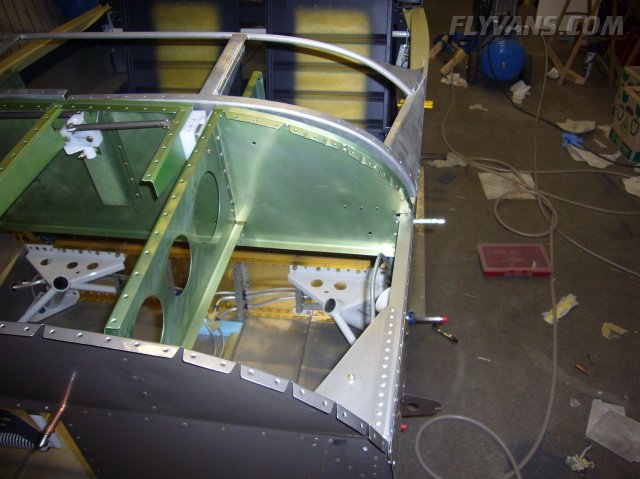
After the forward structure is riveted in place, the weldment can be put on the fuselage. Requires a bit of trimming and wiggling.
Installed the release mechanism. Since we're not going to want the large release handle in the panel, yet keep the mechanism for service and maintenance, modified it to a semi-permanent setup.
Made a small handle out of some .064 stock sheet and installed a nutplate to screw the handle in place.
That's how it looks from the front side. When planning the panel, the understructure will unfortunately play a bigger role than hoped for. There are places where simply no cutouts can be made.
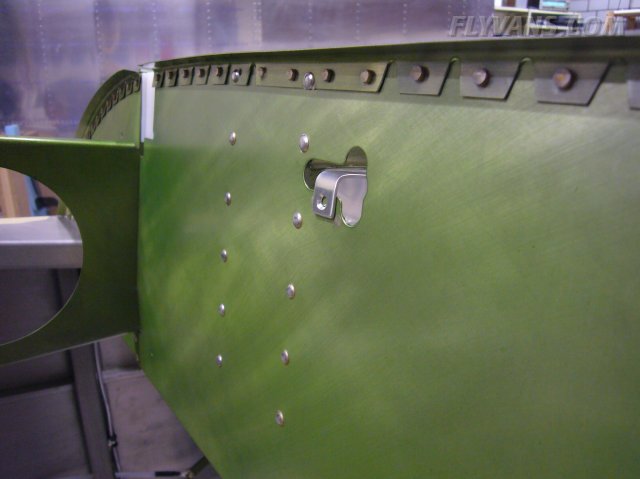
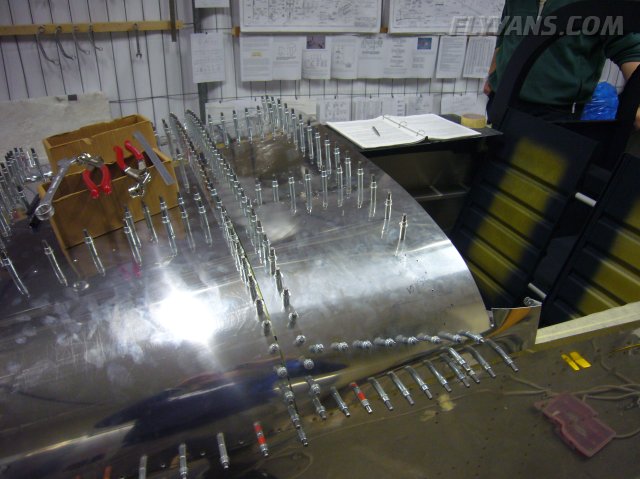
"Finished" the wings... Now the only thing missing is the wiring. Last step was to install the nutplates for the fuselage/wing root fairings. Sounds easy but took a few hours time.
Drilled / clecoed the skin onto the weldment.
Already now got a taste of how hard it will be to achieve a nice, tight, as waterproof as possible yet functional fit.
The skin fit very well, except for about 3 holes on each side along the rear support bar.
Pondered around what solution would work best. Ended up deciding to tap the holes for M3 machine screws and will support the skin with washers at the correct distance from the weldment.
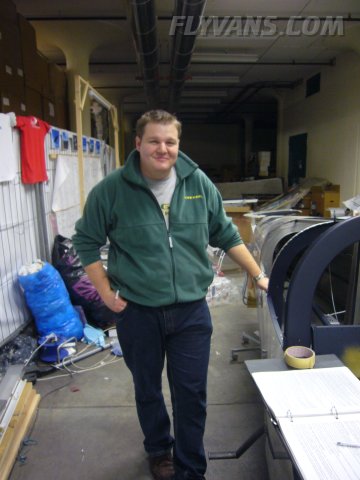
That's Patrick. Great example for the nice people you get to know through the RV community. He contacted me via our website, wheter he could visit the project. Turns out he works here at the airport for a US airline and is in the planning stages of an RV with his father, a matter of when - not if :-)
The skin/weldment gap problem from the outside. Quite a few washers will fit in there.
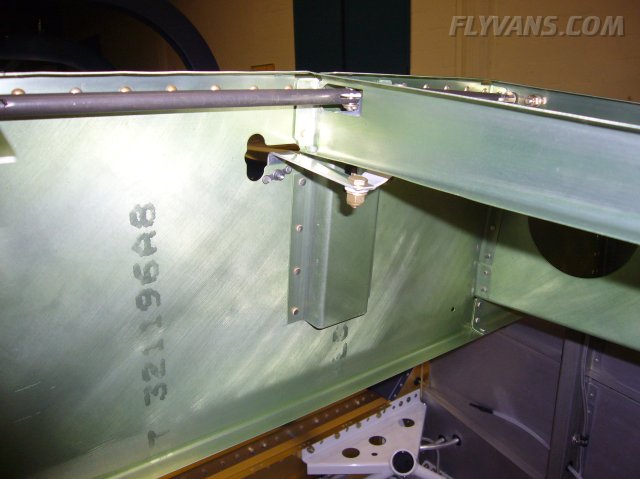
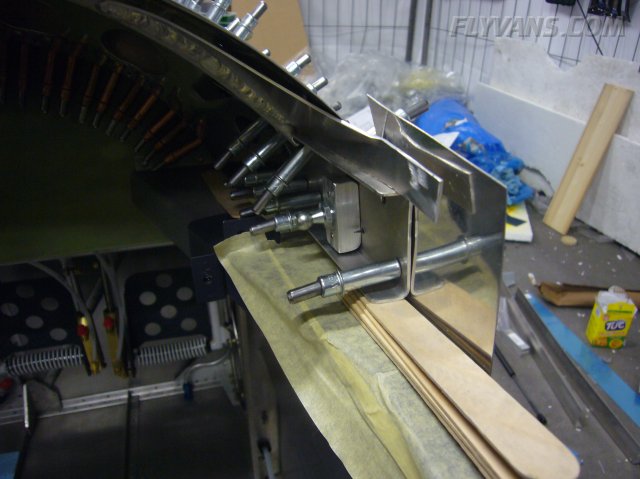
In order to drill the 2 main hinge points, the weldment had to be fixated.
The actual drilling took place with an angle drill set, laying upside down head forward near the rudder pedals.
Then deburring and press-fitting the bushings. Everything worked very well. Also had to file off some of the hinge flanges before drilling, otherwise they were either hitting the skin or the weldment could not move forward, leaving a large gap along the skins.
The release mechanism is excellent for quickly fitting and removing the weldment. The gap looks pretty nice and tight as well. As all builders write, one should not worry too much as long as the skins are not yet riveted and the struts not yet installed. The center of the skins seem to be binding somewhat, but since we anticipated, we haven't bent or broken anything yet. With final fitting, we may have to remove some of the interfering skin or bevel them so they overlap.
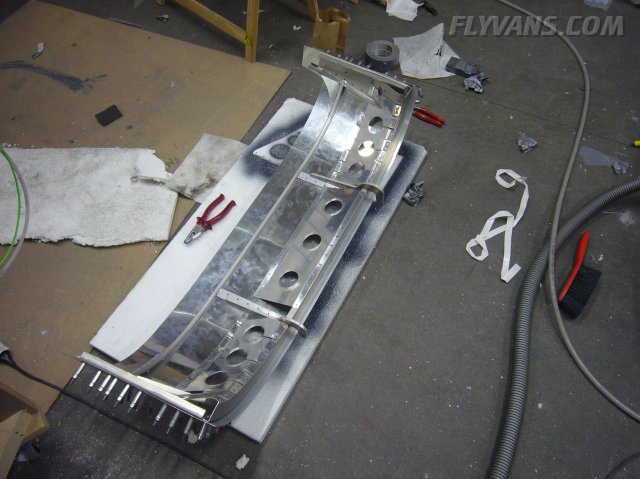
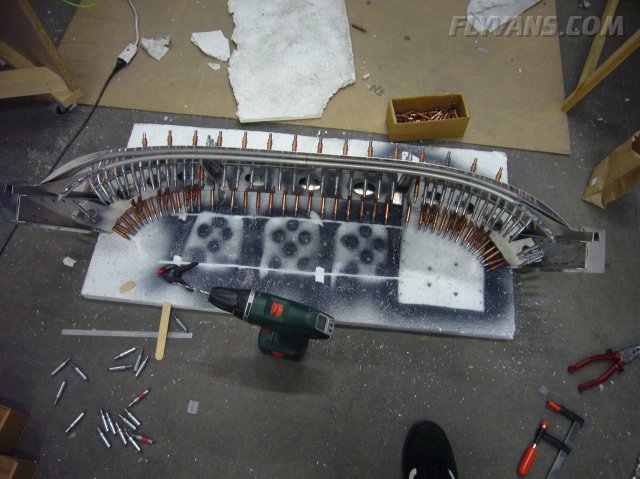
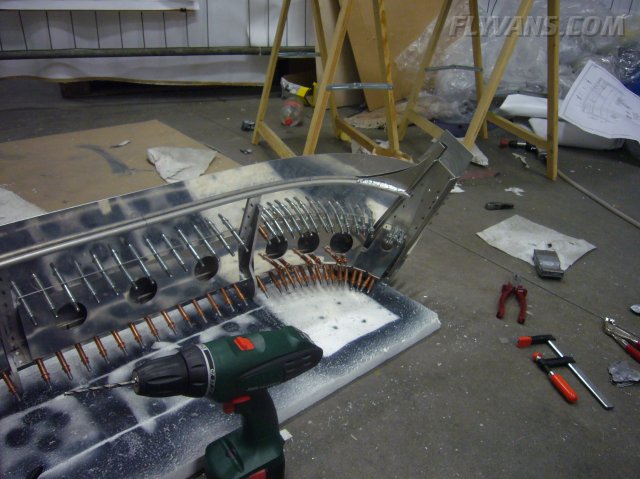
Installing the support braces that should make the canopy less "dynamic"
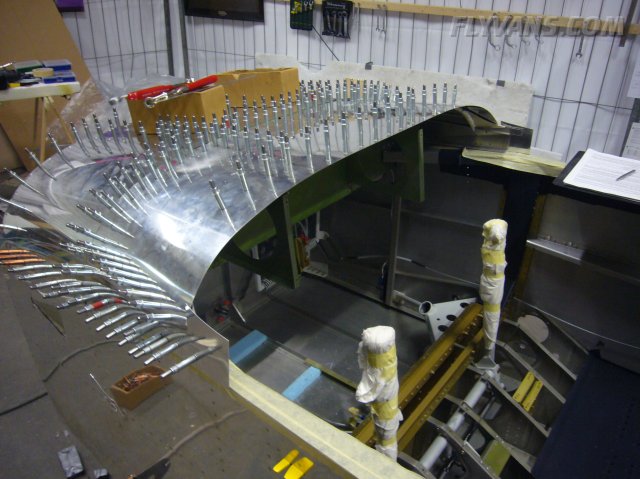
Takes a lot of clecoes and the whole assembly gets pretty heavy.
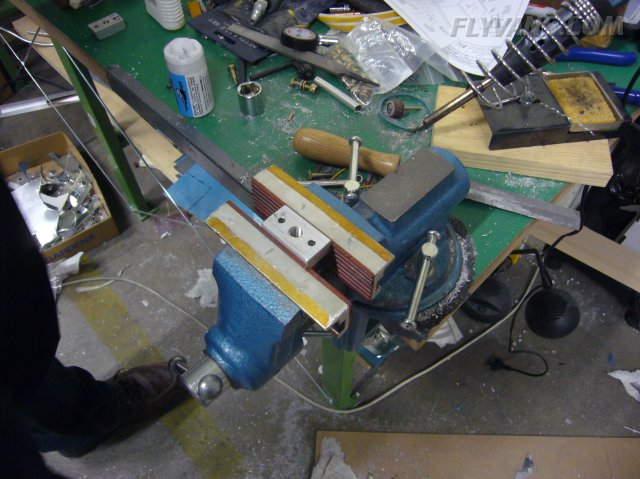
Although it says to bend the small lips with a block of specially carved hard wood, we ended up getting there with pliers just as well. Maybe not show-quality, but definitely beautiful enough for most eyes :-)
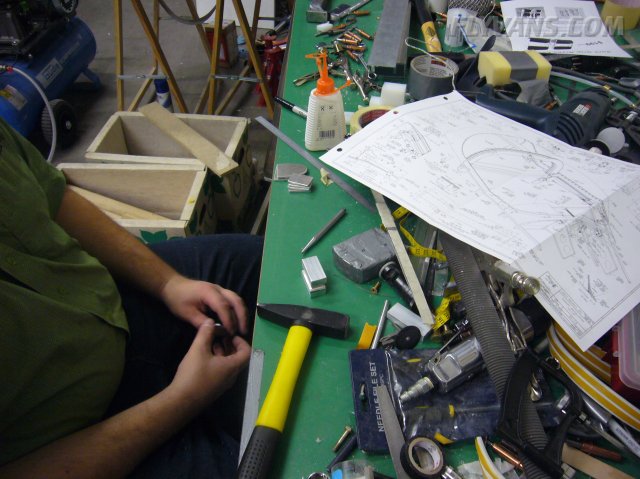
Patrick working on some "make froms". Everytime i read on the plans "make from aluminum angle" etc... i'm already seeing slow progress, endless hours of filing and grinding, therefore i don't particularly like these steps in the process. I'd rather rivet stuff together, cleco and drill, just "build" an airplane. All the better that Patrick actually likes to do these things. We can share/split work then accordingly.
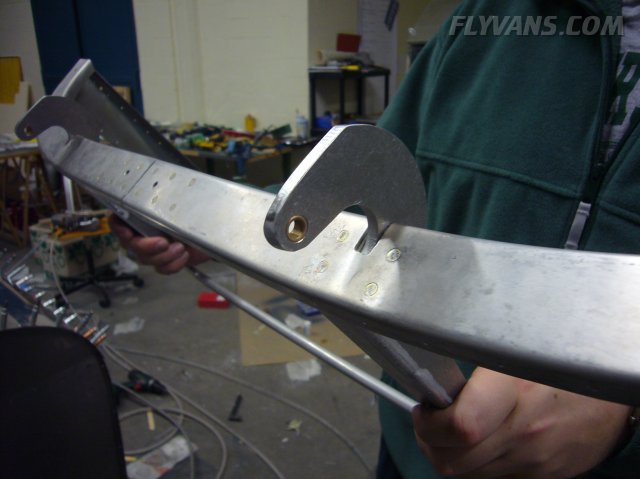
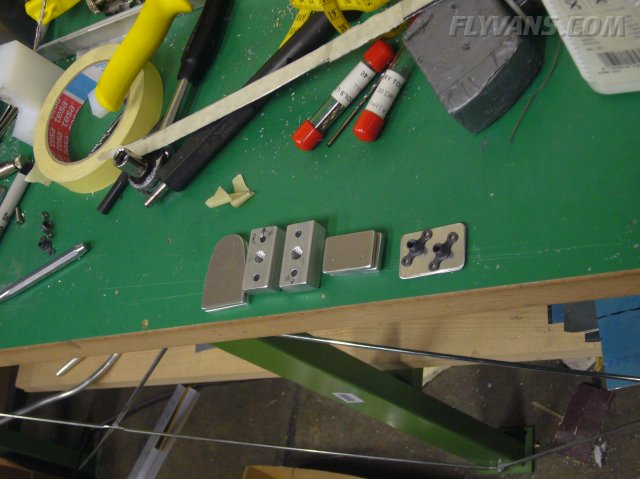
This block eventually attaches the lift strut to the canopy weldment.
All the lift strut make-froms in one picture. Note the often copied trick of using a backplate with 2 nutplates instead of trying to manually attach washers and nuts within the side channels.
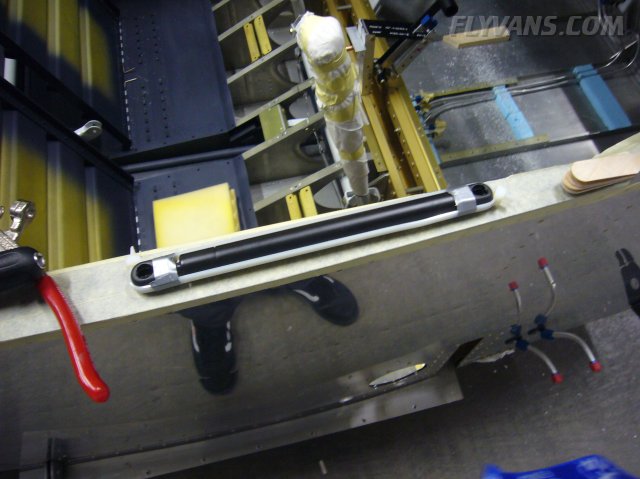
In order to drill to the correct length of the lift struts, instead of measuring, used some heavy duty tie wrap to keep them retracted. Note that in that picture it's actually the wrong way. The cylinder and piston had to be twisted, to have the attachment holes aligned to opposite directions each.
Closeup of the mounting block on the weldment.
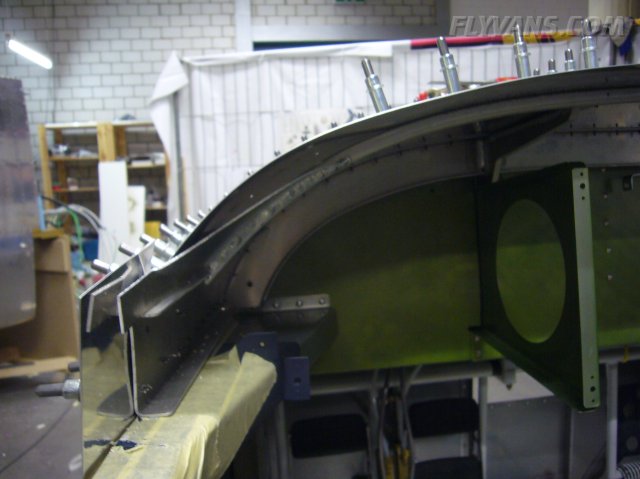
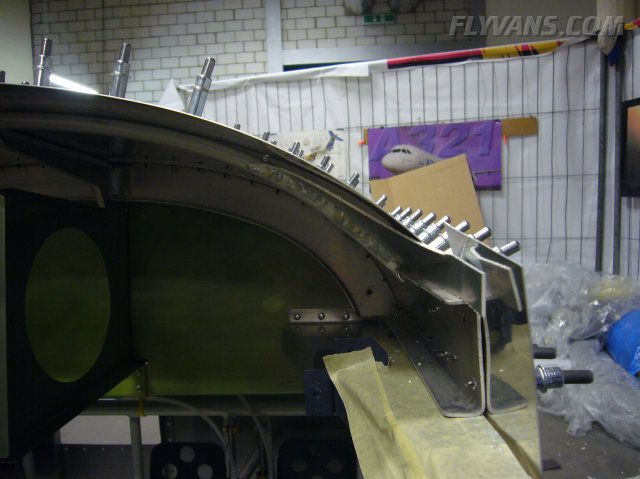
Next was bending the outside flanges of the rear canopy frame ribs downwards. This in turn distorts the ribs heavily. By carefully and iteratively fluting them, they will align just about perfect.
|
|
|||||||||||||||||||||||||
|
||||||||||||||||||||||||||
|