|
|
|


|
| |||||||||||||||||||||||||
|
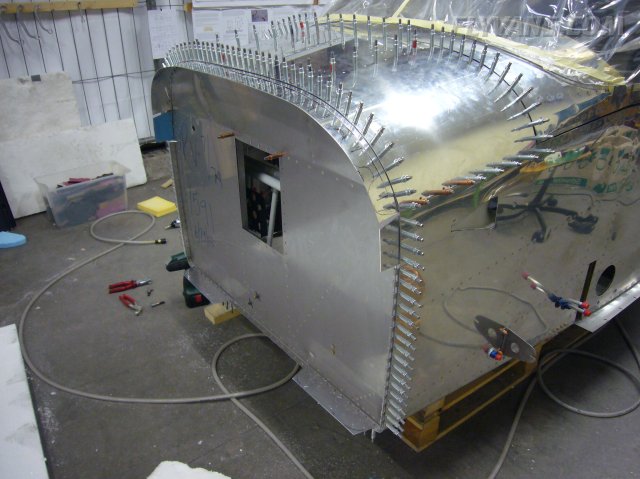
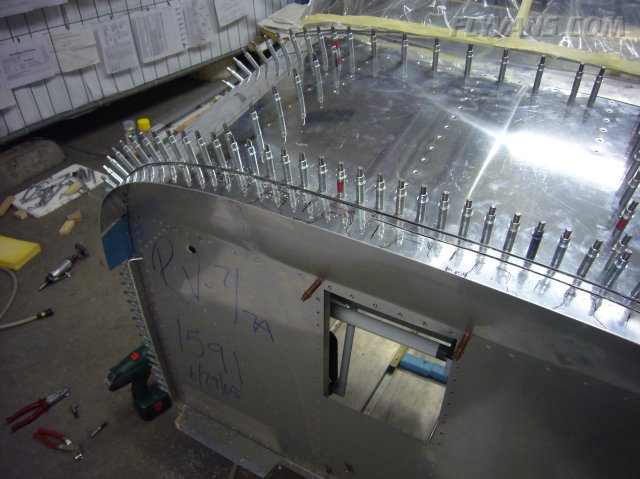
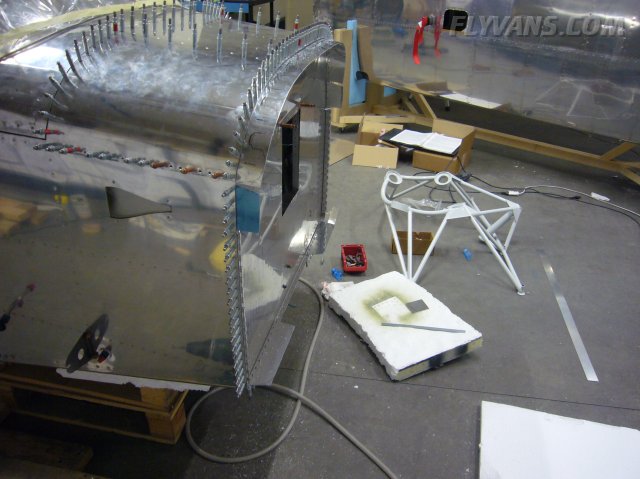
Since my helper was not available but absolutely needed to handle the canopy, i managed to do some work from further down the road. For the cowling attach we'll use a mixture of piano hinge for the vertical straight part and 1/4 turn fasteners from milspecproducts.com for the curved places. 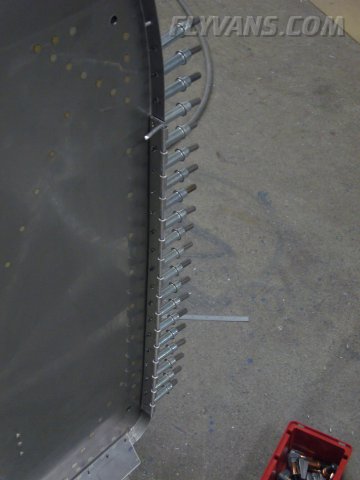
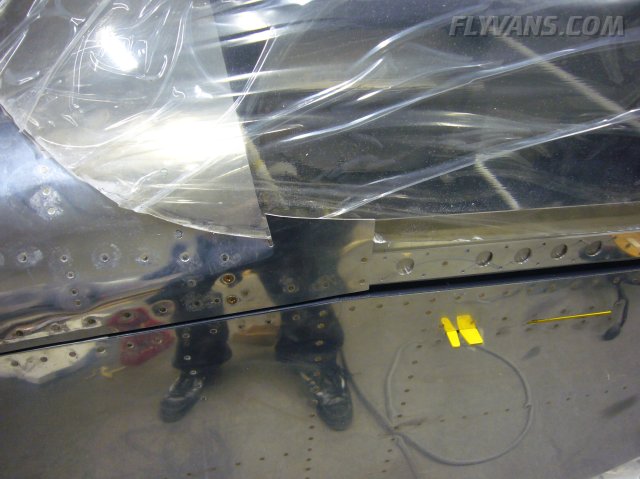
Roughly fitting .063 alclad strips which will hold the camlock receptacles.
Another job that looks easy in pictures but in fact is a lot of work.
As with the standard Van's plans, a .020 spacer is put between the firewall flange and the camlock support strip to account for the cowling thickness.
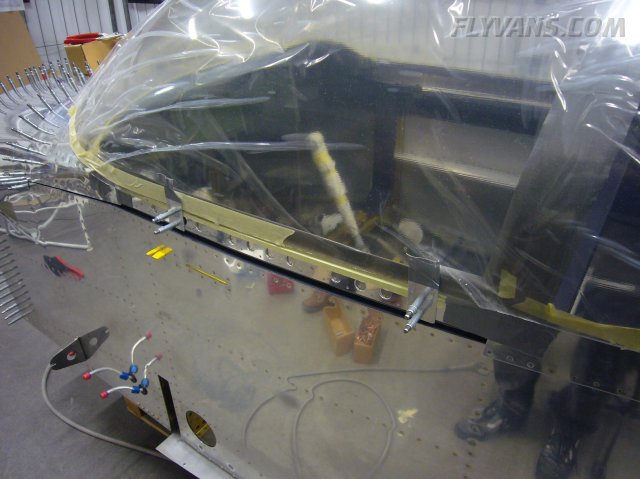
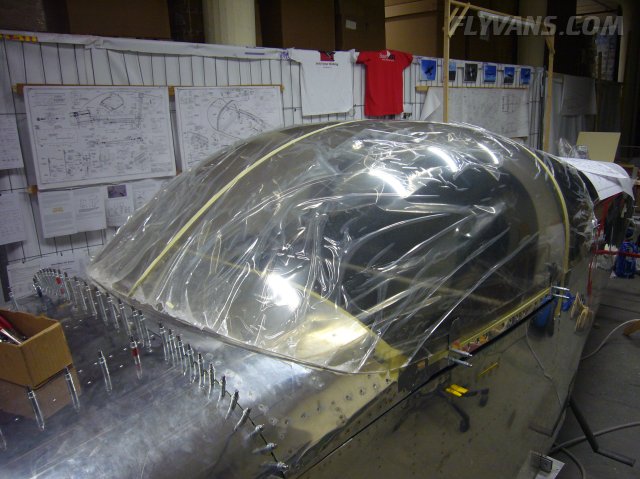
Then Pat came from work and we could continue on the canopy. When positioning the canopy, it's very important to aim for the 1.75" from the C702 forward edge. This will automatically make it fit in the back. At first we had fitted it a bit too much aft, but found out when double checking before doing the cuts.
Made 2 simple brackets for each side to hold the canopy close to the final position. If the canopy is allowed to spread, trimming to final shape is not possible as it changes geometry.
Trimming the sides is very easy, while the front part needs a little more trial and error.
We only trimmed about 6 times (which is actually very little attempts compared to a lot of reports) and got it pretty much perfect. The few slight gaps will be covered by the Sikaflex anyway.
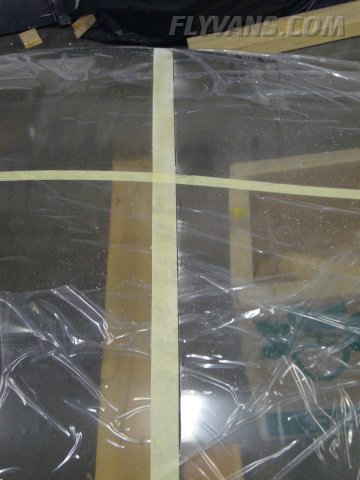
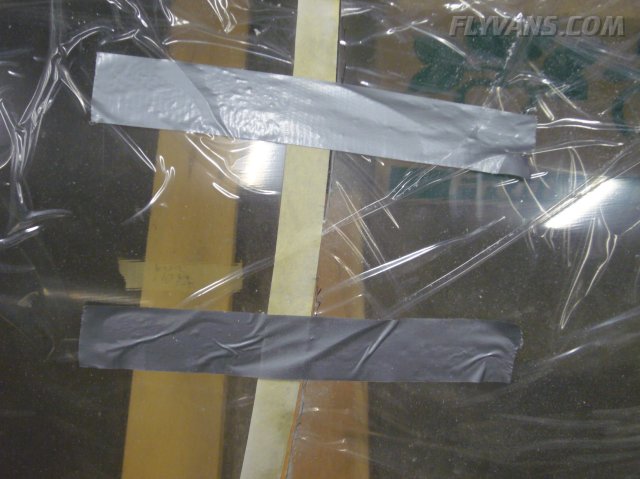
Once the front and side fitting is complete, the line for the "big cut" that splits the forward moving part from the rear fixed window part is marked with masking tape. While Van's puts that line right on the center of the rollbar because of the need for screws, we decided to center the line on the center of the forward rib flange. This will give a better seal to the rear window and won't allow water to enter the rollbar.
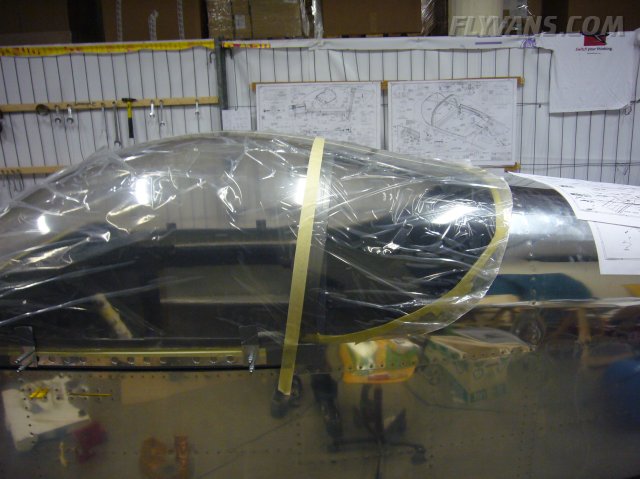
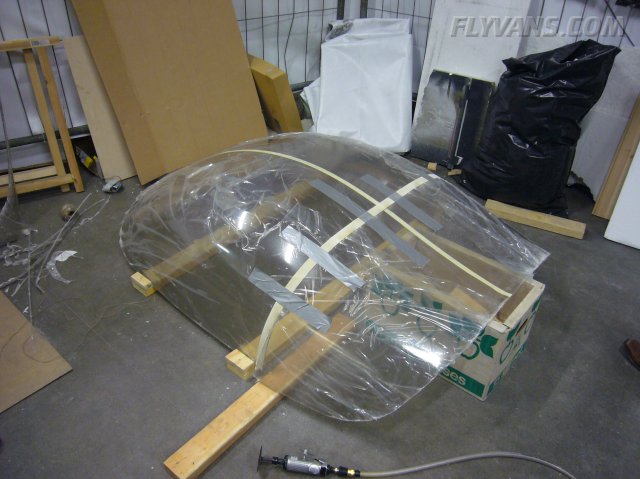
Then the canopy is supported on the floor with some wood blocks keeping it from spreading.
The rear window supported by a cardboard box, as it could otherwise tipple to the back when coming off.
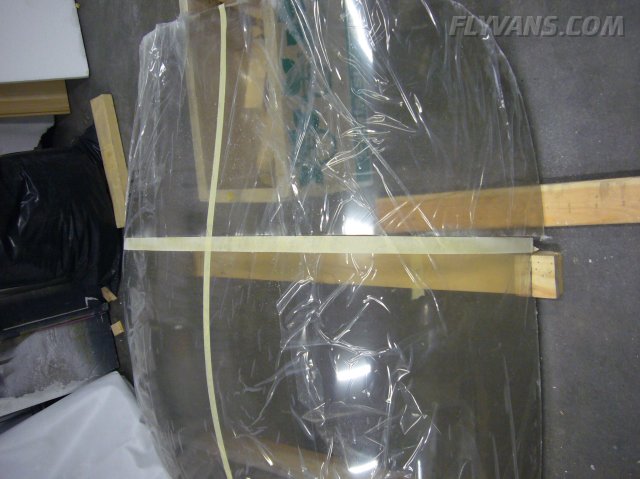
Cutting several slots and always leaving an inch or 2 uncut worked very well.
Also all lines turned out perfectly straight, very little edge finishing will be needed.
Now, duct tape is put over the already cut slots, they hold the canopy and rear window together, even after they have been cut.
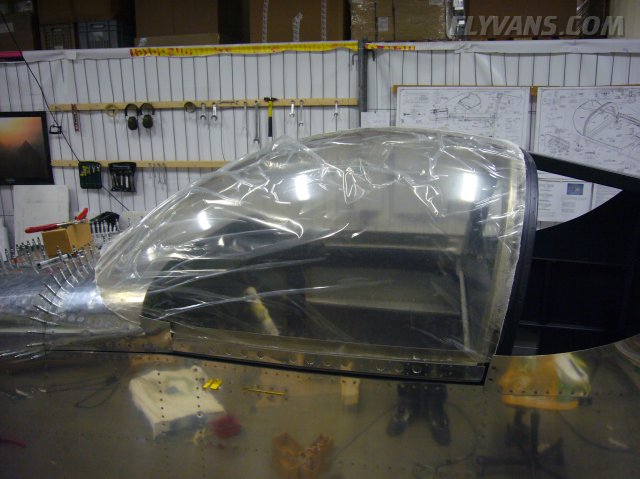
Closeup. Overall the plexi canopy has been a non-event so far. Opposite to what you can read / all the noise that is made about cracking and what you would expect. It's one of these things that look big, complicated and with a lot of potential for failure. As a first time builder, don't wonder if you hugely over- or underestimate tasks. Oh well, I don't care, we just do one after the other and eventually we'll get done...
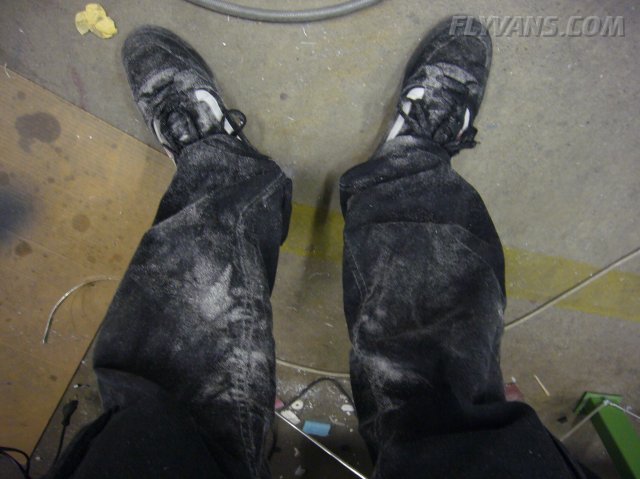
The dust that's coming off the canopy is pretty nasty. Of course we wear face masks and eye protections, but otherwise the stuff goes everywhere. Into the hair, inside the ears, you name it.
After edge finishing, only 2 small notches at the lower back were required.
The transition from skin to canopy will all be done with the sikaflex. Some guy on the net found out, that the sikaflex, after having cured for 1-2 weeks, can be nicely sanded with 120grit sandpaper.
|
|
|||||||||||||||||||||||||
|
||||||||||||||||||||||||||
|