|
|
|


|
| |||||||||||||||||||||||||
|
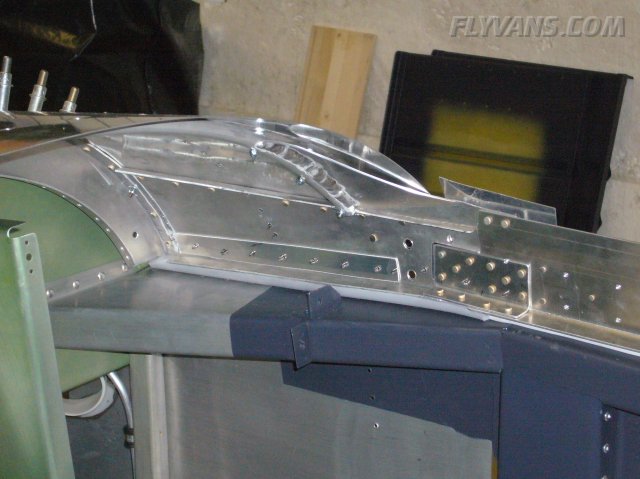
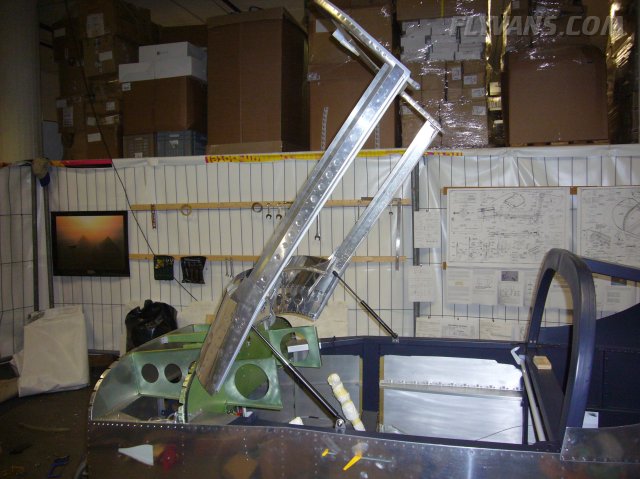
The siderail spacers are installed with a few keeper rivets, so that the canopy side-skirts can be drilled into position. 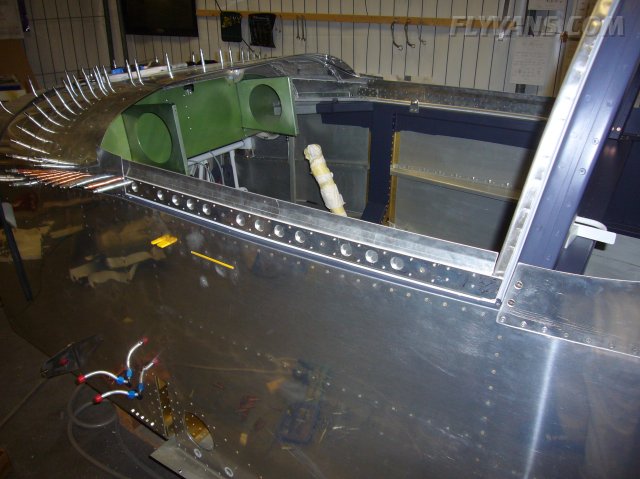
The still not yet completely riveted top skin.
On each side, there was some bulging along the tube part of the weldment. Supported the gap with washers and a machine screw. The left side turned out with slightly larger gaps than the right.
Also, after consultation with Fritz Jost, who already completed an RV-6, we decided to fabricate strips of .040 aircraft aluminum to give the rivets guidance and a good chance of forming a nice shop-head. This turned out great and saved the day!
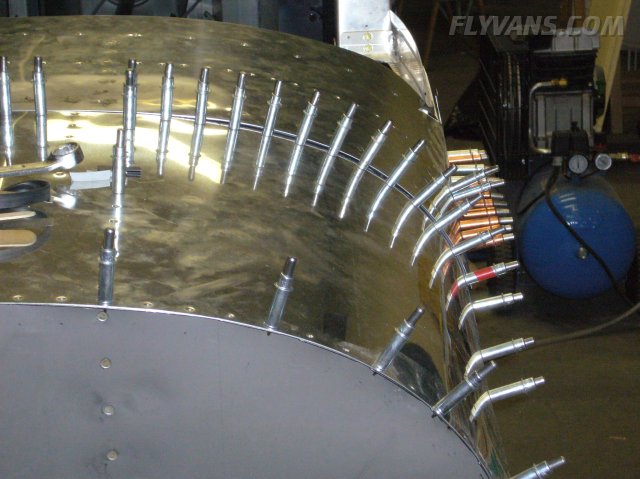
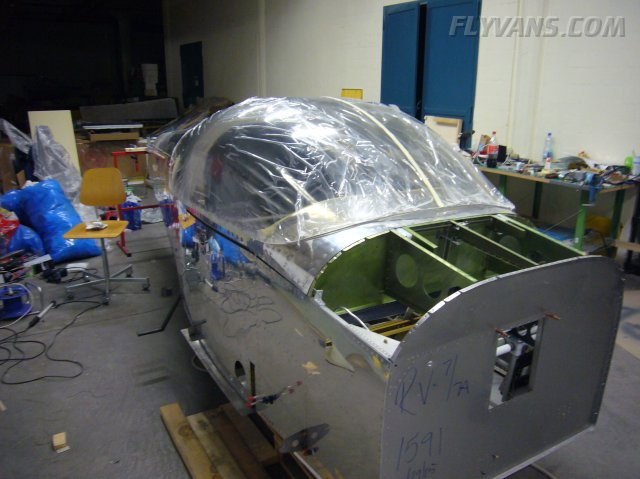
As many builders have warned on forums etc..., the whole canopy frame is lively and always in motion. While it fit perfectly when clecoed, somehow it widened by a few mm, creating a skin gap along the curved portion. This will either have to be shimmed away when installing the front skin, or fixed with some filler before painting.
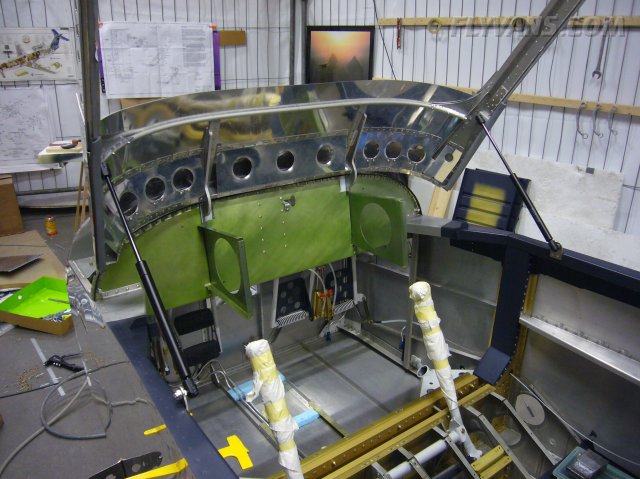
But overall, the fit is still quite pleasing.
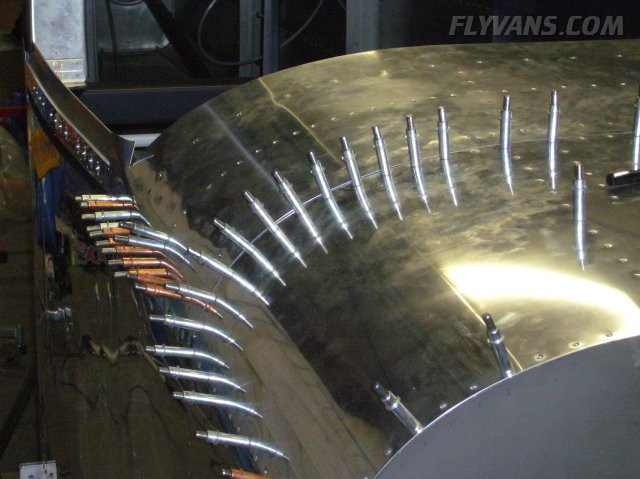
Also, I expect everything to move again when installing the gas struts as well as final riveting the front skin. So final fitting will have to be completed at a later stage.
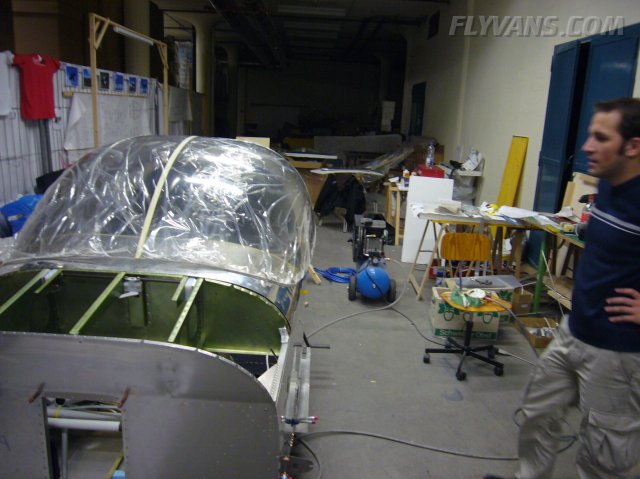
Canopy frame finally completed and moving :-) This proved to be one of the most complicated and time-intensive parts on the whole airframe so far!
Even with the braces installed, the whole assembly is still pretty floppy. There needs to be extra care taken when operating. Certainly not by continously lifting on one side only.
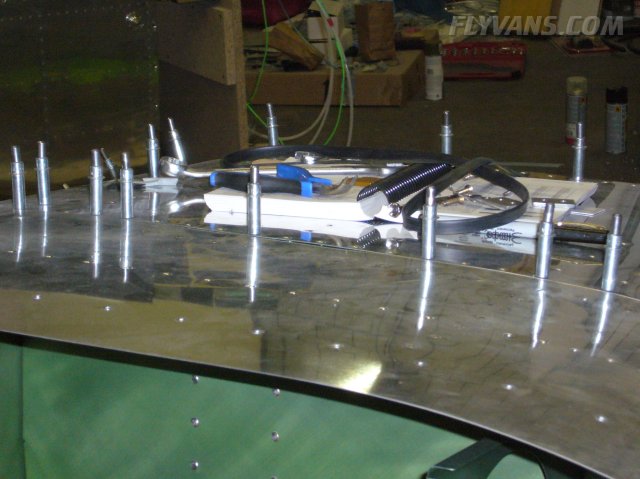
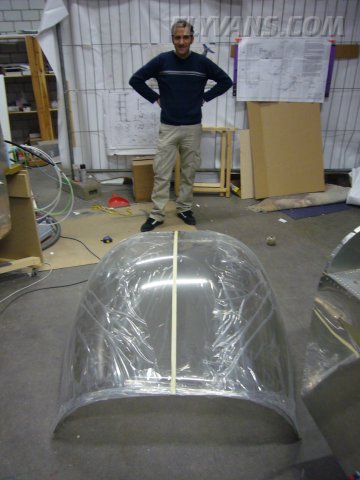
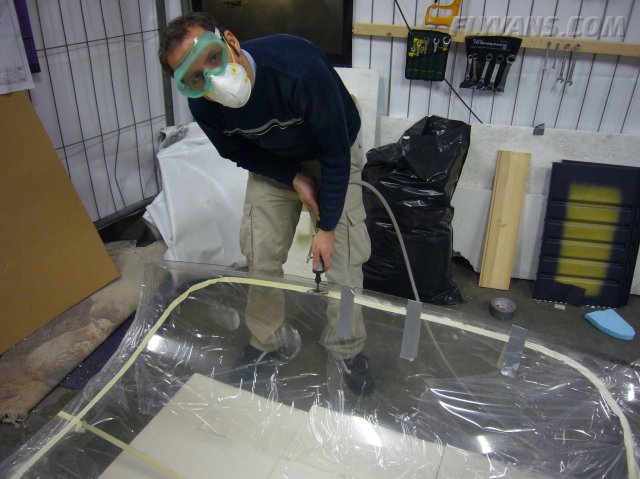
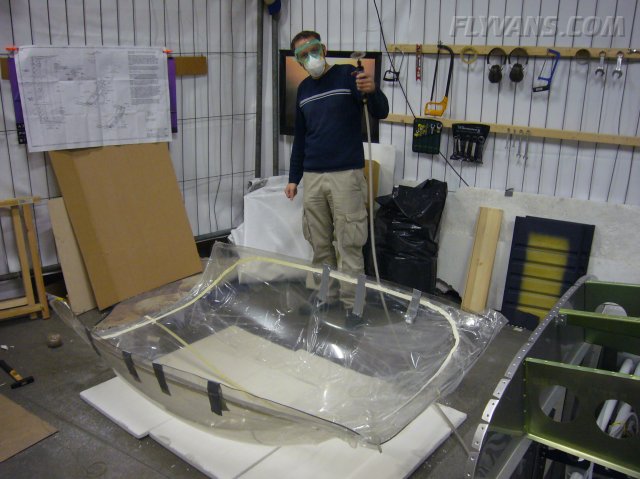
Now on to one of the potentially most expensive parts... Cutting the canopy. The whole thing is pretty floppy and quite impressive in size. No way this could be done by a single builder! Helping hands are an absolute must.
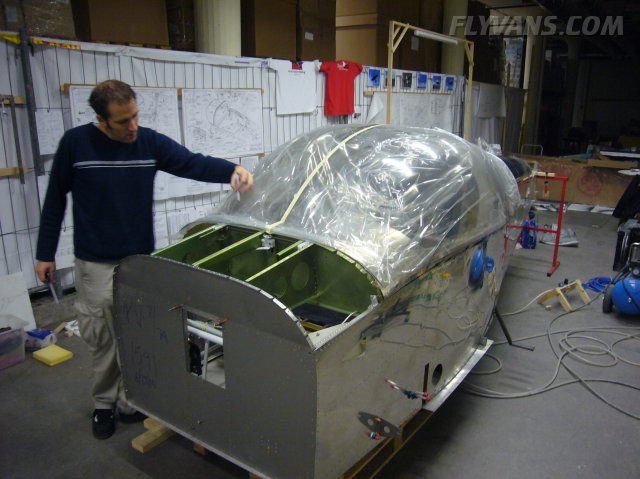
Then sat the whole canopy as is on top of the aircraft, marking a rough outline for the initial cut.
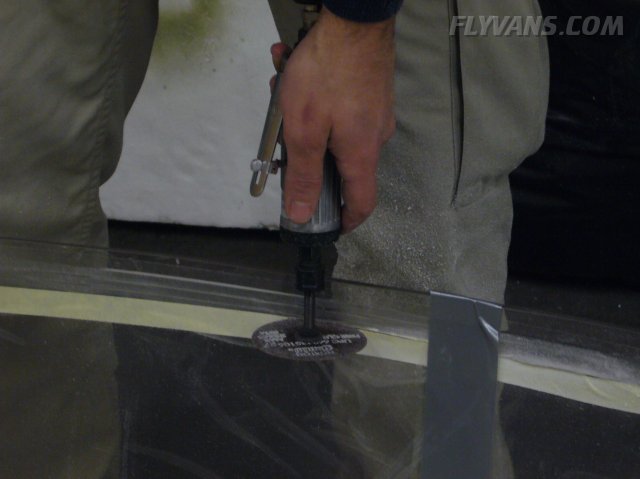
And on to the actual cutting. Using an el cheapo air die grinder tool from harbourfreight and the Van's supplied cutting disks, it proved to be a piece of cake. The only problem is, because of compressor size, we can only cut about 40cm at a time, otherwise the pressure drops and the compressor never gets a break. What you can't see on a picture is the smell... Actually quite special and sticking to the clothes for a while.
Marking the line to be cut with masking tape makes it much easier to follow than a drawn line.
Also, one has to be very careful with the support (we used fresh styrofoam sheets) and generally with debris that could cause scratches.
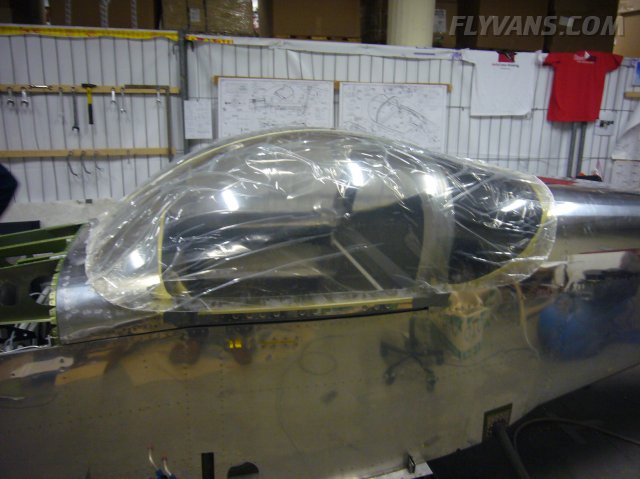
The canopy bubble after the initial trim. Now gradual cuts will make it fit perfectly and the big cut coming up to separate front and rear halves.
Still sitting a bit high.
Already looking to sikaflexing the whole thing, that should be fun *?!* ;-)
|
|
|||||||||||||||||||||||||
|
||||||||||||||||||||||||||
|