|
|
|


|
| |||||||||||||||||||||||||
|
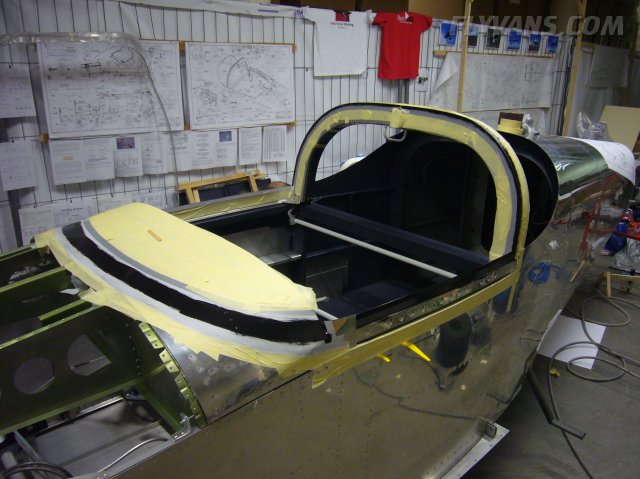
After the big cut, some more trimming on the rear canopy was required. Because it was resting on top of the rear skin for the cut, but in the final position sits slightly lower below the rear skin, a little wedge needed to be cut along the sides. A bit of a shame, as the big cut was really nice and straight, and chances are that one can only make the fit worse. 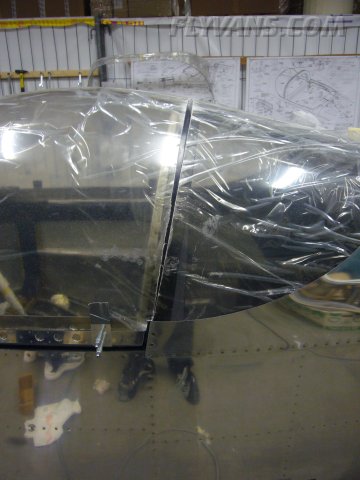
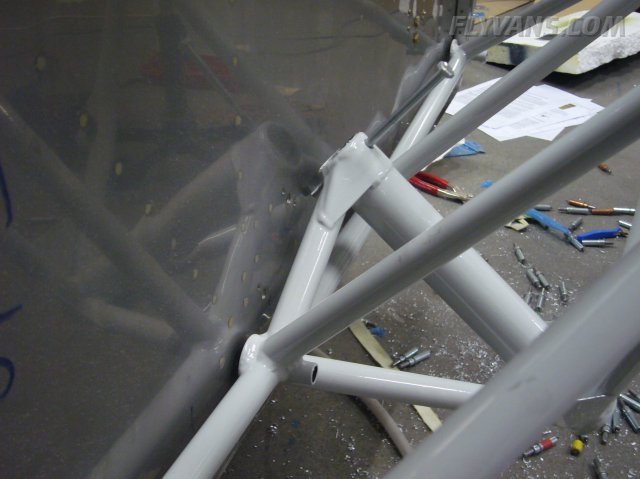
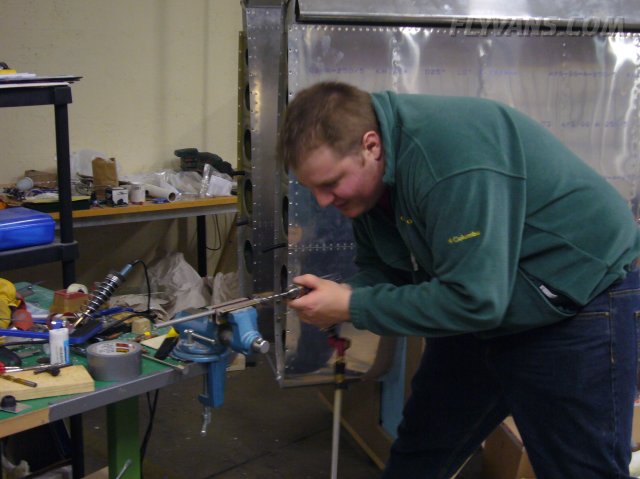
Also worked on the gear legs and engine mount in the last few days. Here I'm planning the location for the nosegear bolt hole in the firewall. Kind of an "ugly" setup by Van's. The bolt will be inserted through a hole from the firewall bottom up. Also for the two lower central engine mount bolts, made a spacer from .064" each. Seems nicer than to just pull the bolts tight and putting stress on the weldment, as is the other option by the instructions.
Not mucht done on the firewall layout yet. Deferring the engine mount final installation for now.
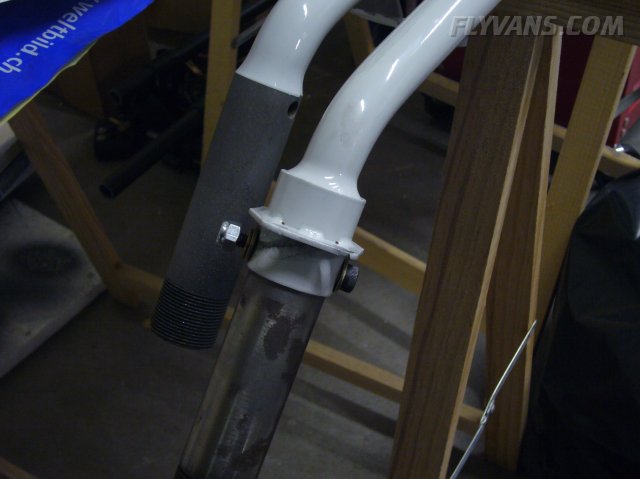
Preparing the main landing gear axles / wheel brake assemby. This bolt and nut on each landing gear leg is kind of special, as it came with the fuselage kit. The bolt can be easily found but the locknut has a special 1/4"-20 Thread. If you don't know what you're looking for, very hard to find in all the locknut bags. They're silver colored and there's exactly 2 of these.
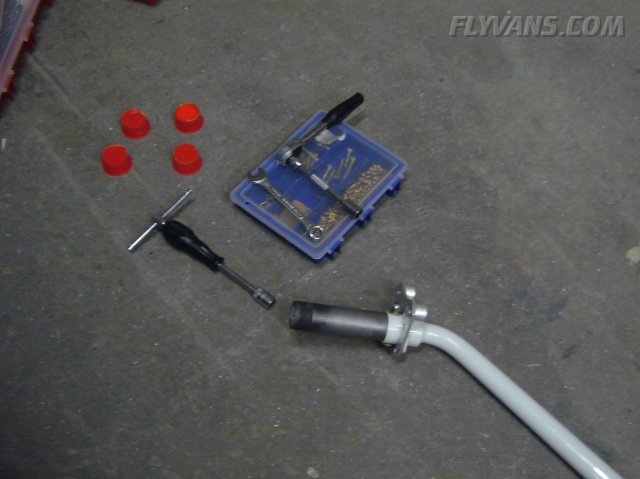
Fitting the brake bracket to the axle.
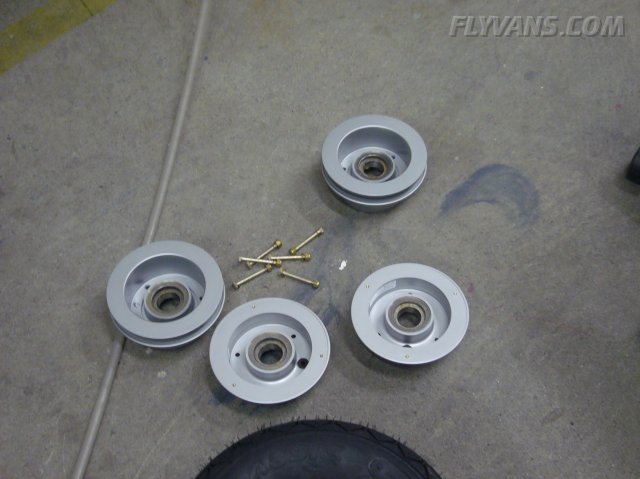
Preparing the wheel halves for the installation.
Pat happily working on some "make from" parts ;-)
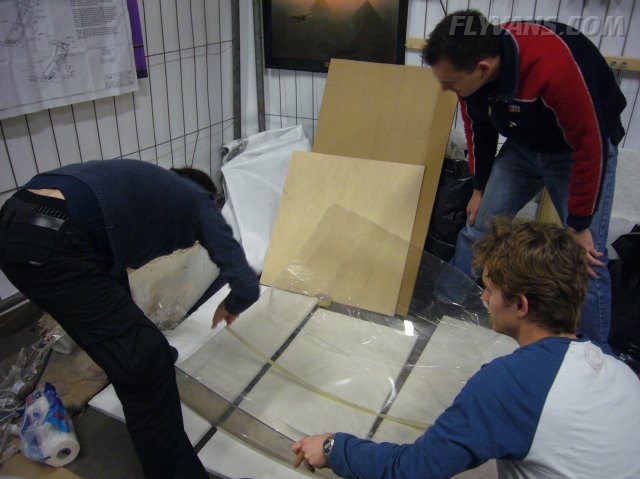
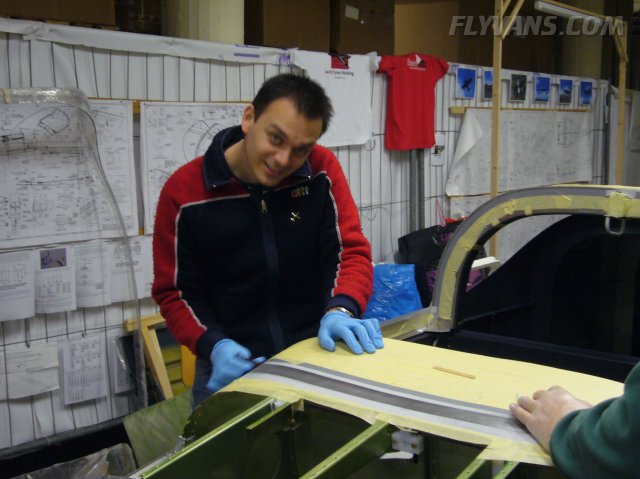
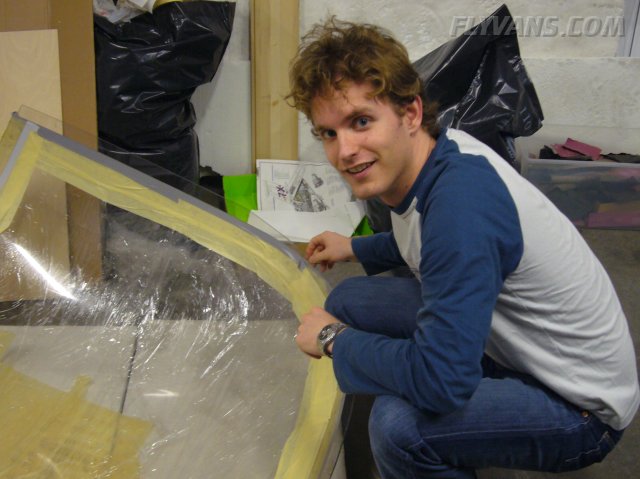
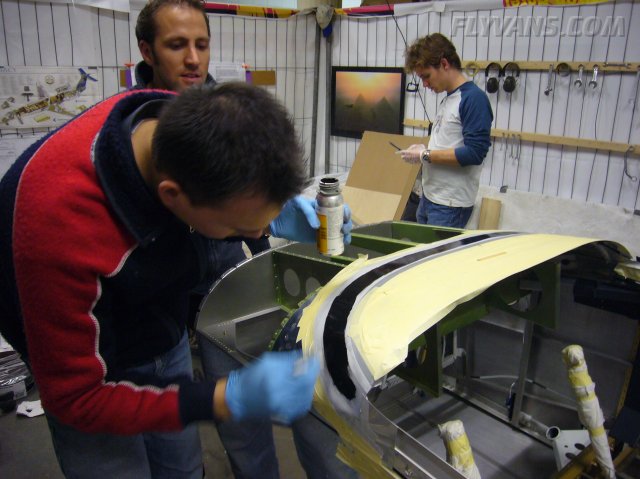
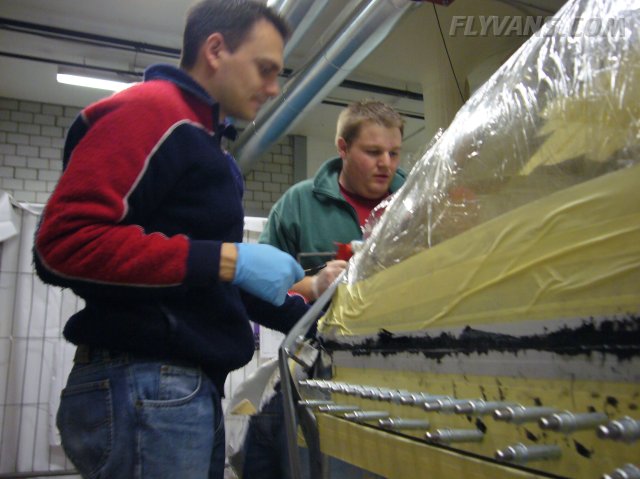
To do the canopy gluing, i had read that you need at least 3 people. So I thought four is better, also for taking pictures. And I would do it again with four people, it really was an advantage. So I had Dominik, Patrick and Markus over to help, thank you very very much guys!
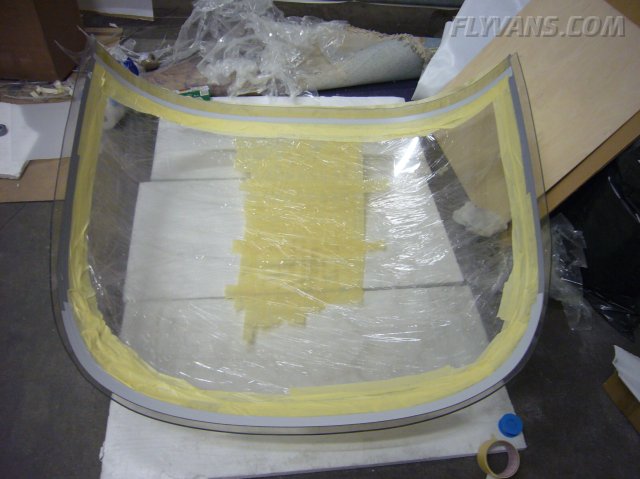
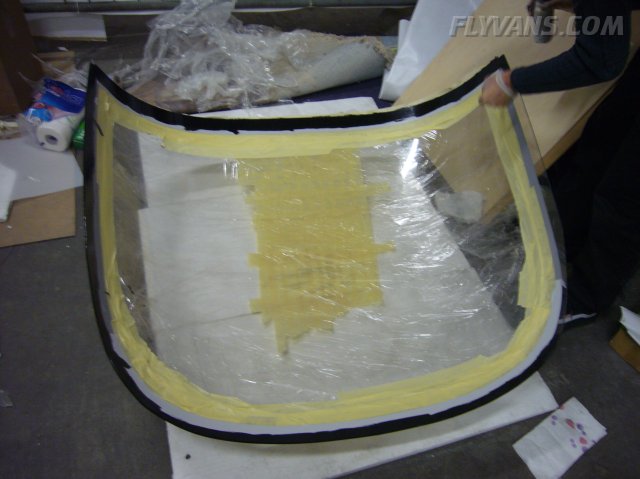
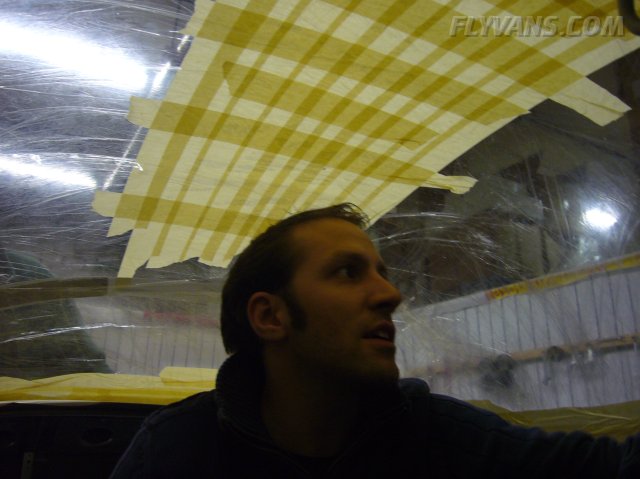
First of all, we removed the original canopy protection and replaced it with saran wrap, except for all the edges.
Then we masked off roughly with regular masking tape, also to hold the saran to the canopy.
And the " master" line, where the sikaflex will end was marked with grey electrician's tape, which is flexible for round edges and can be easily pulled away without tearing while the sika is still wet and curing.
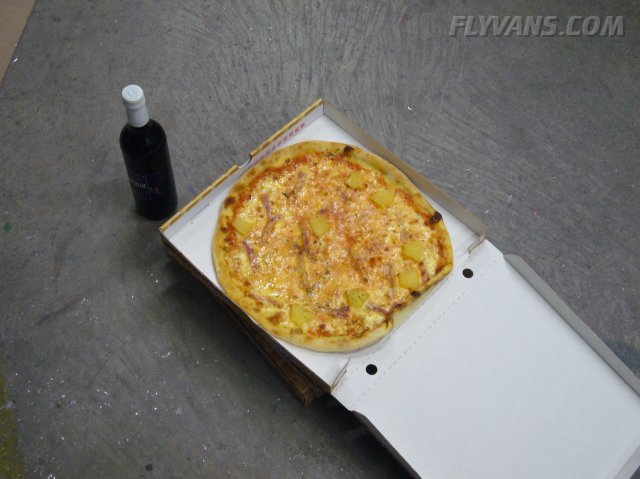
While masking, we had a pizza delivery supply us with some energy for the night.
Already now, it can be said that the glareshield and especially the corners left and right are going to be the tough parts.
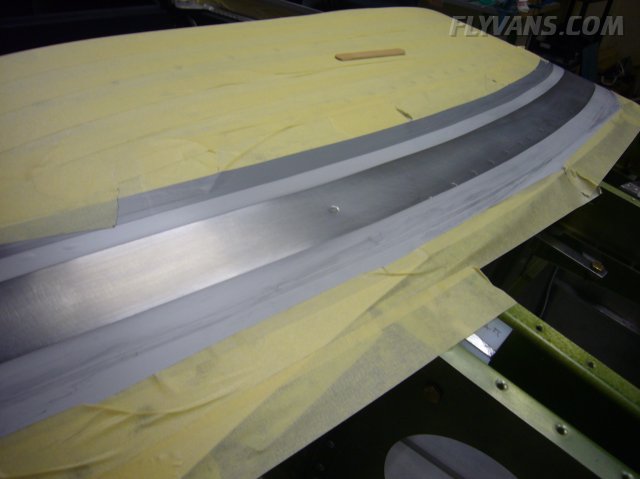
As with the aluminum canopy frame, the canopy must be masked off.
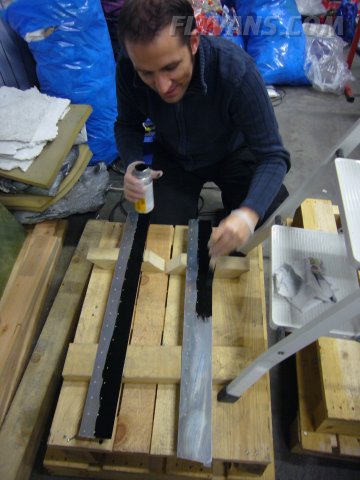
Then the remaining parts are scuffed with scotch-brite pads and rougly cleaned.
The area ist then treated with Sika Cleaner, which leaves a kind of a film on the surface.
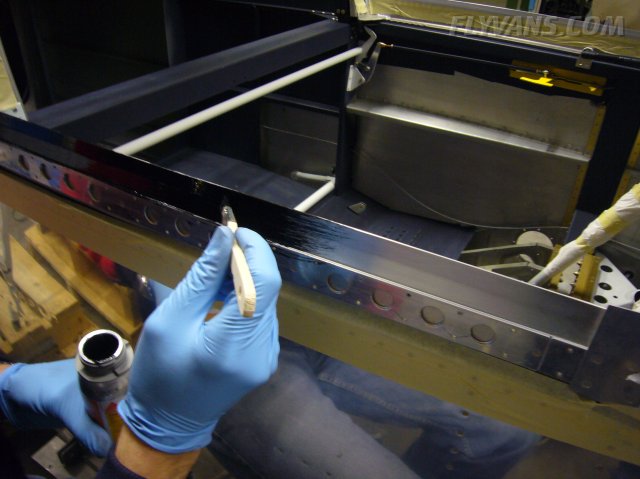
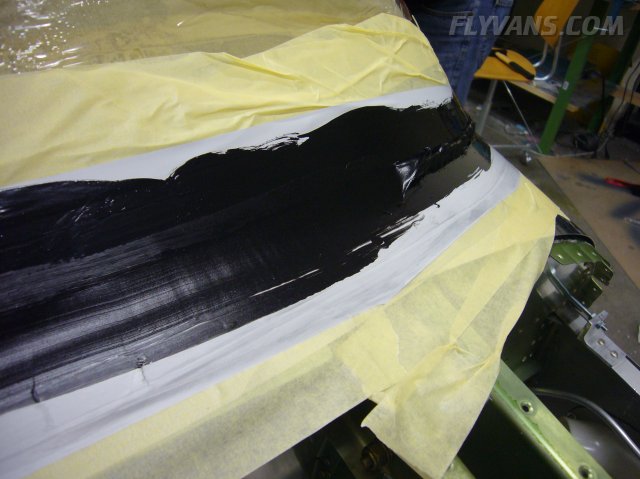
Then all these areas are painted with Sika Primer, a black and thin liquid that will form the base for the Sikaflex beads to hold onto.
Care must be taken during that step in order not to spill or drip any where it's not wanted. Although it can also be cleaned with paper as long as it's not dry yet. But it dries fast.
Same procedure on the canopy. Except that we opted not to scotch-brite, we cleaned it with Sika-cleaner.
The canopy side-skirts are prepared as well, as they will be put on right away to hold the canopy in place.
The frame ready to take the canopy.
The canopy is kind of trickier for the primer. First of all, inside and outside have to be done. Second, due to it's shape, the primer tends to run.
The black primer has such a property that it completely covers the gray masking tape. Also, in the way it reflects light, it's very hard to see the final line, especially from an angle. This proved to be kind of a problem later for the glareshield.
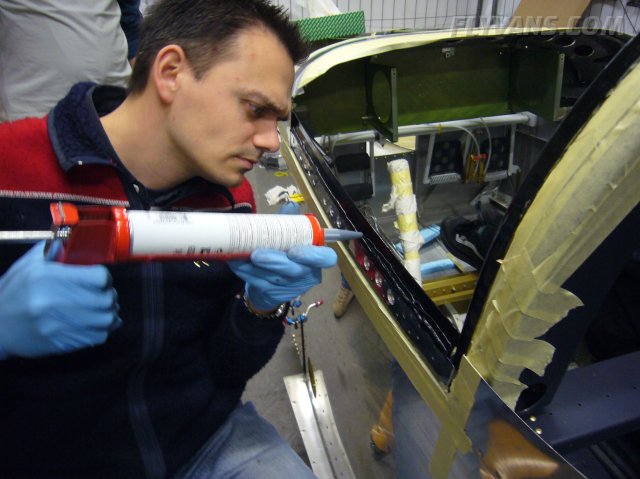
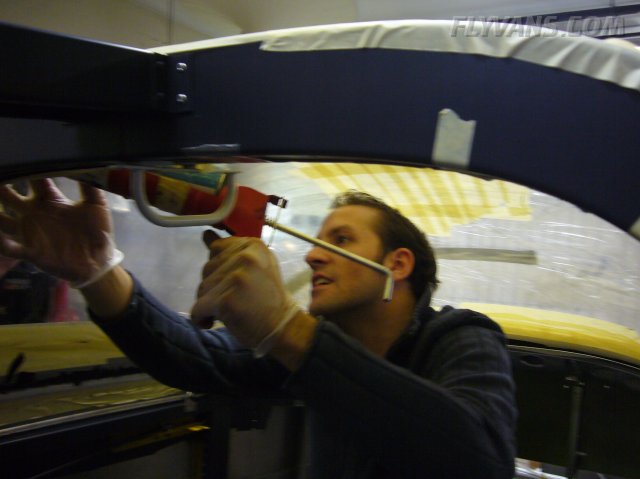
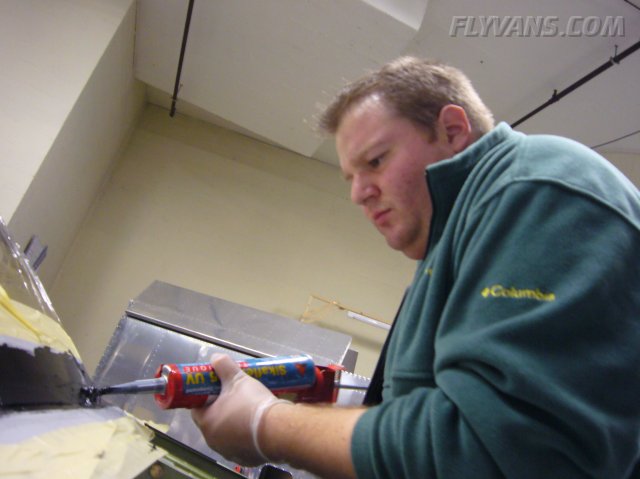
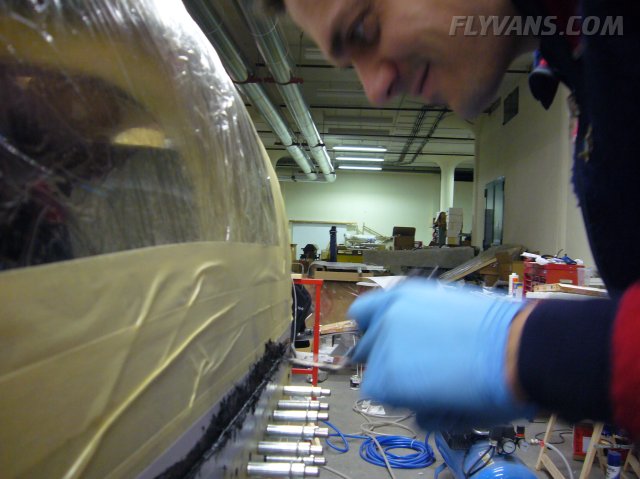
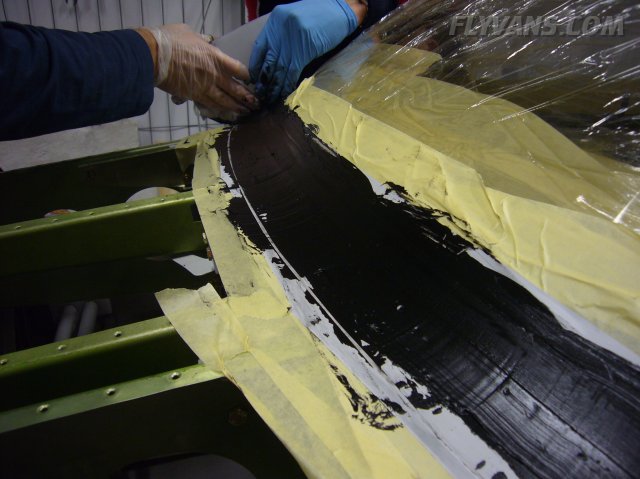
Before the canopy is put on, the first few beads are set.
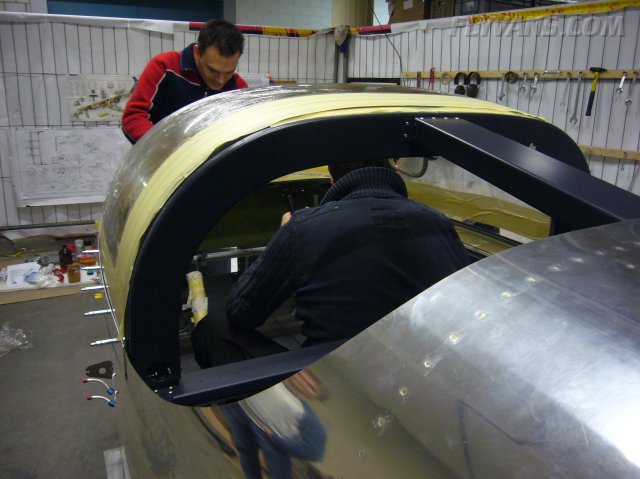
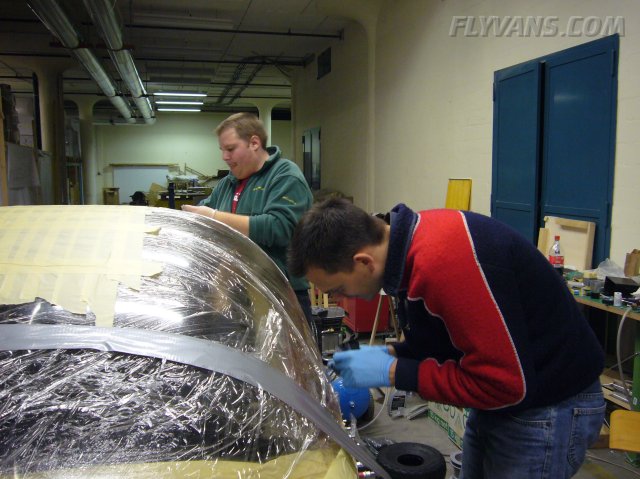
Then the canopy is put on and the finishing started.
Especially during this process, placing the canopy and finishing the beads, four people will go a long way towards a nice result!
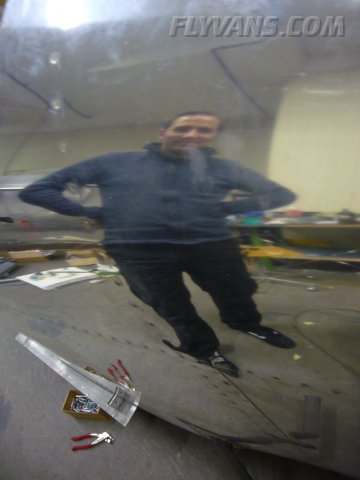
Also, one person has to sit inside the fuse for the whole time. Exit is only possible through the baggage compartment and rear window opening.
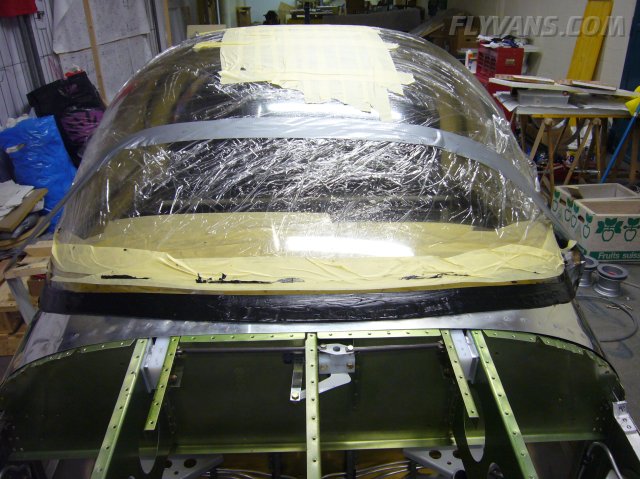
Besides the glareshield on the inside, the other most tricky part is the forward top intersection between the canopy and the frame.
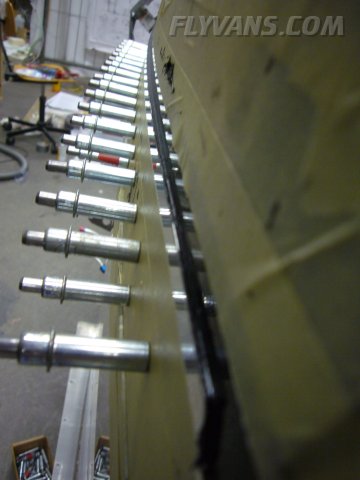
The sides worked very well with the skirts and the long shims along the sides.
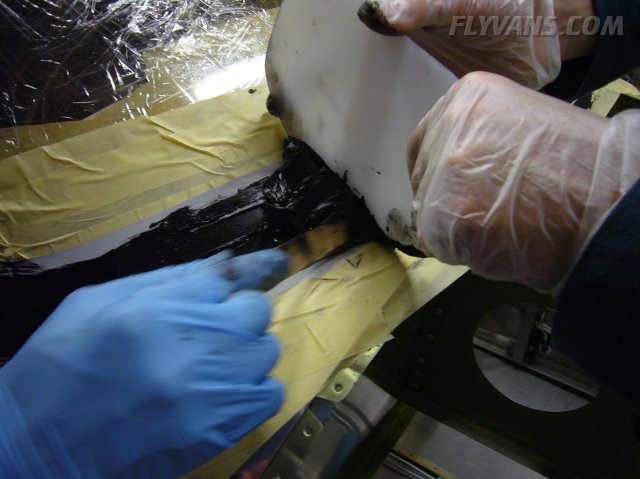
To work on the beads we mostly used wooden popsicle sticks that were cut to shape.
Also, at the transition from the sideskirt to the forward skin, nice contact with the canopy had to be assured.
The front was roughly shaped but is expected to be finished by sanding. There are reports, that after about 2 weeks of curing, Sikaflex sands quite well with 120grit sandpaper.
The black look will add a nice touch to the finish.
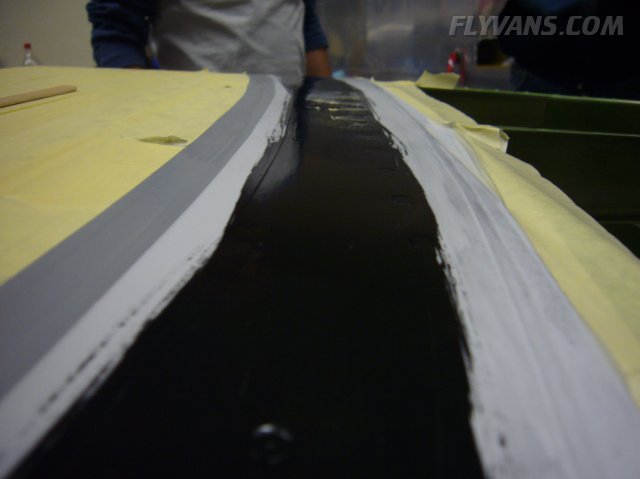
The sides turned out great and even.
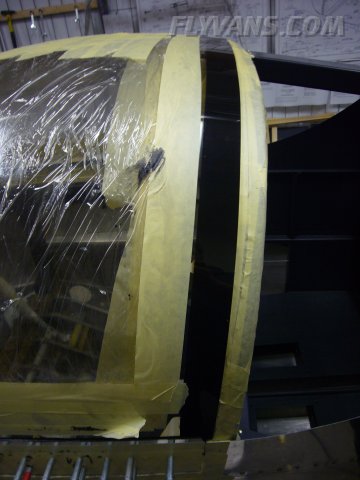
And the coolest looking part is the rear bow where the outside remained untouched. The picture doesn't do it justice enough, though. The black strip on the inside of the plexi with nothing on the outside looks awesome.
And the finished front part.
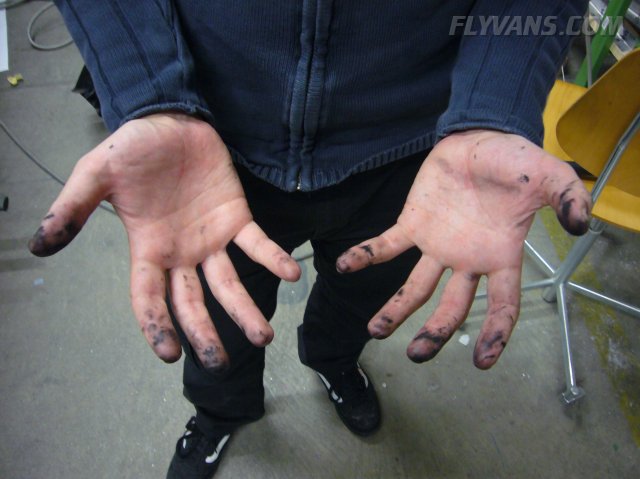
Although I had bought quite a few gloves, in the end we ran out, so we got some Sikaflex on the hands. It's almost impossible to get off except for mechanical removal.
Another major milestone completed! Gluing the rear window in place should be a piece of cake relatively speaking. We used almost 2 cartridges of Sikaflex just on the main canopy. There will be some touching up on the front and of course the rear window, so sent an order for some more.
|
|
|||||||||||||||||||||||||
|
||||||||||||||||||||||||||
|