|
|
|


|
| |||||||||||||||||||||||||
|
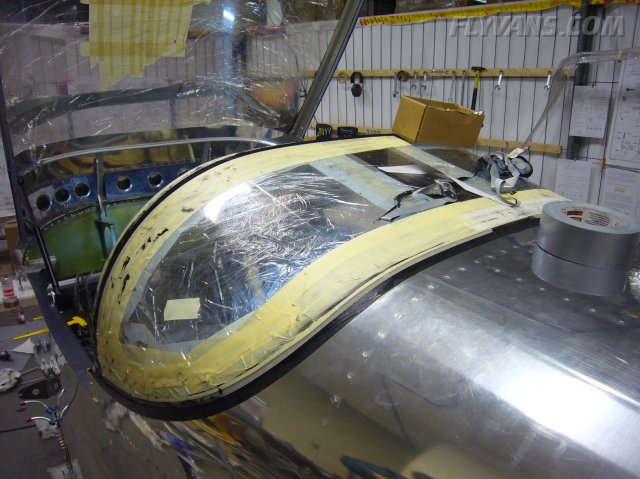
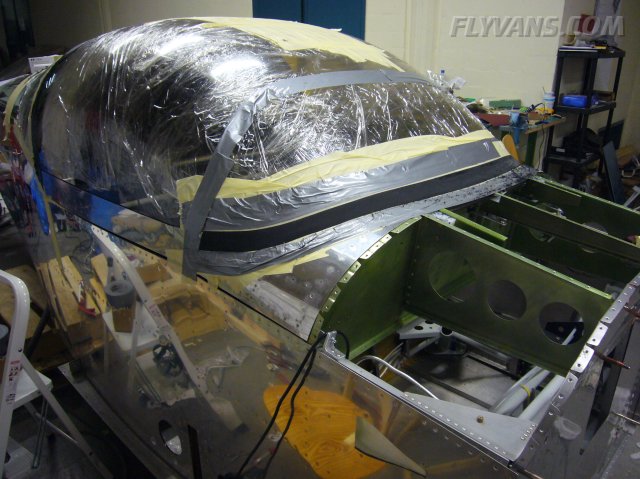
Went back the next day to remove the masking tape on the front canopy. Turns out, we put a bit too much material on the inside along the sides. No problem, simply scratched away the "skin" that had formed on the bead and removed sealant with a popsicle stick. Having found out that as long as there's no Sika primer on a part, the Sikaflex will dry and peel off easily, no need for further masking or clean up. Looks pretty scary and ugly though at first. 
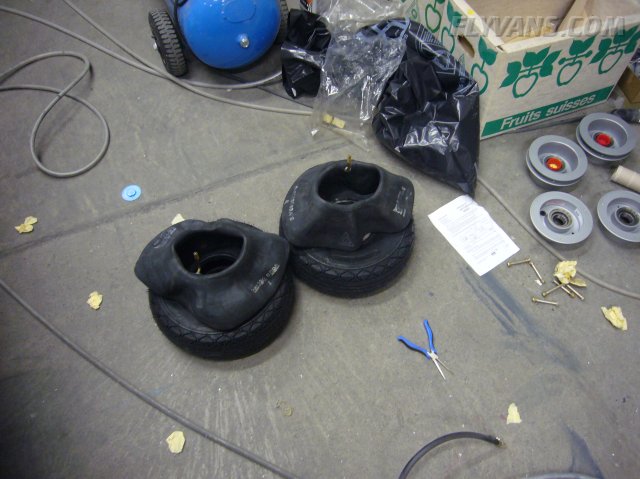
In the meantime prepared the landing gear for installation including wheels.
Putting together the nosehweel by myself without pinching the nosegear tube was tricky. The awesome cheat that i found somewhere on the net, using a cardboard strip to keep the tube from being pinched between the halves worked perfectly!
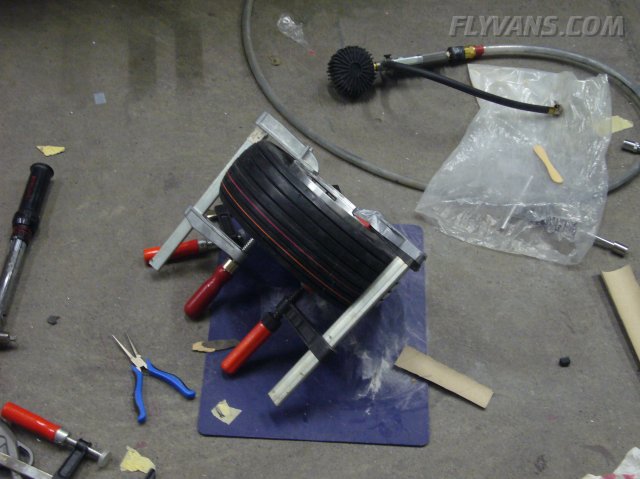
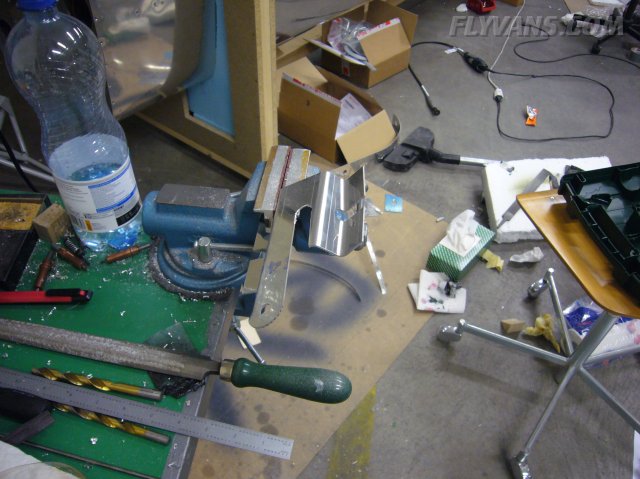
Even though the parts in a lot of cases look almost finished, there is still quite a bit of work left for the builder. The wheelpant brackets also need very good edge finishing and even then some will develop cracks from vibration over time. Cut the slot for the nosegear bolt in each bracket.
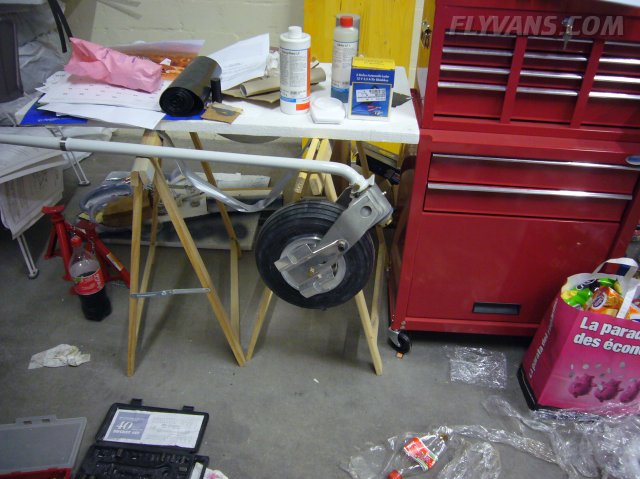
Everything installed. Now only the measurement of the breakout force and associated drilling of the cotter pin hole remains to be done.
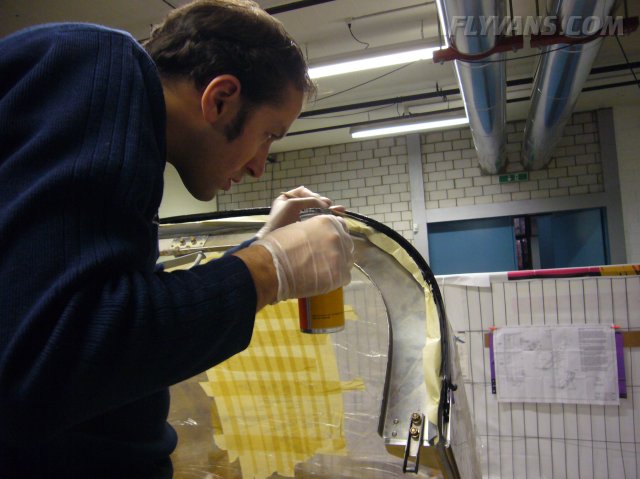
Having Pat as a helper available again, we moved on to the installation of the rear canopy. Over the whole Sikaflex process, masking is probably the most time-intensive and critical step. Rough masking with painters tape and the final edge using electrical tape works very well.
Because we had brushed on the primer on the rear overlap, there were a few "white spots" still visible from the outside. So did some touching up with another layer of primer.
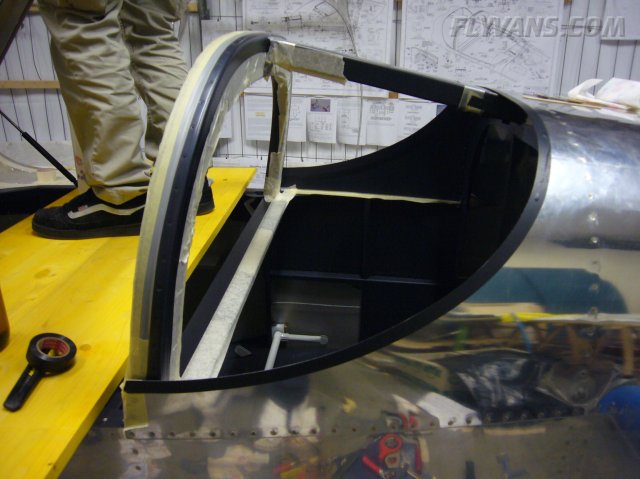
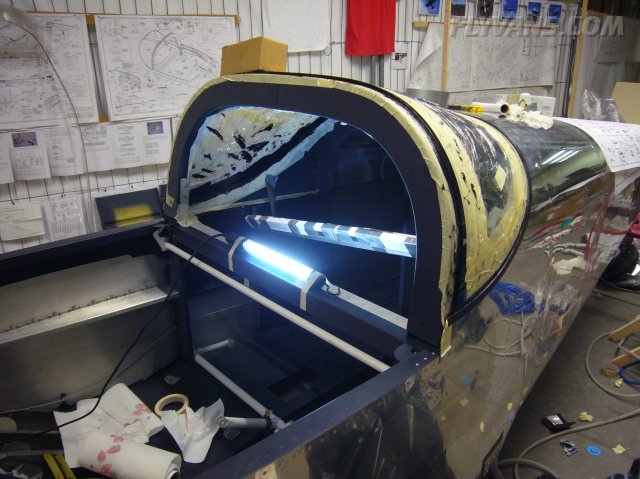
Working on the open canopy installed on the plane.
We had originally ordered 2 cartridges of Sikaflex, 1 bottle of cleaner and 1 bottle of primer. Both cleaner and primer were way sufficient, would probably be good for another canopy. But for the sealant we had used almost both cartridges for just the front canopy. So ordered 2 more.
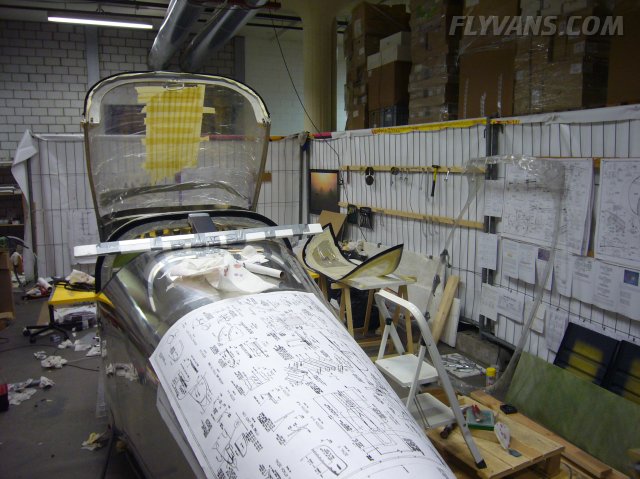
A wide wooden board over the siderails lets you work quite up there.
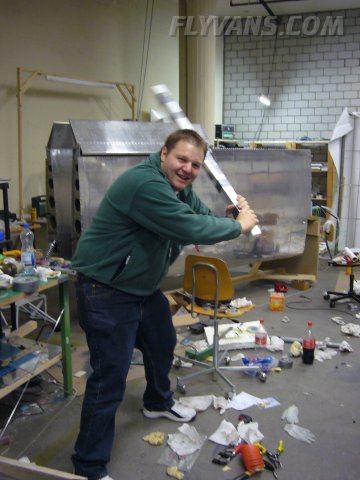
Pat demonstrating his custom baseball bat ;-) In fact he just made a clamp to hold the rear canopy in place from the inside while drying out of styrofoam.
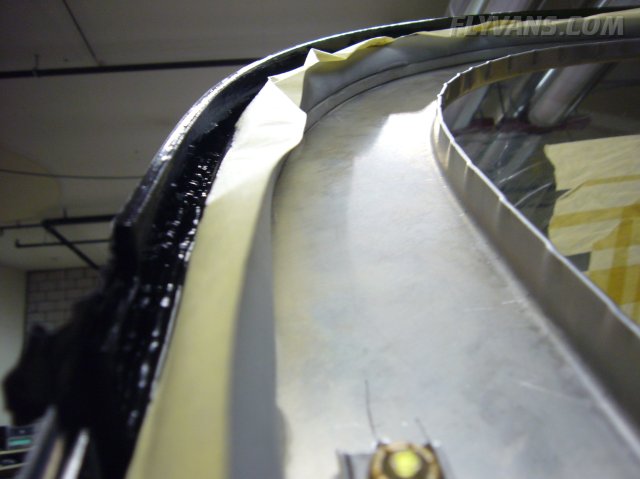
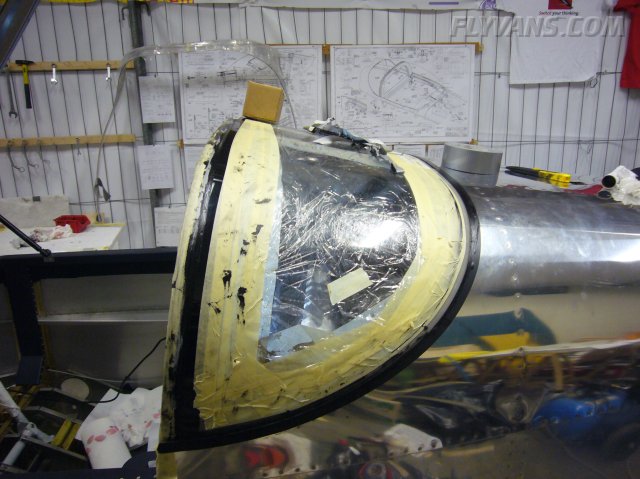
The rear canopy primered as well, ready for final fitment.
In retrotspect we should have taken more care around the rollbar horizontal support channel with masking/covering and maybe even lowering a tiny bit during construction. Pictures further down.
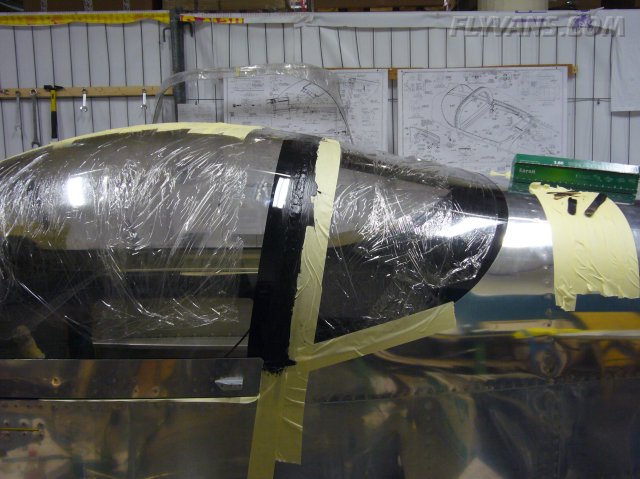
The rear canopy in place. We first intended to have a fingernail-thick crack between front and rear plexi. Due to the repositioning of the big cut slightly forward, this proved no longer achievable. The rear canopy would "trumpet" open too much over the rear rollbar flange. So we decided to cut the rear canopy shorter to have the split line on the rear rollbar flange and later fill the gap with solid Sikaflex.
The installation itself wasn't much of a problem as we had trial fitted the plexi a few times during trimming.
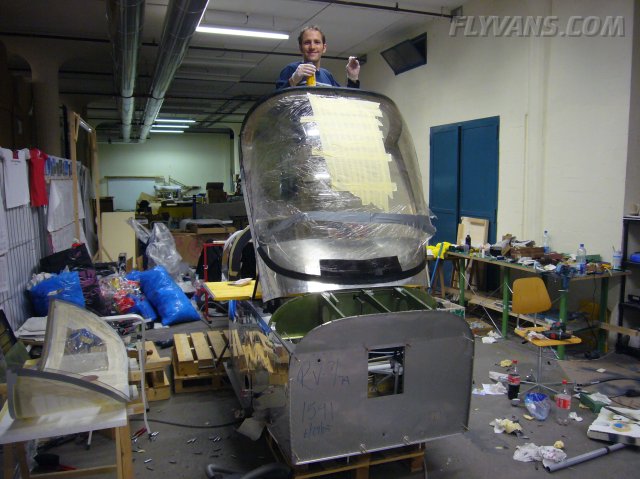
Now it's really starting to look like an airplane!
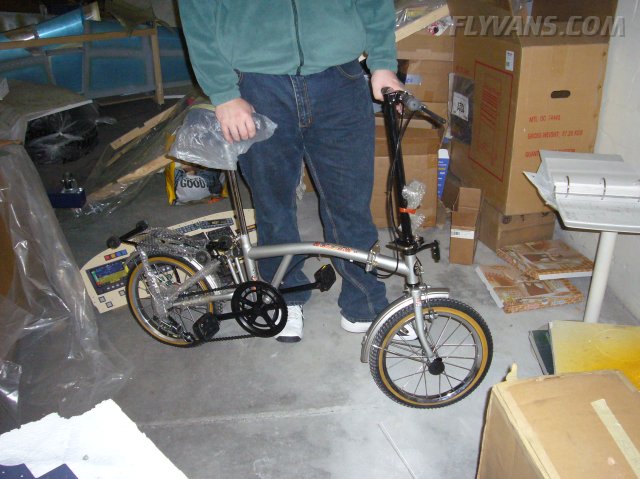
The company that recently moved into the large space beside our workshop trades and sells all kinds of stuff. One day we spotted small foldable bikes, and the owner agreed to sell us a few for almost nothing ;-) We hope to be able to fit at least one, if not 2 into the baggage space of the RV. Will have to do some trials. They're not very high quality / expensive, so in case it doesn't work out the failed investment doesn't hurt at all.
A day after we put the rear canopy on, filled the gap between the two plexi parts with solid Sikaflex. This will be sanded smooth and painted black eventually. By correctly masking off the front canopy and opening it another few hours later, before the Sikaflex has hardened too much this worked again very well.
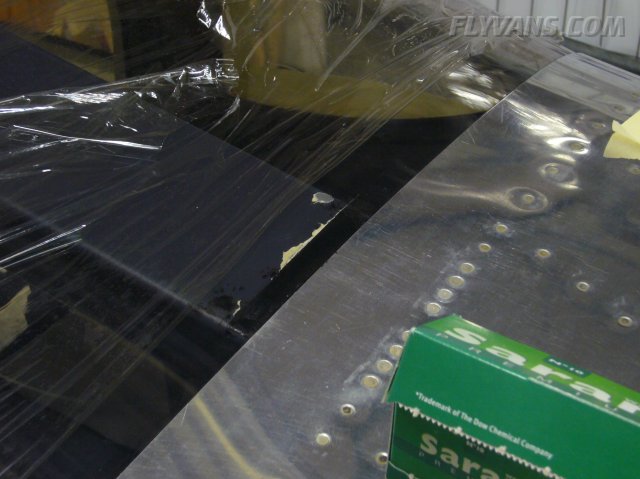
The problematic area where we didn't care enough about masking / masking removal. Although we had prepared the masking tape with 2 layers so it wouldn't stick on the rollbar channel, the force of the plexi being clamped down by the rear top skin was enough to pinch the tape in place and make it rip apart. Also managed to put a few fingerprints on top of that channel. Most propable solution right now is to paint a black strip on the outside of the plexi, covering that area.
Also, started to sand the Sikaflex with 120grit sandpaper on the front side. Works very well and doesn't use up the sandpaper, could probably be used forever like that ;-) The result is a matte, smooth surface. For an even look, we'll probably paint it with black "rubber" paint. At the same time with the gap between the front and rear canopies of course. For the inside, decided to do the glareshield with a "female" type velcro, so the finish will be black matte and at the same time can hold gps antennas etc... with velcro. For the inside bead it proved very hard to smooth the Sikaflex pleasingly because of the limited access and various angles and thicknesses. So we'll glue some black neoprene tube into the corners, looking much better. Forming a nice Sikaflex bead everywhere else was no problem by the way, because of more even intersections.
|
|
|||||||||||||||||||||||||
|
||||||||||||||||||||||||||
|