|
|
|


|
| |||||||||||||||||||||||||
|
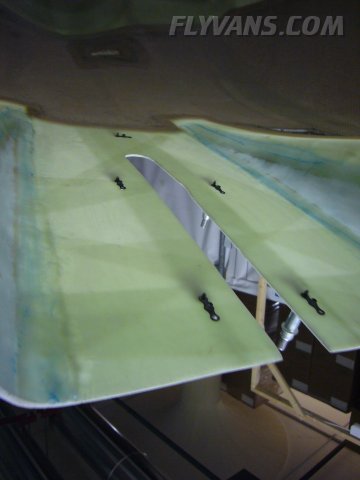
Finished fitting the landing gear fairings, to the point where the only remaining thing is to glue the intersection fairings to the main fairings.
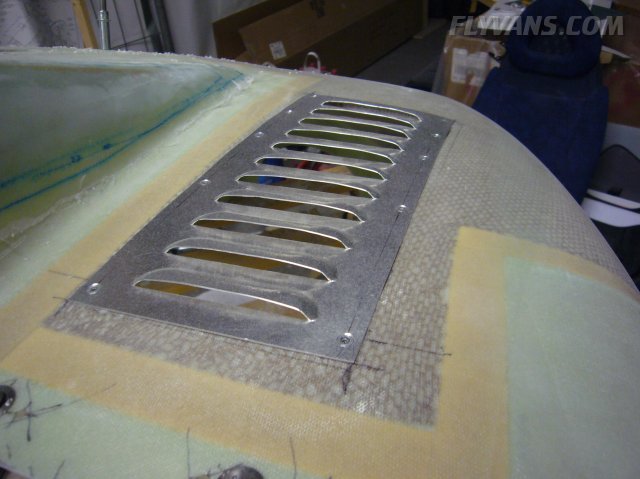
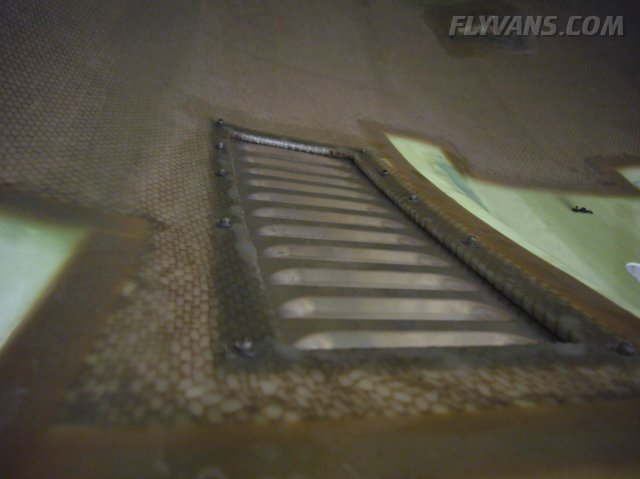
Attached the louvers with countersunk pop rivets.
A small washer on the inside keeps the rivet from pulling through the honeycomb.
Also, some #6 nutplates for the nosegear top intersection fairing.
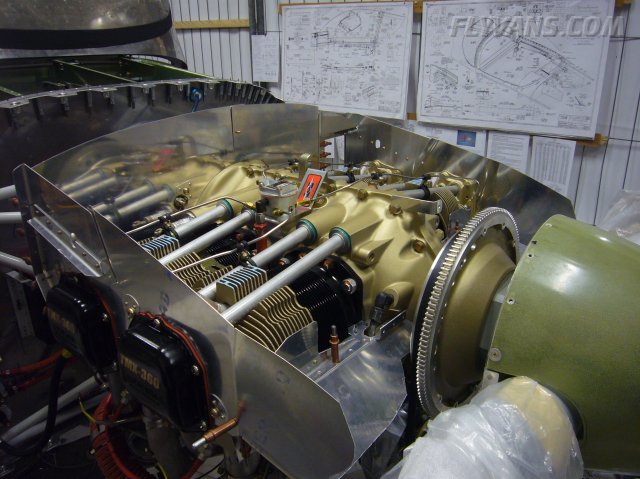
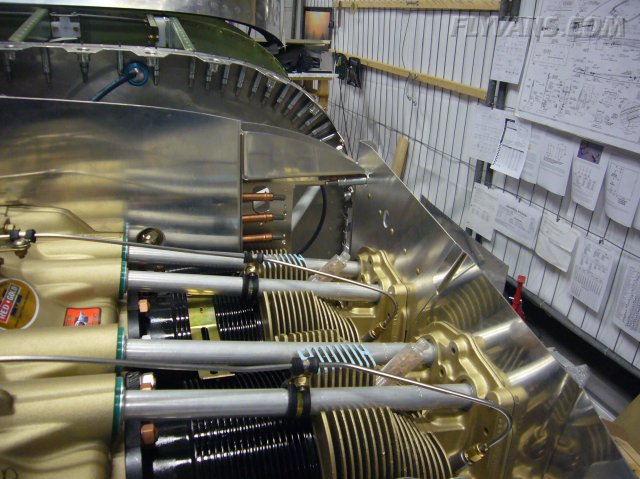
Finally, working again on the new Van's baffle kit.
Still quite a bit of work, with a lot of incremental fitting that takes a lot of tries if you want to do it right. Some areas fit much better than with the old style, though.
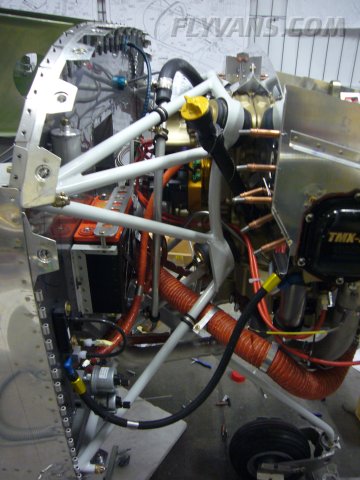
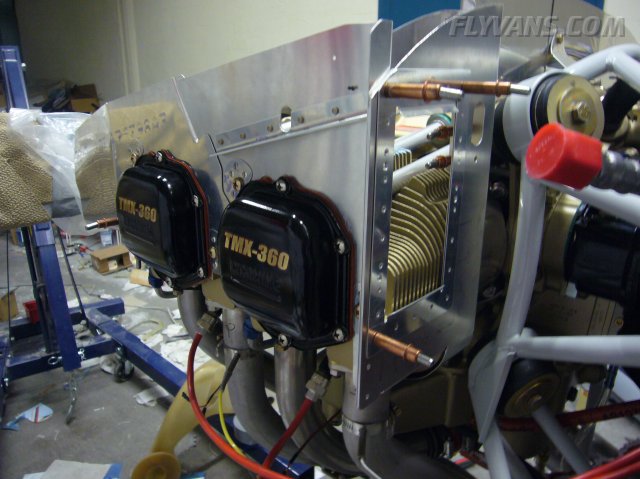
Working on the mounting of the fiberglass "snorkel" filtered airbox.
ECI offers an adapter kit for their cold air induction to the van's snorkel.
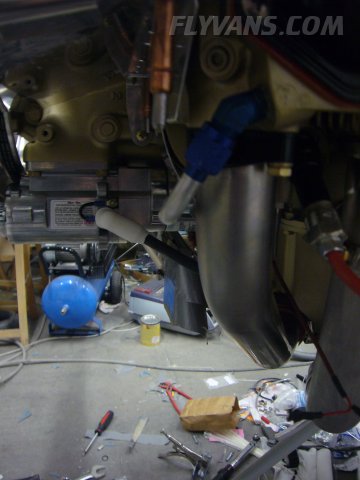
However, still lots of trimming here and there required. On This picture you can see how the oil supply line for the cylinder head bows out forward and interferes with the airbox.
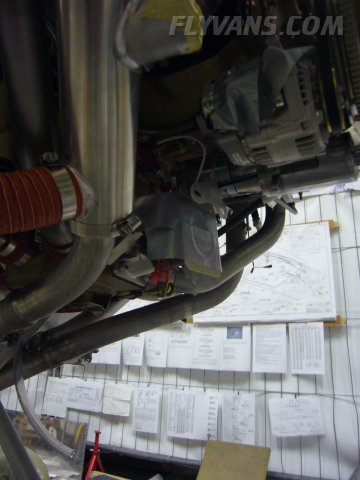
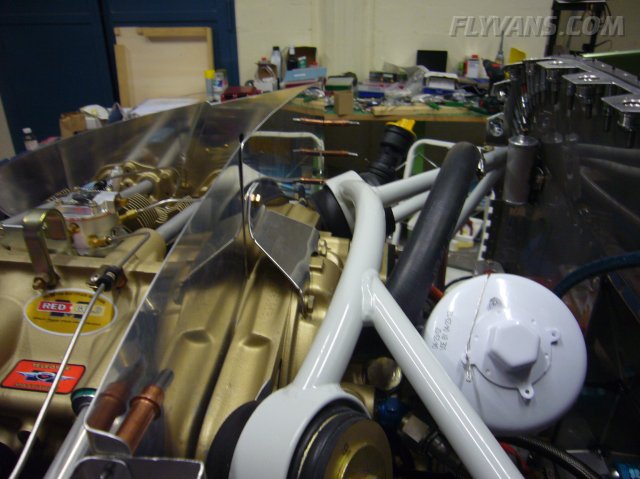
The oil cooler mounting place. Initially we'll try to go without the shutter. If needed, it would be an easy retrofit.
Holding off with quite a bit of riveting until everything is trimmed and edge finished.
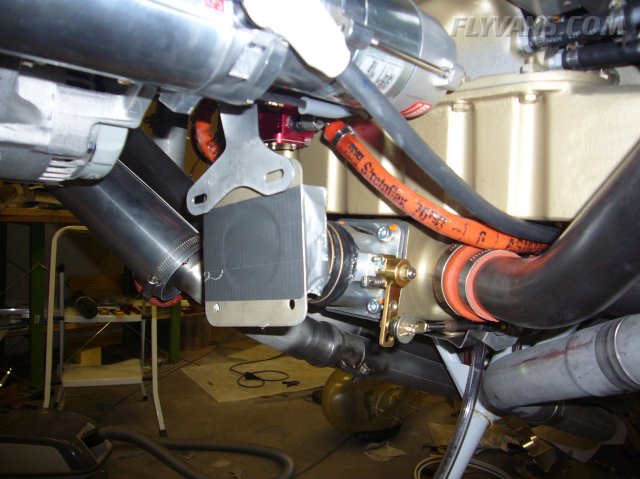
Decided to keep this bracket from the "old style" baffling kit.
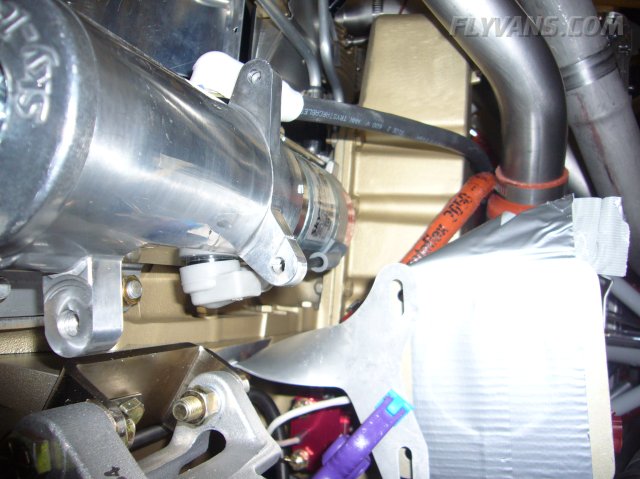
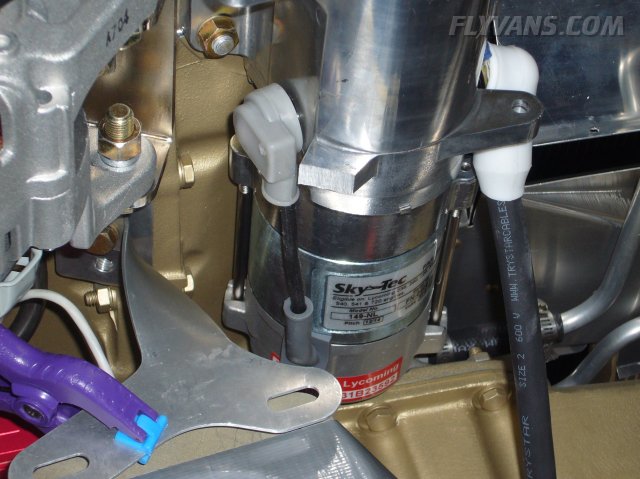
The unused, additional support fingers of the starter had to be trimmed due to interference.
The bracket, adapter and scat tube are part of the ECI kit.
Clean cut.
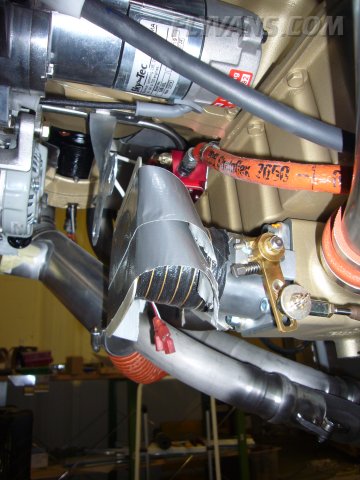
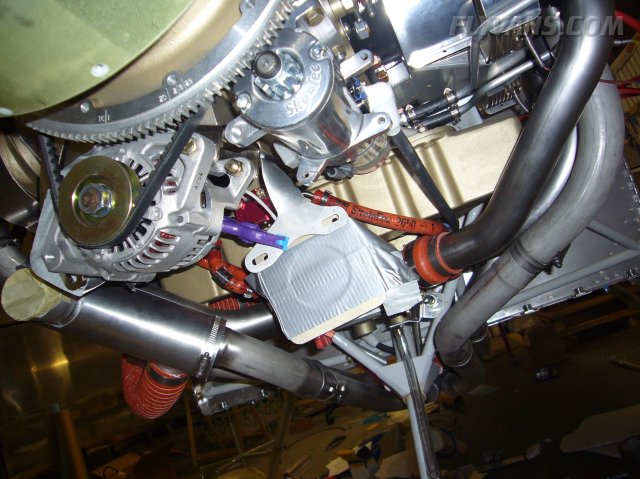
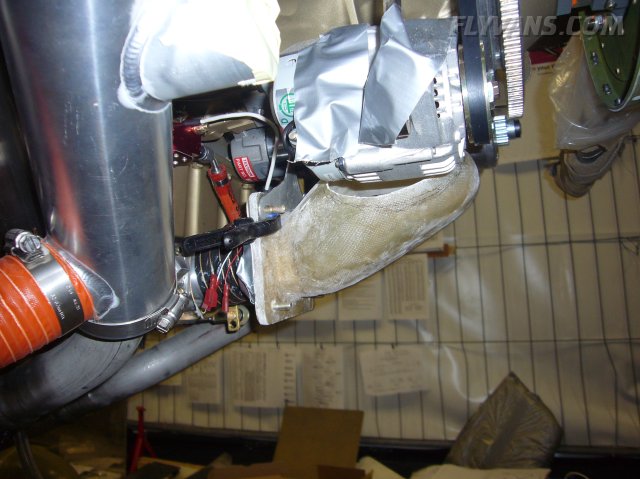
The airbox needs quite a bit of modding, too. The upper cutout is an eventual inset for the cyl head oil line and the bottom trim is because of interference with the alternator.
Both fingers cut off the starter.
View of the interference with the alternator. With the cutout, a new cap will be fiberglassed over it.
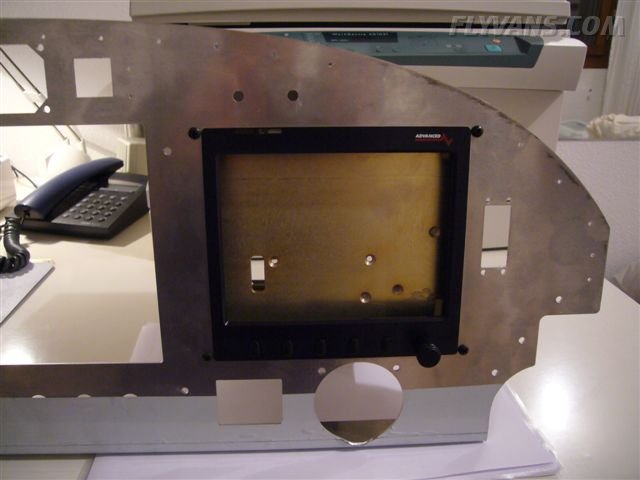
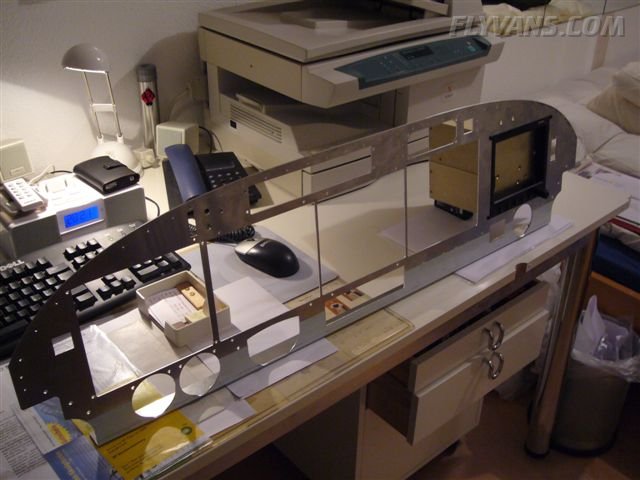
And a teaser of the panel. My dad just sent pictures with the laser-cut panel :-) Looks awesome.
Not much skin left... This gives an idea about the amount of "glass" in the panel ;-)
|
|
|||||||||||||||||||||||||
|
||||||||||||||||||||||||||
|