|
|
|


|
| |||||||||||||||||||||||||
|
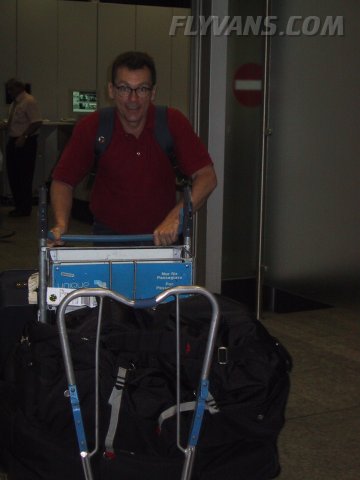
Met Mickey at the airport as he was coming back from the states... He kindly brought along some very valuable lighting stuff for us :-)
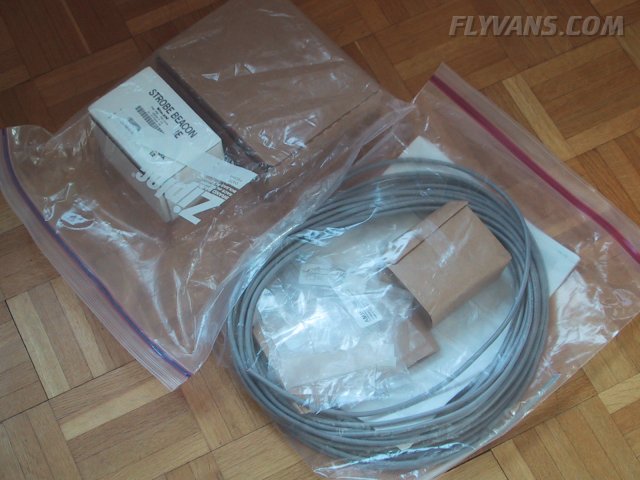
You're looking at roughly $620 worth of stuff... The white box is the Whelen A500 combined tail strobe and nav light that we ordered from Van's. The rest is the strobe light kit and rectangular LED navlight kit from http://www.creativair.com Today, Tom came by to help. As Alex is currently on vacation, Bernie tries to get done whatever time and available hands allow. Our respect to anyone pulling off such a project alone!
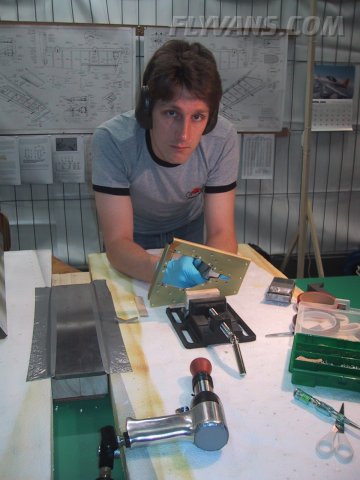
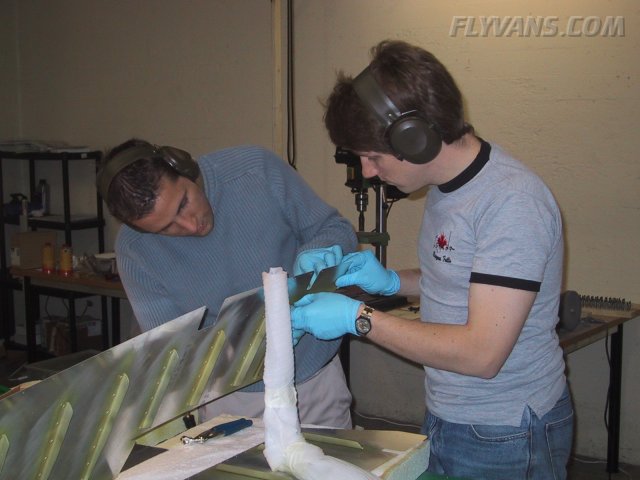
We worked on the trim reinforcement plate. It mounts on the inside of the left elevator skin. The trim servo will be mounted via a cover plate screwed into nutplates on the reinforcement plates.
On the following picture you can clearly see the matching access hole on the elevator skin. One "problem" that is not clearly explained in the building instructions is how to attach the nutplates with flush head rivets to the reinforcement plate. We decided to dimple the plate as well as the nutplates themselves. Other options are dimpling the plate and machine-countersinking the nutplate or leaving the nutplate as is and machine-countersinking the (already thin) skin. Dimpling the nutplates is somewhat tricky, for one they are made of steel instead of aluminum. Also, the "regular" size female dimple die will be too big and cover the radius of the nutplate. This will produce a shearing force which may result in wrecked male dimple dies... Not pretty! Look for a "3/32 small diameter female dimple die" when shopping... We bought most of our tools from Avery, but some, icluding the dimple dies from Cleaveland and have not regretted it :-) This after Dominik Stadler had previously compared them.
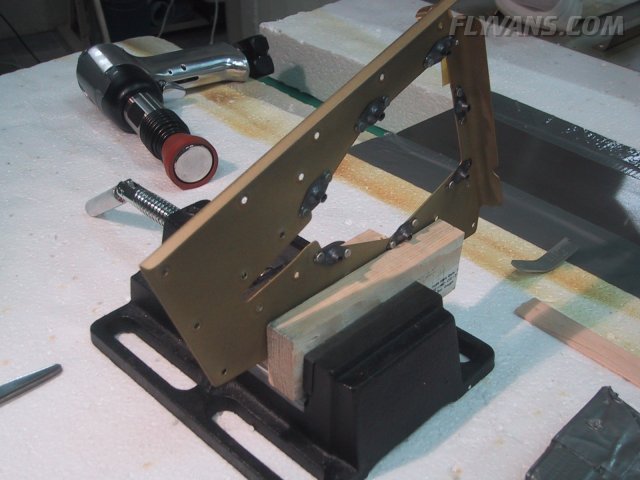
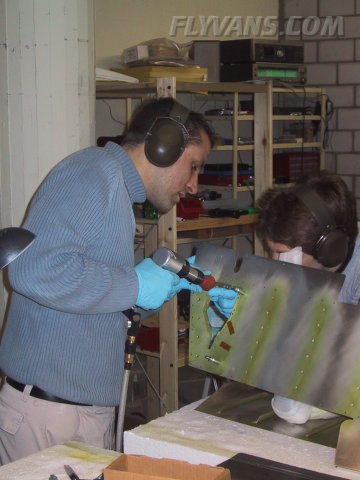
After the nutplates were installed, the whole assembly could be mounted to the skin.
"Freestyle" riveting... Quite tricky without support for the skin.
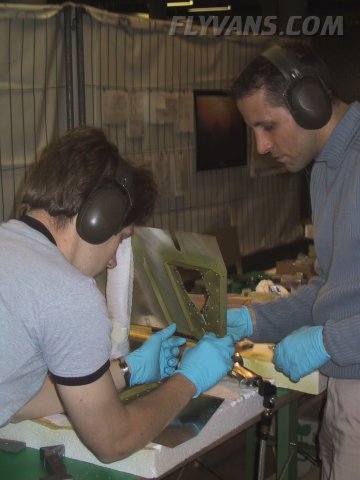
from the other side.
Installation complete. One of the next tasks will be bending the elevator trailing edges.
|
|
|||||||||||||||||||||||||
|
||||||||||||||||||||||||||
|