|
|
|


|
| |||||||||||||||||||||||||
|
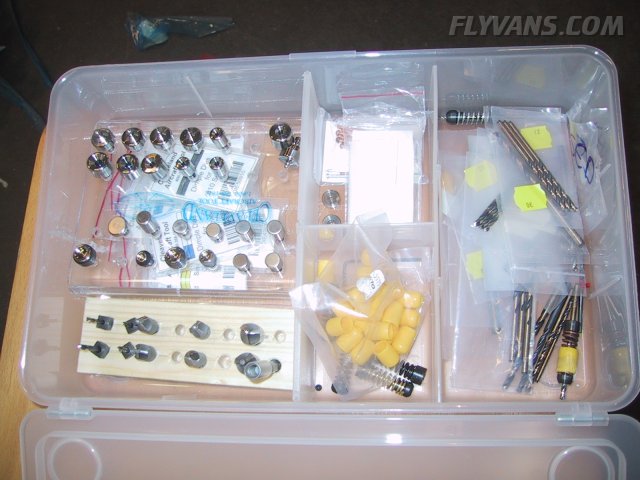
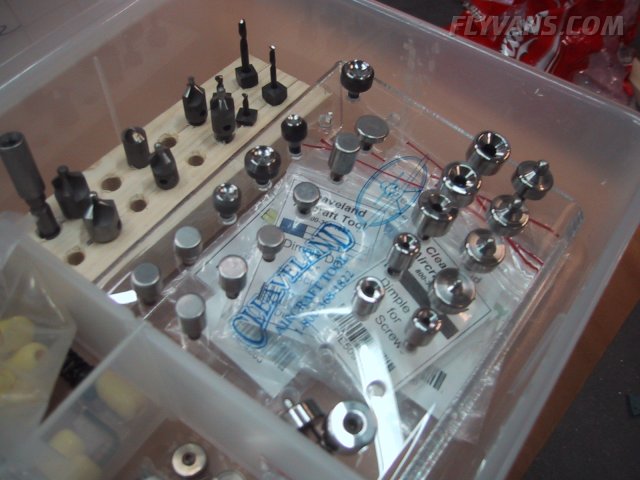
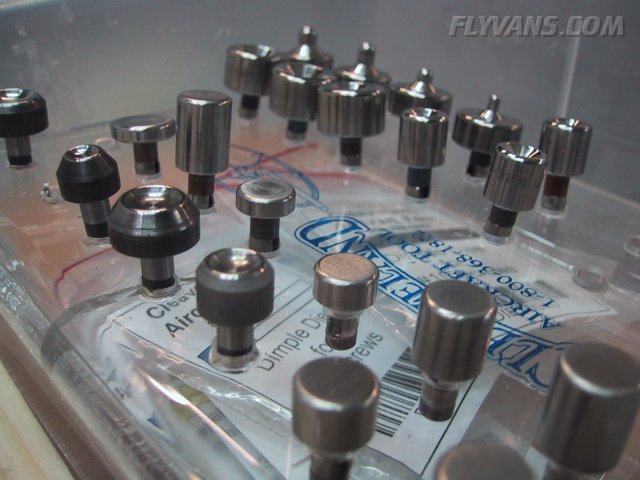
Today was pretty much boring work. Deburring tons of parts is not really something to write home about ;-) So it was time to take some different pictures. The project of documenting all our tools on the website is still somewhere back in our minds but building has priority :-) So here's our magic aircraft toolbox *g* The dimple dies and rivet sets. We got the whole kit from Cleaveland Tools. Again we were lucky to take profit out of Dominik Stadler's knowledge. He hinted that, although ok, the Avery dimple dies produced slightly less optimal results than the Cleaveland ones. We still got mainly the Avery RV Builders toolkit with some important exceptions like the dimple dies. So far we can only but support his findings!
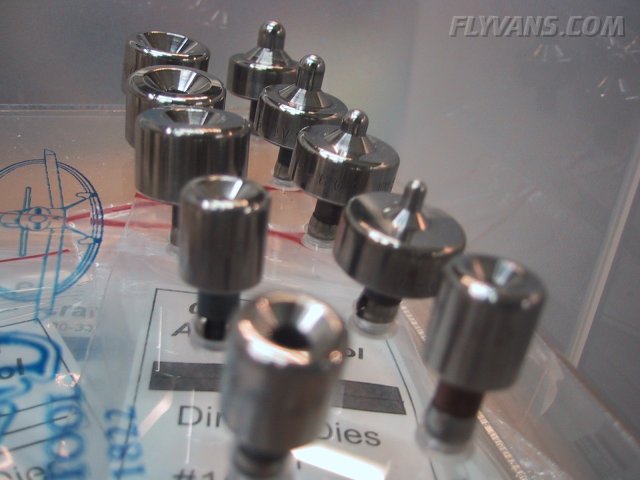
The larger dies are all made for screwhead dimples.
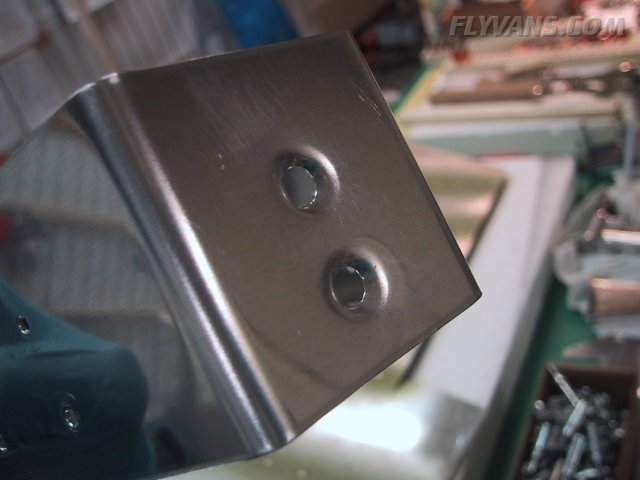
The counterweight skin has to be dimpled with some very large dimples which will result in flush bolt heads...
These bolts attach the E-714 counterweights to the skin. The lead is machine-countersunk deep enough so that the dimples seen on the previous picture fit tightly into the opening.
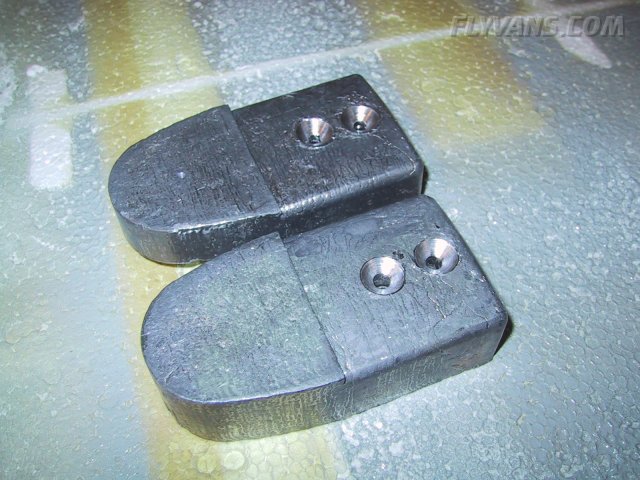
Another special part is the left elevator trim tab spar. On the top side it must be machine-countersunk so that the piano hinge with the trim tab can be mounted later on, while on the bottom flange it is being dimpled.
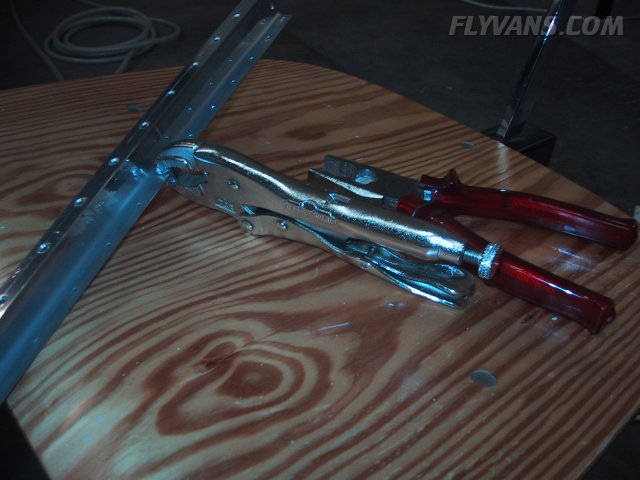
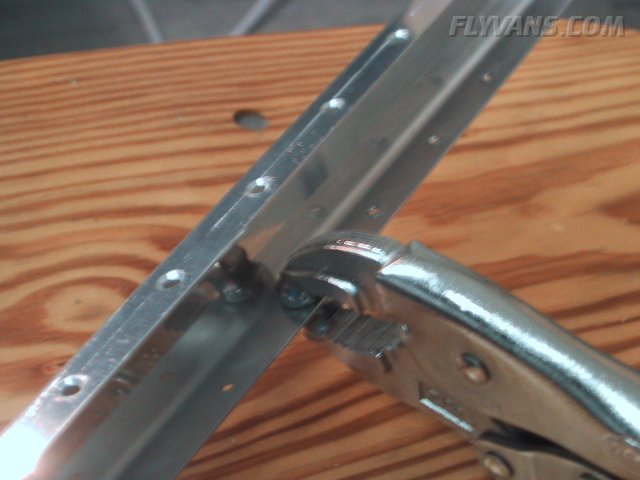
Workin in close quarters. For example, the deburring tool can't be used on the inside of these drilled out holes. So a thourough brush with scotchbrite had to do, then dimpling with the vise-grip dimpling tool. We once discussed saving that from the Avery RV toolkit order, but for some time it has become one of the "positive surprise" tools.
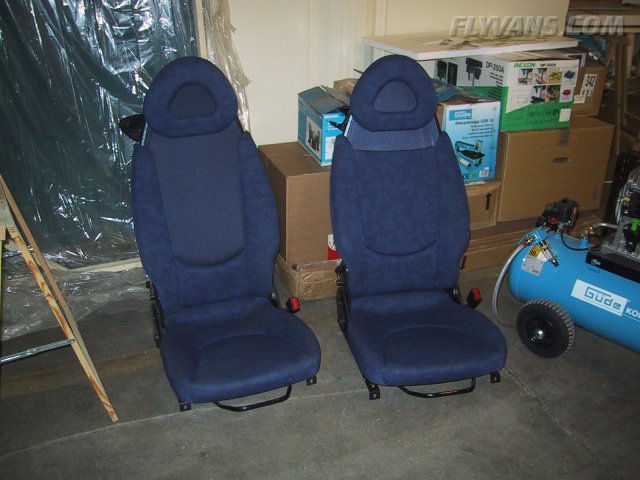
A small project, the fate of which is not yet known... Since Bernie is driving a smart fortwo coupe and we both like its super-comfy seats, this was an obvious thought to cross our freaky minds *LOL*. Well, for now, found 2 used seats (left newer generation, right first model). These weren't overly expensive although very hard to find, and should allow to develop a prototype. For the RV, we would have to get a hold on yet another seat of the exact same style as the prototype, otherwise it would look like wearing 2 different socks, of course *G*
|
|
|||||||||||||||||||||||||
|
||||||||||||||||||||||||||
|