|
|
|


|
| |||||||||||||||||||||||||
|
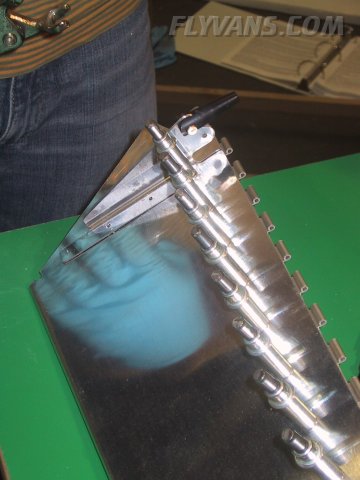
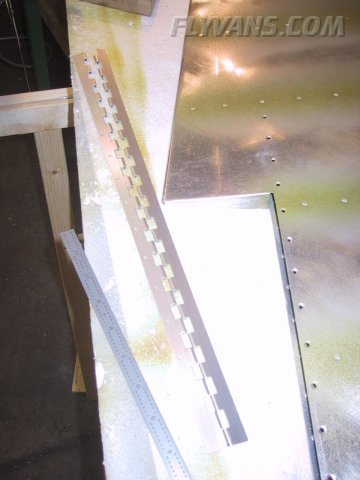
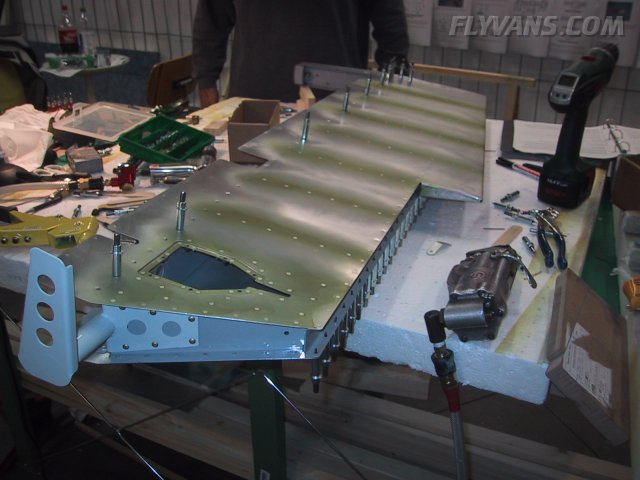
Last week we both had a week of holidays, which we planned to use for building... We spent about 6 hours each day on the project, the remaining time was used for flying, laying back and bbq-ing ;-) First thing we worked on was the left elevator trim tab assembly. Here you can see the tab assembled with the edges not yet bent.
There's not much space to rivet solid, lots of places neither reachable with the squeezer nor the rivet gun. So we decided to complete the bottom spar line with MK-319-BS flush pop rivets.
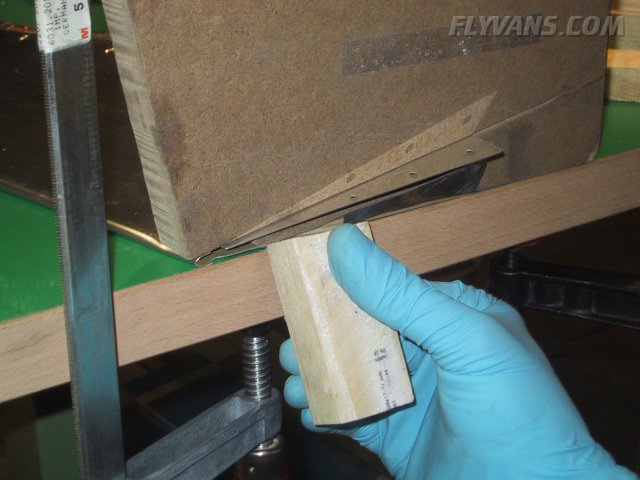
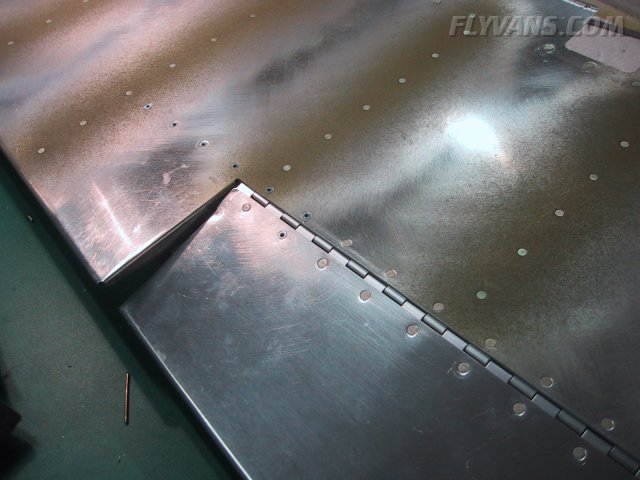
Also, the piano hinge which will attach the trim tab to the elevator must be fitted to both the trim tab as well as the rear spar of the left elevator.
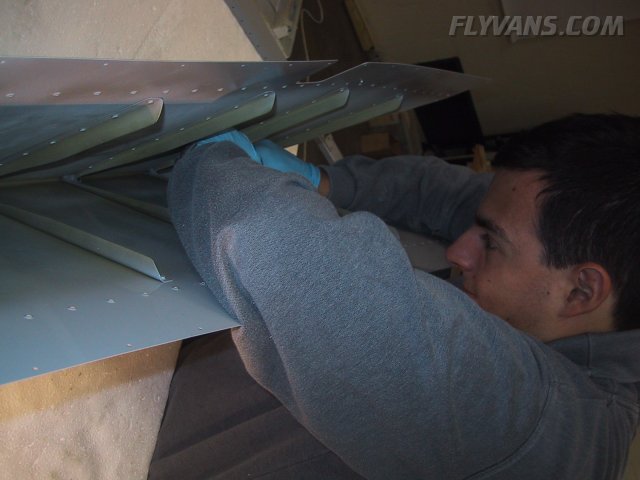
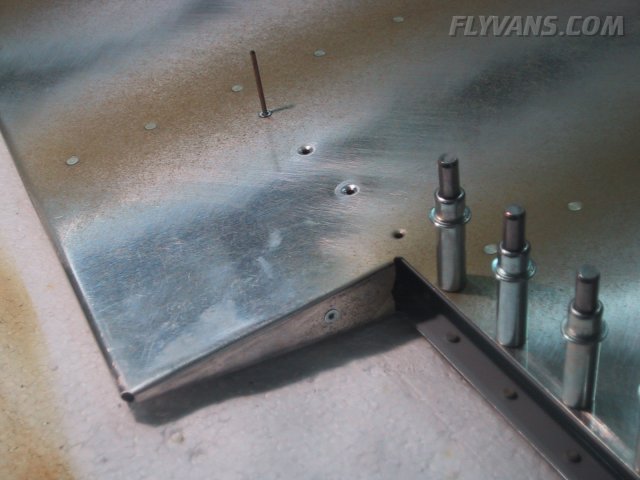
We had one little glitch though, which you can nicely see on this picture. The block was clamped tightly to the table and put a dent into the trailing edge. (Left side). We only noticed after bending but were able to work it out thereafter, so you will have to look hard to find the remaining dent. Closing up the elevators. First the counterweight skin is attached to the main elevator skin by only 2 rivets. Then the understructure is put into place.
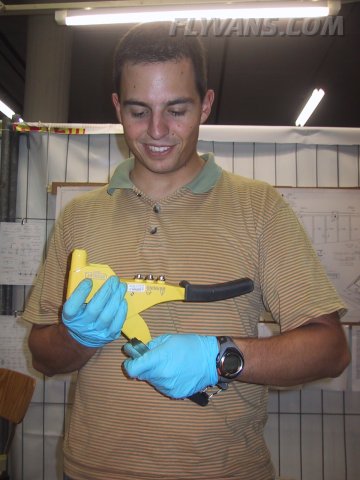
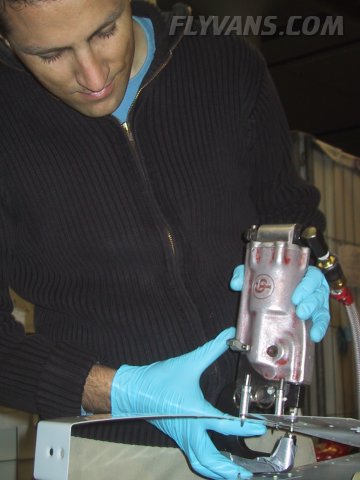
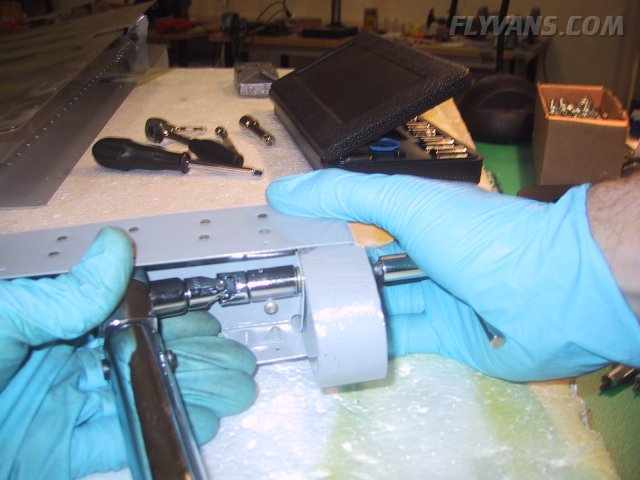
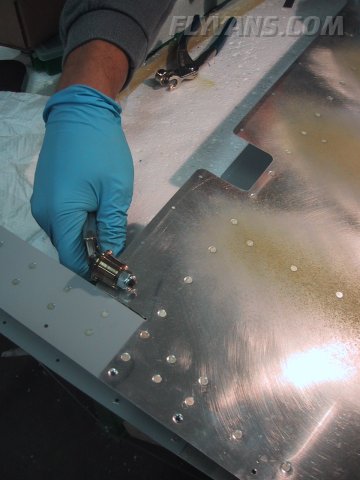
The pneumatic squeezer again turned out very handy. Although it cost 400$ upwards, we wouldn't want to build an RV without a squeezer. Definitely more than a "nice to have" tool.
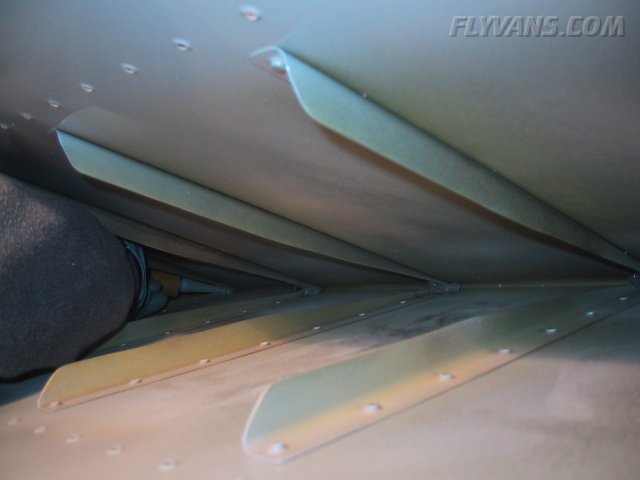
Alex putting silicone into the trailing edge. Only at the places where the opposite stiffeners could touch each other due to vibration or the like.
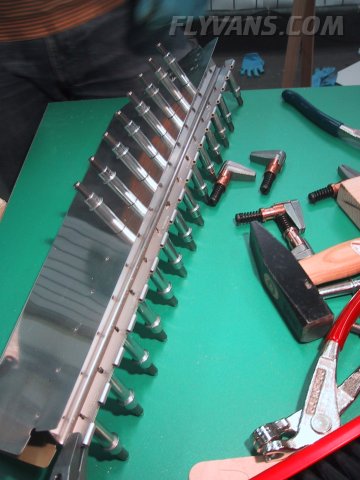
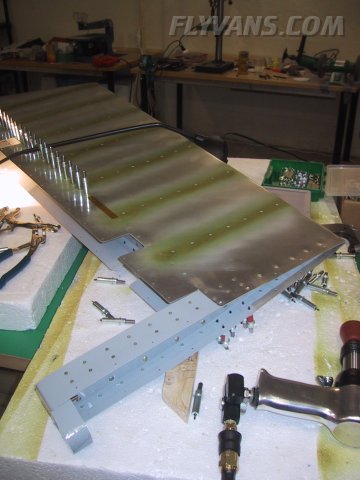
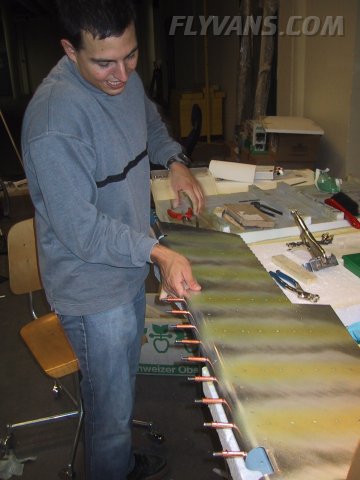
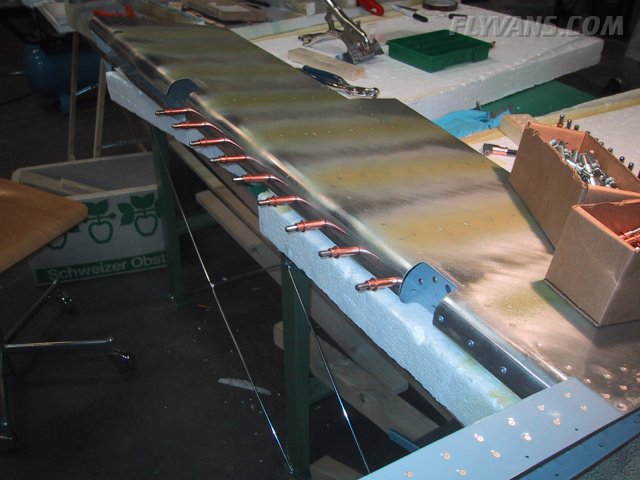
Finally riveted the understructure. This is the right elevator.
Torquing the elevator counterweight to the ribs. You might have noticed, another oops... We mixed up the left and right elevator counterweight. The only difference is that the right counterweight had been grinded down to be lighter. See http://www.flyvans.com/log/2005_05_07_elevator_counterweight.html. So we just created some additional work for us... We will grind down the right counterweight again and buildup the left with leadshot and epoxy when completing the fairings. In the end both weights have to be trimmed again anyway so that the elevators balance. This is to prevent highspeed flutter which could lead to catastrophic disintegration of the aircraft. This is the only reason why one would intentionally add weight to an airplane ;-) By adding mass =inertia and moving the CG of the elevator foreward, an aircraft designer can affect the vaning tendency which can suddenly appear at high aerodynamic speeds.
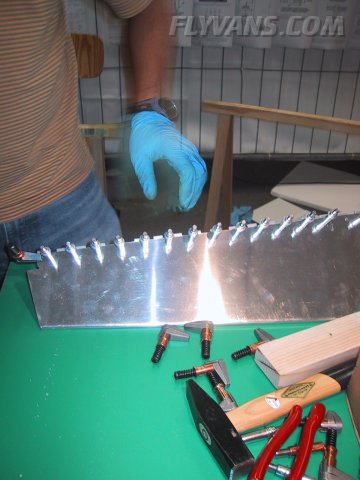
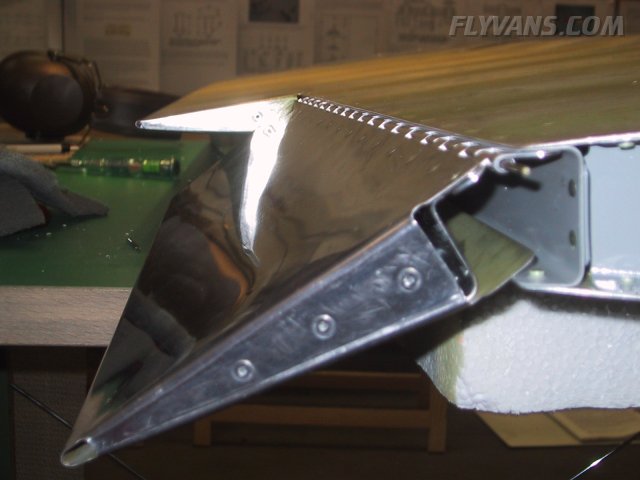
The left elevator riveted. Note the top rear rivet line not yet riveted. That's where the piano hinge for the trim tab will be mounted.
The trim spar extends a bit outboard, so a couple of holes are riveted again with the MK-319-BS pop rivets. Although the kit from Van's contains just about the right amount per plans, we recommend to order some additional MK's... They can become handy before you know. E.g. bottom side of the trim tab.
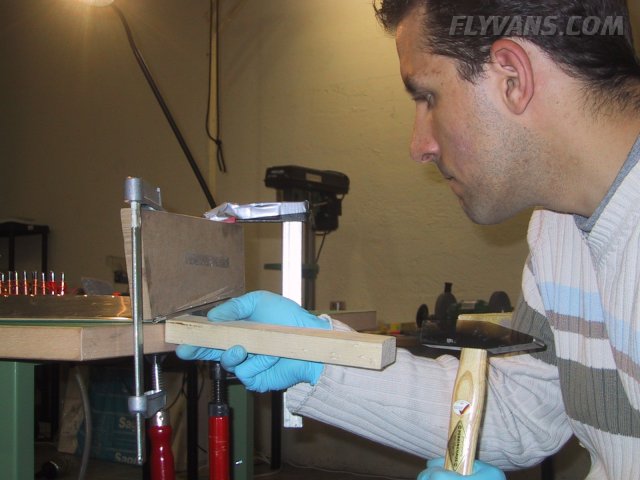
The piano hinge being shaped to the elevator trim spar.
Preparing the skins for the leading edge rolling. This tool creates a small bend which will provide for a nice finish, avoiding a gap between the top and bottom skins when rolled.
Starting to look like an airplane :-)
Also the bottom trim tab skin is bent upwards a bit, so it allows for quite a bit of downtravel.
The first leading edge rolled. Although we had a bit practice from the training kit, doing it on the "real" thing was a completely different thing... Anyways, all leading edges turned out nicely.
Again a huge compliment to Van's product as the whole thing came together in 3D just perfectly.
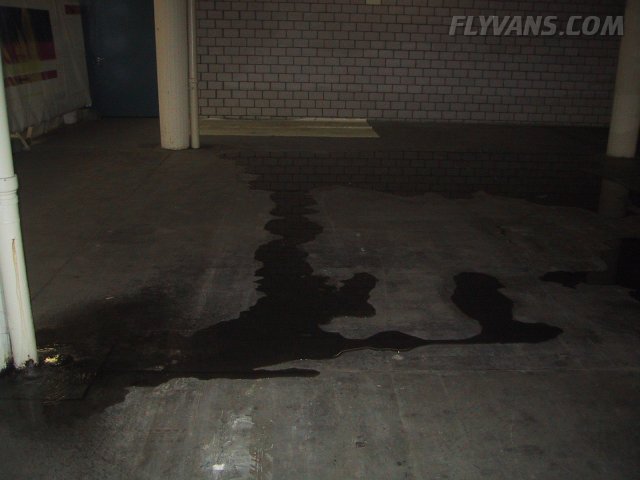
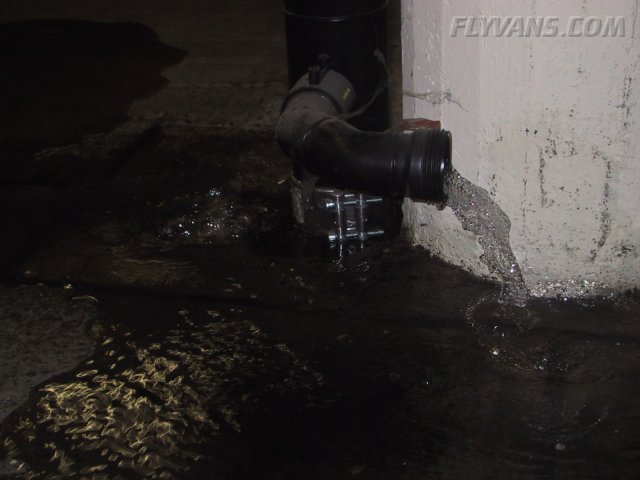
It rained pretty heavy outside... Also, the building is an older industrial building not very well maintained, so once in a while there's water in the same hall... Fortunately not in our corner, also we do have all our stuff elevated a bit... There would have to be a real flood to cause damage, but nonetheless, makes you think about the safety of your project...
This is also a document just in case someone might ever try to raise the rental fee ;-)...
|
|
|||||||||||||||||||||||||
|
||||||||||||||||||||||||||
|