
Before we actually started with metalwork again, we cleaned the shop from all packing material and added some space to attach drawings.
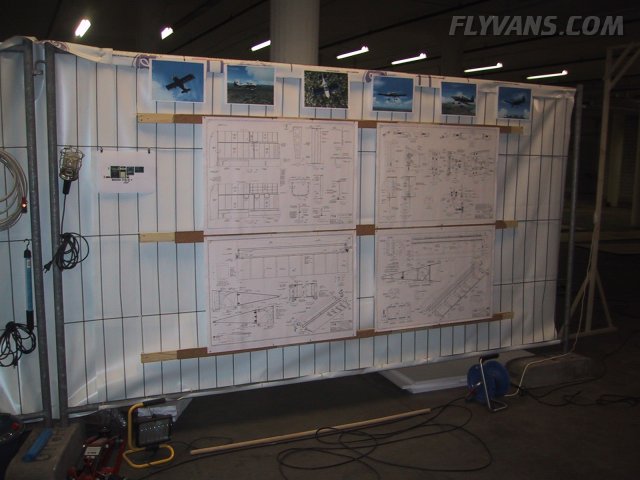
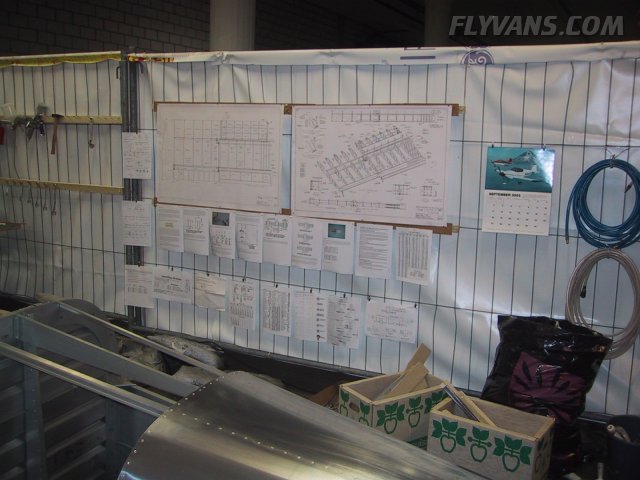
As we start out with completing the wings, the corresponding drawings are mounted.
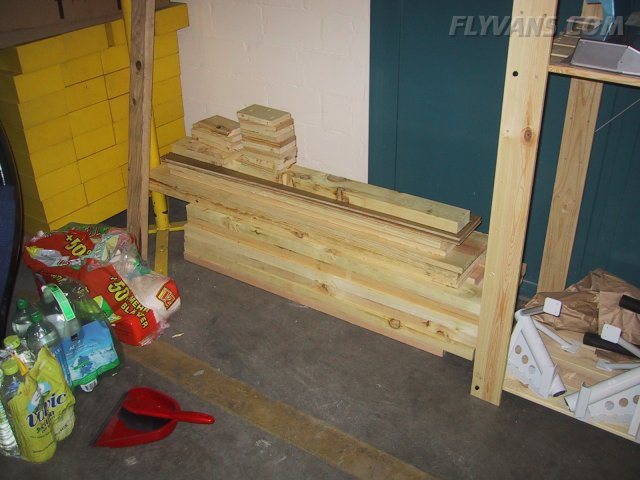
We removed all staples from some of the wood of which the crates were made of. This will come in handy when we need another support structure or so.
On earlier QB-Wings, the tanks were only attached temporarily to the spar, with only a few (sometimes loose) bolts and screws. Apparently there were some people doing first flights in that condition (duh?!) so Van's published a cautionary note to all builders. First thing we did was check how well our tanks were attached. Apparently they took action and have the manufacturer now completely attach the tanks. Every screw was set and the bolts correctly torqued.
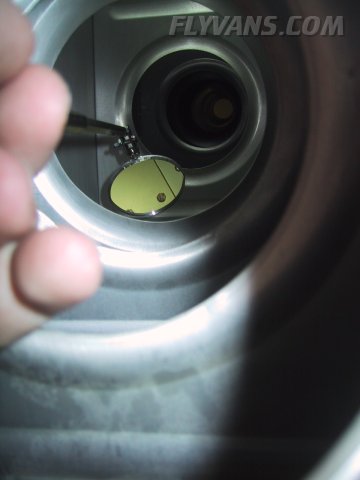
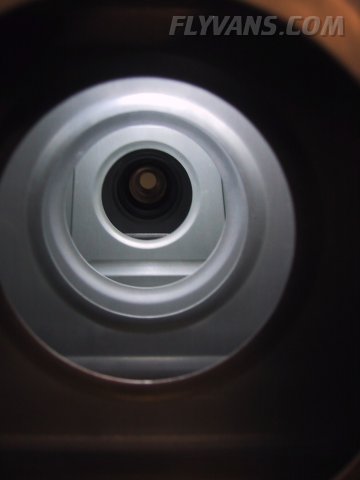
Through this hole, the aileron control pushrod will run from the fuselage to the aileron belcrank.
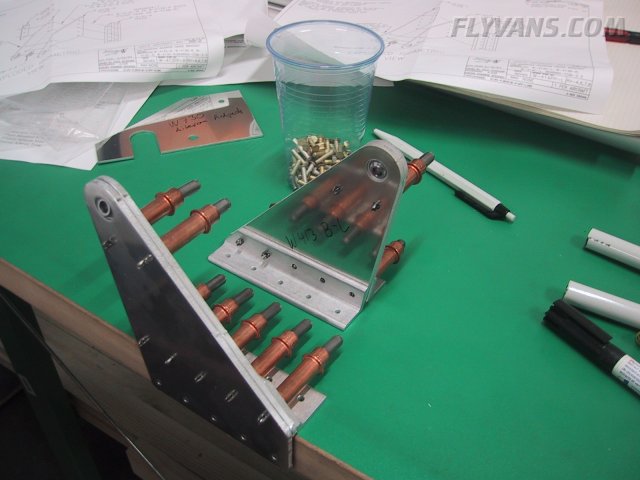
Many little things to do on the wings in parallel... Here are the aileron mounting brackets being built up. Assembling, drilling to final size, deburring, edge prep, the whole story. We try to optimize the amount of priming sessions required so we aim to have a whole bunch of parts ready at the same time.
Everything fit pretty neat, except for the depth of the recession where the bearing is positioned on the W413-BR's. This led to a gap between the two sides which was right at the max tolerance specified by Van's. It didn't look neat either, so we searched for a way to deepen a bit while protecting the shape of the extrusion. By luck, one of our dremel tools was just the right size...
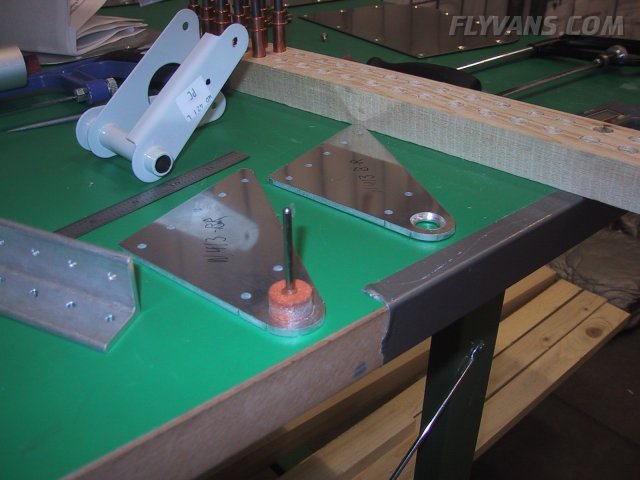
Altough it didn't appear to be made for aluminum, it was just good enough for the 2 holes...

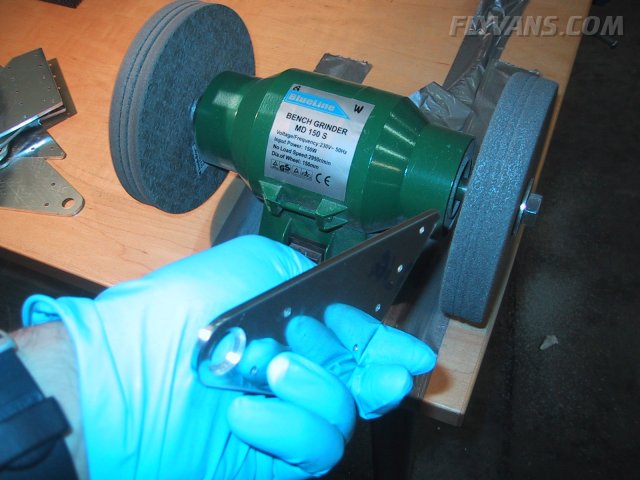
Thereafter edge prepping the bracket parts. First removing the burrs with a file.
Then on the scotch-brite wheel, which cuts the corners very nicely.
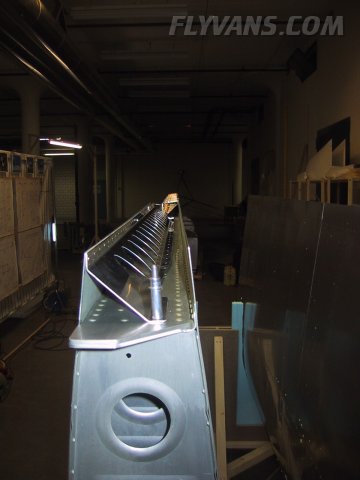
Another thing to install are the flap and aileron braces on each wing.
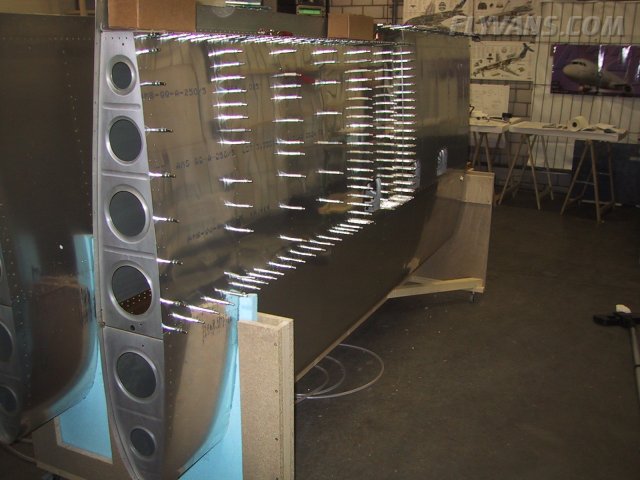
And then preparing / drilling the bottom skin. This will be the last part to be riveted on, only after all internals have been mounted. But it can be prepared at this stage nonetheless. Dimpling, priming, edge-prepping will all take quite a bit of time.
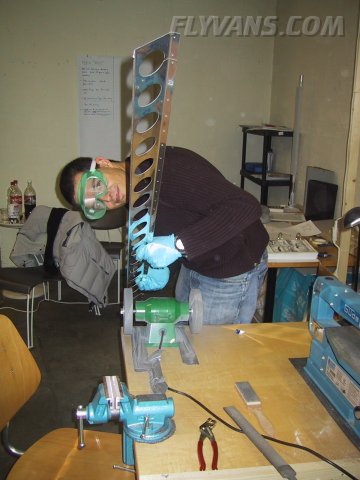
Alex edge prepping the flap brace.
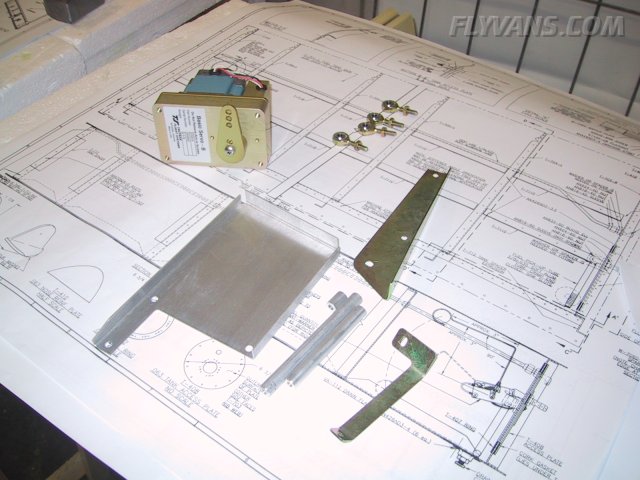
Also preparing and planning the internal installations in the wing. Here's the Trutrak autopilot roll servo & brackets. Everything looks great but what a shame they didn't include nuts&bolts at a price of over $1k per servo each?!!!
It may not be such an issue to a U.S. based builder, but to us, a $0.30 bolt can easily turn into a $13 bolt because of shipping, handling and taxes!!!
We have to do some planning for routing wires and lines in each wing.
The following systems will be installed in each wing:
| Left Wing |
Right Wing |
| Duckworks H.I.D. Landing Light |
Trutrak Roll Servo |
| Gretz pitot mount w/ pitot tube |
Bob Archer VOR/LOC/GS wingtip antenna |
| Angle of Attack (AOA Sport) probes |
Creativair green LED navlight |
| Creativair red LED navlight |
Creativair right wingtip strobe |
| Creativair left wingtip strobe |
GRT Outside Air Temp probe |
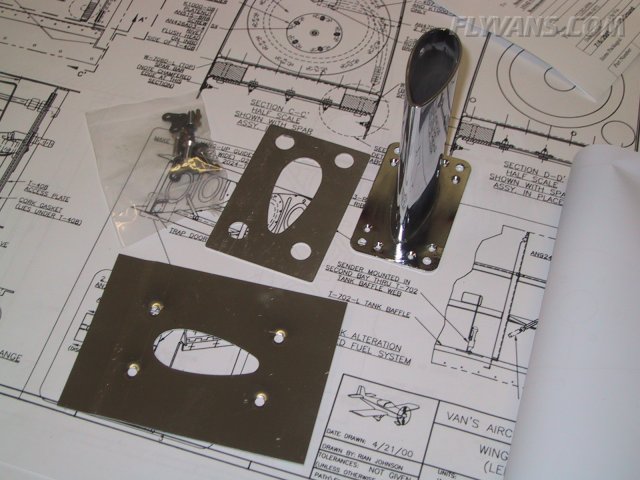
The Gretz pitot mount. In this kit as well, a strip of aluminum used as a bracket is not included, but this time fortunately we do have some stock aluminum.
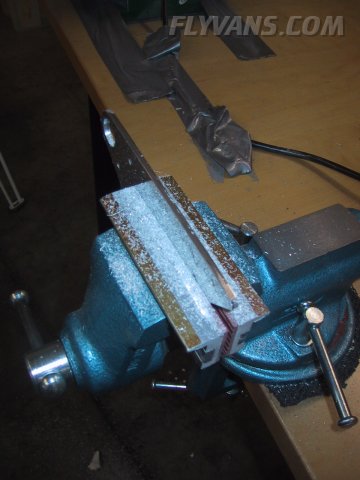
A relatively tricky task is drilling the aileron belcrank bushings. Simply stated, the bushing has to fit over the bolt. But the bushing itself will have to fit within the belcrank weldment. So the outside mustn't be scratched or damaged while enlarging the hole nicely perpendicular with a 1/4" drill.
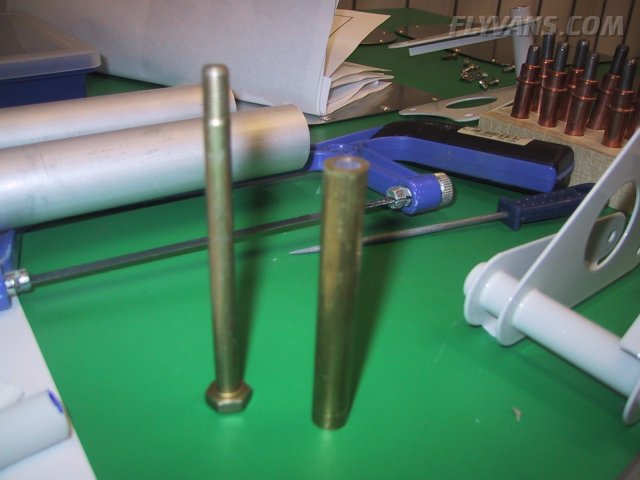
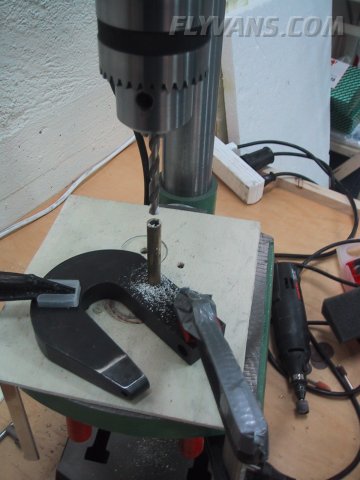
Turns out, another "fit by luck tool" was found. The squeezer yoke, which we don't use any more to squeeze but for many other things, stabilized the bushing nicely vertical. Held onto the drill press by a couple of clamps, this worked out beautifully. We also stuck 2 layers of duct tape around the bushing with a fourth hand squeezing a pair of pliers to keep the bushing from rotating. Only took the picture too early. In the end we had 2 bushings with a nice slip-fit... One more proof that working in a team is so much easier and joyful.
|

