|
|
|


|
| |||||||||||||||||||||||||
|
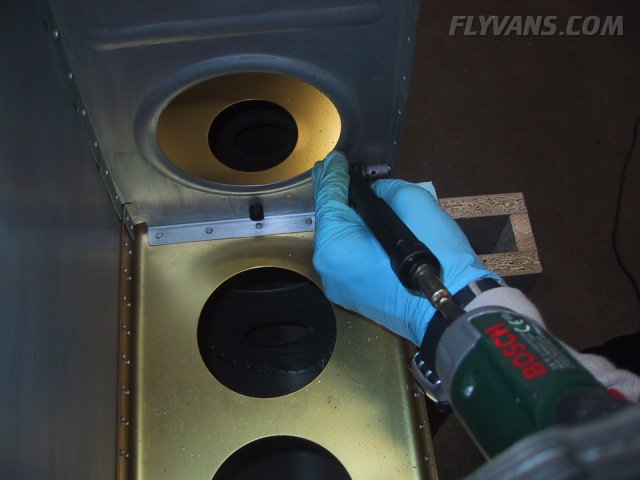
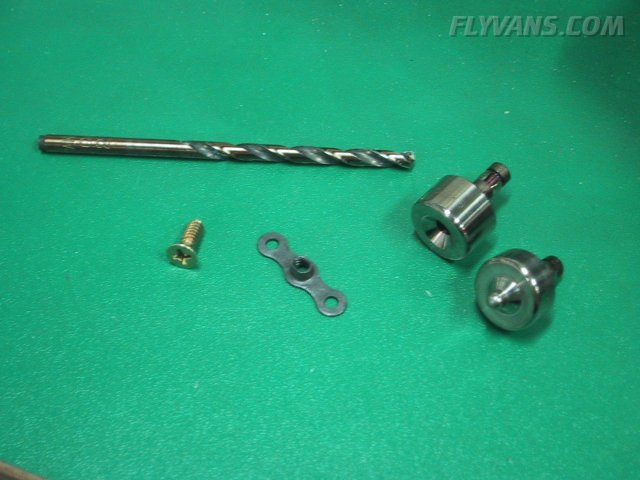
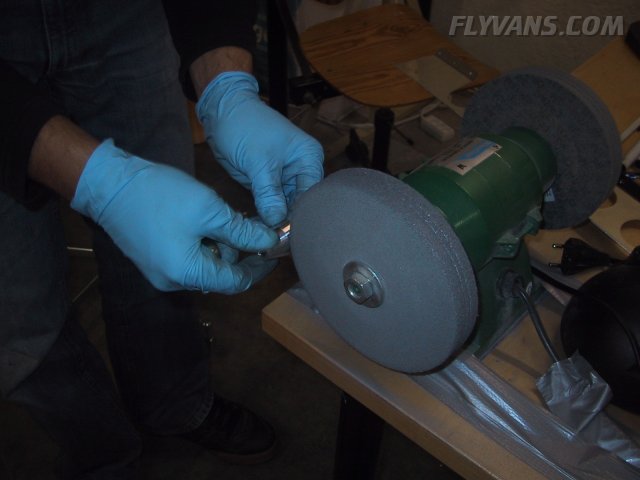
We had a very productive weekend :-) Lots of stuff done you can't really picture but that takes quite a bit of time. Drilled both bottom skins, flap braces and gap fairings to the wing understructure. Dimpled everything except for the skins, we will have to set up the table for that and first free some space... On this picture you can see the ribs being deburred on the inside using our handy Bosch ixo and the Avery angle drill kit. Since we install several devices in each wing, the wingtips may have to come off for maintenance at one time or another, so we can't go the standard pop-rivet attach route for the wingtips. We will use AN507-6R6 screws and K1000-06 nutplates. When you order the wings, make sure you order about 80 screws and nutplates for both wingtips. Of course, the nutplates will require some rivets, in this case AN426AD3-4.5. You will also require a #27 or #28 drillbit and the #6 screwhead dimple dies.
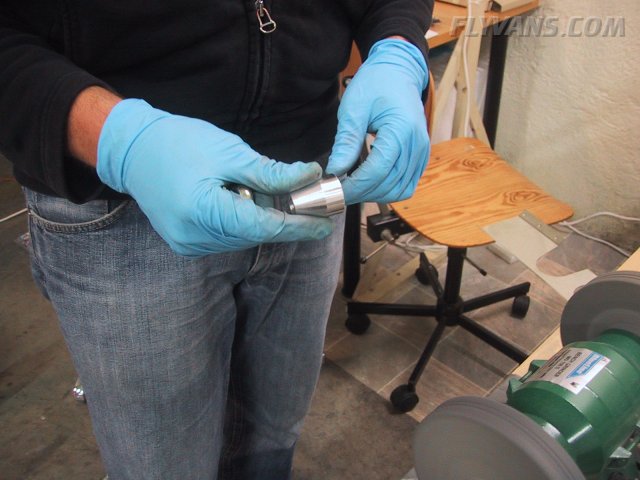
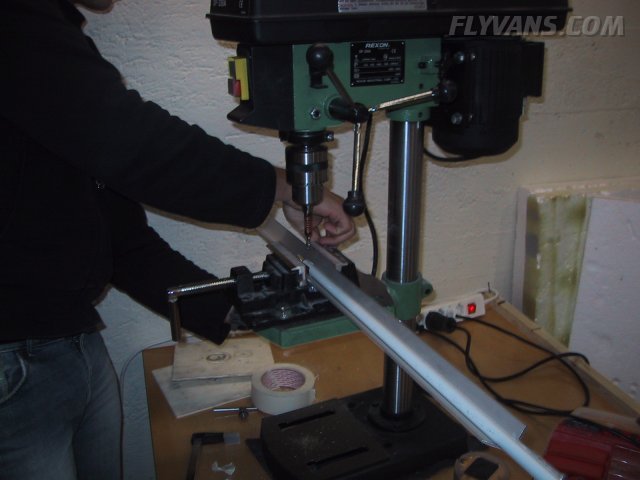
We're working on several different wing parts at the same time, so we can employ 4 hands when needed or work simultaneously with 2 of them :-) Next up was drilling the aileron control system pushrods.
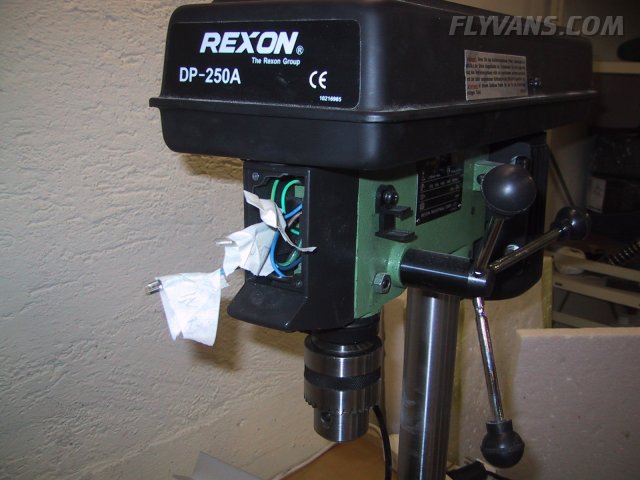
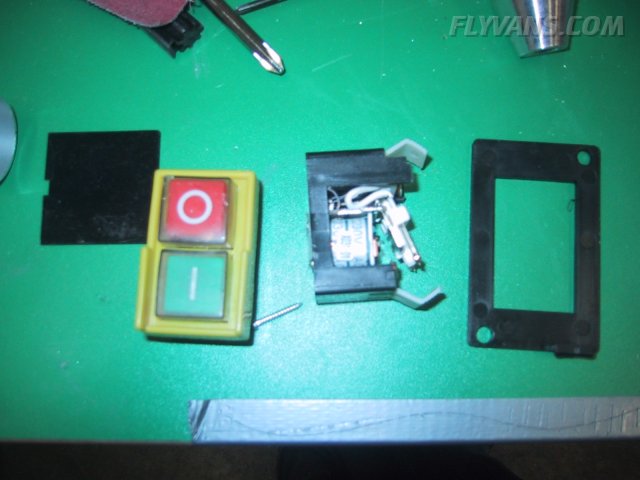
Unfortunately, the drill press required some maintenance yet... It would turn on, but then one could not switch it off, unless you kept the off button depressed or pulled the plug... Turns out the switch is of quite a nice (electrically) solenoid construction but the el-cheapo plastic casing couldn't be rated that way :-( Had to tighten some screws and everything was working again...
At the same time keeping care, as the control system is certainly one of the rather few safety critical / single point of failure intolerable systems on this airplane.
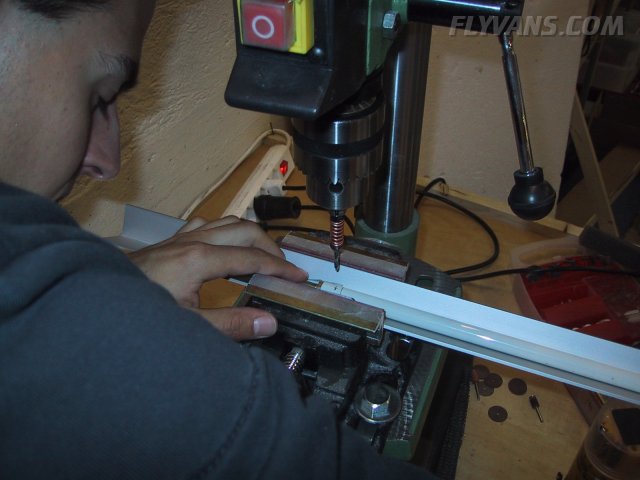
We set up a nice drill jig, using some of the stock aluminum angle that was previously used to stabilize the rudder trailing edge during curing of the sealer.
With this job, having 4 hands available is a good advice, although it doesn't look that tricky at first sight.
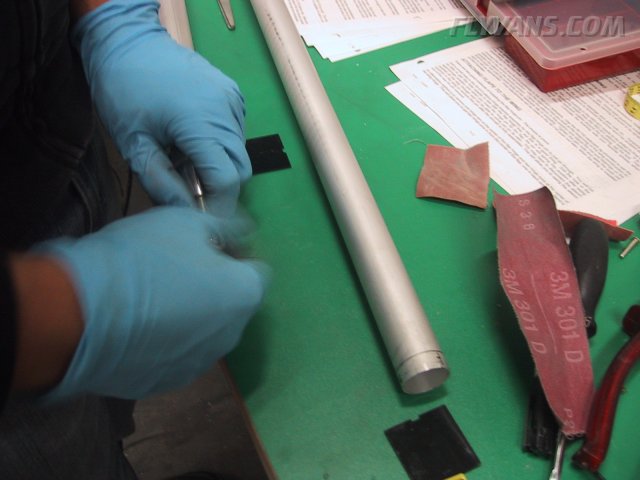
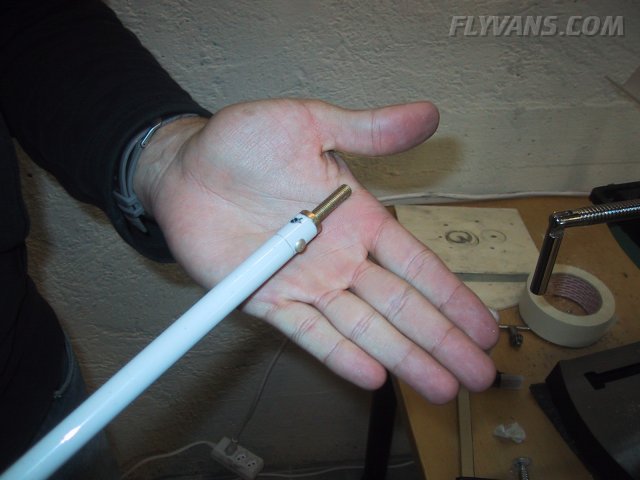
On the small pushrod, 2 holes for very long rivets have to be drilled at a 90° angle and slightly offset on both ends.
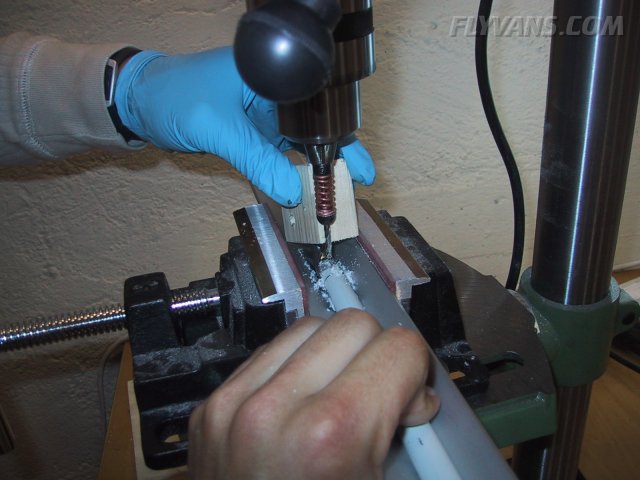
Even though the pushrod is jigged and the drillbit well supported by the chuck of the drillpress the drillbit constantly wants to wander away from the intended position. Due to the shape not even a punchmark will help. This effect is worsened by the fact that the drillpress should turn at rather low speed for the steel pushrod. So Alex positioned the pushrod while Bernie took care of the press and the drillbit with a block of wood. Low tech but hey, it does the job very well.
And the second pushrod. This time, the wandering drill was less of a problem, but spacing of the 6 holes and marking which end cap belongs where...
One thing we noted during the whole building process, one develops pretty good "guesstimation" skills... Be it aligning some holes or picking the right socket for an unknown size bolt.
Another small task, drilling the hole for the autopilot roll servo pushrod in the right aileron belcrank.
After punchmarking, pilot drilling with a #40 then final size with a #12.
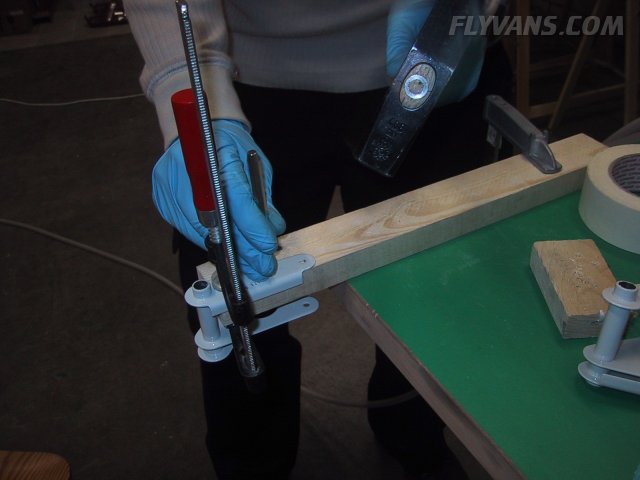
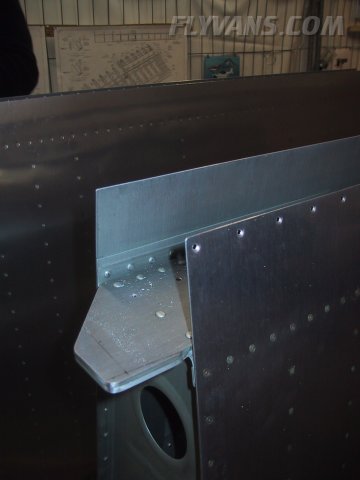
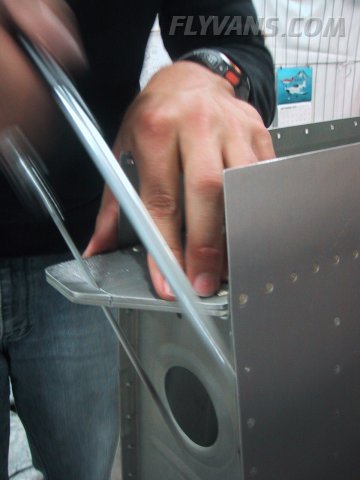
Next was cutting the rear spar wing attach brackets to size. Since Van's tries to keep parts commoniality between models, sometimes you run over a "this was designed for an RV-8, cut here" or "without pre-punched holes help yourself RV-4" style part. The -7 and the -8 share a practically identical wing but have a different fuselages of course. Although the QB Wings are already specifically built and matched to their respective fuse these parts were originally designed for the -8 and have to be cut according plans by the builder(s).
First cuts with a generic hacksaw.
Using Boelube on the hacksaw helps quite a bit. Also it takes a bit of time and effort, since this double bracket is quite thick and solid.
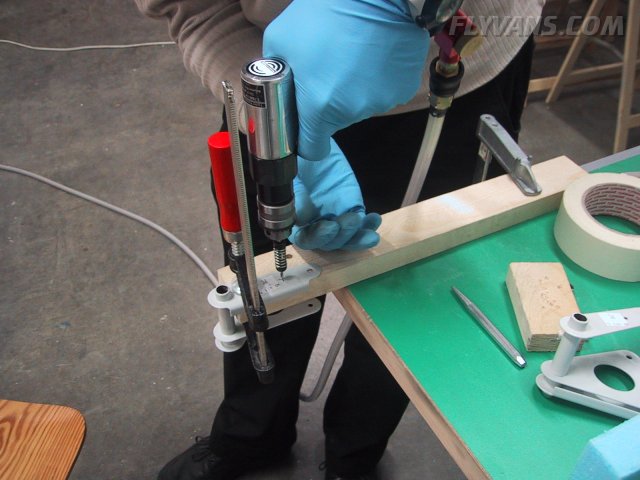
Then final touches with a dremel tool.
|
|
|||||||||||||||||||||||||
|
||||||||||||||||||||||||||
|