|
|
|


|
| |||||||||||||||||||||||||
|
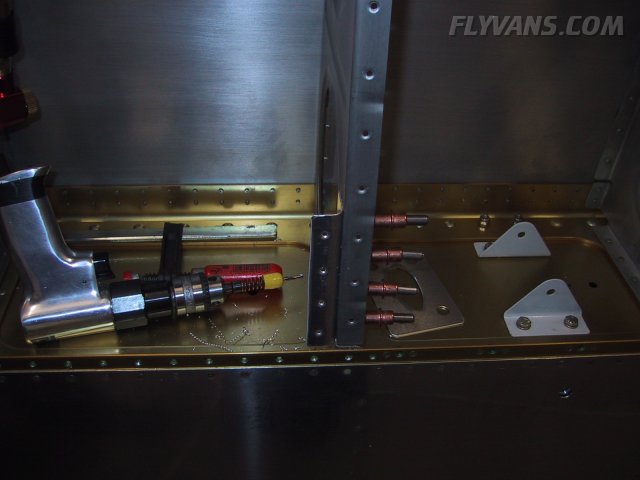
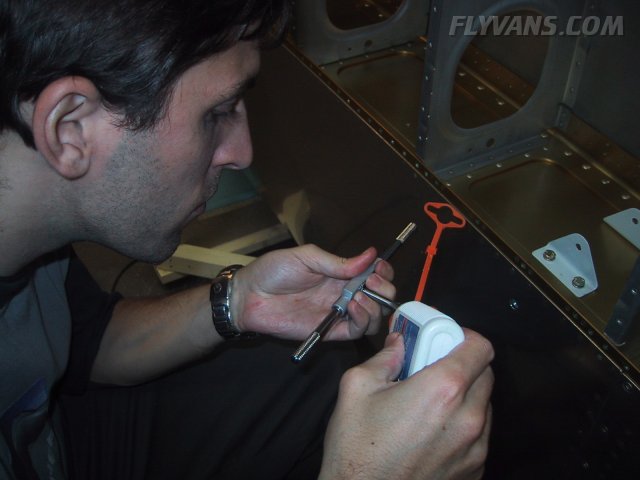
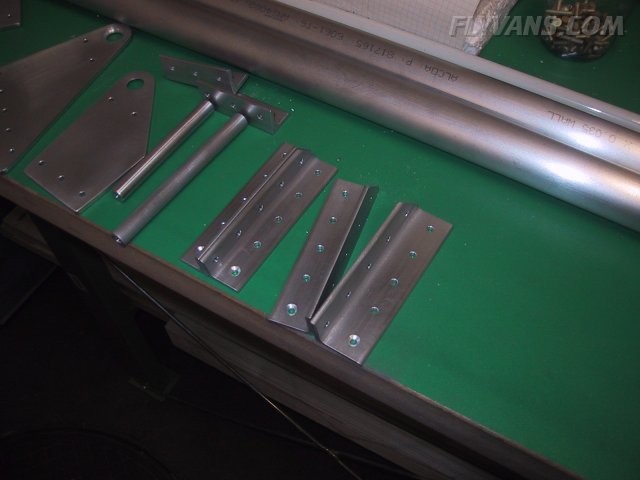
The wings are coming together quite nicely :-) Although we await some wiring and other hardware to arrive from the states, there's still plenty of things to complete. Working on the Gretz Pitot tube mounting kit, the de-facto standard if you intend to mount a standard AN5812 or AN5814 pitot tube. At the risk of repeating myself, here again, 4 helping hands are an invaluable asset. The instructions are somewhat simplistic, as is the "kit", considering it cost around $100 :-( The only real specialty part is the pitot mast which has an aerodynamic shape and will hold the pitot.
But before the tube can be installed, the mount has to be built. The backing plate must be supported by a do it yourself bracket that connects it with a wing rib. In our case we mounted it in the left wing, just outboard of the aileron belcrank access plate.
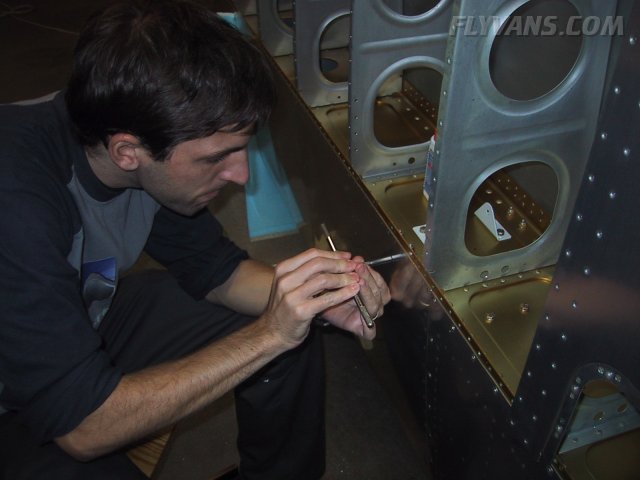
One thing to remember is that the rib has a somewhat flexible flange that will get pulled in once the skin is riveted on. Of course, the bottom of the wing is curved so we actually had to flute the bracket a little to conform with the rib. The backing plate was bent accordingly.
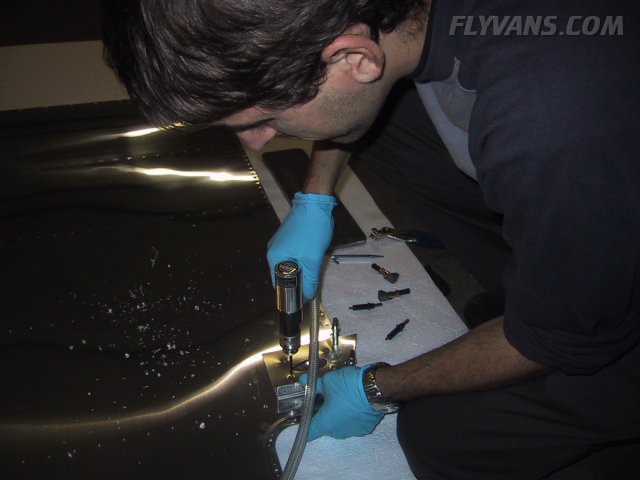
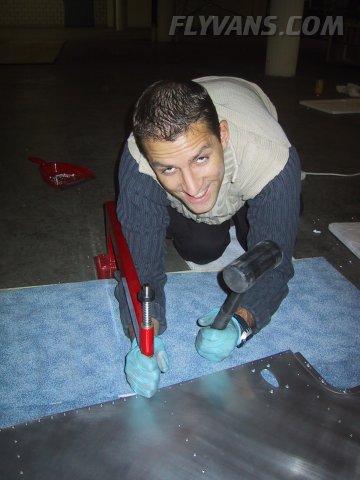
Now the second key point: Correctly marking the position of the backing plate onto the installed wing bottom skin. In order to be able to temporarily put on the wing skin, the backing plate must be dimpled and riveted to the support bracket. The assembly can then be clecoed to the rib. Then the wing skin can be clecoed on. Through the aileron belcrank access, mark the hole and cutout positions onto the skin from the inside. We used both a sharpie style pen and also a sharp pin.
The main cutout was done by drilling a large diameter hole and going with the "nibbler" tool from there.
That worked quite well.
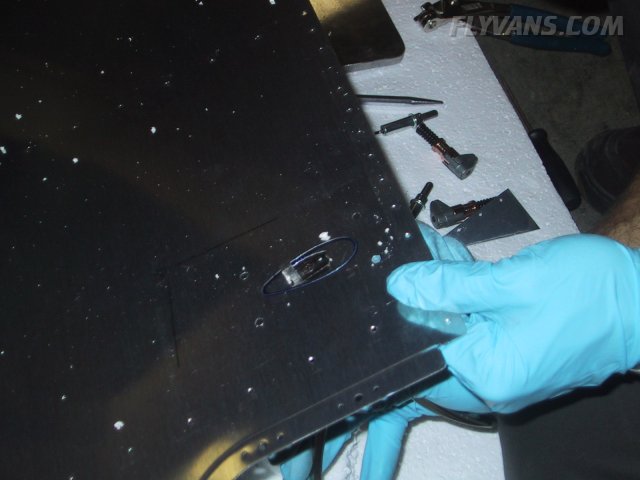
And finally trimming the burrs and matching the cutout to the bracket with a dremel.
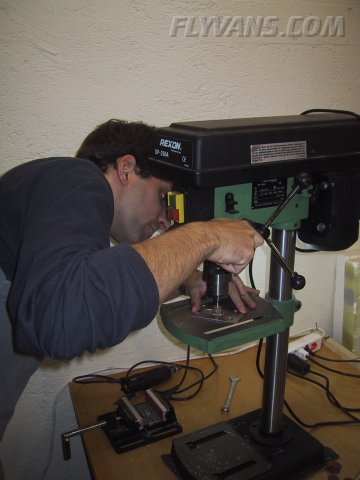
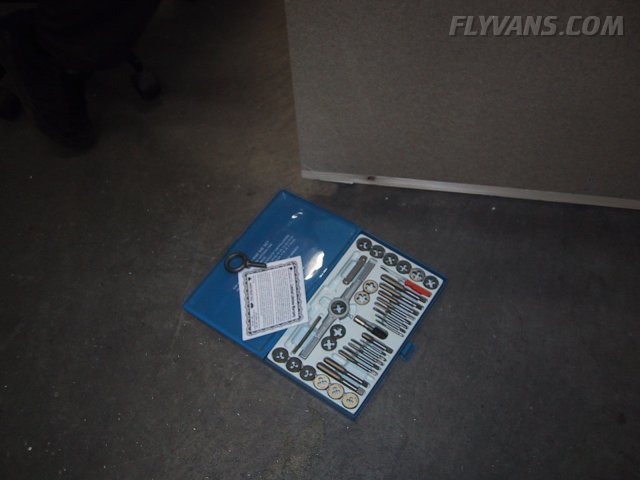
Planning ahead pays off... This tap & die set was brought along from the last trip to the states. Not that much value, but hard to get over here as well as heavy and expensive to ship. So if you're planning on a trip to the states, let us know if you have some unused baggage allowance on the way home ;-)
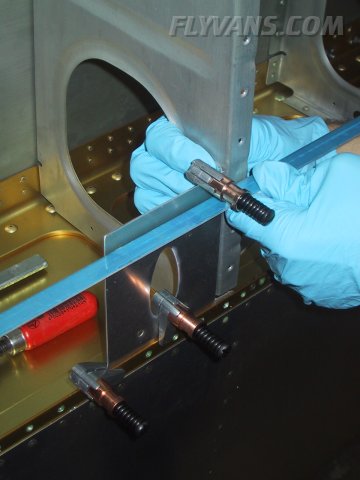
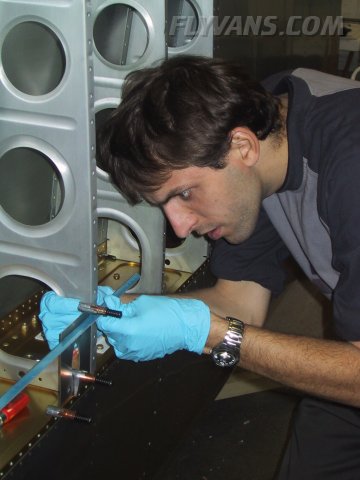
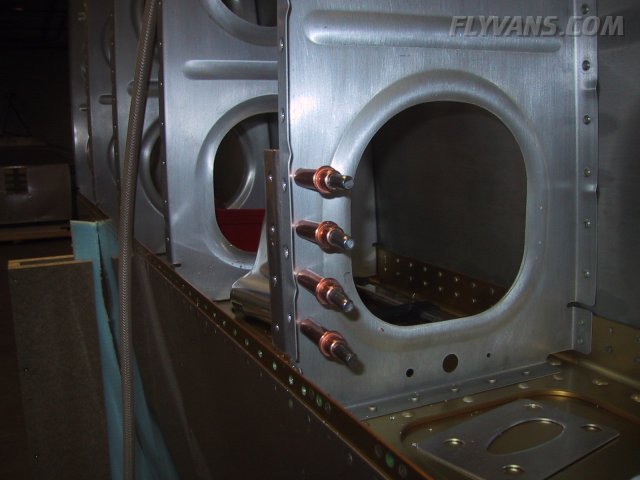
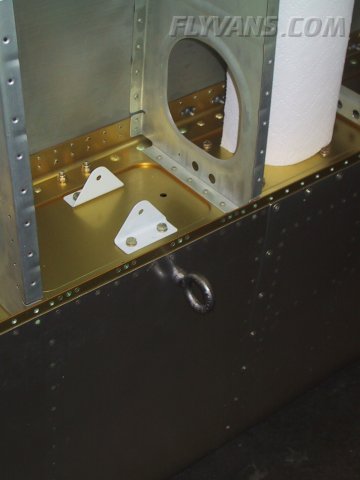
In order to keep the airplane from flipping over during the next hurricane, there are a total of 3 tie-down rings on the airplane. One below each aileron belcrank, attached to the main spar, and a one on the tail. But most of our operation will be based out of a hangar and the airplane will hopefully not have to sit outside for a prolonged amount of time. So these tiedowns won't be used that much. Fortunately, Van's designed them so that they can be temporarily screwed into a bracket when required or permanently installed.
On the QB, the only task remaining is to tap the thread into the bracket. It's a #16 NC (coarse thread).
And the result :-) Make sure you use lots of tapping fluid.
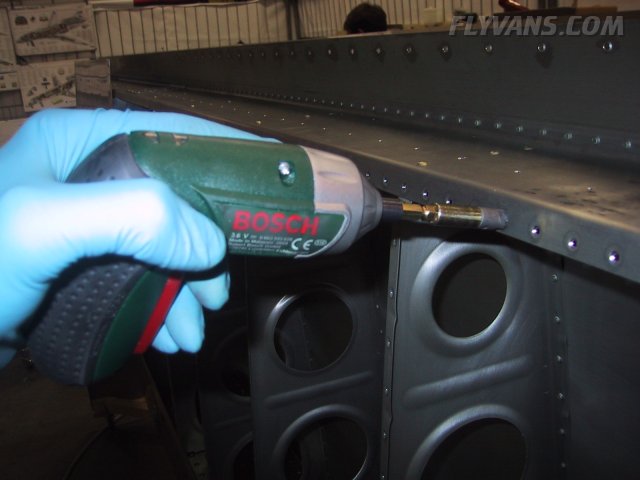
The aileron pushrods and attach brackets, had been sitting around for a while waiting to be primed. So we prepped them with scotchbrite and then cleaned them with acetone.
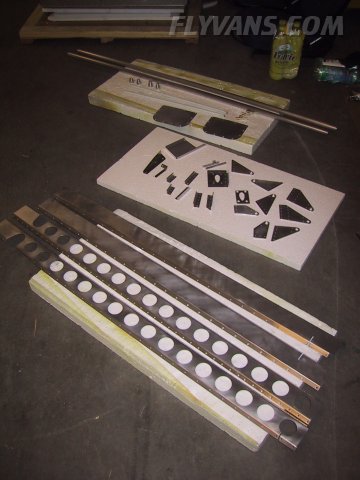
Also both bottom skins had to be dimpled. We set up the dimpling table on the floor this time. Special care required on the left skin with the pitot mount as well as on each access plate cutout.
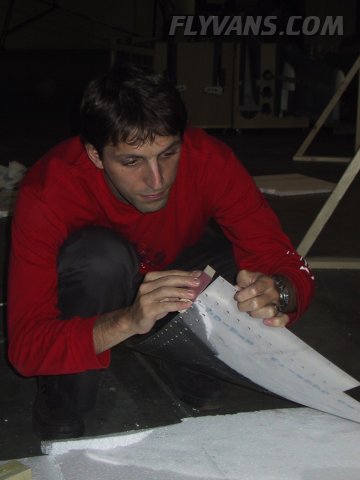
Adrian deburring the edges. Opposite to most situations, where most corners should be smoothed and rounded, corners on the wing skins should remain right anlge, since they fit snug and form one large plane.
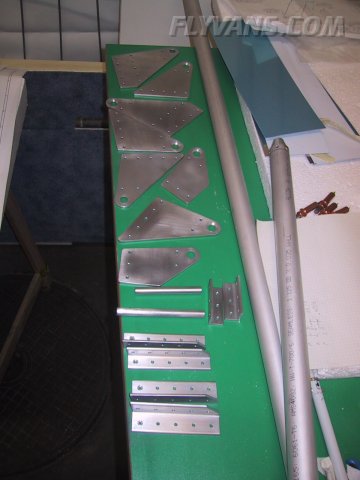
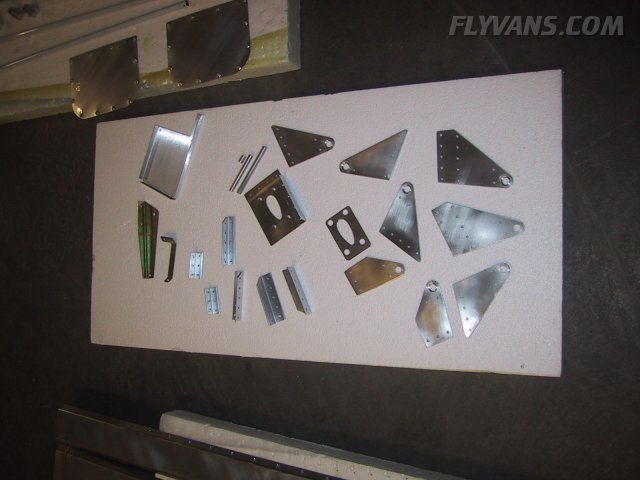
Preparing a whole bunch of parts for priming.
Some autopilot installation brackets and pushrods included.
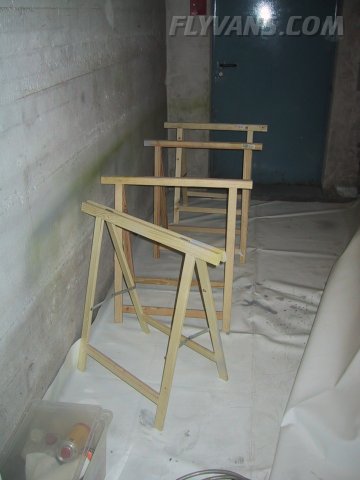
And setting them up so that they won't be blown away by the airflow from the spray gun.
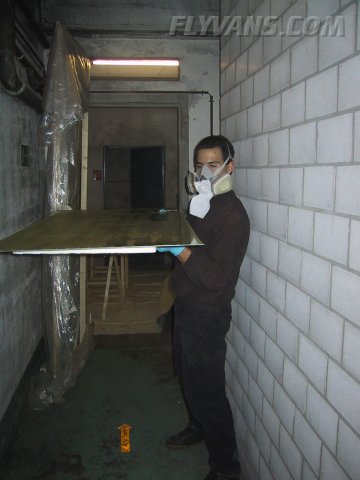
Priming booth back in operation after a long pause.
With "chemical Alex" at work ;-)
|
|
|||||||||||||||||||||||||
|
||||||||||||||||||||||||||
|