|
|
|


|
| |||||||||||||||||||||||||
|
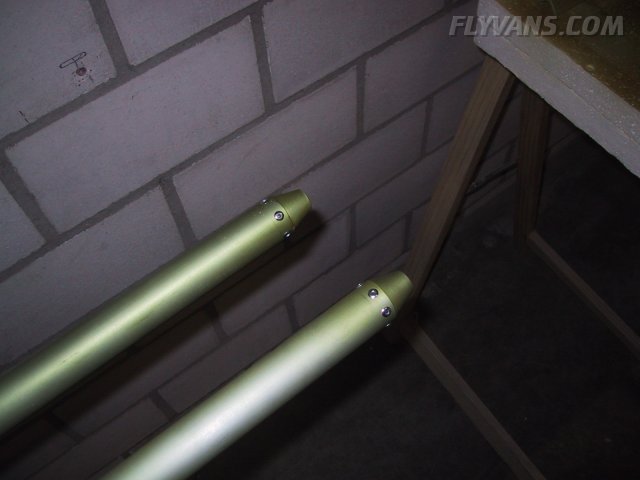
Website update intervals have become longer recently, i admit :-( But we've been making good progress on the wings. We're looking forward to next week, when both of us have holidays and intend to put much time into the plane. On this picture you can see the aileron pushrod ends primed and ready to rivet... 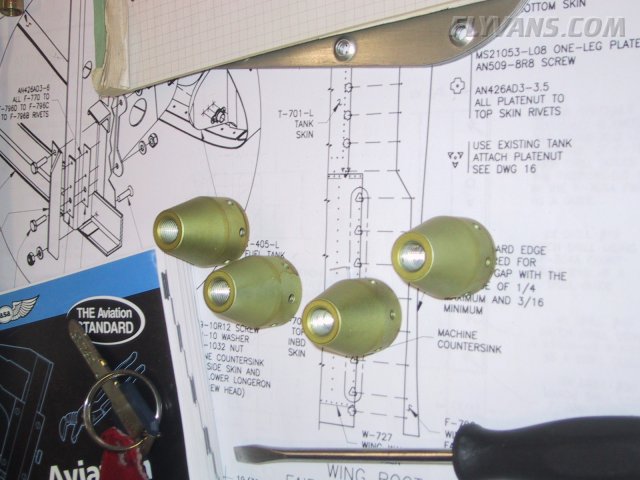
...to the corresponding tubes.
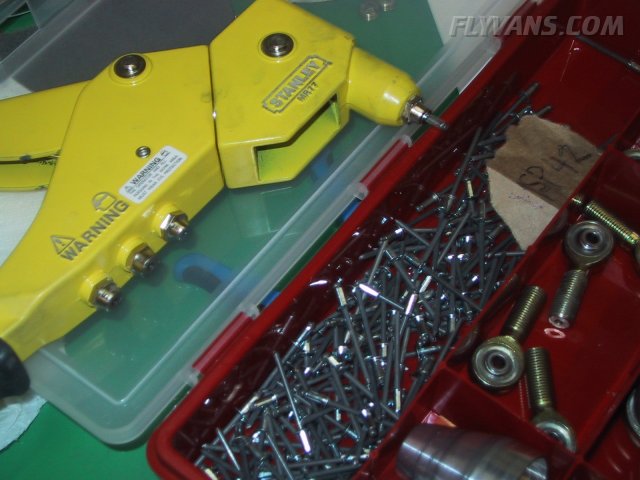
This is done with specially strong blind rivets of the MSP-42 type.
The end result looking good. Before they will be put into the wing, the whole assembly will be lightly painted to seal the surface, including the rivets.
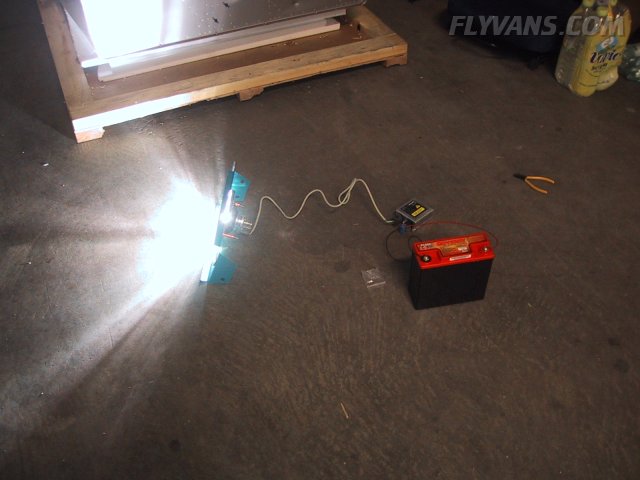
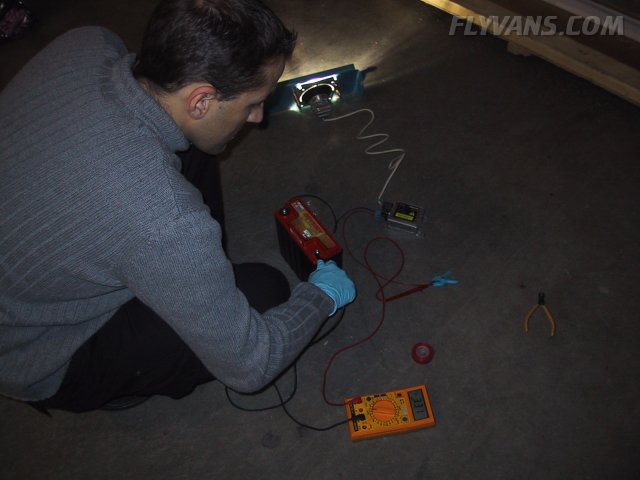
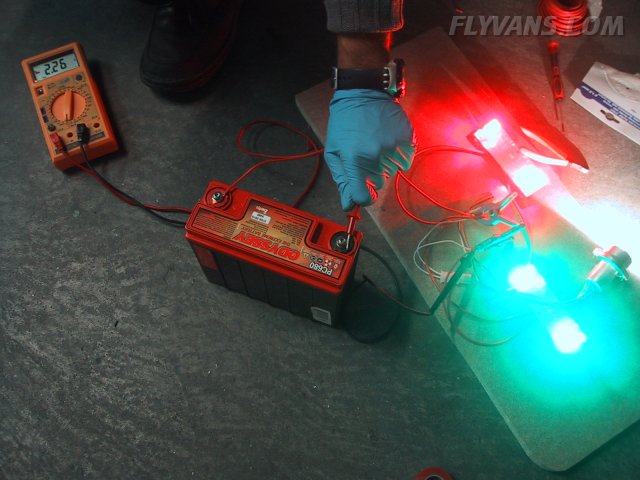
One key advantage of the H.I.D. vs Halogen is a lot less power consumption. As we found out, the H.I.D. has specific characteristics... The Battery is fully charged at 12.8VDC. Upon ignition, the current draw jumps up to 7.6 Amps and then gradually drops over a time of about 40 secs to a steady 3.3A. This will be factored into the design of fuses/CB's of course and also in our yet to be designed operations manual. There will be other consumers with an initially high current draw, so they shouldn't all power up at the same time. Also, once the light is powered up, it doesn't draw that much current and the bulb has a very long service life so we will probably have it on all the time when airborne.
We did the same with our Strobe system (forgot to take pictures) and the navlights. The navlights draw a steady 2.3 Amps.
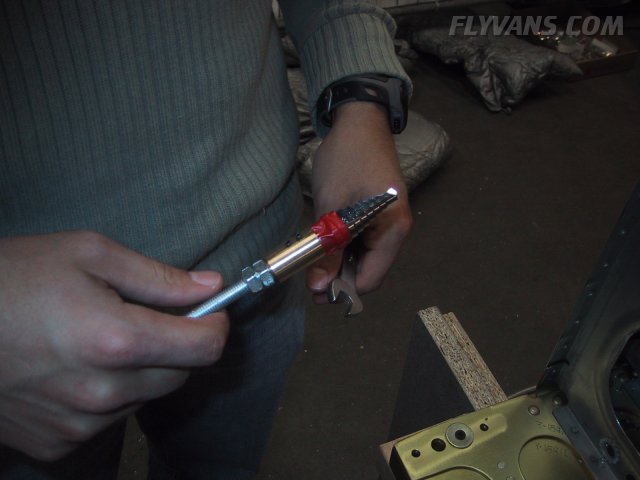
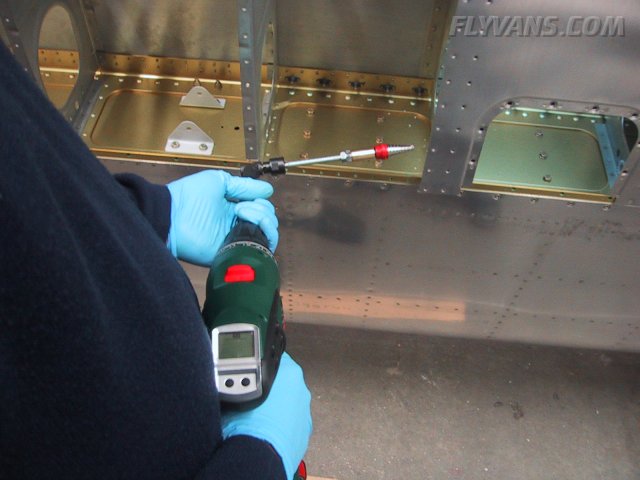
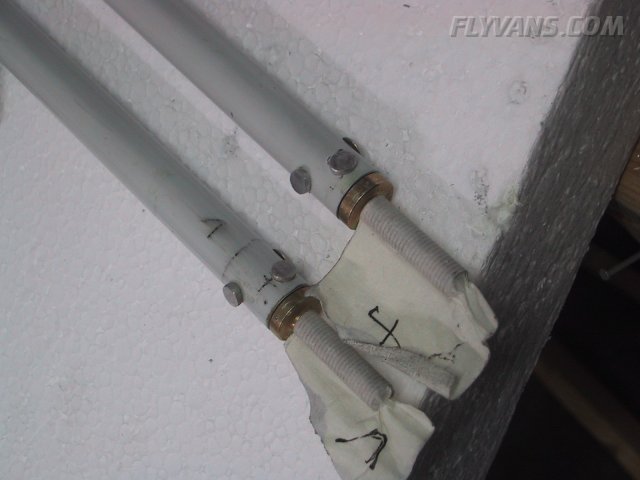
Now to the installation of the conduits... Once more we use a method that Dominik came up with, thanks a lot!. In each wing, there will be 2 conduits, a larger and a smaller one in diameter. Drilling the required holes into the quickbuild wings required some special tooling... Basically it's a Unibit extension. For that we used a 1m threaded steel rod, 2 countered nuts and a custom brass socket that Dominik and Alex manufactured. For the smaller pipe we have to drill out the default holes to 5/8". The larger holes will be 3/4" at the optional location specified in http://www.vansaircraft.com/pdf/Wing_Wiring.pdf
The reason we needed that special extension is that with the QB wings, the inboard bottom skins are already riveted on. Also, one must be able to mount and remove the Unibit in tight spots between ribs, especially between the 4 inboard ribs.
This extension reaches quite far. The holes are oversize for the plastic tubing because there will be a special bushing profile squeezed between rib and tube. The tubing by the way we got at www.distrelec.ch
Again, like tons of other jobs these days, it's great to have 4 working hands. If you think about building yourself, think again, you should at least have a very good idea about who will be available to lend a hand...
With another threaded steel rod we made a much shorter unibit extension using the same brass socket. This allows us to enlarge holes with the angle drill kit where accessible. This keeps us from having to remove the Unibit for each rib.
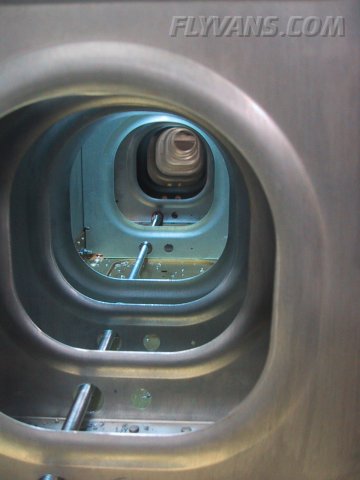
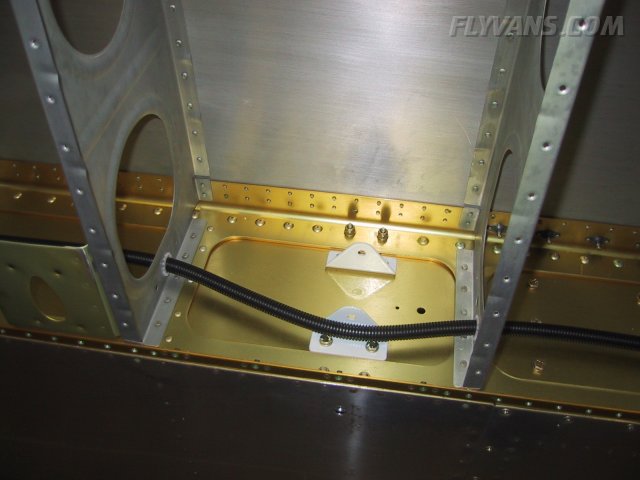
And the tubing is in. Note the plastic grommet profile that Dominik supplied us with. It can be cut to any length and then squeezed over the edge of the hole. We will yet attach an adel-style clamp to one of the bottom aileron bracket attach bolts to keep the conduit from moving.
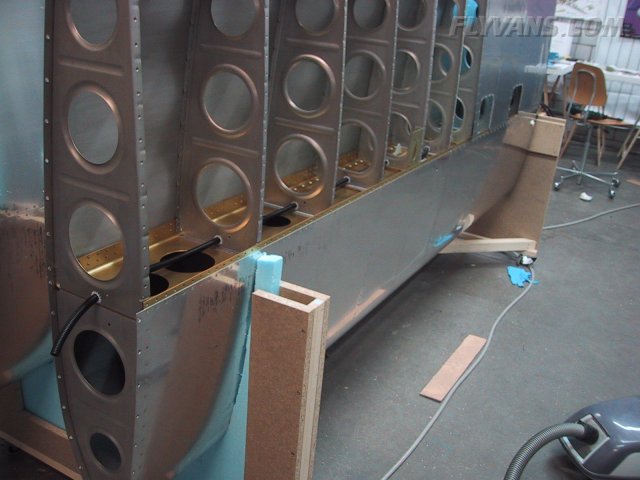
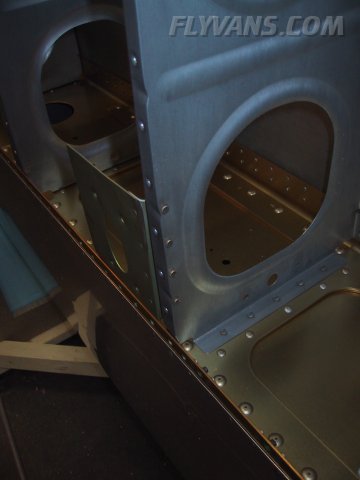
Starting to look like a wing with an inside life.
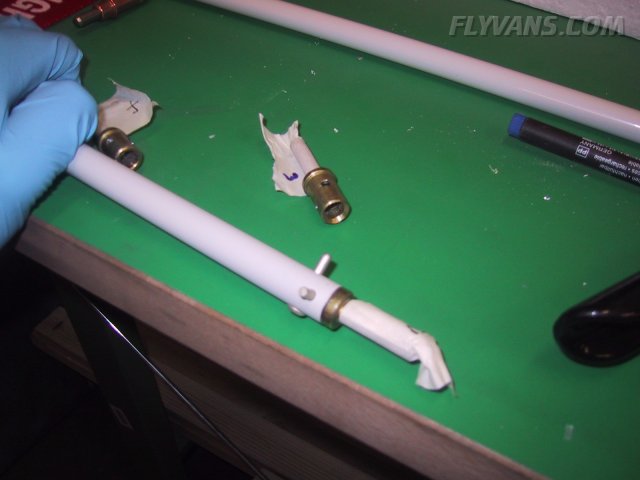
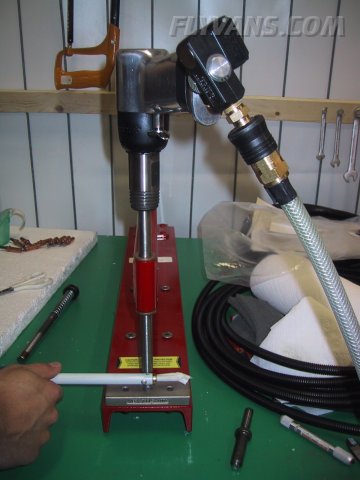
The smaller aileron pushrod ends. Note the very long rivets AN470-4-12! As per Van's specs, they are required to form a large head.
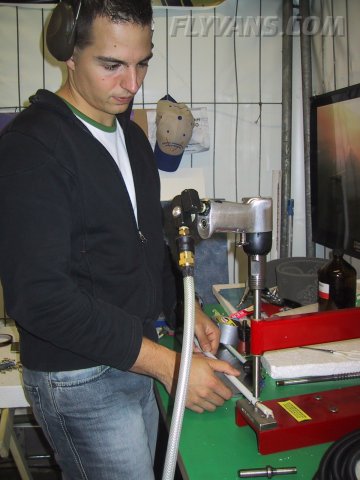
But that makes them very tricky to set... Setting them straight is a challenge because of the rounded surface of the tube as well as the very long shop head. Also, to get them to final size, it required quite a lot of pressure on our 2X gun... about 80psi!
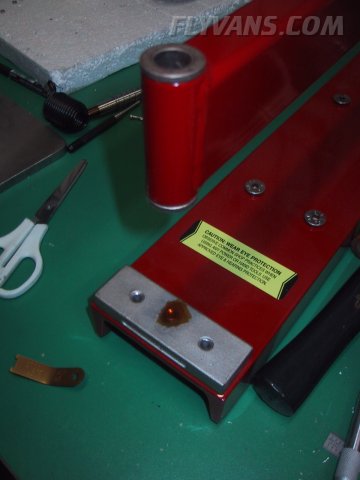
And the final result. Not bad. The learning curve was steep, so the last 2 rivets looked much nicer than the first ones we set. But we decided against drilling them out, as they might not win a beauty pageant for rivets but will hold up just fine. Drilling them out always implies a risk of enlarging the holes / making things worse.
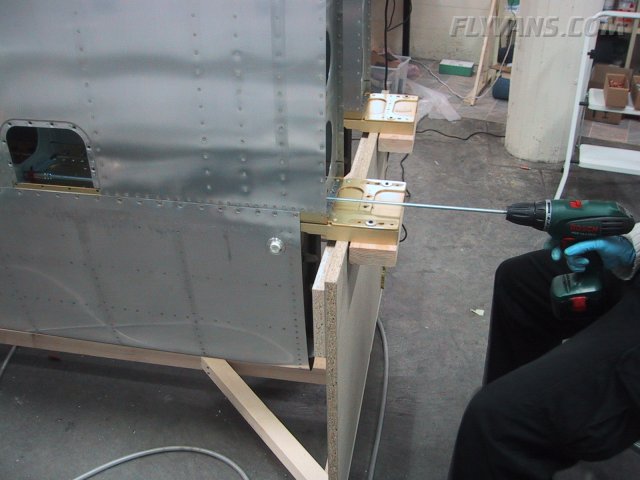
Finally riveted the pitot bracket to the rib.
|
|
|||||||||||||||||||||||||
|
||||||||||||||||||||||||||
|