|
|
|


|
| |||||||||||||||||||||||||
|
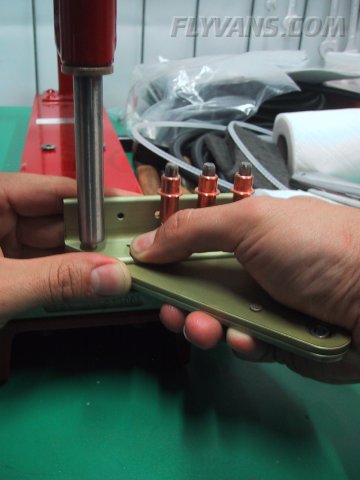
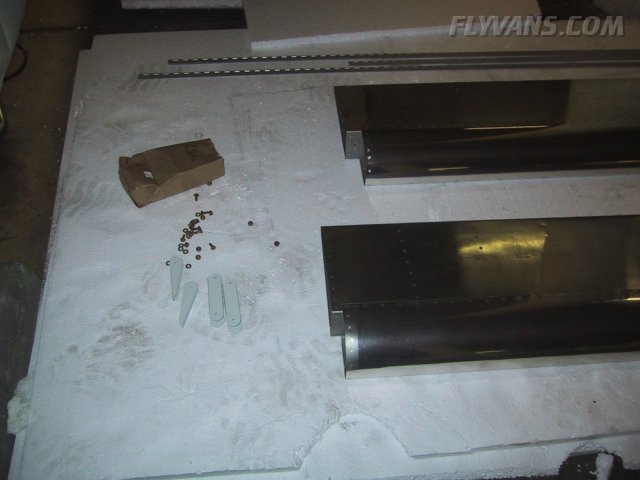
Before we continued with the wiring conduits, we completed the aileron hinge brackets. Although they look pretty easy at first, there are a couple of hidden gotchas... There are a couple of tight spots, where the angles have to be grinded to fit to the existing wing spar assembly and rivets. Also, as documented in a previous log entry, the max allowable gap was above Van's specifications with the parts we received, which was most probably a small manufacturing error on their part. Be careful to not only look at the bracket assembly plans that came with the subkit but also at the main aileron plans! We only found out only after we had primed... The rivet callout is quite tricky with a few AN426's instead of the AN470 round-head rivets, some on the inboard and some on the outboard side. Of course mirrored on each wing... Some countersinks yet missing in this picture! 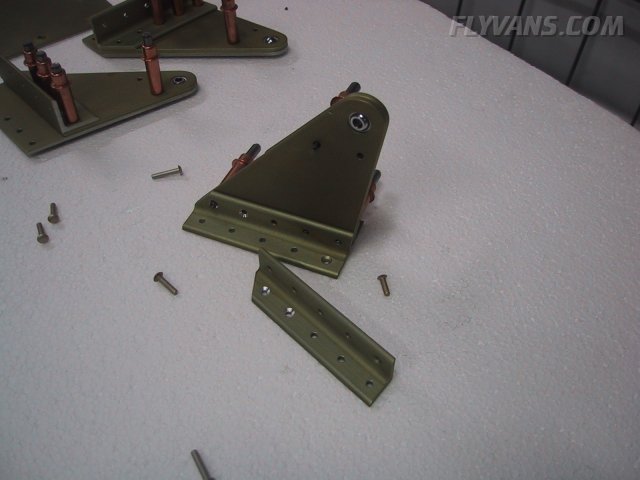
Riveting the brackets was again a blast with 4 hands at work.
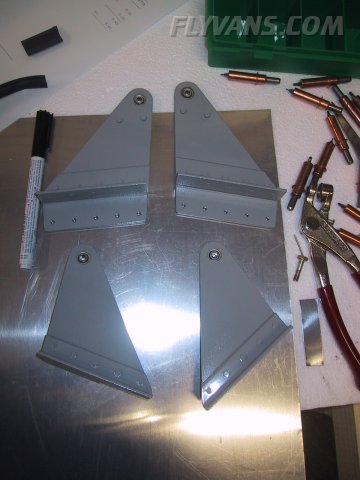
The completed brackets.
And painted, ready to be installed.
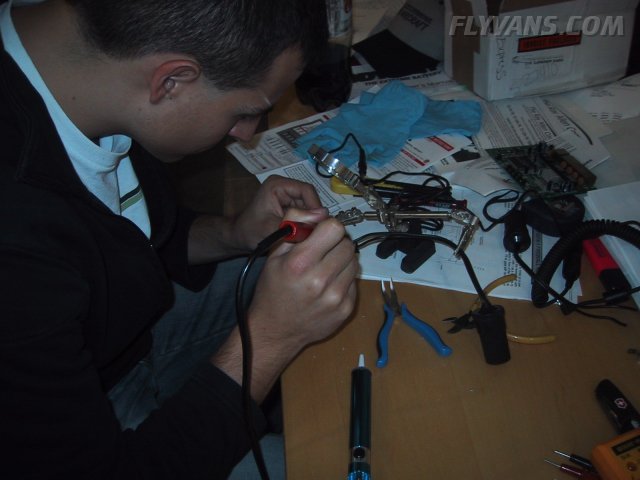
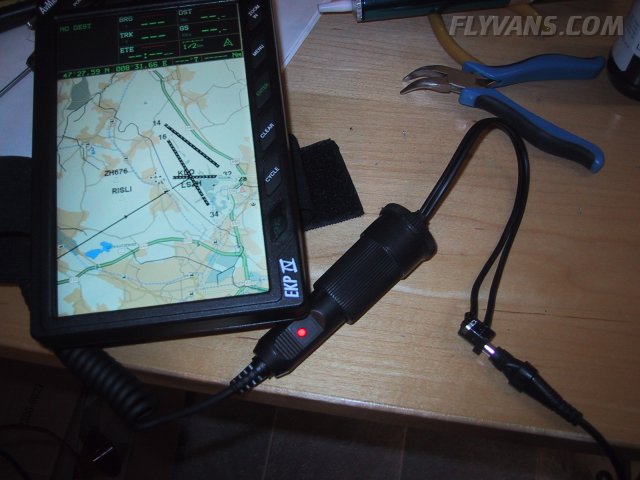
Well, another toy arrived :-) After discussing all options, we have settled on the AvMap EKP-IV moving map GPS. So instead of waiting, we decided to order it now to get some experience as we can use it on any aircraft/flight. As you can see, the display is very crisp, large and the map pretty detailed. This beats the more pixely displays of the competition. Also form factor as well as HMI is very neat. Our first impression is even better than expected! So to be able to run it without being on batteries the whole time, we manufactured a socket for the 12VDC car adapter that came with the device.
Back from playing, Bernie unpacked the ailerons and flaps and studied their respective assembly...
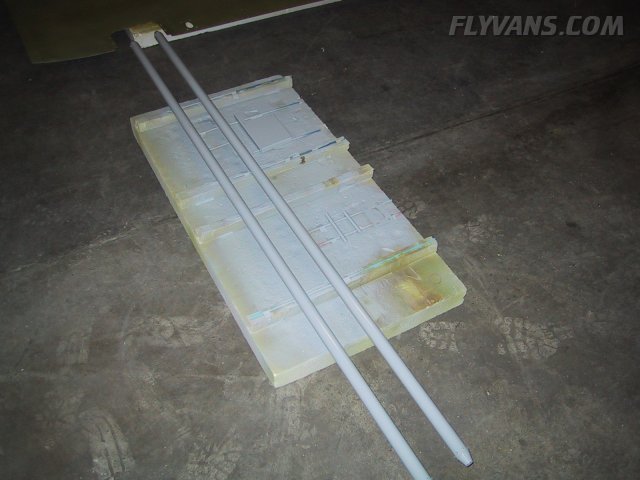
While Alex was painting a couple of parts with our grey car paint...
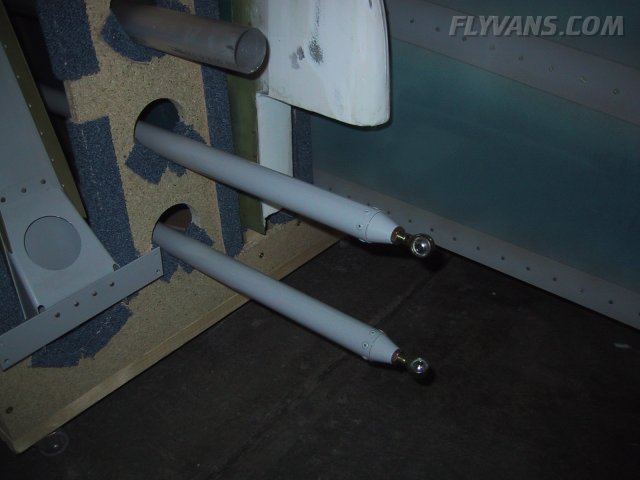
The aileron control pushrods ready for installation.
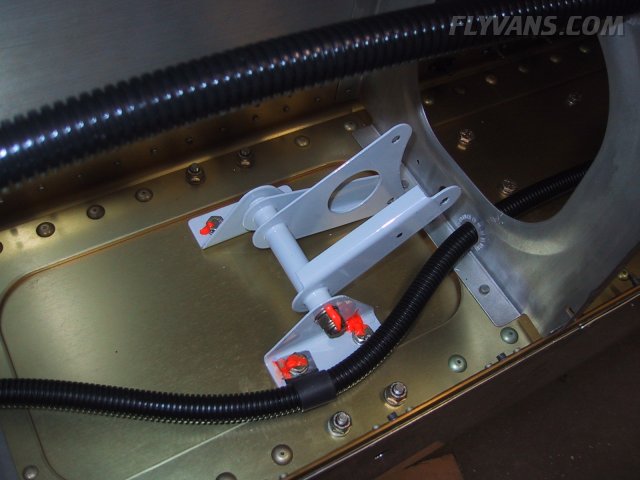
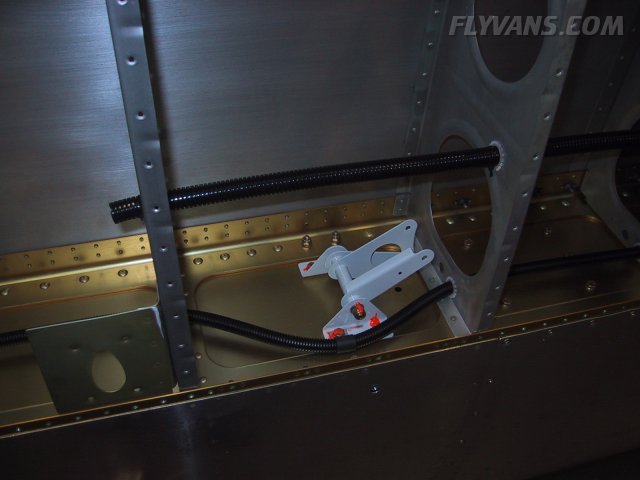
Also we installed the left aileron belcrank. To place the long AN4-32A bolt top-down, the upper bracket has to be removed. The bottom bracket could remain on, but we retorqued the bolts with a torque wrench and also upsized the left bolt to allow for another washer and a self-made Adel-style clamp for the wiring conduit. All nuts were marked with torque seal of course, so inspection will be easy.
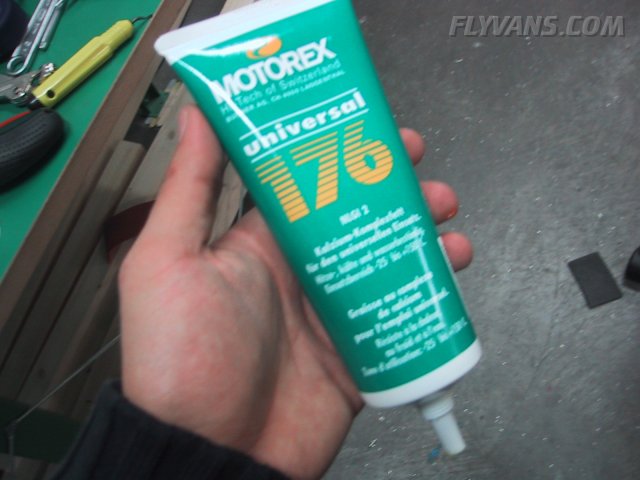
And to make a long story short, "our favourite grease": Motorex... We got it at a local hardware store for about the equivalent of 5 bucks...
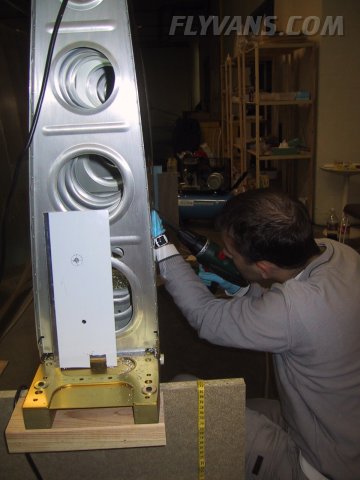
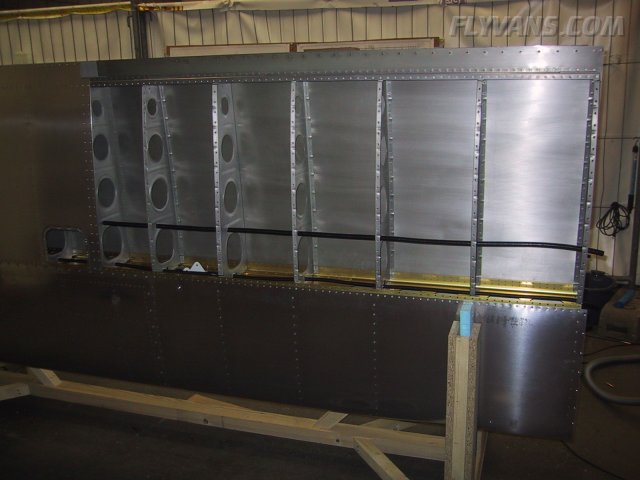
Back to the wiring conduits, we finished drilling all required holes in each wing. Note the drill guide we made out of a scrap piece of aluminum.
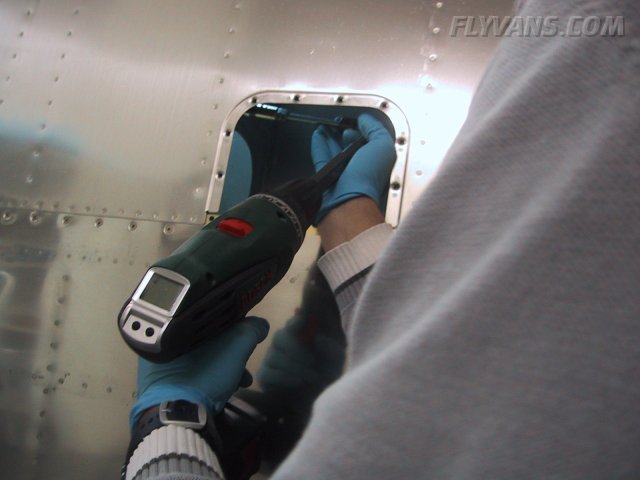
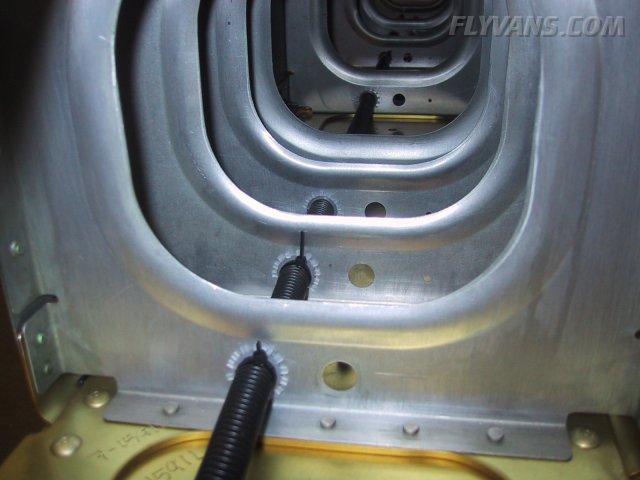
With our veryown™-angledrill-pat.pending-©domisdrehbank® tool we were able to easily drill holes through the inspection holes.
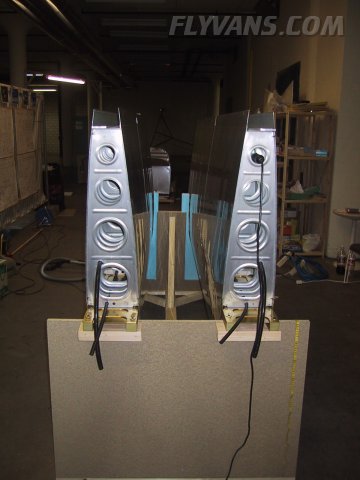
The conduits on the inboard side are long enough to fit somewhere into the fuselage, we'll see where they go when the time comes...
The right wing large diameter conduit will take the autopilot roll-servo signal cable as well as the NAV/LOC/GS antenna coax cable.
Again a nice closeup of the left wing conduits. Note the large diameter pipe ending at the pitot mast, the 2 AOA lines will route further outward through some standard snap bushings.
|
|
|||||||||||||||||||||||||
|
||||||||||||||||||||||||||
|