|
|
|


|
| |||||||||||||||||||||||||
|
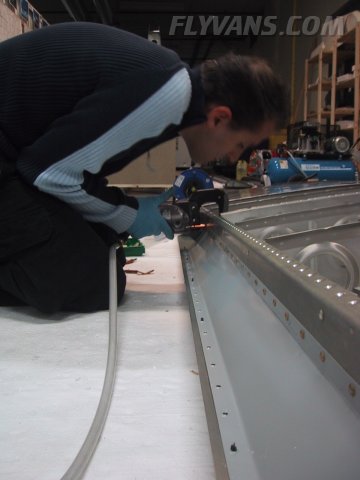
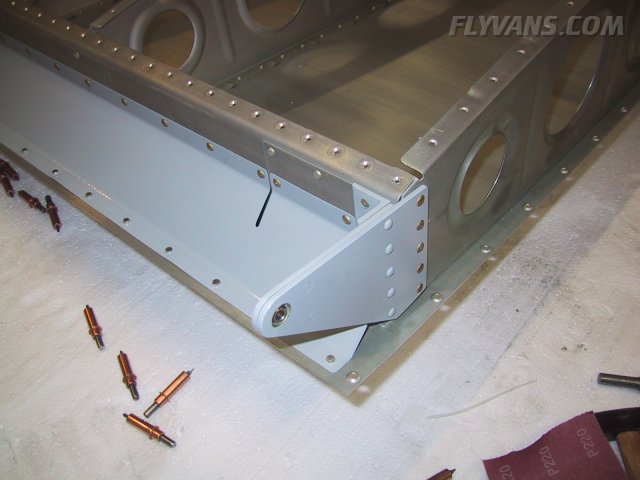
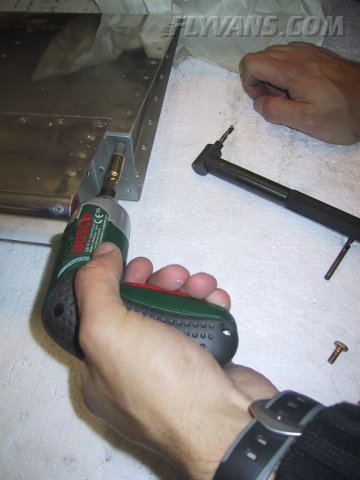
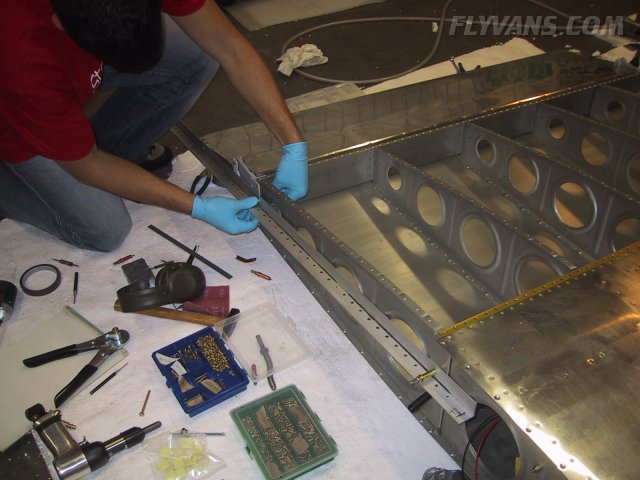
We also started installation of the ailerons. For that, the brackets have first to be installed to the rear spar. The squeezer wasn't able to reach more than the first two rivets so we decided to buck them. Manufactured head on the outside didn't work either, as we prefer the straight set over the offset set on the rivet gun. 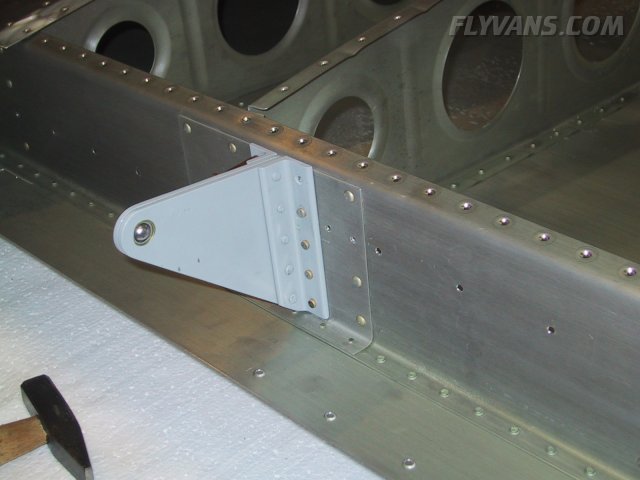
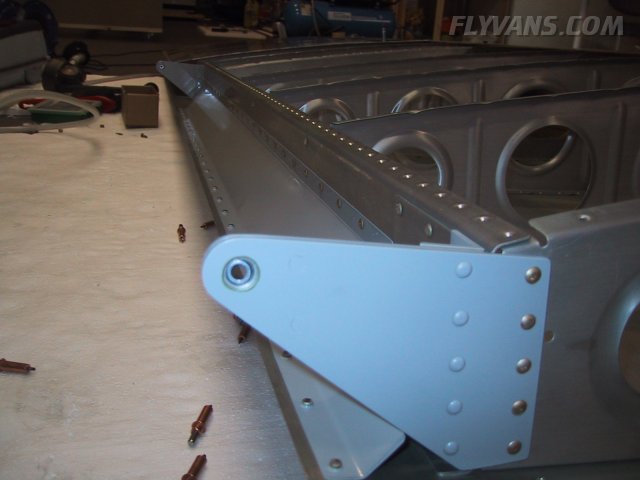
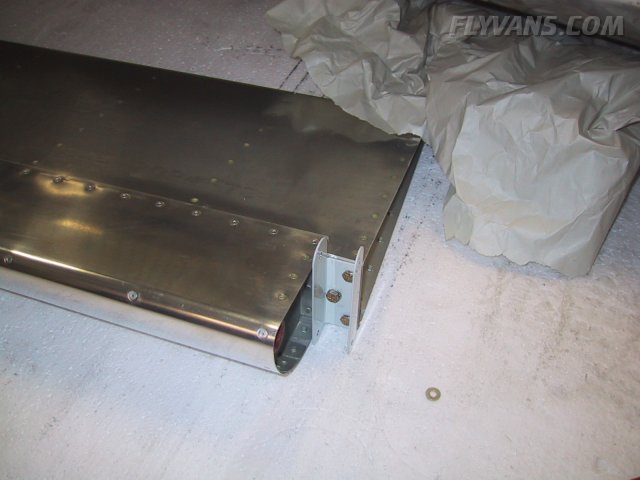
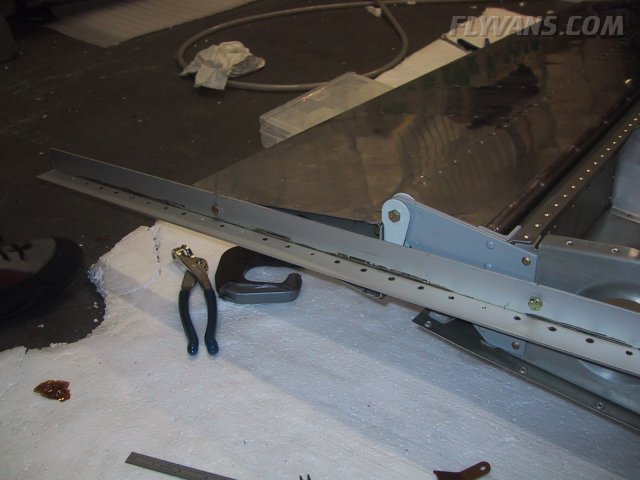
After the brackets had been riveted on, the aileron gap fairing had to be installed.
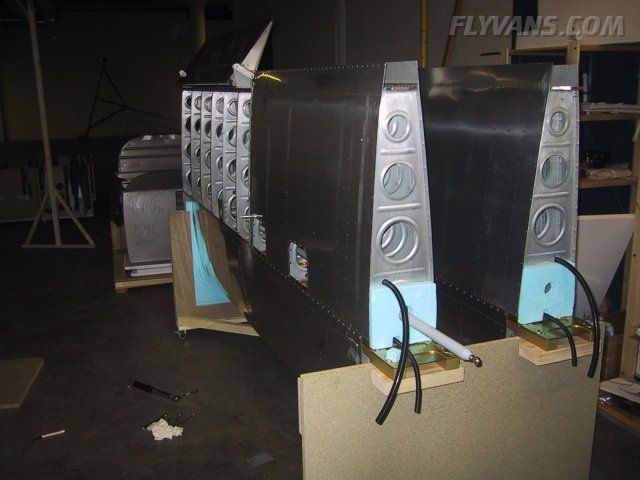
And a picture with the wing ready to take on the aileron...
We could have worked the right wing to the same stage but we decided to complete the aileron install on the left wing first, before working the right wing to this stage.
Things are starting to get serious... It's no longer dozens of rivets but a mere 3 bolts that attach safety critical items.
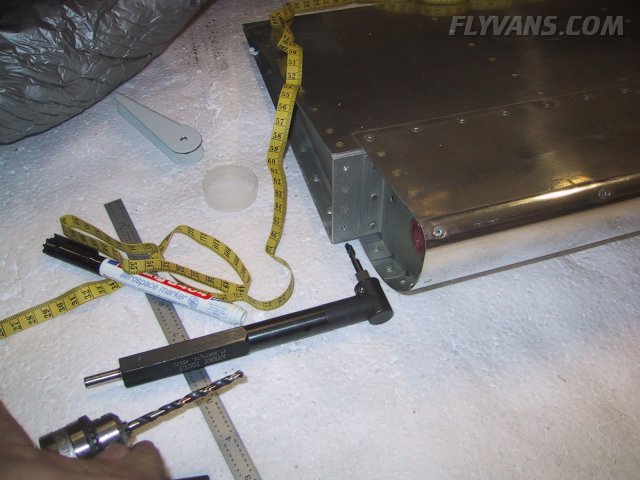
We have no picture of it, but there will be spacers required on the aileron installation bolts. Make sure you produce them to fit and not just according dimnsions on the plans. But in general the callout for washers etc... in the plans worked quite well.
To adjust the length of the aileron pushrod, the aileron has to be aligned with the wing.
This is done by aligning the tooling holes on the ribs.
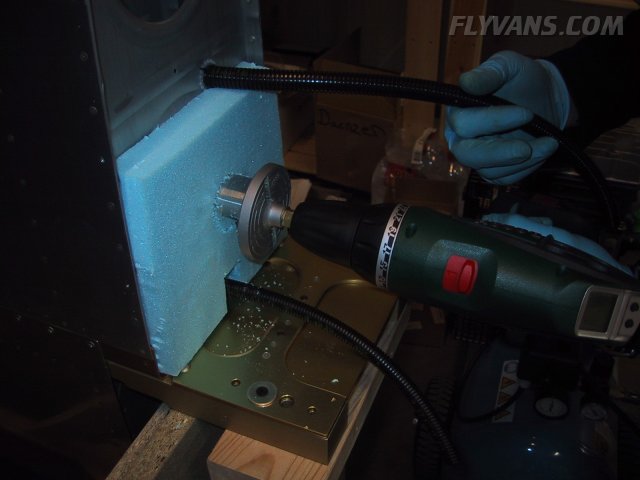
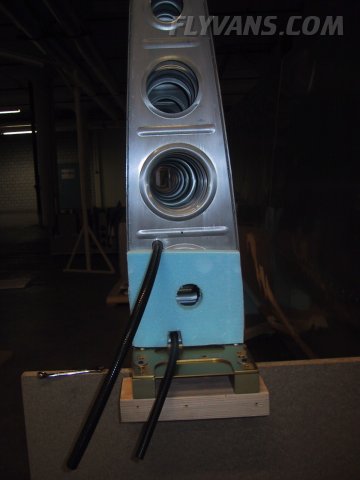
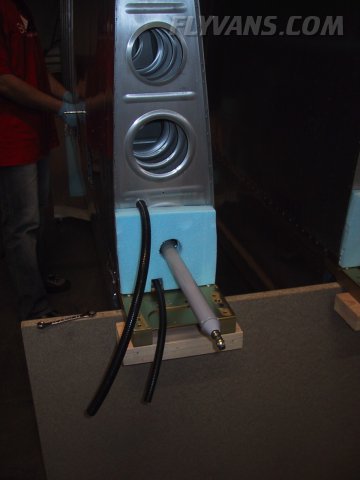
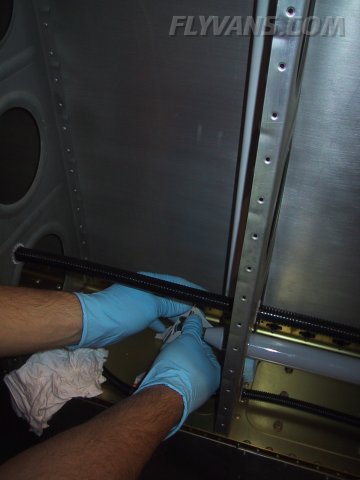
So the first pushrod from the aileron to the belcrank had the perfect length. Then the larger pushrod connecting the belcrank to the stick assembly in the fuse was installed. To keep it from scraping on the inside of the ribs, we made a temporary support out of styrofoam.
By cutting it slightly oversize it locks itself in place.
And with the pushrod installed, one can simulate an aileron roll *G*
The belcrank assembly converts sideways motion into aileron up/downtravel.
Another picture with the aileron in full down position.
Now the same job waits on the second wing...
|
|
|||||||||||||||||||||||||
|
||||||||||||||||||||||||||
|