|
|
|


|
| |||||||||||||||||||||||||
|
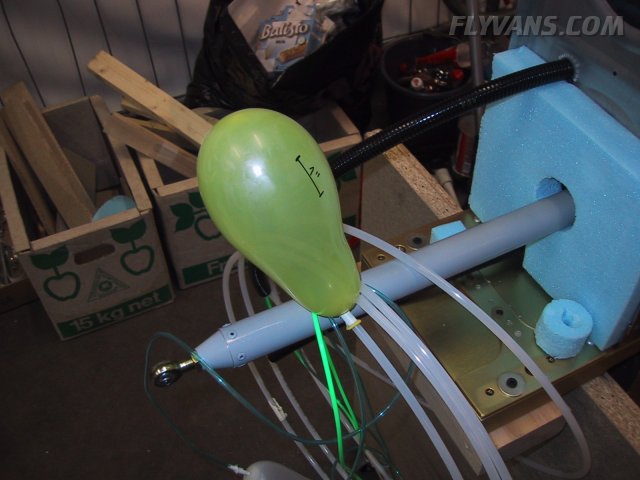
Misc stuff completed recently... Doing a preliminary leak-check on the Pitot and AOA pressure lines. 
The joint that we were most interested about, only clear tygon tube slid over the nylon 1/4" OD pitot line. A small service loop and then the pitot tube. The leak check is done with small balloons.
And a one-inch line marked on the balloon.
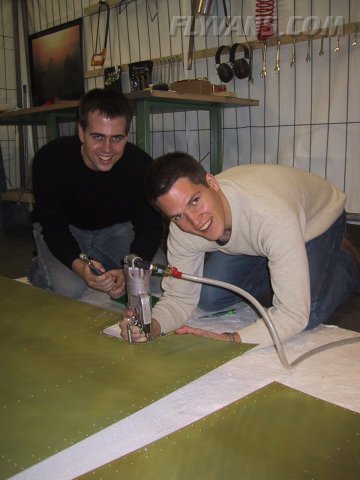
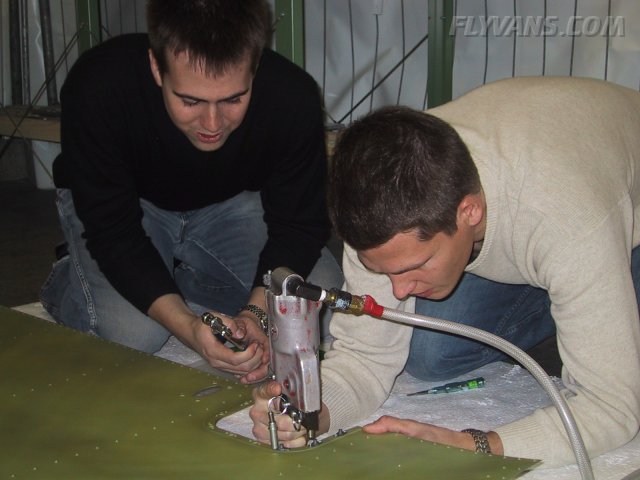
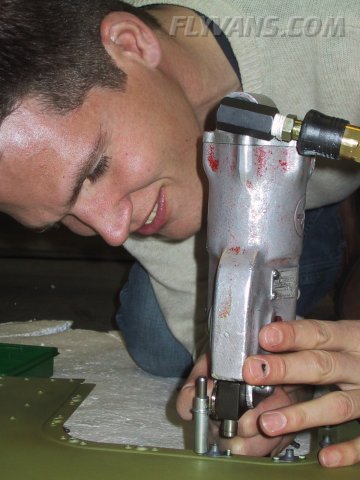
Saturday we had lots of visitors. Bernd and Römi showed up and got to try some of our tools...
Looks like they enjoyed it.
After several hours, the inch measures still an inch ;-) A good sign. Also, Andi Portner, our builder advisor came on inspection and brought along Thomas Müller, a Kitfox and Airbus pilot. Unfortunately we forgot to take pictures during their visit. We looked over the kit, mainly the wings and got the O.K. to close them :-)
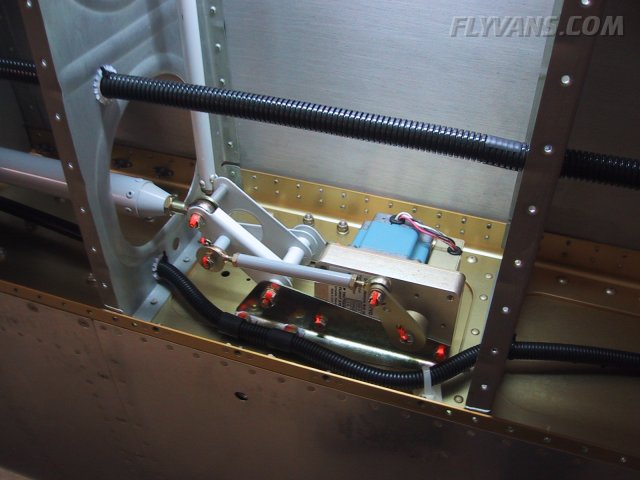
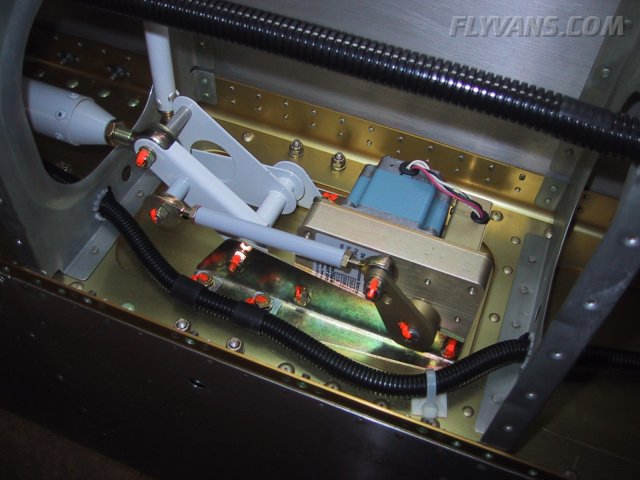
The right wing aileron had been installed in the last week as well, no different from the left aileron except for the roll-servo installation. Finally got the needed hardware from Spruce, so we were able to finally install the control links.
Note the cut in the wiring conduit, that's where the servo control wires and the OAT sensor wires will be routed.
Following a hint from Andi Portner we replaced a stock AN960 washer with an AN970 large diameter washer on the bottom of the belcrank to autopilot pushrod attach bolt. The idea being that in the unlikely event of a rod-end-bearing coming apart, the pushrod would not be able to slip over the nut.
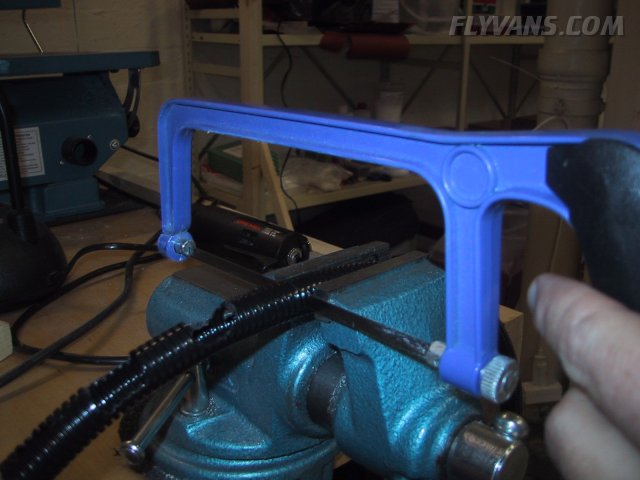
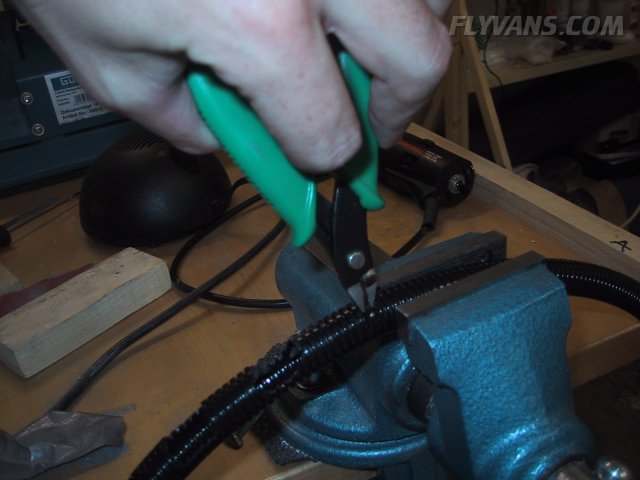
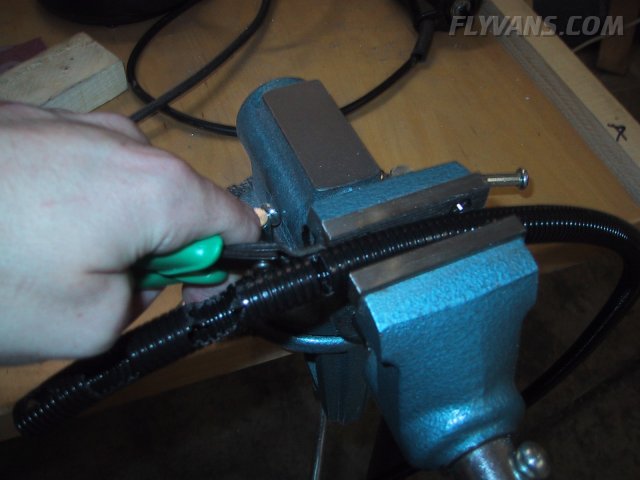
We tried the best way of routing the cable into the conduit on a scrap piece of tube. That's what worked out best. Tried everything from carpenters knife to dremel cutter. Took a saw and cut every detent within the intended opening to about halfway down.
Then cut each "rib" with a cutter in the center.
Bent the remaining piece outward and cut one by one. If every cut with the saw is about the same depth, this will give a nice straight edge. At the end, we put some black electrical tape over the sidewall.
|
|
|||||||||||||||||||||||||
|
||||||||||||||||||||||||||
|