|
|
|


|
| |||||||||||||||||||||||||
|
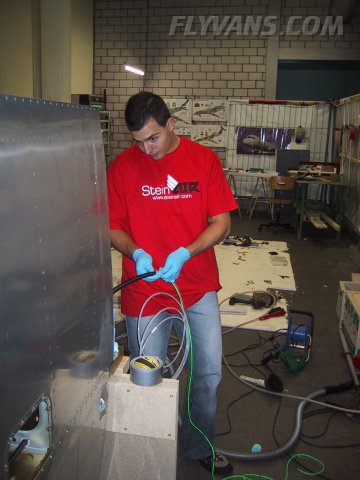
Alex playing Santa... We met up with Mickey at the airport as he got back from the States with his family. He was very kind to bring along wiring stuff from steinair for us and Dominik.
One thing we didn't order but came along one-size-fits-all *G*
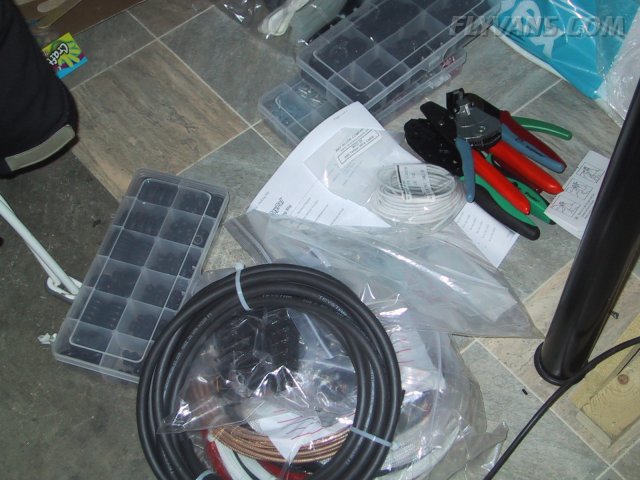
Not a very good picture, but tools and wires worth a couple of hundred Dollars!
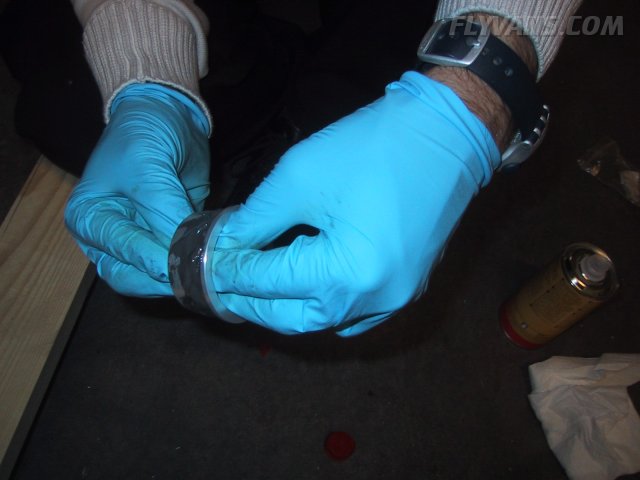
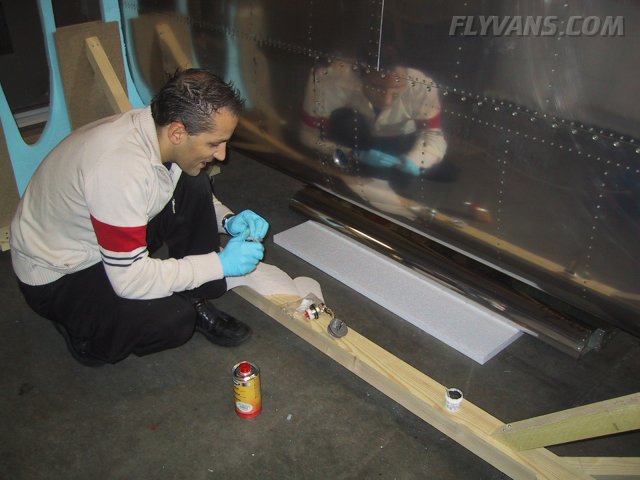
We also installed our deluxe retrofit fuel caps from Van's. This requires a bit of prosealing.
It's not as bad as you hear in all the sealant horror stories, but then again this is a very minor job compared to riveting a fuel tank.
The new flange in place. This effectively decreases diameter by a bit, but unless you will run on Jet-A1 with the respective hoses, it shouldn't be a problem with most fuel trucks/stations. Also note, that we aligned the detents nicely perpendicular to the spar, thinking this would result in the keyhole being aligned with the ribs when closed. But they are both off by about 5° each. We tried a rough fit of course and this made us believe that the flange should be vertical. Oh well, nothing to worry about, only minor cosmetics. In the end we're not building a showplane.
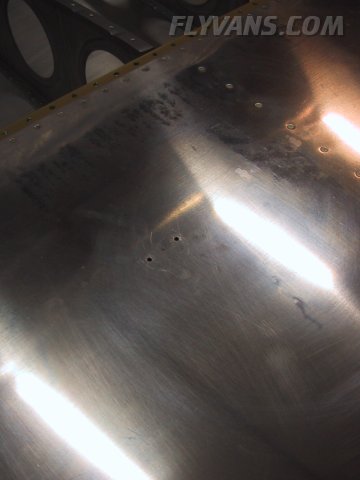
The bottom port (wing upside down on floor) drilled to the skin. 2 regular #5 screws and a tiny pressure hole.
To dimple for the screws, we got a bit creative. This shows the bottom plate of the C-frame that we removed and taped to a bucking bar. Then Alex held the bucking bar on the inside and Bernie hit the male die with a hammer which formed an acceptable while not beautiful dimple.
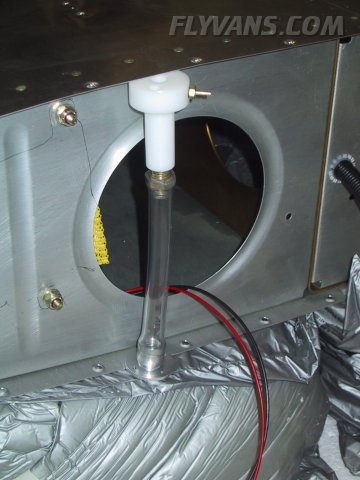
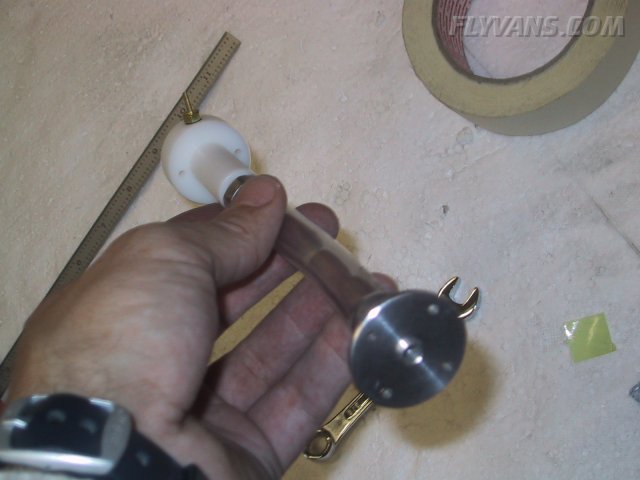
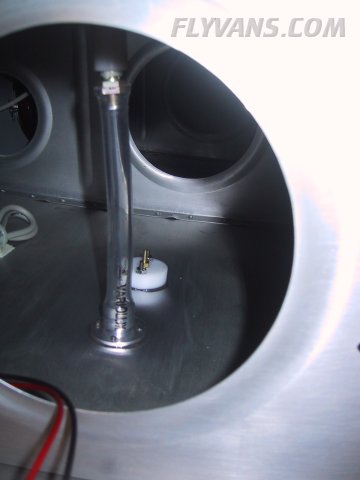
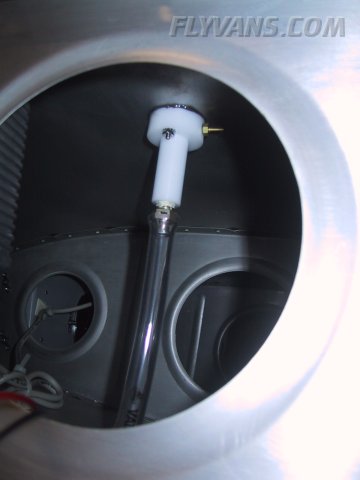
The suggested installation for the draining of the topside AOA probe didn't appeal to us, so we developed a more elegant solution which doesn't leave the eventual water in the wing. At the same time it helps finding the draining valve with the supplied pin much easier.
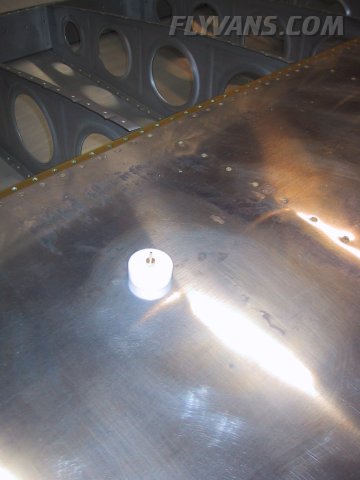
And the topside. The ports are sealed to the wing skin. One has to be careful so that the sealant doesn't squeeze towards the inside. Also, the clear plastic tube is only stuck onto the drain valve and could slip off... To avoid that, the tube was taped to the plastic port with duct tape. The drain valve actuator piece had the same diameter as the drain valve body, which would have made it stick in the tight plastic tube. It was grinded down on the scotch brite wheel to minimum size, just enough so that the spring can't come off.
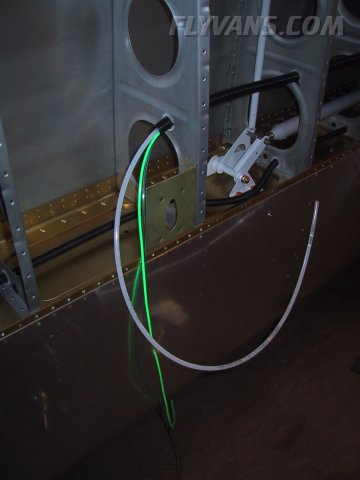
The pitot and AOA pressure lines in the conduit.
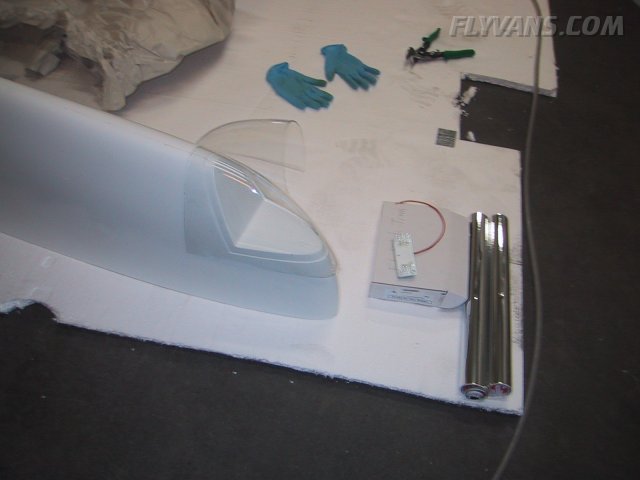
Initial planning for the wingtip installation. The plastic lens cover will have to be trimmed. Then the LED navlight and strobe light have to be installed somehow. We also plan to cover the base with reflective foil.
And the autopilot roll servo installation. The right wing yet has to get the aileron installed, only then will the servo be attached to the belcrank. Here's a list of the extra hardware we had to order for this step (and the further autopilot installation):
|
|
|||||||||||||||||||||||||
|
||||||||||||||||||||||||||
|