
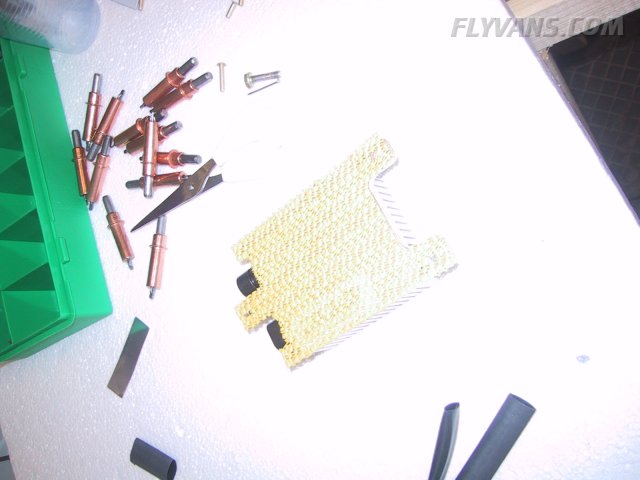
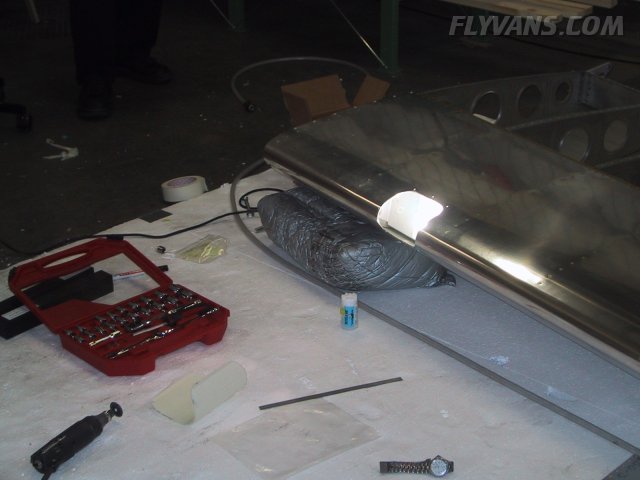
Very productive week. Among other things we completed the landing light installation. To keep the ballast from vibrating we cut some rubber mat to shape.
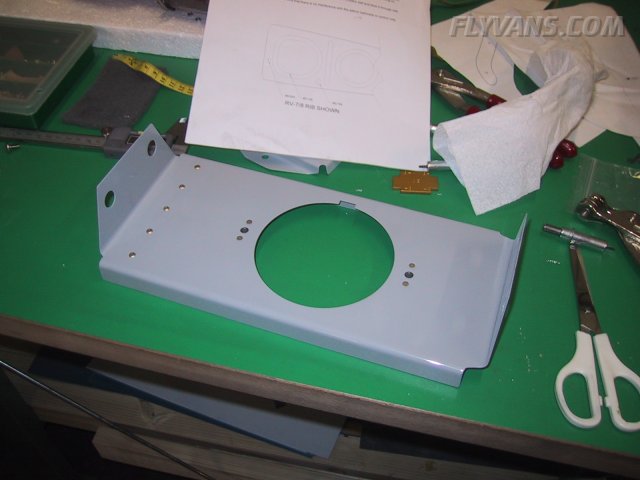
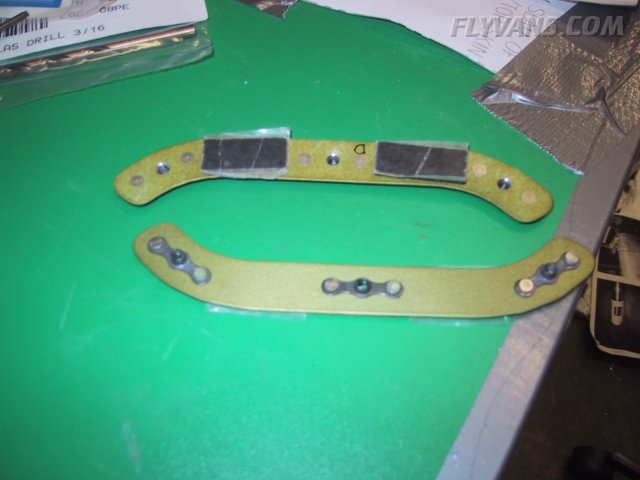
As already posted, we found out late in the process, that the second bay from outbard is quite a bit smaller than the most outboard. We therefore had to trim the size of the mounting bracket. This came out quite nicely. The clean rivet line on the left is the only noteable difference.
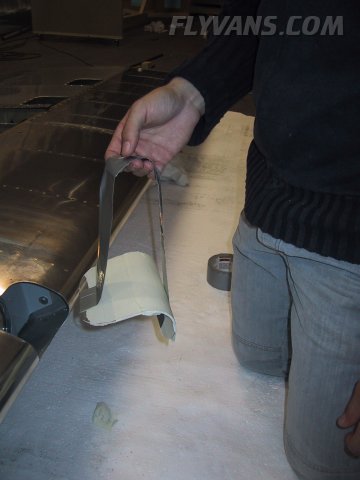
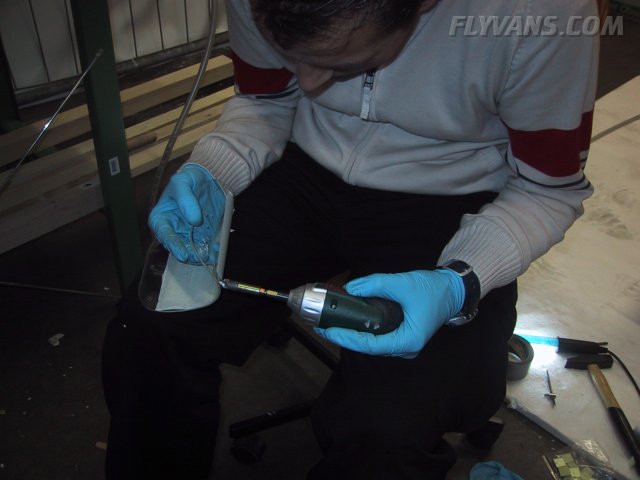
Alex trimming the plexiglass lens to shape.
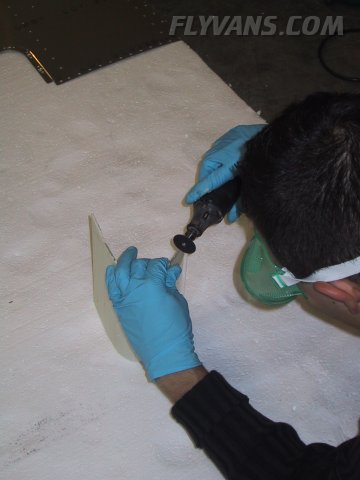
Working with plexi really deserves the attention that you read about in literature. It is brittle and very easy to scratch. We only tried out on some scrap pieces, but protected the lens very well so results are good :-)
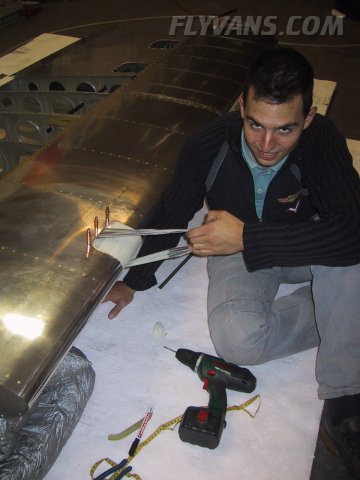
Of course, a successful installation has to be tested *G*
The shielded cable from the igniter to the ballast is held into place with adhesive tie wrap holders.
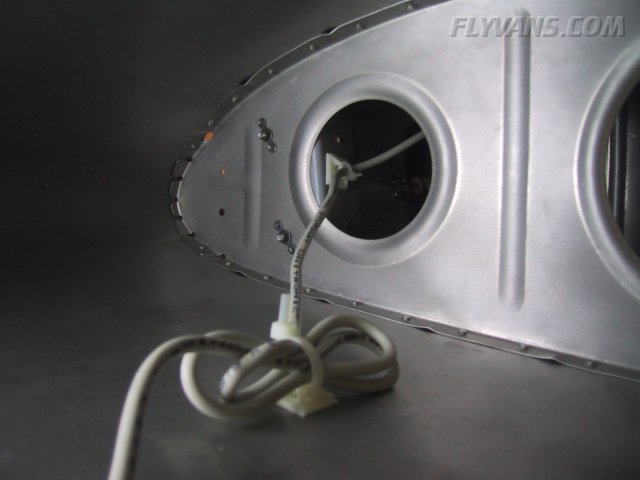
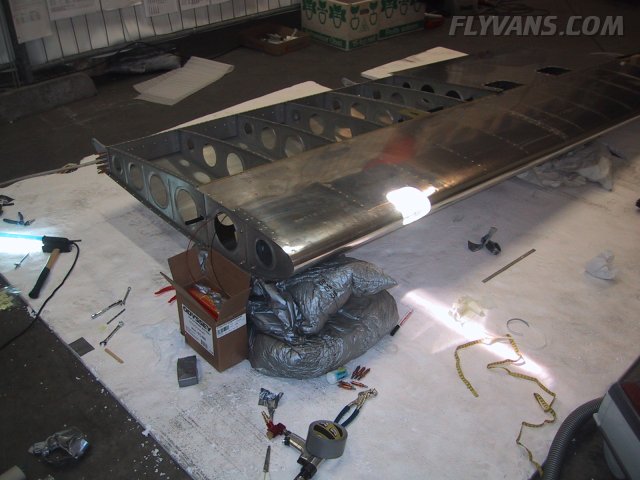
And the ballast itself installed on the inside of the most outboard rib. The reasoning behind the location being that moisture will eventually enter the wing tip along the intersection between the fiberglass and the wing skin, which would put a ballast on the outside at risk... The picture shows the wing upside down, but all connectors are installed in a direction so that there is less chance of water being trapped in the connector leading to random and hard to debug failures.

The suggested method of placing and holding the lens sounded a bit goofy at first but worked out very well. It's really just a strip of "magiccanbeusedanywhere" duct tape forming a handle :-)
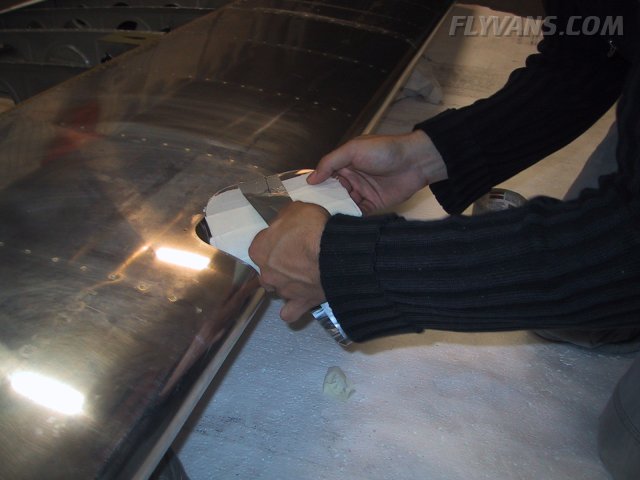
While placing and removing the lens, extra care should be taken with the leading edge of the plexi as it would be very easy to scratch in this situation.
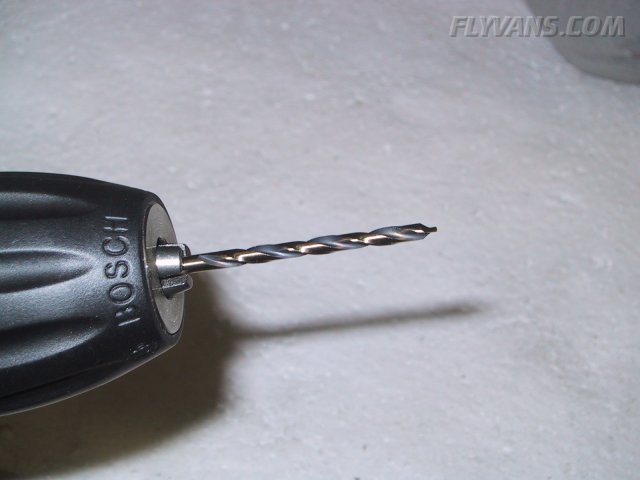
To drill the mounting holes, special plexiglass drillbits should be used to prevent cracking. That's one of them.
At the risk of repeating myself for about the 100th time, 4 hands won't hurt during this job...
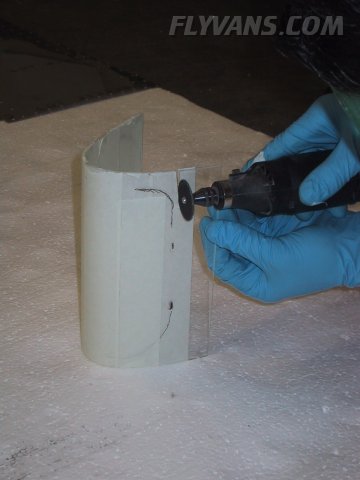
Deburring and countersinking can be done with the traditional aluminum tools. Although they made scary sounds, they worked very well and the plexi remained without cracks.
The retaining strips are really only stuck to the inside of the lens with those double sided pieces of tape. The screws then pull them tight.
We didn't have anti-static plexi cleaner at hand but we will have to eventually remove the lens again and clean it on the inside. At the moment, there is some styro scrap sticking on the inside.
|

