|
|
|


|
| |||||||||||||||||||||||||
|
With our order from steinair, we got this electroluminiscent lightstrip. Of course we had to try that out yet... Works awesome, the strip is flexible like some kind of thickish tape, the light is dimmable and easy on the eyes. This will be our only panel lighting other than the displays which light themselves of course. 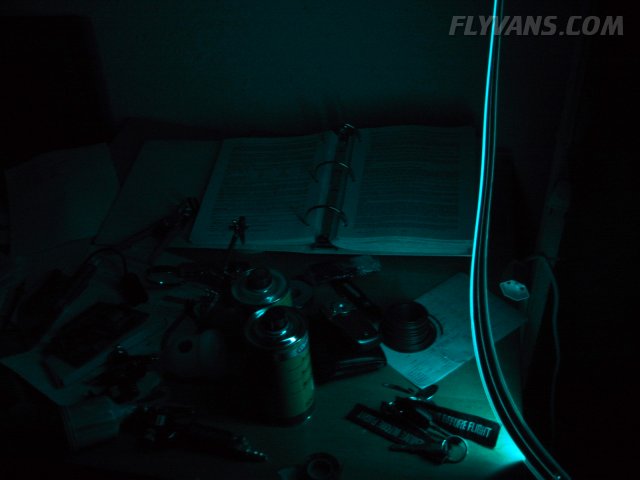
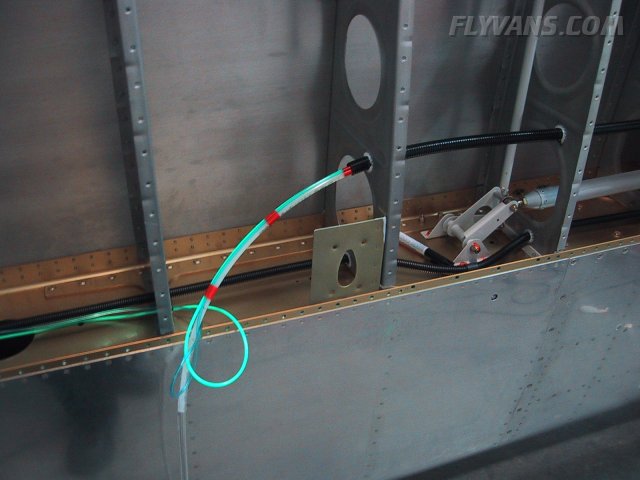
Another small issue we ran into... The AOA lines and the 1/4" pitot line apparently crossed several times in the conduit which was sufficient to block one of the flexible AOA tubes... So we pulled them out again and with some electrical tape, fixed the 3 lines in place. This solved the problem.
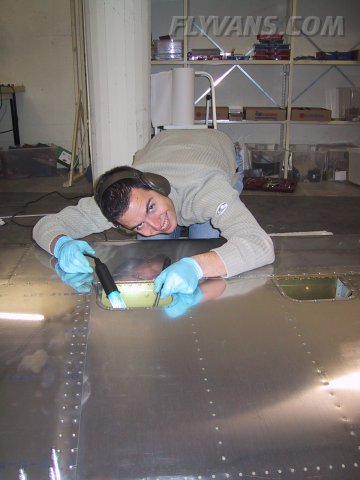
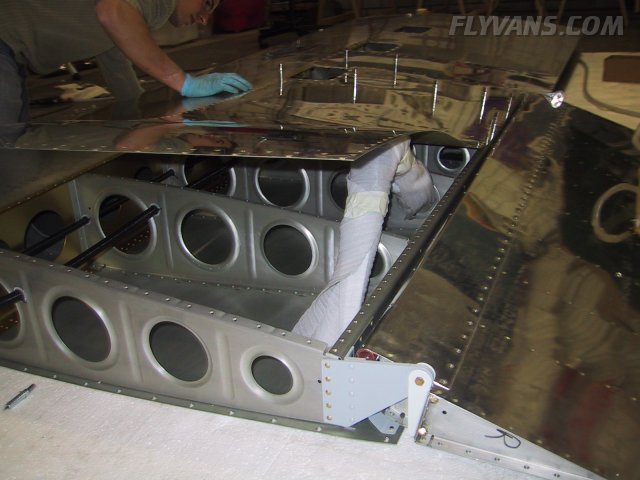
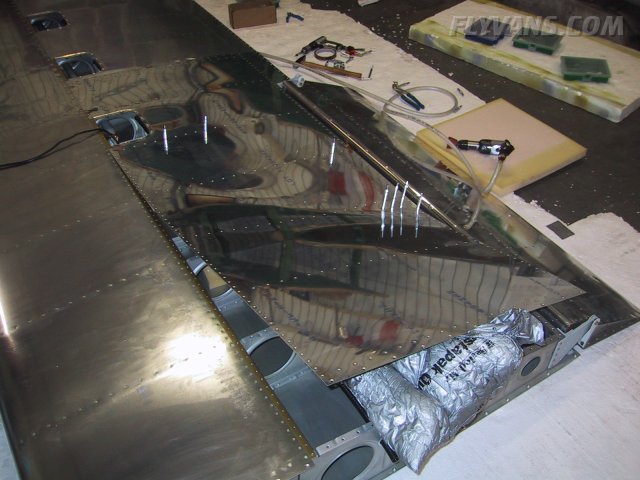
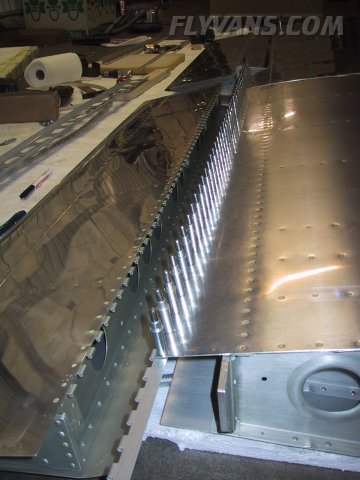
And the main job of more than 6 hours of work in a couple of pictures:
Closing the bottom wing skin... This proved to be quite tricky, although Van's instructions are once again a big help. The hardest part really is bucking. It's all done blind and by feel, sometimes through very small openings / access plates or a slightly bent skin. Alex did a great job and we're sure on the left wing there will be less figuring-out how to do it.
Also, be careful with the rivet callouts. Although it's not complicated, anywhere there's another skin, rib or spar, another length of rivet is required.
At the beginning we were afraid of bending the skin as per instructions. We also got pretty bad "oil canning" in the first riveted bay. But to our satisfaction, that disappeared almost completely as we progressed.
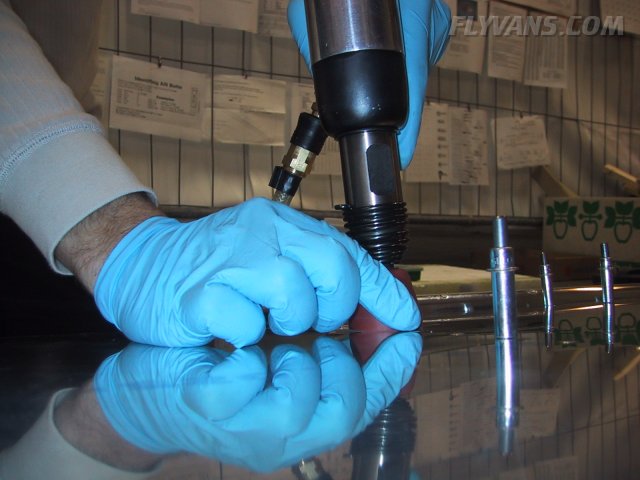
We used about 40psi on our 2x gun and triggered for about 4 seconds. We only had to drill out and redo 1 of the many rivets! Excellent performance.
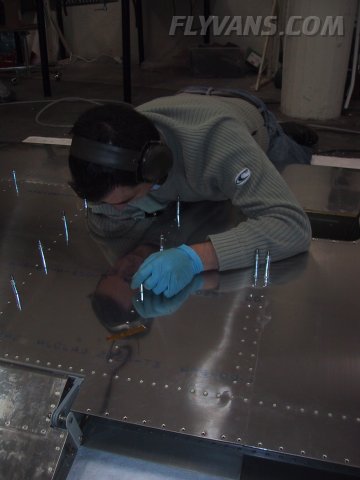
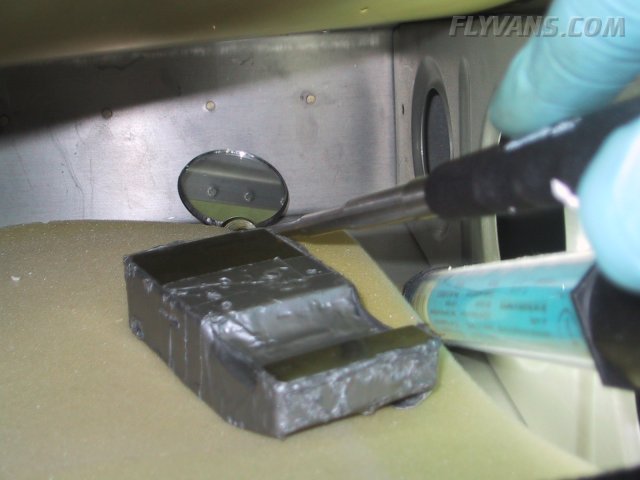
Checking the rivet lines regularly with a mirror... Later it will be very hard to get a look at these rivets, especially if they are in a bay without access plate or other opening. Still possible though through the litghtening holes in the ribs from the side.
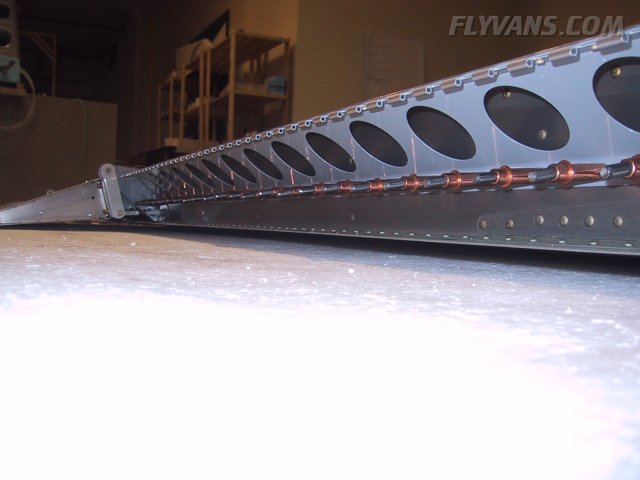
Another job, installing the flap to the wing trailing edge.
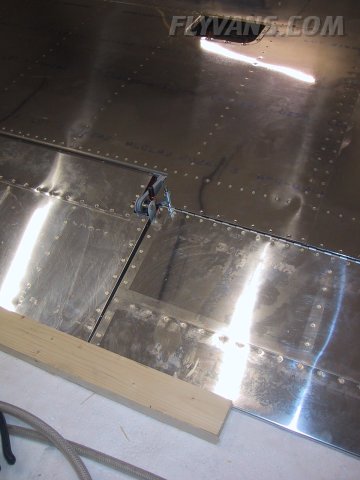
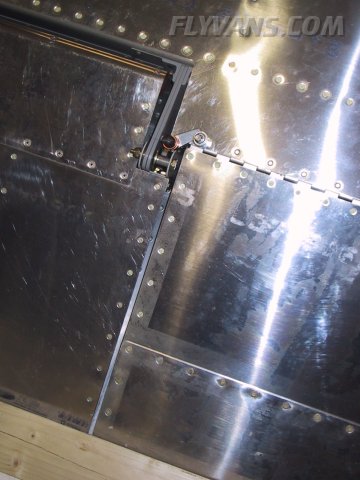
The flap is attached with a piano hinge. This hinge has to be drilled to the skin after the flap has been positioned correctly. The trailing edge must be in line with the aileron (left)
Also, the distance from aileron to flap should be approx 1/4", and big enough so that the flap will stay clear of the aileron and its attach bolts in any position.
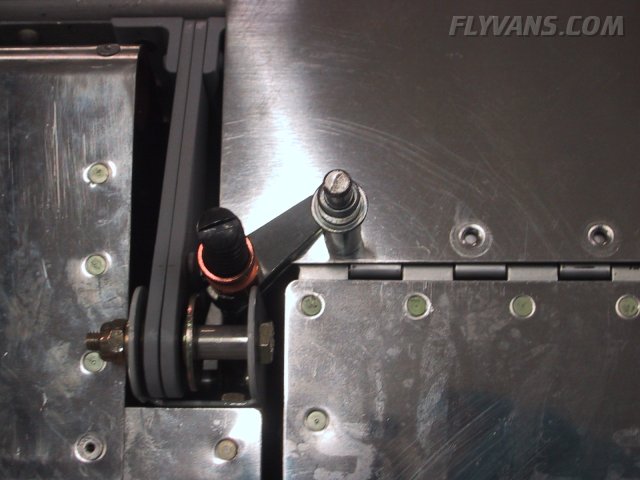
Having the aileron in the neutral position is very important. Because the flap and the aileron have a different pivot point, the trailing edges won't align correctly otherwise.
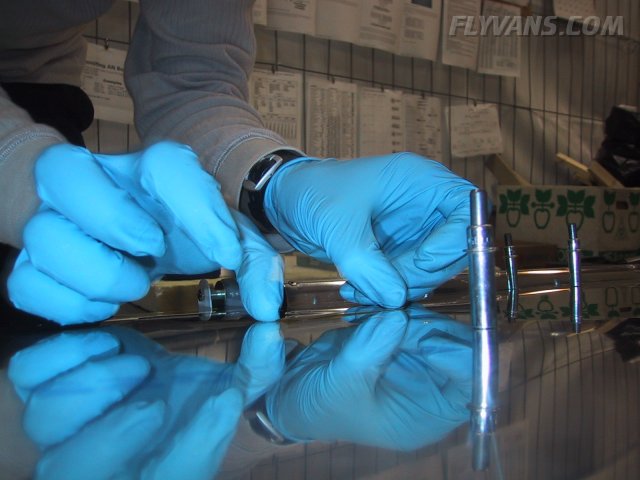
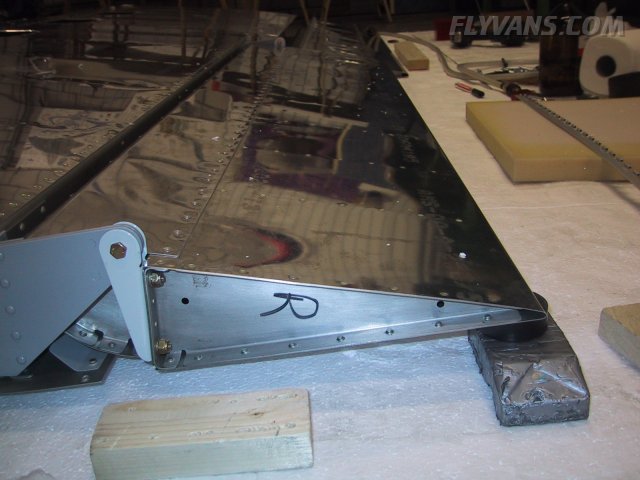
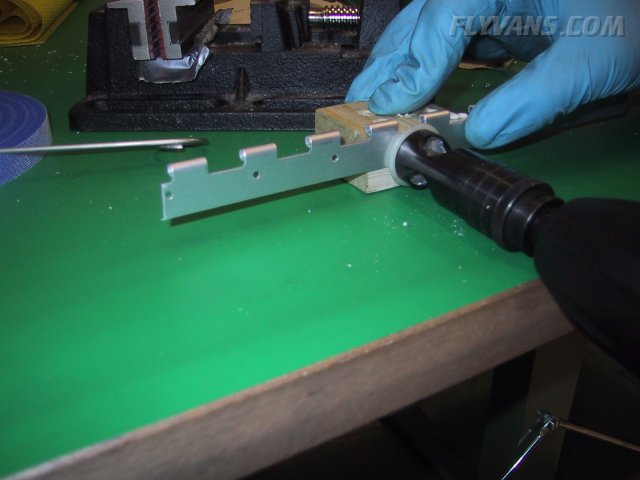
The piano hinge final drilled.
Because the piano hinge attaches below the skin and the flap brace, it has to be countersunk to take the dimple of the brace. In retrospect it might have been better (and a small deviation from plans) to countersink the brace to take the dimpled skin and then leave the piano hinge untouched. To do the countersinks, a microstop tool is used. But the countersinks enlarge the holes by quite a bit.
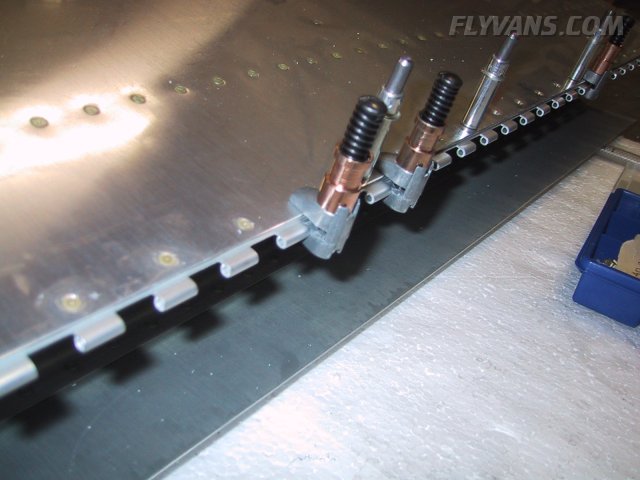
At least large enough so that the clecos won't hold it up anymore and clamps have to be used.
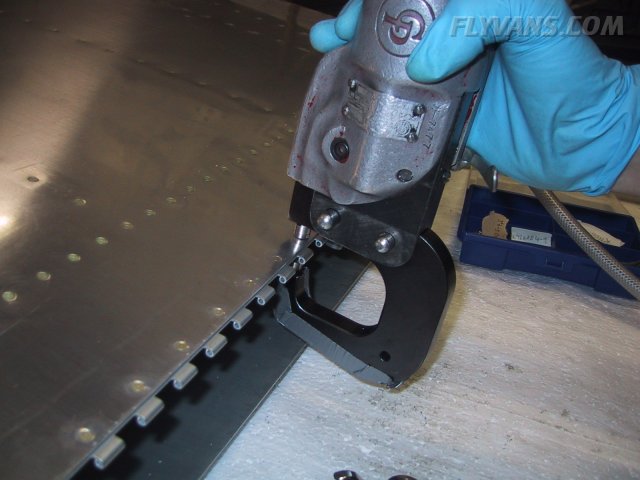
Now making sure the whole assembly will hold up... We decided to use a rivet slightly longer than called out per Van's. AN426AD3-4.5 instead of AN426AD3-4. This gives a slightly larger shop head.
Now the brace only has to be pop-riveted to the rear spar before the flap can be installed.
|
|
|||||||||||||||||||||||||
|
||||||||||||||||||||||||||
|