|
|
|


|
| |||||||||||||||||||||||||
|
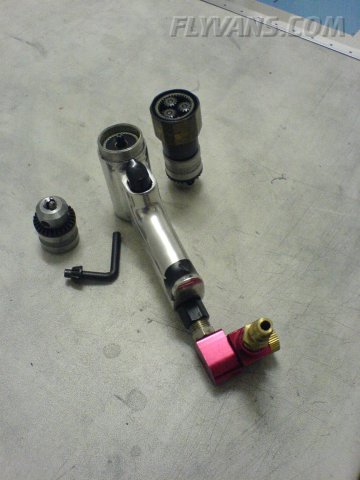
After a bit more than a year, the chuck on our 1/4" palm air drill failed... And in a weird way. One of the 3 pins clamping the drillbit would not move in sync any more. It held #30's just fine, but #40's would wiggle around to the extent we could not longer use it. So we got in touch with Avery tools, telling them about our trouble... Bob himself told us that it shouldn't be a problem to replace the chuck, that it was only a 15-buck item and that we should get one at the nextbest hardware store... For us, the nextbest hardware store that carries a 3/8"-24 thread chuck isn't just around the block of course! So Avery sent us a new chuck for free! Excellent customer service, we can't recommend them enough. Tools have worked perfectly so far :-) 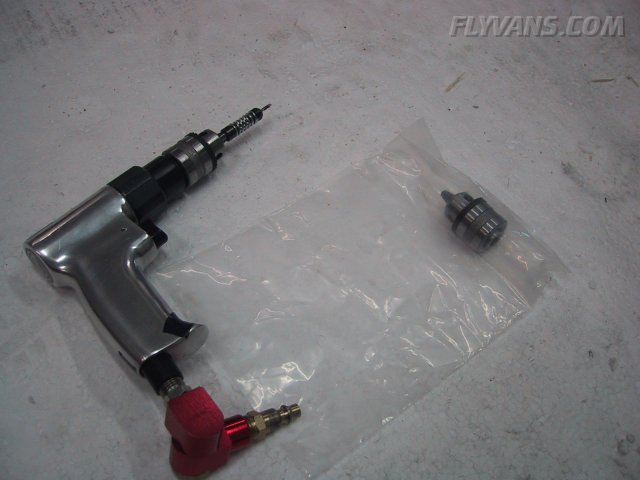
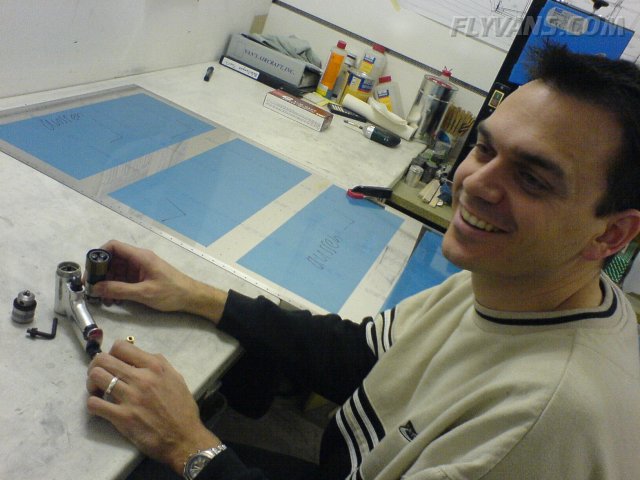
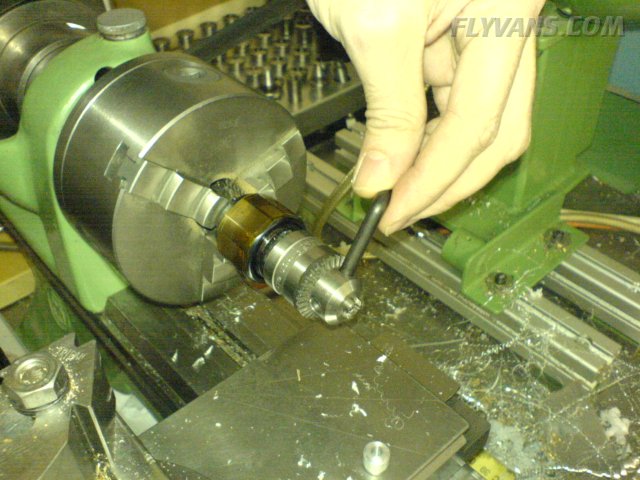
Well, the instructions on the phone sounded a lot easier, than it ended up being... With the help of Dominik's expert knowledge in handling tools, we succeeded in changing the chuck.
We ended up taking the drill completely apart. Taking great care to remember how things were looking to be able to reassemble it to working condition again ;-)
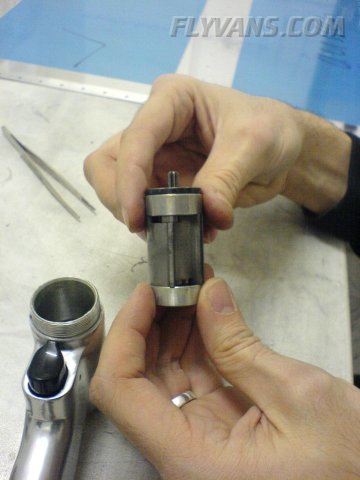
That's the rotor / Air motor, looks pretty simple.
December was a slow month, in that we both had a lot of other things going on, hope January will be better what building is concerned. We also suffered setbacks, more on that later.
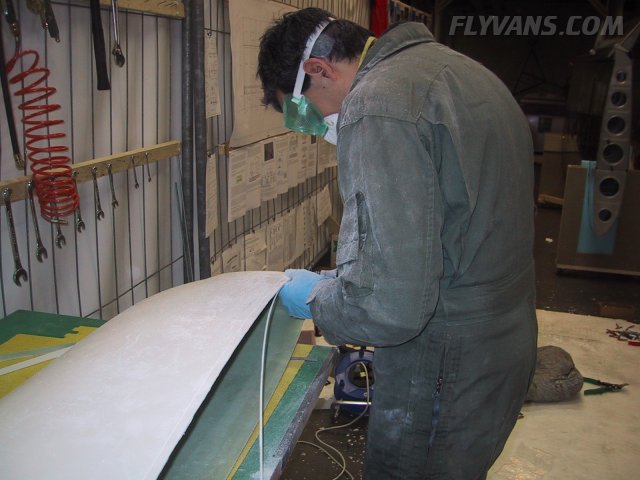
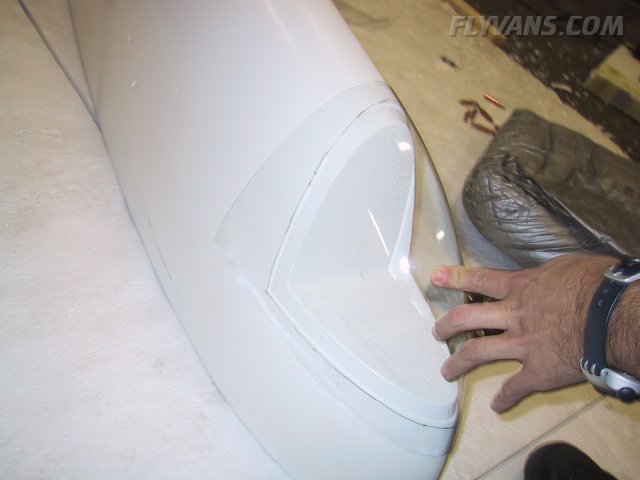
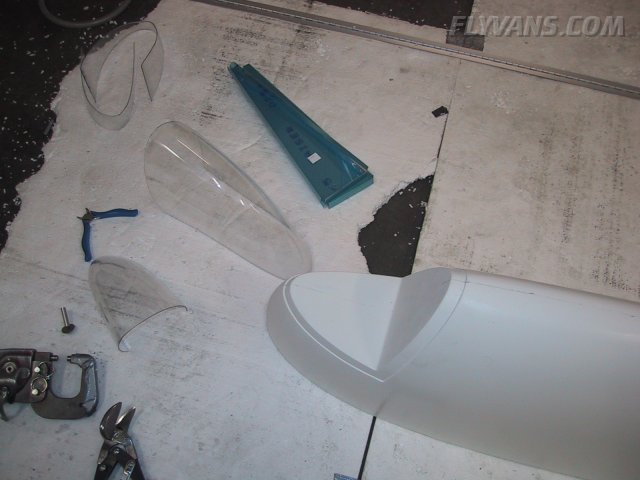
Fitting the lens to the wingtip. Take extreme care in order to not scratch it. The material takes scratches easily and is hard to polish. Also go slow when trimming the edges. It's impossible to trim it perfectly in one step. Draw a line slightly oversize. The first cut can be made with a metal snip or so, this worked quite well. Then trim on the bench grinder to size, constantly checking the fit on the wingtip.
Of course this has to be done for the right and left wingtips each.
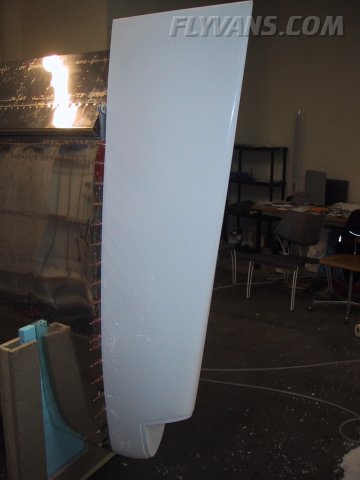
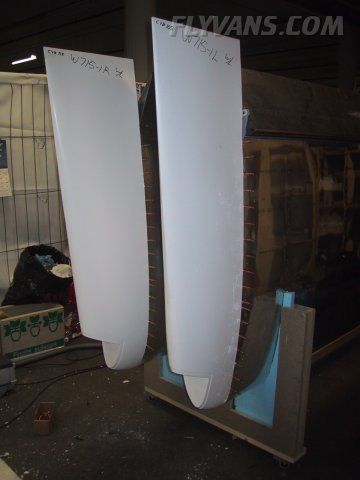
Aligned and fitted the wingtips to the wings.
Looks great on the pictures.... But it's not quite done yet. We're not perfectly happy with the alignment of the trailing edges and before we continue with the installation (nutplates / reinforcement strip / wingtip antenna etc...) we want to have Dominik's opinion on it. He has lots of experience with fiberglass and will be able to advise us very well. Also one tip fits much better than the other. But asymetric tips could lead to unwanted aerodynamic effects, so we really want to go slow on that.
As we already mentioned, we didn't trust the flap hinge install. So we decided to redo the hinge install and we feel good about it. At least the one hinge that was installed with AN426-3-4.5 (already .5 longer than Van's calls out) didn't appear to hold on very well. It is due to enlarged holes and little hinge material being attached by the rivet shop head. To illustrate the problem, here's a small sketch:
This time the hole ended up nicely and with a usual rivet hole diameter. Slightly larger due to being dimpled but that's normal, even on a skin or other riveted part. Also there will be enough material under the shop head so we can feel good about our flaps being attached to the wings ;-) They will be installed with AN426-3-5 rivets.
|
|
|||||||||||||||||||||||||
|
||||||||||||||||||||||||||
|