|
|
|


|
| |||||||||||||||||||||||||
|
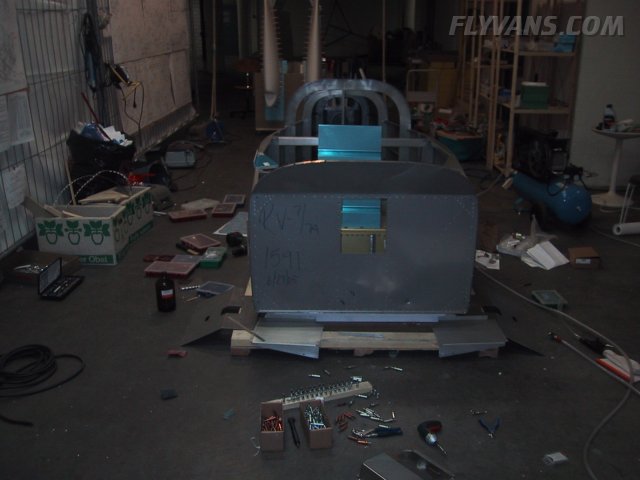
Almost exactly one year after starting construction, we moved on to work on the fuselage. First of all this means careful study of plans and instructions. On a general note, the instructions by Van's become much less detailed. Whereas it would say cleco, drill, deburr, dimple, prime, cleco, rivet in the empennage kit, it now just calls out "install"... 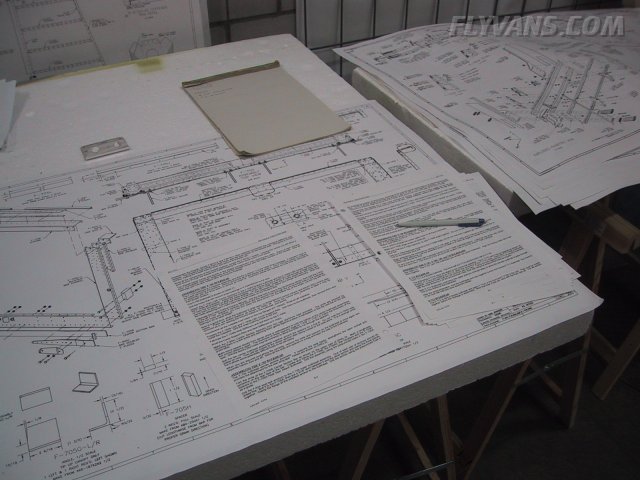
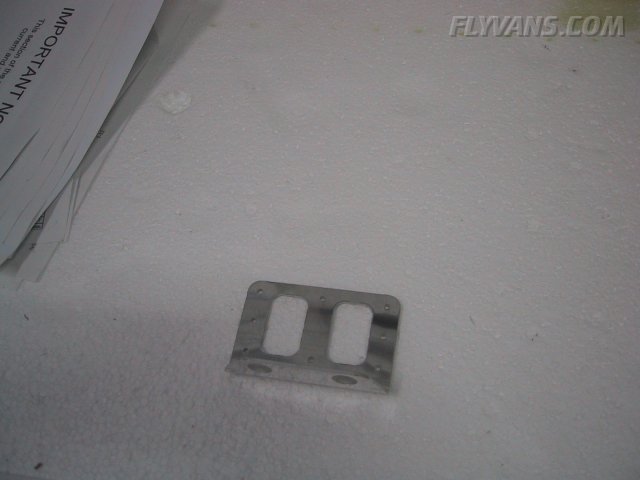
One of the first pieces mentioned. The bracket that holds the brake lines to the firewall. We opted to wait with anything on the firewall for the moment. First because our engine installation might end up a little different from a standard IO-360 due to Fadec etc, and second we may have a custom routing for the brake lines in the center console.
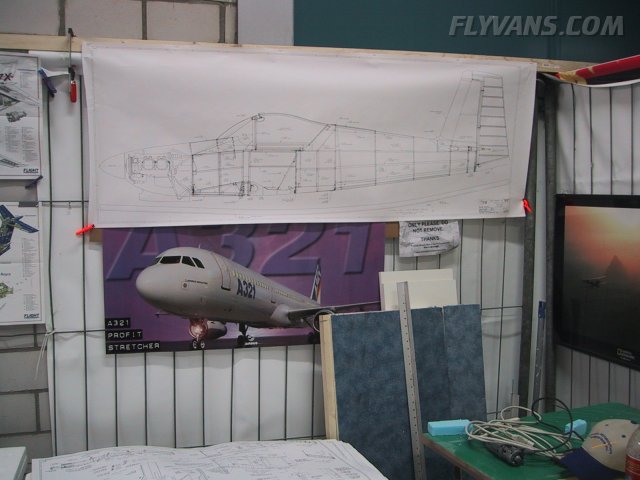
Of course we also replaced all plans on the walls from wings to fuse.
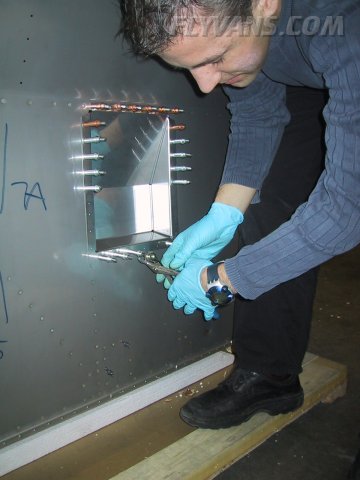
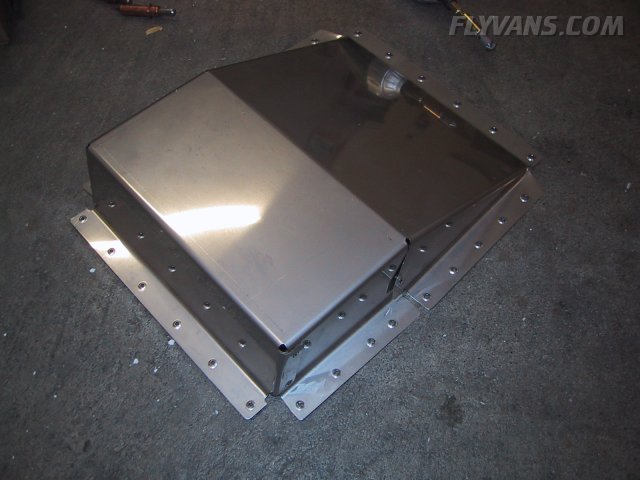
Fitting the firewall recess.
This is a special stainless steel part which is required for engine installations with a hydraulic constant speed governor. The engine will sit quite close to the firewall and the governor will protrude into this recess...
It's quite hard on the tools. Hope we don't have too many of these parts coming up *G*. Drill slow and use lots of Boelube. The dimple dies however seemed to handle it just fine.
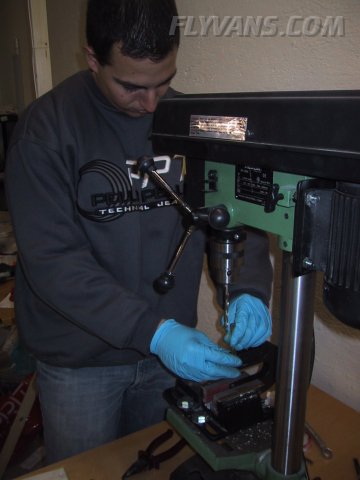
Alex drilling out the brass bushings for the control sticks.
Temporary fitting of the control stick weldments.
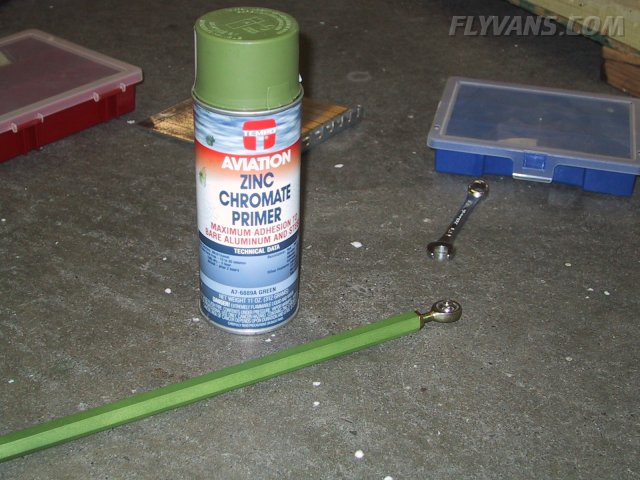
To prime the "little jobs" where setting up the whole primer booth is overkill and the part is needed to continue building, we got a hold of this Tempo Zinc Chromate Primer. It's pretty cheap from Spruce but not very easy to get over to Europe ;-) Let's leave it at this...
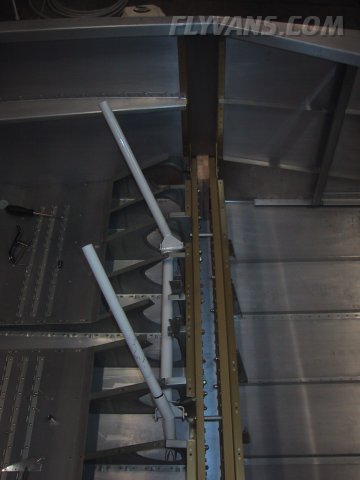
Getting the picture of how and where the gear legs will fit.
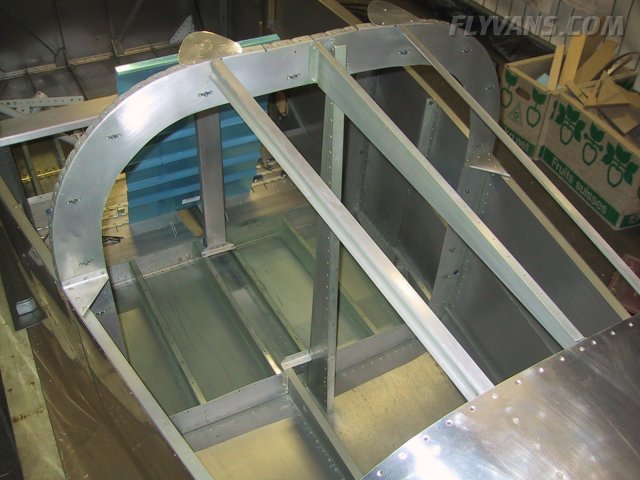
The top skin between F706 and F707 is not yet installed, which makes access a lot easier.
|
|
|||||||||||||||||||||||||
|
||||||||||||||||||||||||||
|