|
|
|


|
| |||||||||||||||||||||||||
|
After reading many builder logs and lurking in forums, it was clear that the aileron trim hardware should be installed as early as possible. So off we go. 
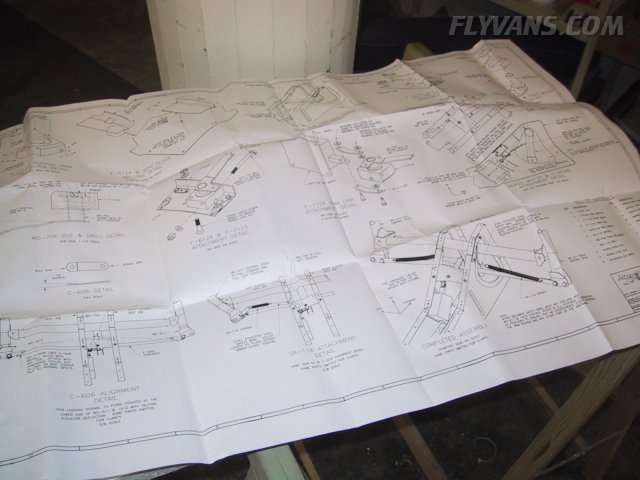
This plan is the only documentation included. It gets interesting, because you have to figure out the correct sequence for yourself. It ended up very well but it's a completely different way of working vs all we've done so far on the plane.
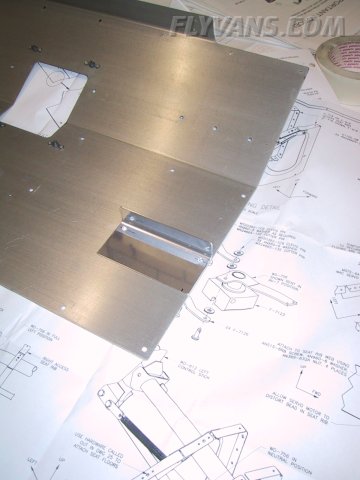
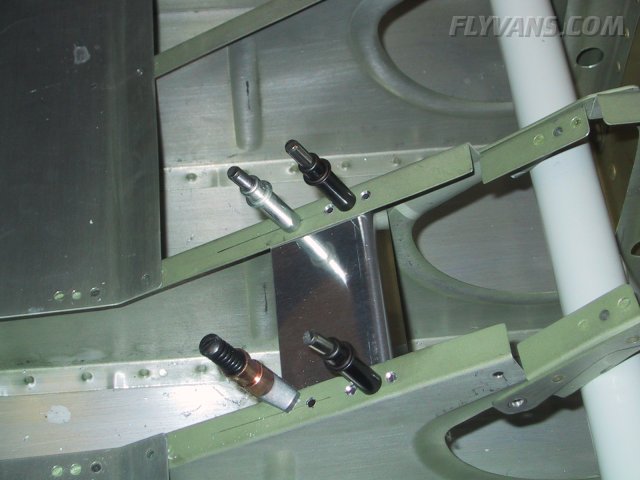
First thing is to drill the forward bracket holes to the cabin seat floor. Because the seat ribs are very flexible, this distance between holes will be the reference onwards.
Then the other two attach holes can be drilled. Of course after the nutplates already installed on the seat ribs have been removed.
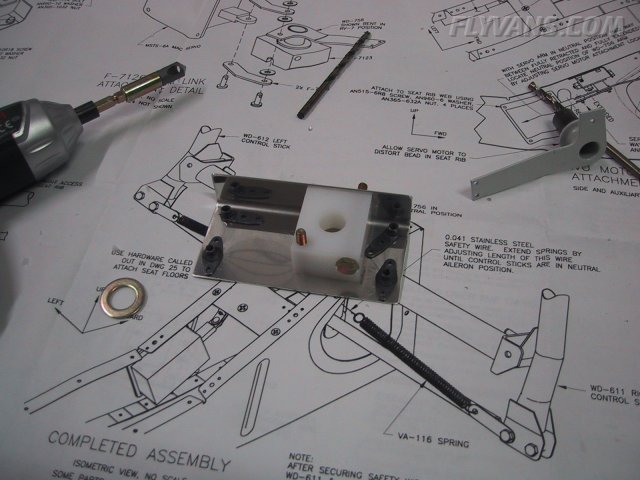
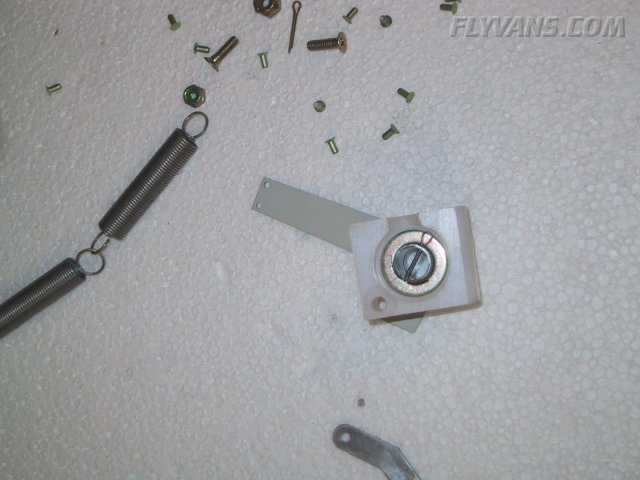
Drilled the UHMW (Ultra High Molecular Weight) block to the bracket. This will hold the aileron trim lever.
Here, the lever weldment is installed to the block witch a washer and a cotter pin. The trim is a simple spring-bias system so 2 springs cancel out each others forces in a neutral trim situation.
|
|
|||||||||||||||||||||||||
|
||||||||||||||||||||||||||
|