|
|
|


|
| |||||||||||||||||||||||||
|
Right now we're working on so many different things at the same time, it's hard too keep a good overview. The main reason we haven't finished many things is that we build up to the point "ready to prime" so we will have a bunch of parts for a priming session. Alex finishing the Strobe supply access plate. 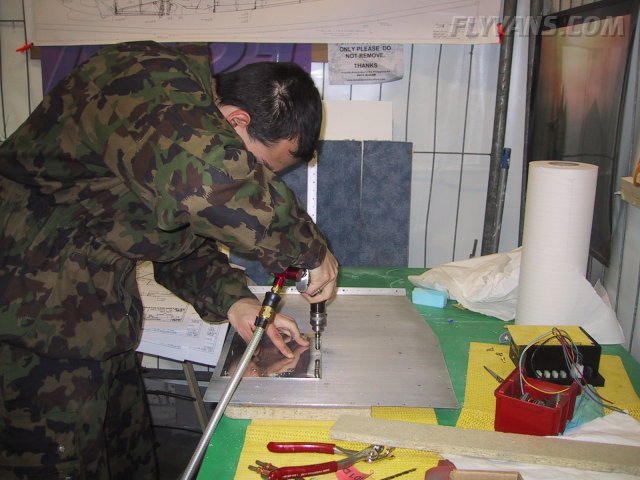
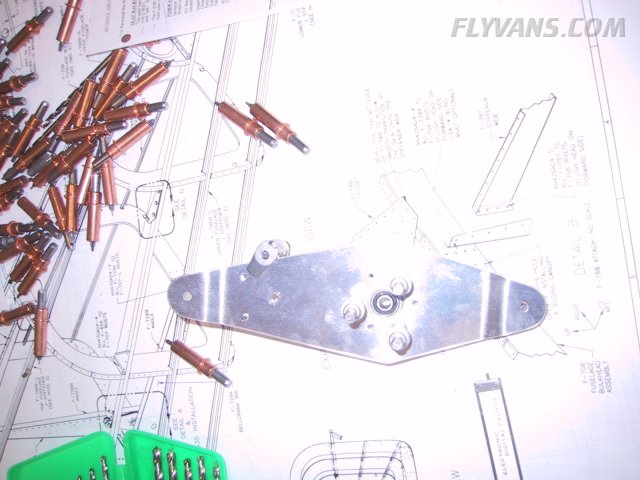
The elevator belcrank. Nothing really special. Except for the little spacer that fits between the halves. Also we leave the pushrod bolt holes untouched and wait for the next tool order to arrive. We ordered some reamers to get as little play as possible in the control system.
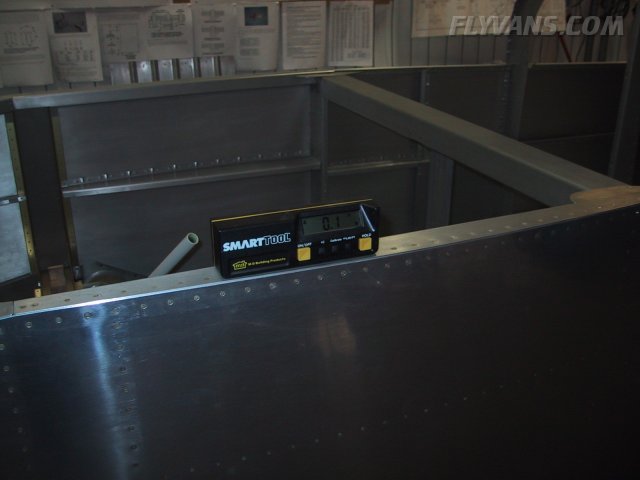
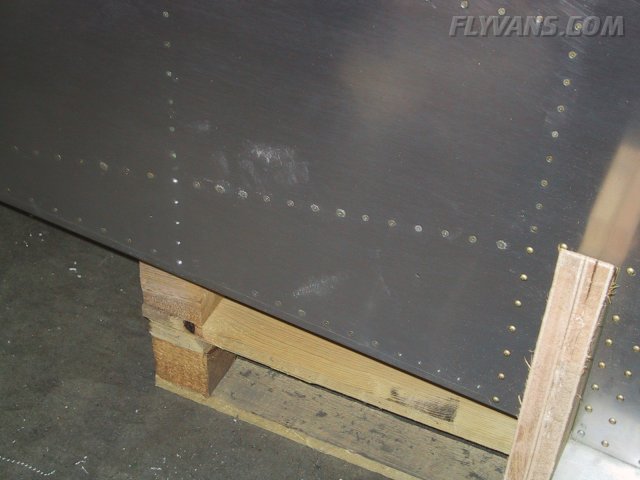
We also finally moved the fuselage away from the original crate base onto a dedicated stand. Mainly because we started to fit the steps and that requires some space towards the floor. Also the fuselage is now no longer free to move but level in both dimensions.
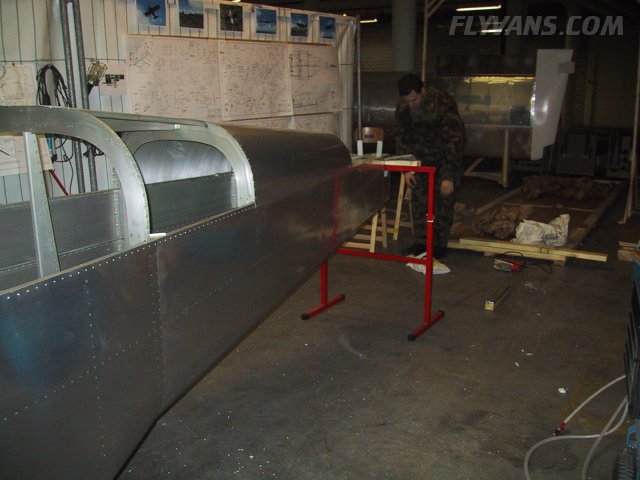
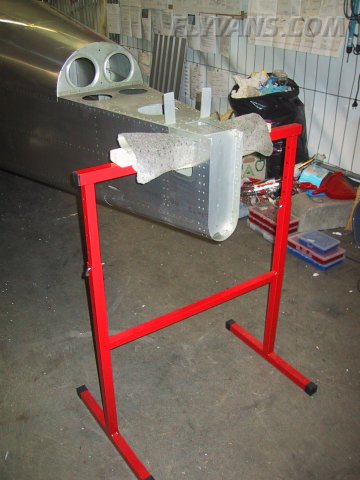
To lift the tail, we found a nice adjustable metal sawhorse at jumbo, one of our local hardware store.
For the moment, the complete top bow of the sawhorse is routed through the access hole and the fuselage longerons lie on a carpet and a piece of 2x4, or rather 24 by 48 ;-)
For the front, we got a hold of 2 standard cargo pallets. The fuse is protected by some thin styrofoam panels.
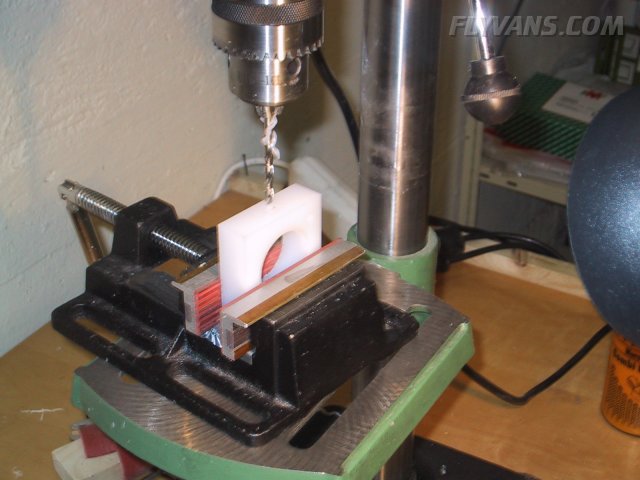
To install the steps, again some UHMW blocks need to be drilled out... Getting good at it ;-) We didn't have #10 (one is now on order) so used a decimal 5mm, which is more like a #9. results are still very good. The UHMW blocks have specific properties, so apparently you need to take a much bigger drillbit to get a bolt to fit. On regular aluminum a #12 would have done it... In general, if we didn't order enough / variation of tools, then it would be drills and reamers. We had only ordered the most common sizes. But we now run into odder combinations sometimes.
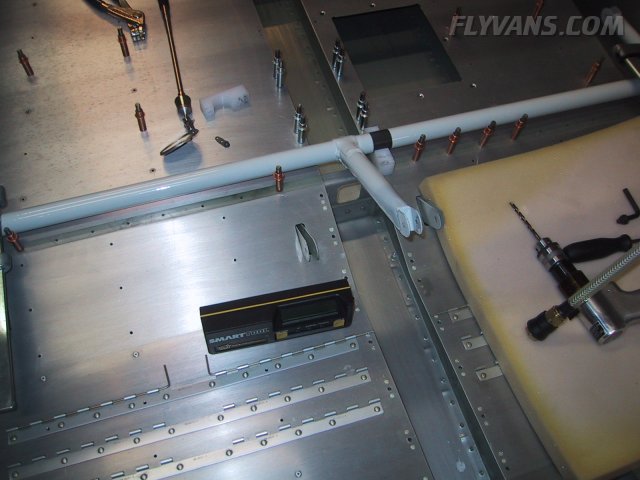
Another task, install the flap weldment temporarily and drill some more UHMW blocks...
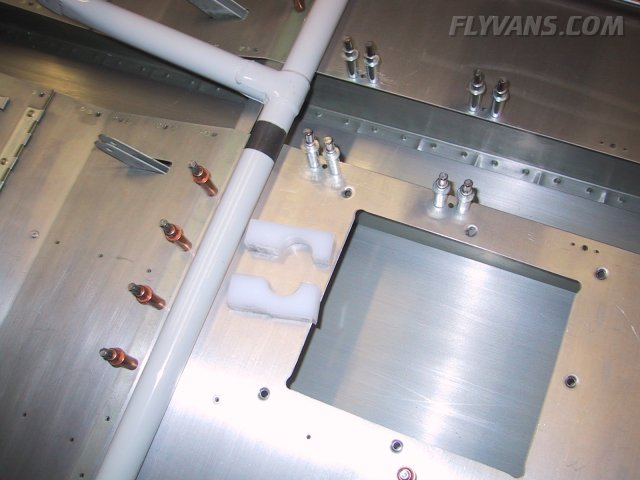
Studied the plans for a longtime, but the rear seat floors clearly go on top of the baggage floors. Opposite to how they came in the QB. Easy change though. But this has to be accounted for by notching the center flap block on the bottom side.
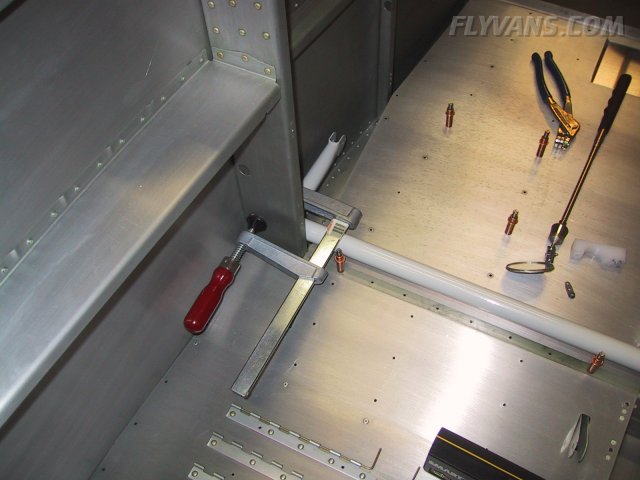
Then the weldment is placed on top of the bottom half of the center block and then leveled. Each block on the side is clamped to the bulkhead. Then these blocks have to be drilled to the web of F705. Make sure, each block is approximately centered with the holes in the bulkhead. Also, once the first hole is drilled, it's advisable to fit a bolt so it can no longer move.
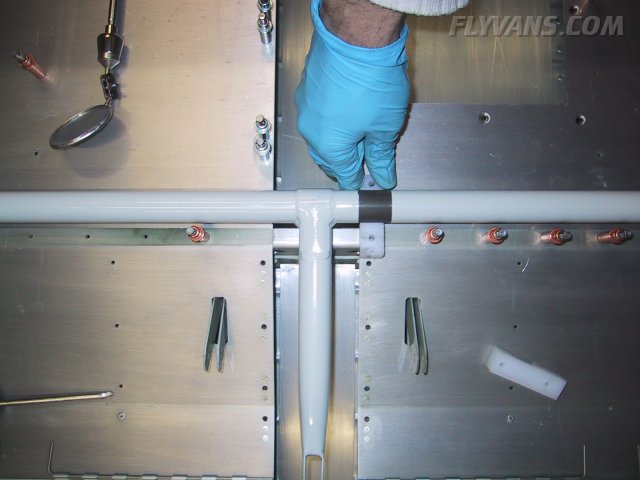
And a word about the fitting of the weldment. It's pretty hard to even get it into the correct position. The sanding on the ends with Domis help payed off big time! Not only did it remove some of the friction in the system, it also allows the blocks to be taken off and put on much easier. Space is so confined, that the weldment with one block on is slid into the fuselage, and only then in awkward diagonal position, the second block can be slipped on... If that isn't possible single handed, then good luck!
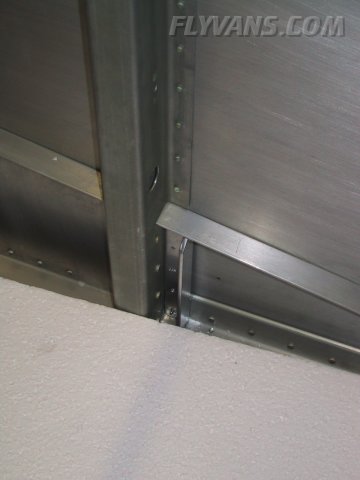
Now you can clearly see that the bolt is close to the bend of the flange below.
Some other parts for priming... Made the flap pushrods. Essentially cutting rigid AT6 Al tube to length and then tapping it on both ends. This time a #3 drill is required.
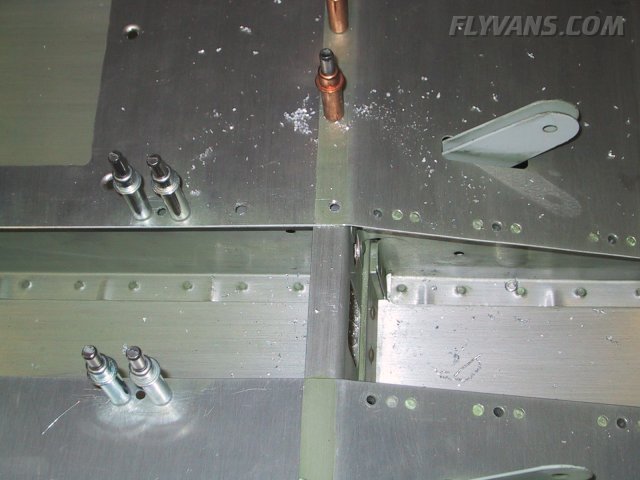
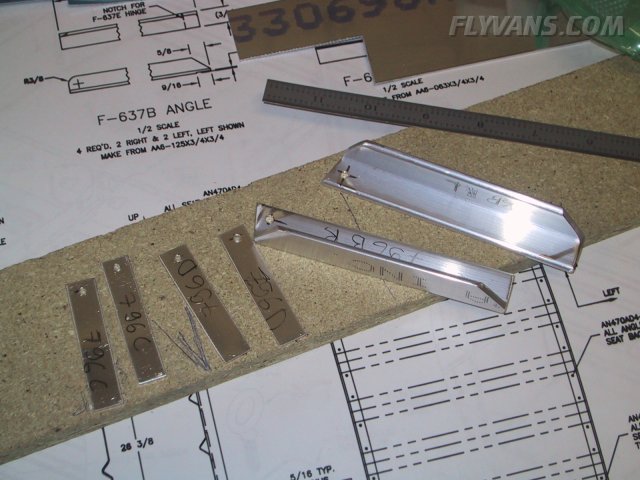
These are the parts that will attach the fuel tank brackets to the fuselage. Look easy but again, the angles are made of stock aluminum and take quite a bit of work to get in shape perfectly.
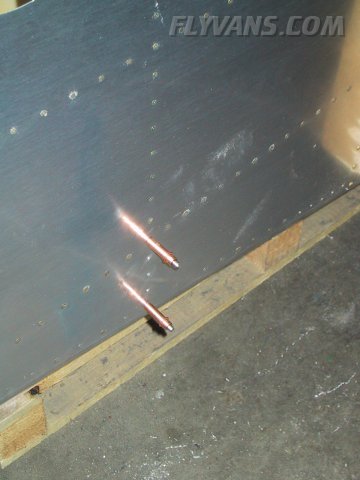
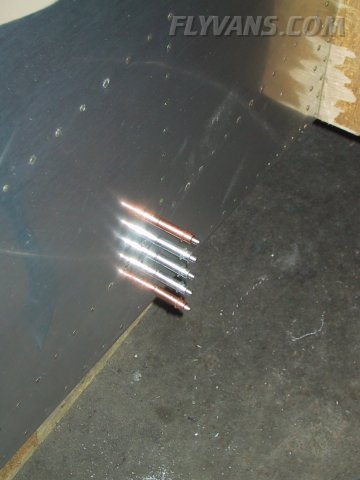
Quickbuilders have to drill out the 5 bottom rivets on each side where the tank bracket will fit. Note that there are 3 AD3 and 2 AD4 rivets.
Then the angle is fitted from the inside and drilled to the skin from the outside.
Only then are the spacers drilled to the angles and then placed between the skin. Another round of drilling to have them fit as well.
Some more parts to prime and as Van's instructions say "store them away..." ;-)
|
|
|||||||||||||||||||||||||
|
||||||||||||||||||||||||||
|