|
|
|


|
| |||||||||||||||||||||||||
|
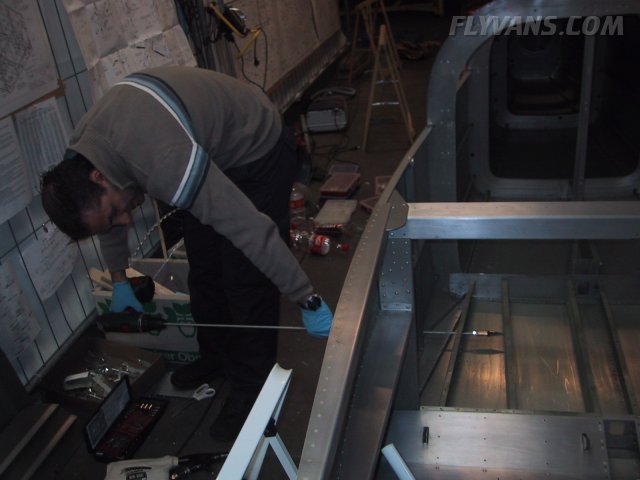
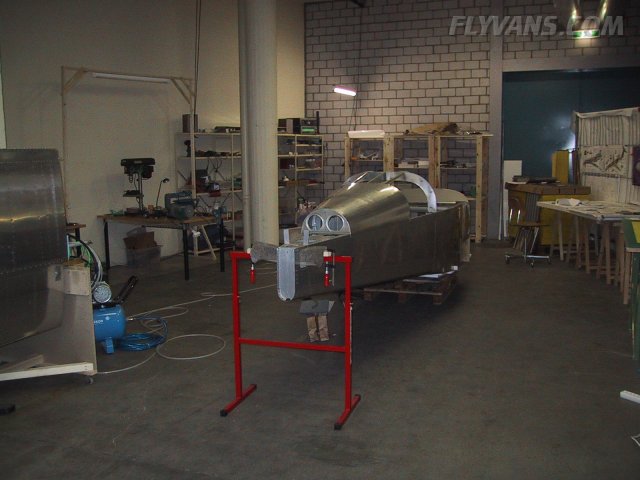
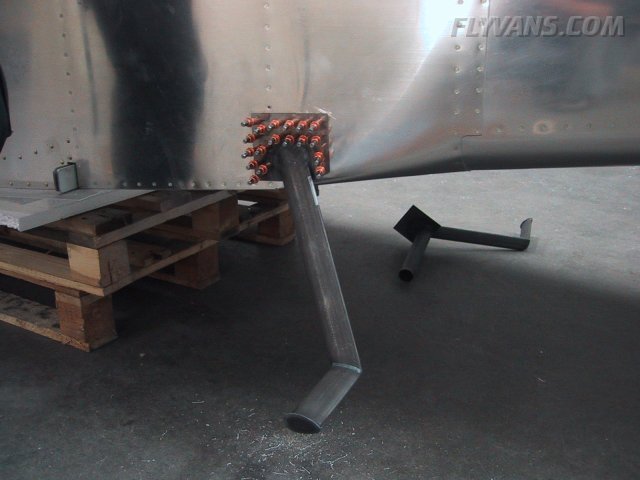
We started with the installation of the steps. The wing will sit quite high so it's very uncomfortable to enter the airplane without steps, although it will cost a knot or so in speed :-( Cutting the outside holes about the size of the step tube with an el-cheapo wood hole saw. 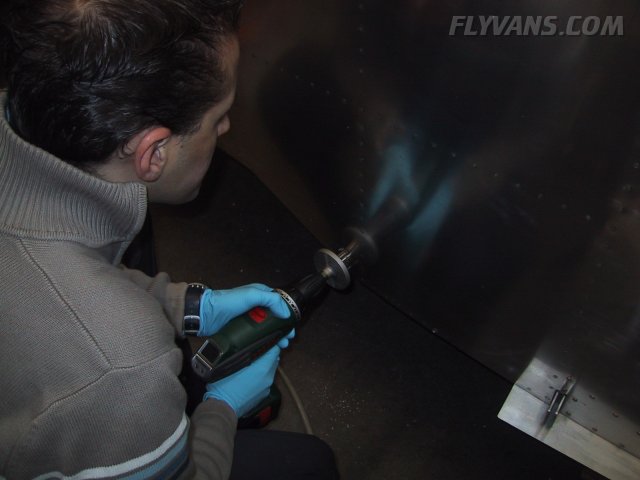
Then, using the unibit extension, drilling pilot holes in the inner ribs.
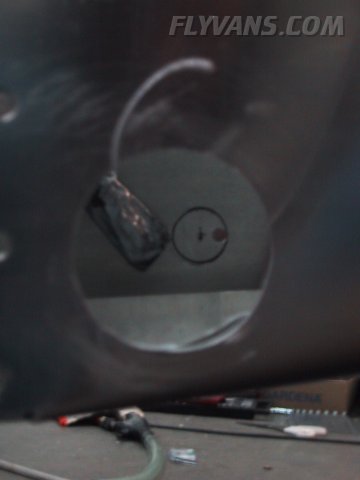
To make a hole as large as possible we used a guiding hole in a scrap piece of aluminum and chewed away by offsetting the pilot hole a bit.
The black mark is on the guiding scrap piece behind the rib.
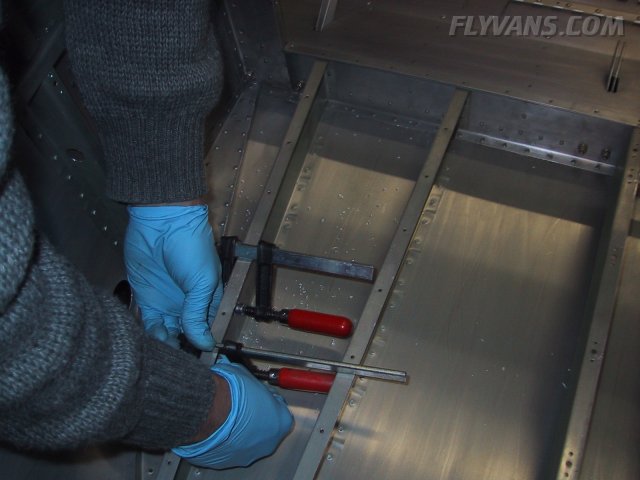
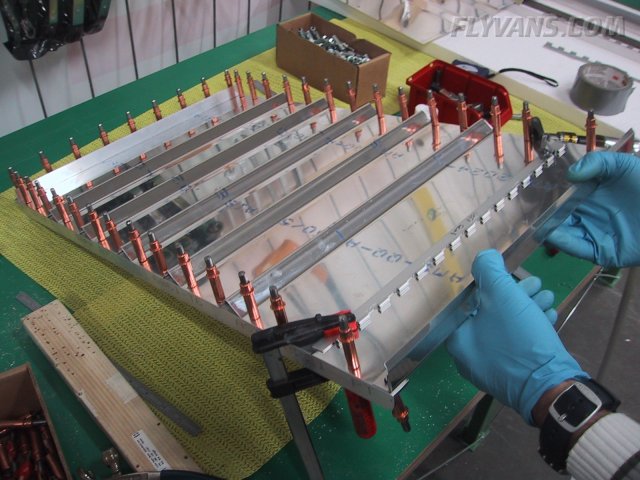
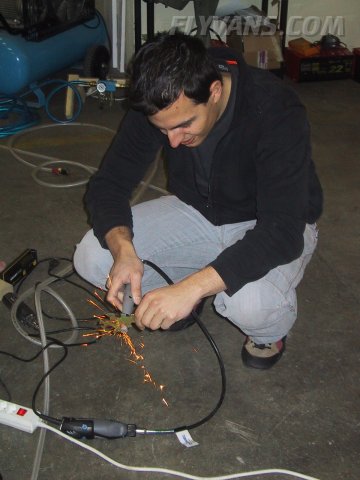
We noticed that on the fuselage, we are much more able to really work a 2 persons worth, because there are many small subprojects... So while Alex was busy dremeling away on the steps, Bernie started with the seat backs.
Lots of cutting, filing and grinding on stock pieces of angle.
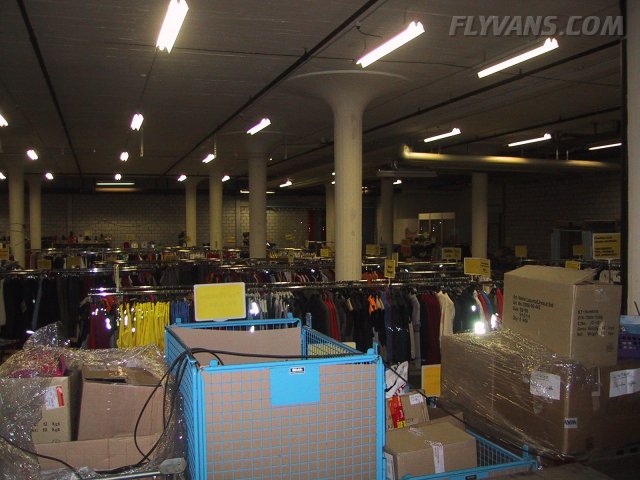
Then we also suffered a setback. We lost maybe 3 "building" sessions due to the fact that we surprisingly had to reorganise the workshop. With little to no advise time, the bigger part of the workshop location got rented out to a "liquidation store" which sells surplus sportswear... We always expected that there would be change but not quite in that way ;-)
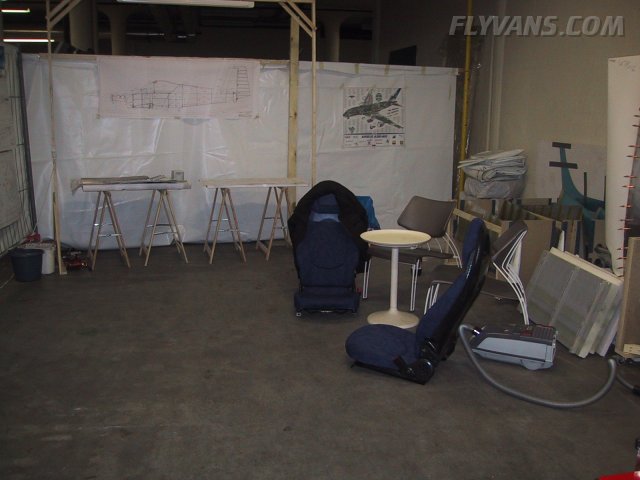
Well so it was back to wood work... Putting up some more barriers, so the public won't notice anything about our project.
Of course, we cleaned the shop at the same time.
Marking and drilling the seatbacks the "old school RV" way... Hats off to the pre-pre-punch-era builders!
Looks like it should. Amazing how rigid such a construction can be.
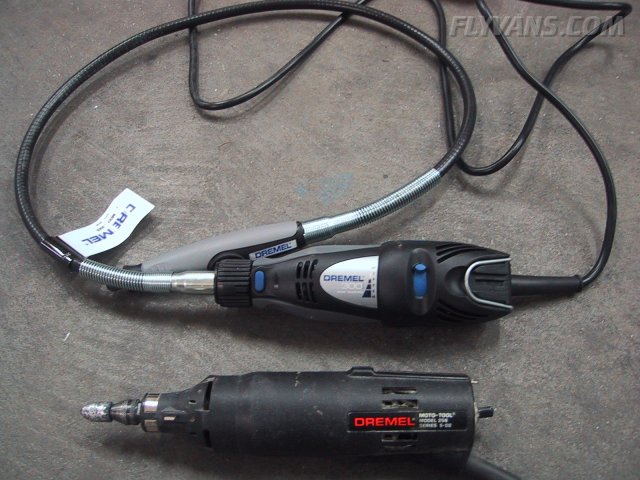
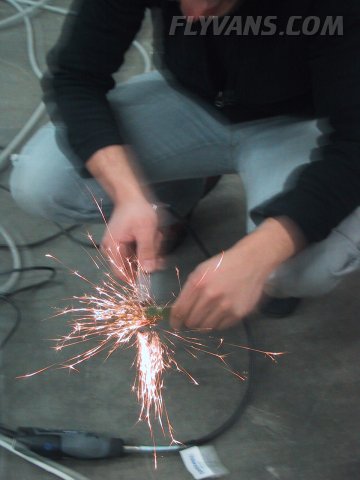
Our dremel literally bit the dust... The constant aluminum intake into the brush-AC-motor didn't help either. Well it just stopped working, without a bang, shock or anything dangerous. So Mr. Dremel got a new one ;-) The extension even came along in the set...
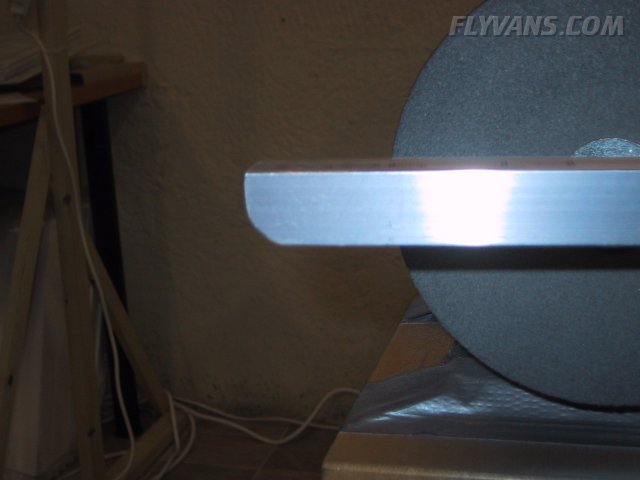
Lots of work between the first hole in the skin and the final size drilling. Getting everything to fit nicely was a painful process of iteration. In the end we're happy with the result. But the right side is yet to go. Don't be afraid to make the outside hole quite a bit larger than than the weldment pipe diameter. Otherwise it won't fit flush. Only on the bottom it should be rather tight.
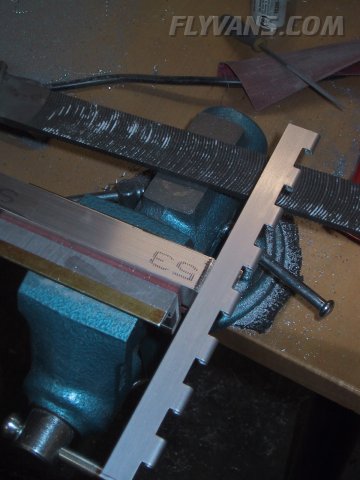
Over time you get quite creative with homemade tools...
We needed a wrench about half as thick as standard wrenches for our angle drill kit chuck. So Alex grinded out a multi wrench that came with the HVLP-spray gun to fit the chuck ;-)
|
|
|||||||||||||||||||||||||
|
||||||||||||||||||||||||||
|