|
|
|


|
| |||||||||||||||||||||||||
|
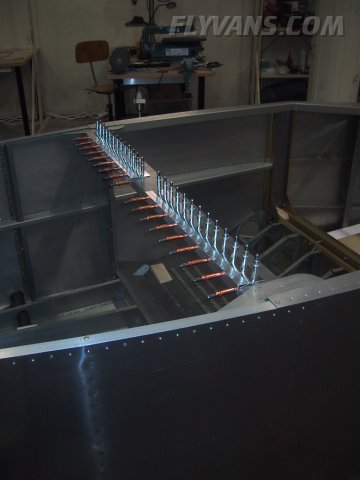
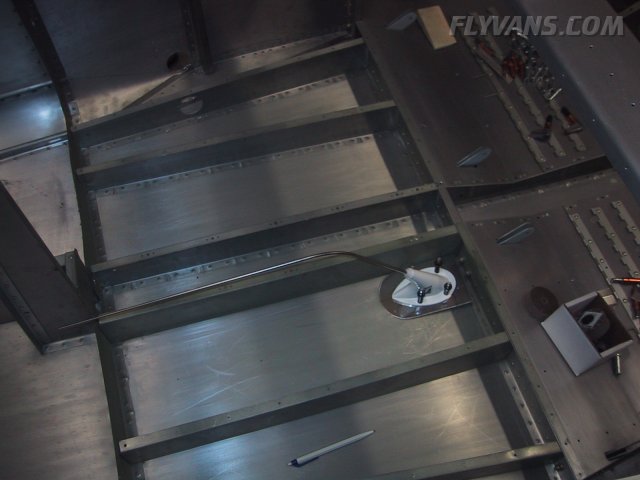
We have now so many sub-projects built up and ready to prime, it's hard to keep a good overview. The nice thing about it is, that in relatively short time many things will be completed, only priming and riveting. Although that sounds like a lot of work, it's the minor share compared to building up. Measuring, grinding, drilling, deburring, edge prepping etc... takes much more time and is a lot less fun at the same time. These are some angles that will keep the seats from tipping aft into the baggage compartment. 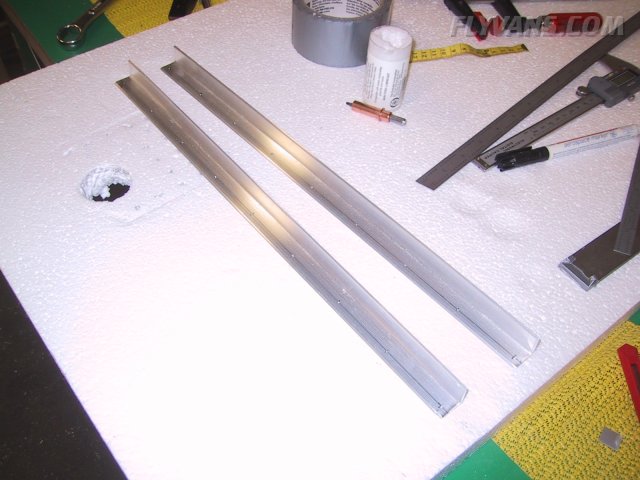
And setup on the bulkhead. There are also some aluminum strips that require a 4° bend at the center, which is quite tricky to get right.
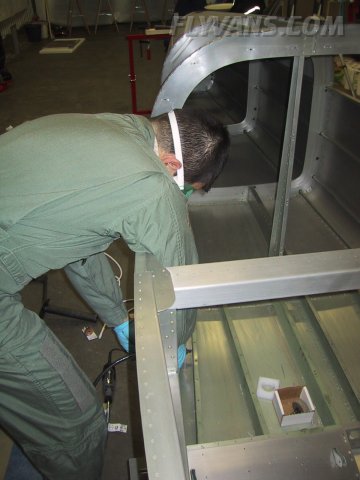
Final fitting of the right step. The dremel extension is way handy.
Drilling of the UHMW blocks to the step weldments and floor ribs.
On the fuselage, we've been able to do a lot more work independently and a full 2 persons worth. On a lot of other things so far, the advantage of working together was more in precision and ease of construction than in sheer productivity.
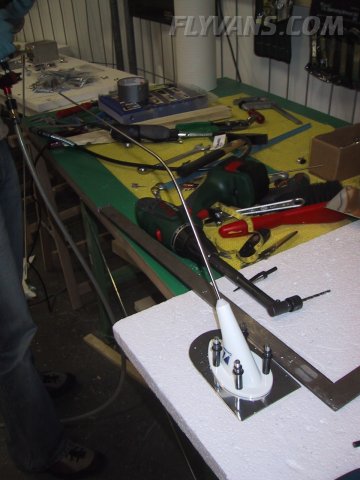
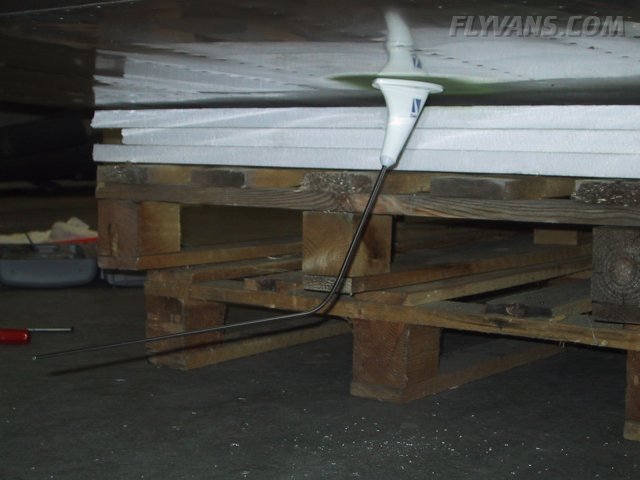
And that's the location we agreed on. It's almost centerline with the fuselage but still out of the way. Access will be possible through the ELT cutout in the right baggage floor.
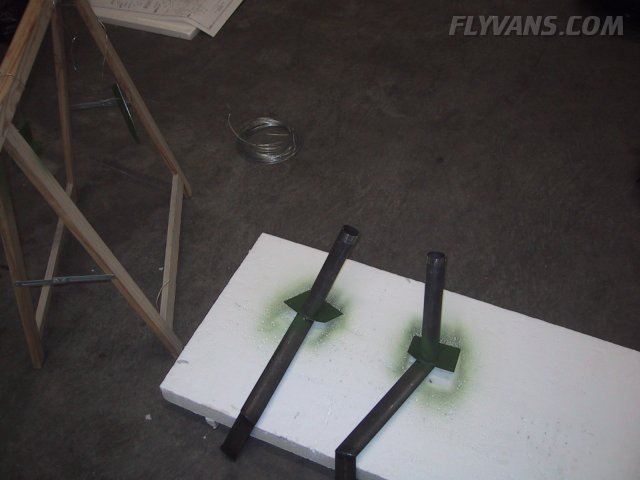
Back to the steps. To protect the mating surfaces, we primed them with the zinc-chromate rattle can primer.
The primer goes onto the weldments as well, after they have been roughened with 80grits and cleaned.
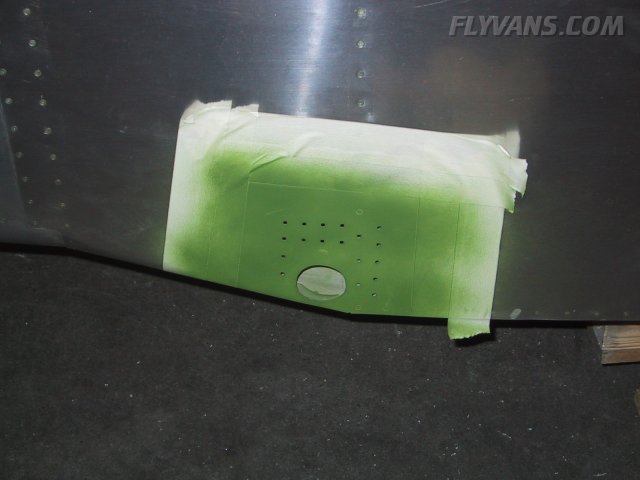
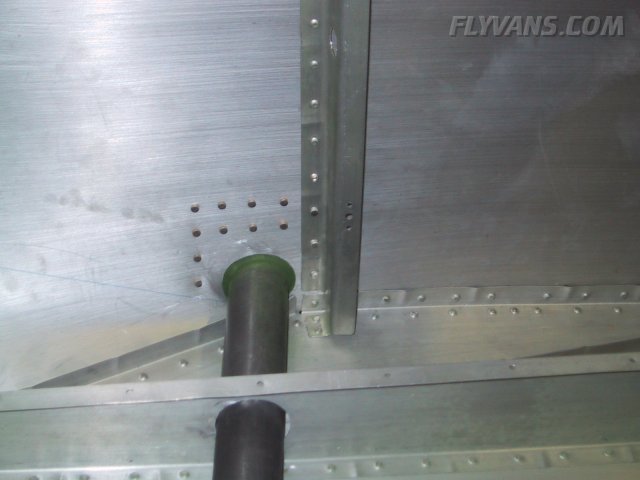
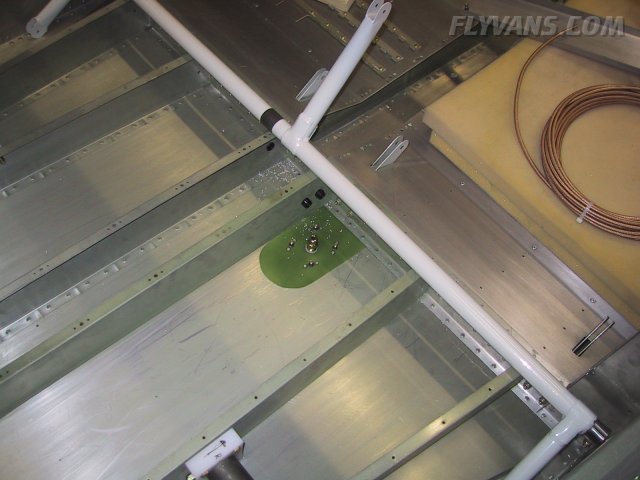
The doubler with the COM antenna installed on the belly. The outside skin is only drilled for the #8 screws and the BNC connector with a 1/2" unibit. The antenna base comes countersunk for the screwheads already and the doubler holds 4 nutplates. It's a similar mount to the pitot mast.
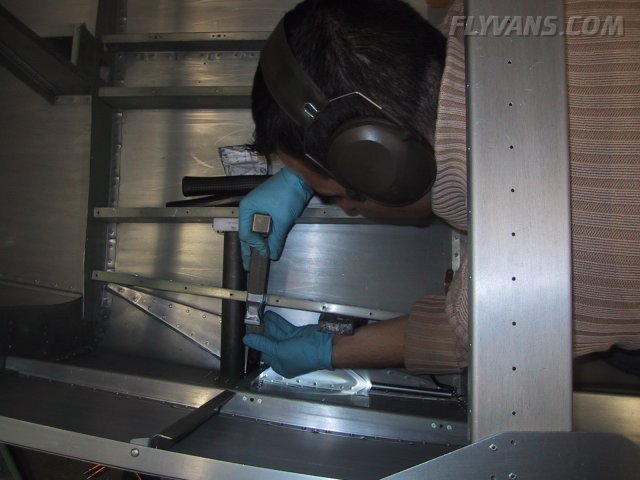
Riveting the steps in tight quarters requires some creativity. An old hammer backed by a bucking bar did the job.
And the resulting rivets turned out beautiful :-) The rivet that is missing just above the step and on the stiffener, has also been set, don't worry ;-) It's a flush rivet that we had drilled out one too many, because we didn't know how the weldment would end up at the start of the installation process.
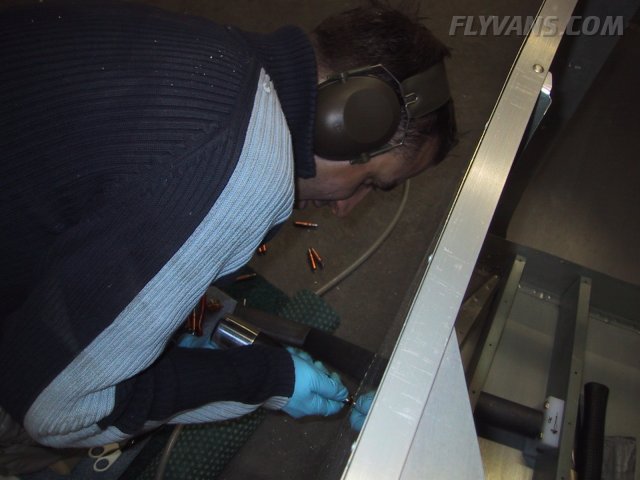
On the step AN470 rivets we definitely didn't want any smilies since they will always be visible from the outside. So a little less pressure (55psi idle and about 45 psi continous) and 2 layers of kapton tape on the set were used. And in case you're wondering, no it's not dandruff ;-) Only been laying below the fuse.
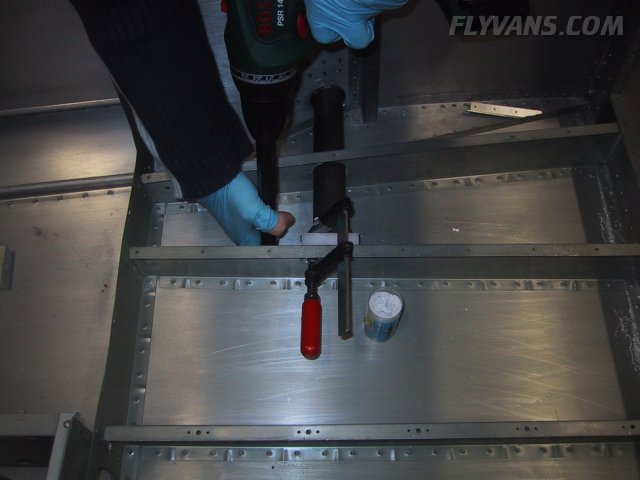
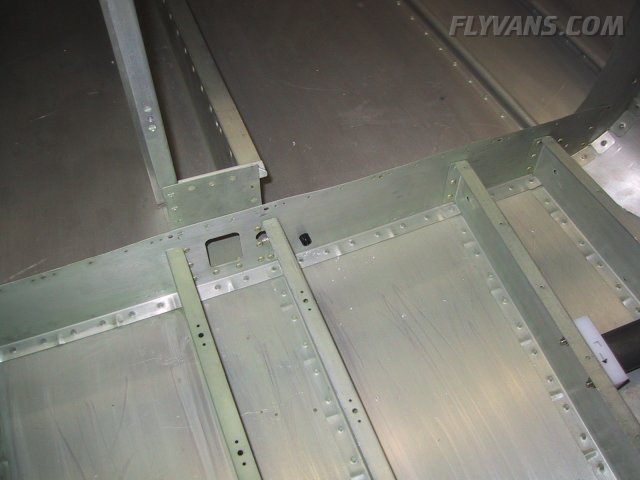
Before the baggage floors can be installed for good, some wiring provisions have to be made. In this picture you can see 3 snap bushings, each 1/2" OD (outside diameter). The left bushing will take PWR and GND for the avipak strobe supply, as well as the left and right wing shielded strobe wires.
And a smaller bushing in the back for the tail strobe wire.
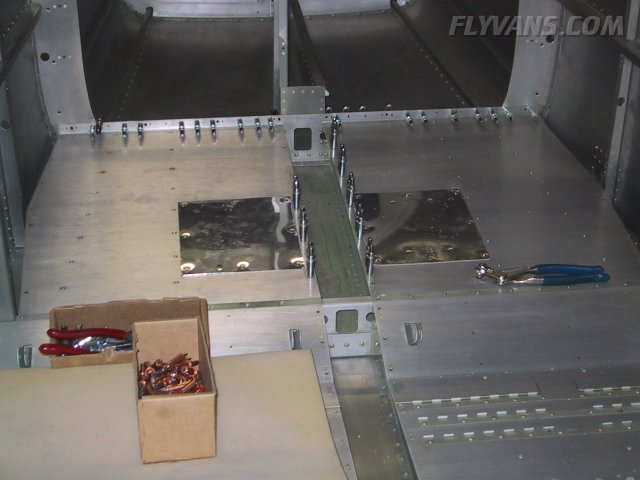
And the baggage floors in place for the final time. They are riveted with LP4-3 pop rivets.
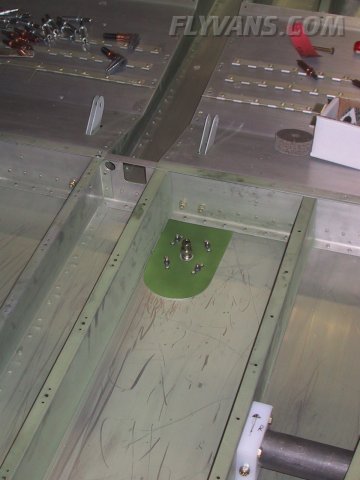
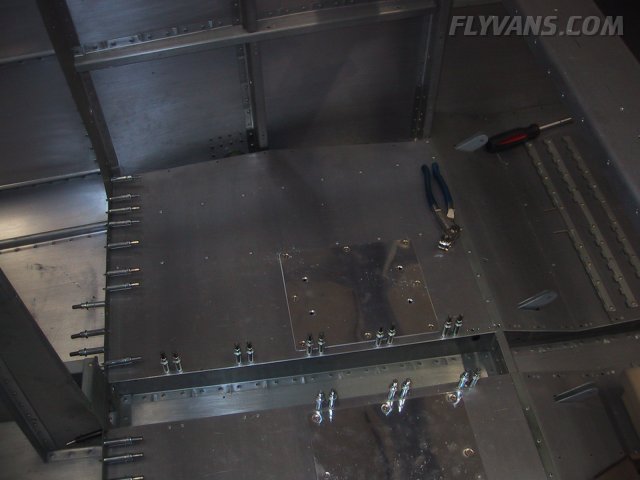
The 2 selfmade access plates from which the strobe supply (right) and the ELT (left) will be hung into the floor.
|
|
|||||||||||||||||||||||||
|
||||||||||||||||||||||||||
|