|
|
|


|
| |||||||||||||||||||||||||
|
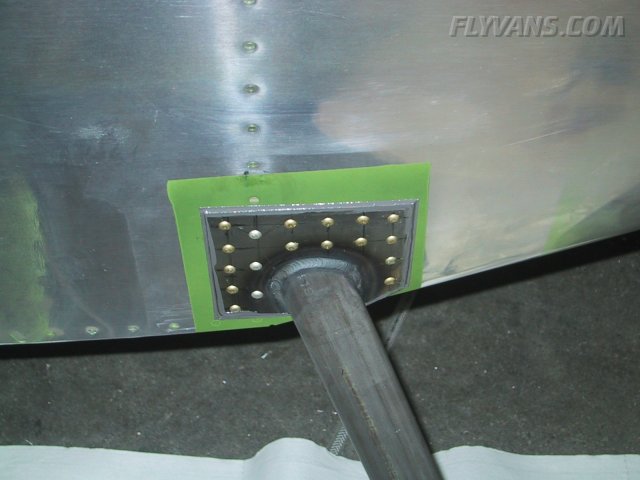
Finally sealed some things we wanted to proseal for a long time... One is the pitot mount to the wing. Not cleaned up yet and maybe a little too little of proseal, we will see... 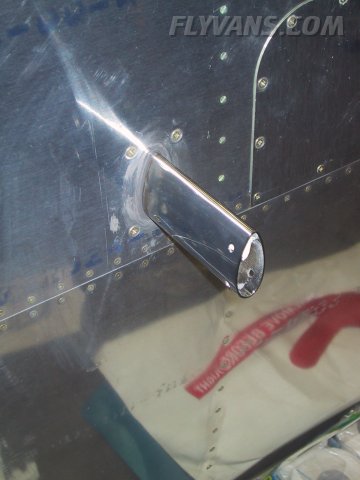
Then sealed both steps to the fuselage with a nice little bead on all sides...
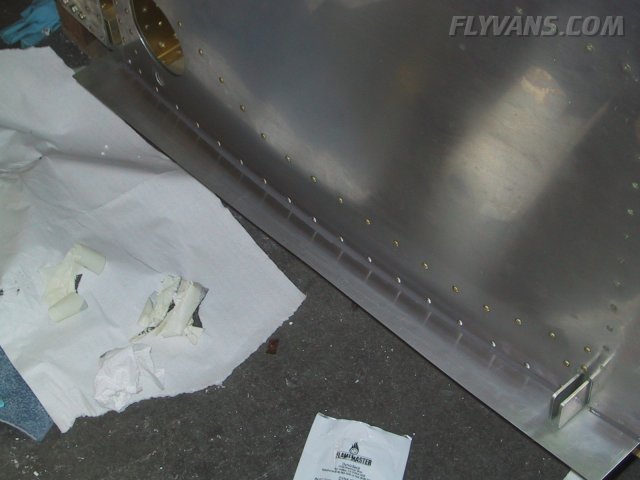
And also sealed the bottom fuselage skins to each sidewall. Thanks to the internet you learn a lot from previous builders / current operators. This is an RV-7A specific problem... As the airplane sits level on the gear and the belly is slightly curved, water that can drip down between the wing fairing and the fuselage can accrue at the low point and then flow inside the fuselage below the seat ribs... Of course this is not a welcomed effect. The remaining bottom skin that you can see in this picture is the bottom wing fairing at the same time, so potential moisture will eventually evaporate or leave via the gap between wing and fairing. In a climb attitude, everything can flow out via the back, the same happens with an RV-7 sitting tail-low on the ground.
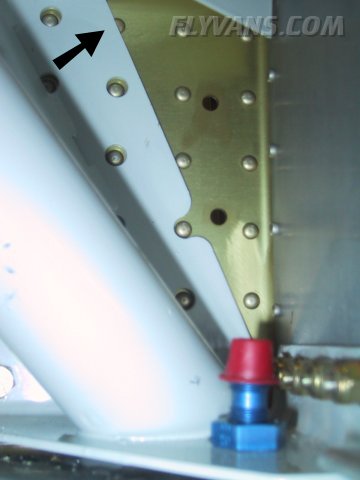
Van's kit so far keeps us impressing with every step we take... If there's areas where there would be many improvements possible, then it's everything related to weldments and fiberglass fairings. Weldments tend to have a life of their own :-( also by judging from different feedbacks on many builder sites it seems to be a widespread problem... For example, only after we final installed the gear leg weldments did we take note of http://rv.jpainter.org/ Jamie Painters excellent website describing a problem with a rivet interfering... So next day in the shop, mirror out and wondering wheter we have the same issue... Interestingly we never noticed during installation because our weldments, after the usual and enduring step-by-step fitting process, fit quite nicely. There's no heads up in the plans, no instructions that come with the weldments concerning this, nor is the weldment cut out for. This is even more astonishing since the weldment has special provisions for every other rivet head concerned. Maybe Van's didn't notice. Anyway, for now we will leave it as is, since both weldments fit nicely and are sealed already but we will get in touch with Van's and let them know and decide wheter this is an issue or not. Fortunately it doesn't appear to be anything serious.
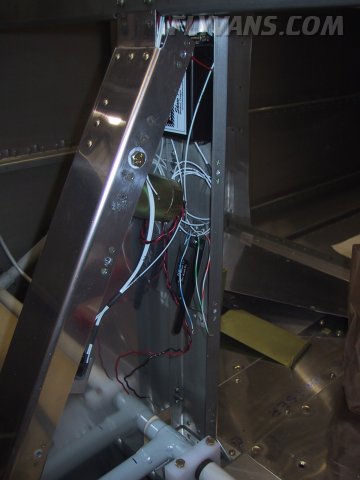
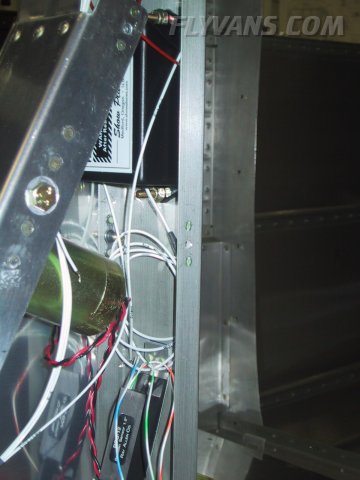
Another picture of the flap installation. Note that it's not final installed, so cotter pins, safety wire and electrical wiring is not done yet, hence the chaotic electrical wires. We mounted the box for the flap positioning system above the position sensor.
Will be fun to tidy up the wiring...
|
|
|||||||||||||||||||||||||
|
||||||||||||||||||||||||||
|