|
|
|


|
| |||||||||||||||||||||||||
|
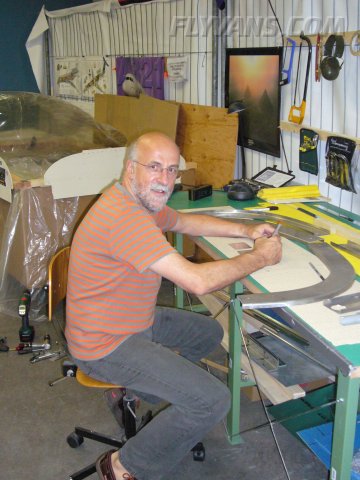
Several different things in the works... Metalworkwise we started the construction of the fuselage rollover protection bar. This is a piece that looks pretty simple from plans and parts, but in fact takes a lot of work, patience and attention to detail... It starts by manufacturing the required parts, cutting extremely thick angle and also edge prepping everything. 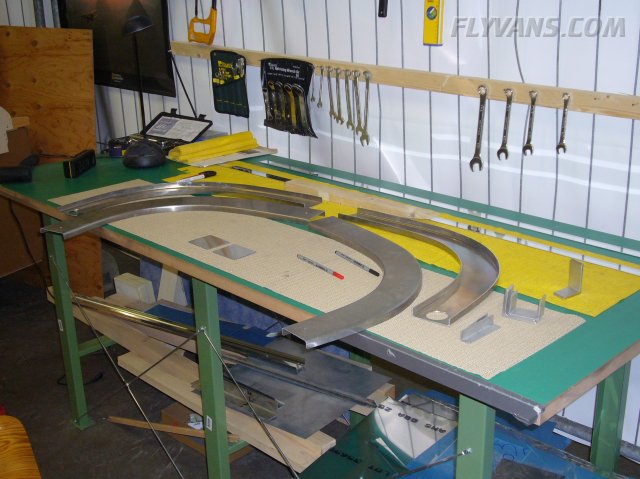
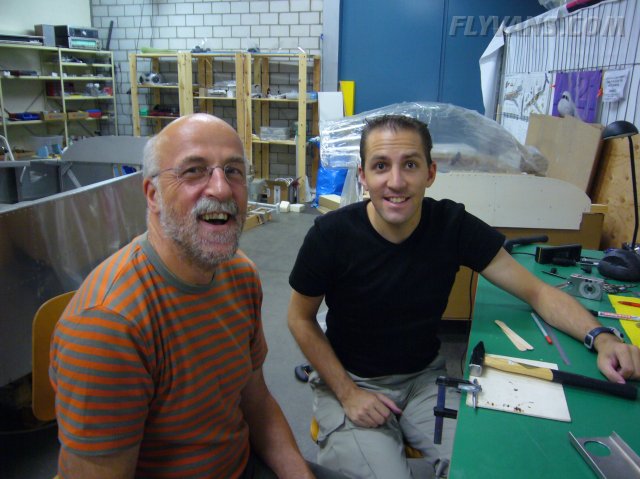
Bernie's mom and dad stopped visited for the weekend. Of course we also put in a nice building session on saturday.
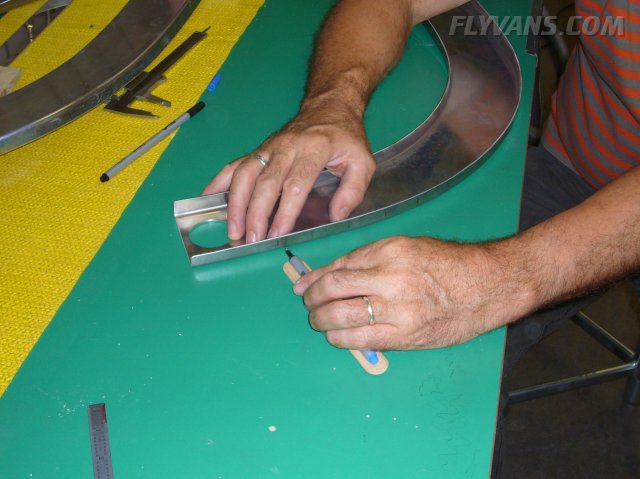
Measuring and marking holes. None of the parts are prepunched, so you get a nice impression of how much more work all the fellow RV6 and older kits' builders had to go through regularly. Due to the forming of the metal, the flange's not exactly the same width, yet you want a straight line for the rivets. So we took the outside web as the reference and drew an even line.
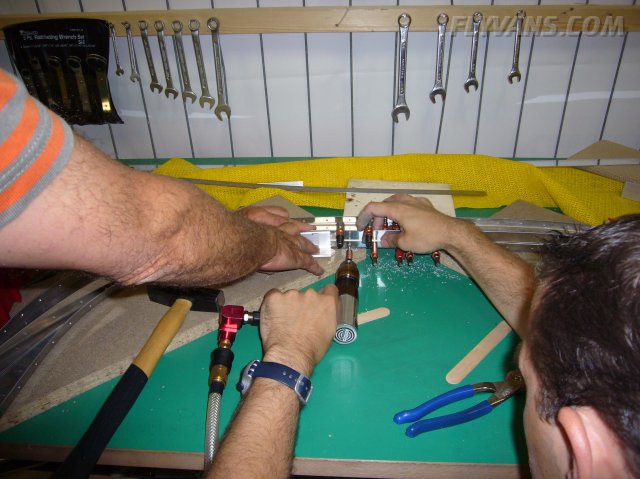
Punchmarking the holes so they can be drilled.
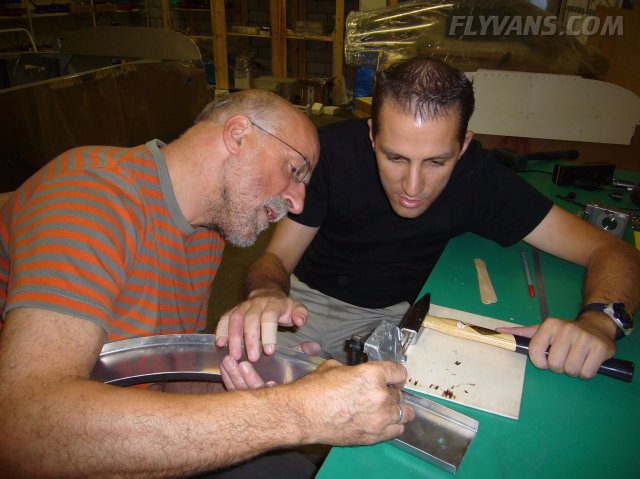
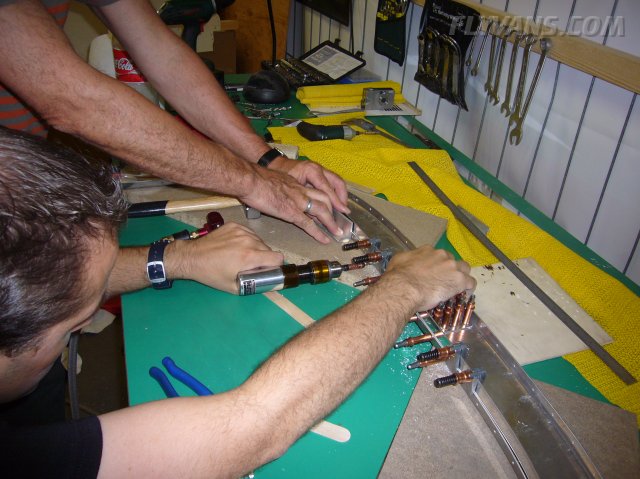
Worked very well that way... Again and again, 2 pair of hands are much more worth than a single pair.
Besides moving an inch closer to first flight, we also had a great time :-)
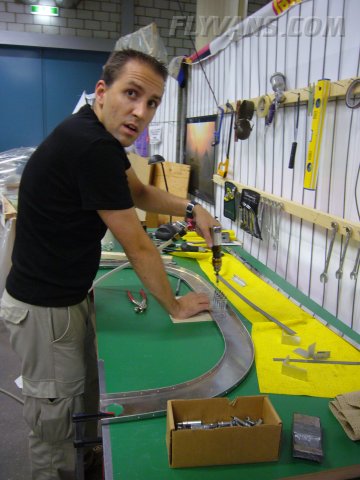
Pilot-drilled all holes on each of the 4 channels 2 flanges with the #40. Believe me, that's a lot of holes!
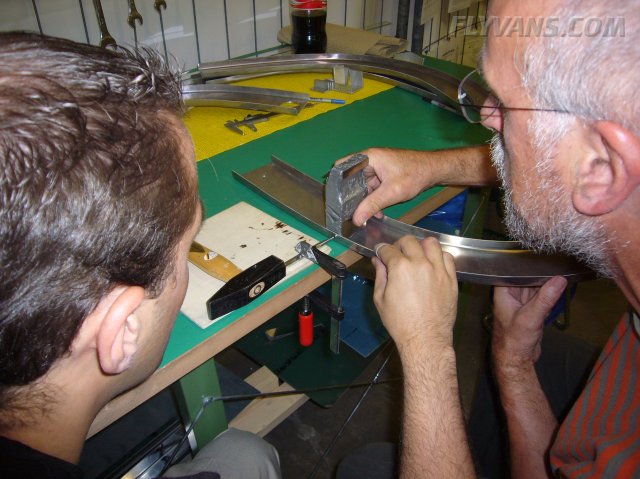
Starting to put everything together. Note the clamps holding the channels in the correct width to the table.
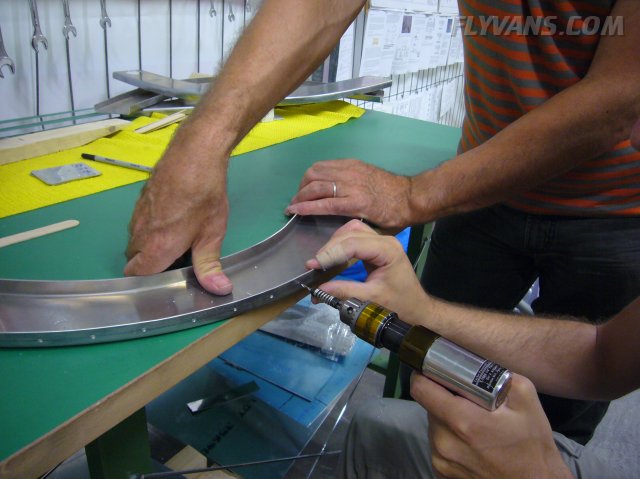
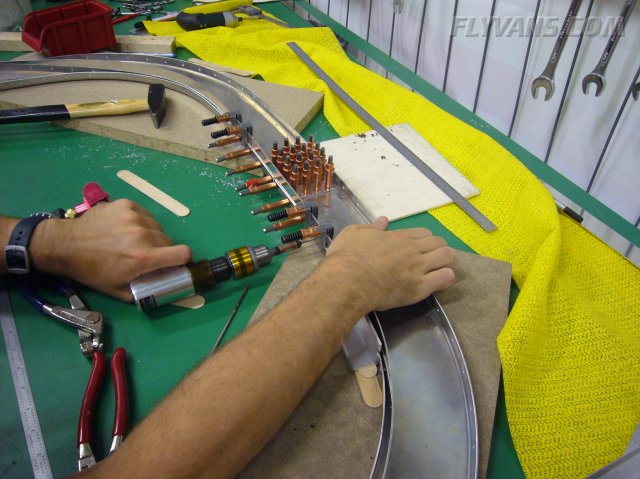
And drilling the bottom strip to the assembly, starting at the center. The strip is quite stiff and must be carefully aligned as it bends over. Otherwise it could start to wander out of the channel, which would be impossible to fix other than replacing the strip.
Lots of clamps and clecos help do the job.
Note our little alignment guide on the bottom right. 2 wooden spacers and a piece of aluminum angle proved to be just the right height to align with the top edge of the strip.
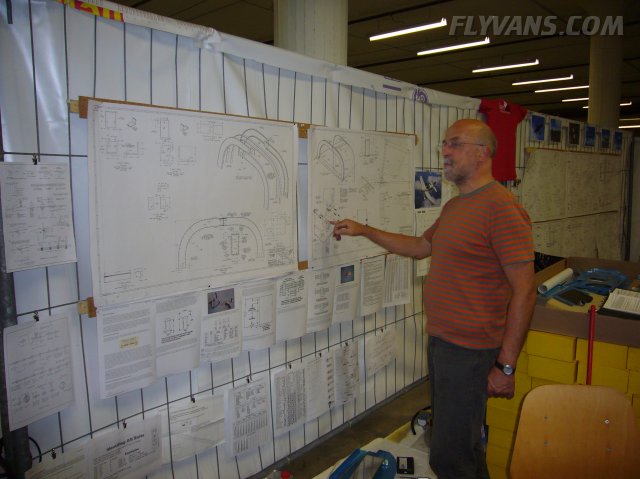
Markus studying the drawings.
Already now, we're starting to run out of 1/8" clecoes. It's a lot of holes and yet you can't do only one half and the other half in a second step or so. On this you shouldn't try to spare on clecoes as it's important to get the right fit... We'll have to either buy some more or borrow for this part of the project. So far we've fared well with the Avery RV toolkit less about half the clecoes as recommended for quickbuilds... That would be about 90 to 100 1/8" clecoes instead of the 175 in the standard kit. But you lose some to epoxy, proseal etc... bend some more in the building process and finally use some to hold other stuff on the fuse or the wings in place... e.g. the wingtips.
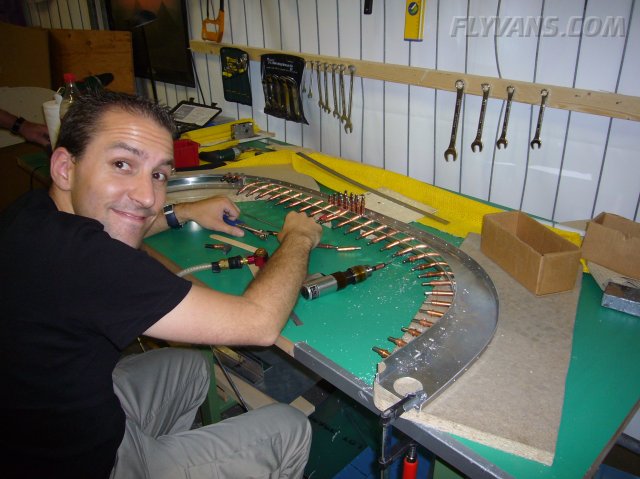
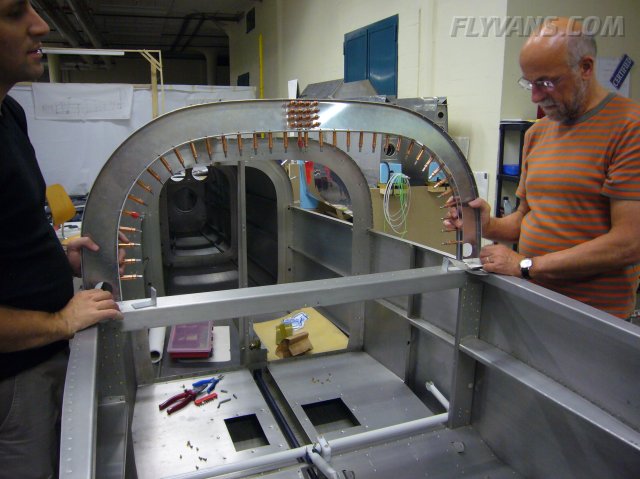
Testfitting the frame on the fuse. Although we worked to maximum precision, apparently the strip bends are strong enough to widen the base by pushing the clecoed center plate... Just by a bit, but this will have to be considered when drilling the top strip, maybe clamp the assembly slightly undersize to the table... we'll see.
|
|
|||||||||||||||||||||||||
|
||||||||||||||||||||||||||
|